1. Okwu mmalite
The COMPUTHERM T-32 room thermostat is designed for controlling most boilers and air conditioners available in the EU. It can be easily connected to any gas boiler with a two-wire thermostatic connection point, and to all air conditioning systems or electrical appliances, whether they have a 24V or 230V control circuit.
This digital thermostat allows for more precise temperature measurement and adjustment compared to traditional thermostats. It helps reduce energy costs while maintaining comfort by regulating the connected appliance (e.g., a gas boiler or pump) based on the measured and set temperatures.
Akụkụ ndị bụ isi:
- Ezigbo njikwa okpomọkụ: Easily set desired temperature between 5°C and 30°C in 0.5°C increments.
- Constant Indoor Temperature: Switching sensitivity of ±0.2°C or 0.1°C ensures a uniform and stable room temperature.
- Ndakọrịta nke ukwuu: Suitable for boilers with a two-wire connection and various HVAC systems (24V or 230V).
- Ụdị kpo oku na oyi: Supports both heating and cooling functions.
- Ngosipụta Digital: Provides clear and accurate temperature readings.
2. Ntọala na nwụnye
Ihe dị mkpa: Onye tozuru etozu ga-etinyerịrị ngwaọrụ a.
Ihe ngwugwu 2.1
Chọpụta na akụrụngwa niile dị:
- 1x COMPUTHERM T-32 Digital Room Thermostat
- 2 x AAA batrị
- Mounting hardware (screws and wall plugs)

Figure 1: Package contents including the thermostat, batteries, and mounting hardware.
2.2 Ntinye batrị
- Carefully remove the back cover of the thermostat.
- Insert the two AAA batteries into the battery compartment, ensuring correct polarity (+/-).
- Dochie mkpuchi azụ.
2.3 Ịkwanye na wiring
The thermostat is designed for wall mounting in a room. Choose a location away from direct sunlight, drafts, or heat sources that could affect temperature readings.
- Separate the front panel from the back plate.
- Mark the desired mounting position on the wall.
- Gwuo oghere ma tinye mgbidi mgbidi.
- Secure the back plate to the wall using the provided screws.
- Connect the two-wire control circuit from your boiler or HVAC system to the terminals on the back plate. Refer to the wiring diagram on the back of the thermostat for correct connections.
- Carefully reattach the front panel to the back plate.

Ọgụgụ 2: N'azụ view of the thermostat with wiring terminals and battery compartment details.
3. Ọrụ
3.1 Ngosipụta karịrịview
The digital display shows the current room temperature and the set desired temperature. The thermostat features three control buttons below the display.

Foto 3: N'ihu view of the COMPUTHERM T-32 thermostat with its digital display and three control buttons.
3.2 Setting the Desired Temperature
Use the temperature control buttons (typically marked with up and down arrows or similar symbols) to adjust the desired temperature. Each press changes the temperature by 0.5°C within a range of 5°C to 30°C.
- Pịa Akụ elu bọtịnụ iji mee ka okpomọkụ achọrọ dịkwuo elu.
- Pịa Ụda ala bọtịnụ iji belata okpomọkụ achọrọ.
The thermostat will automatically regulate the connected heating or cooling appliance to maintain the set temperature within its switching sensitivity of ±0.2°C.
3.3 Heating Mode Operation
In heating mode, if the measured room temperature falls below the set temperature minus the switching sensitivity (e.g., 22°C - 0.2°C = 21.8°C), the thermostat will activate the heating appliance. It will deactivate the heating when the room temperature rises above the set temperature plus the switching sensitivity (e.g., 22°C + 0.2°C = 22.2°C).
3.4 Cooling Mode Operation
In cooling mode, the operation is reversed. If the measured room temperature rises above the set temperature plus the switching sensitivity, the thermostat will activate the cooling appliance. It will deactivate cooling when the room temperature falls below the set temperature minus the switching sensitivity.
Note: After a temperature change using the thermostat's adjustment buttons, the switching sensitivity is temporarily not considered, allowing the thermostat to react to a difference of ±0.1°C for immediate response.
4. Nlekọta
- Nhicha: Wipe the thermostat with a soft, dry cloth. Do not use abrasive cleaners or solvents.
- Ngbanwe batrị: Replace batteries when the low battery indicator appears on the display. Always use new AAA alkaline batteries.
- Zenarị ihe mgbochi: Ensure no objects block the thermostat's ventilation slots or sensor, as this can affect temperature accuracy.
5. Nchọpụta nsogbu
| Nsogbu | Ihe nwere ike ime | Ngwọta |
|---|---|---|
| Ngosipụta thermostat bụ oghere. | Batrị nwụrụ anwụ ma ọ bụ arụnyere na ezighi ezi. | Dochie batrị, hụ na ọ dị mma iji ya. |
| Sistemụ kpo oku/ọkụ anaghị aza. | Incorrect wiring; system power off; thermostat in wrong mode. | Check wiring connections (consult a professional); ensure system power is on; verify thermostat is set to appropriate mode (heating/cooling). |
| Ọgụgụ okpomọkụ ezighi ezi. | Thermostat located near heat source/draft; sensor obstructed. | Relocate thermostat if possible; ensure no obstructions around the sensor. |
| Temperature fluctuates too much. | High switching sensitivity setting (not applicable for T-32 as it's fixed). | The T-32 has a fixed sensitivity of ±0.2°C. Ensure proper placement and insulation of the room. |
6. Nkọwapụta
- Ụdị: T32
- Isi mmalite ike: 2x AAA 1.5V Alkaline Batteries (included)
- Njikwa Voltage: 24V AC ma ọ bụ 230V AC
- Ike ibu: 8 Amperes
- Ọnụọgụ okpomọkụ: 5°C ruo 30°C
- Ntọala ọnọdụ okpomọkụ: 5°C ruo 30°C
- Temperature Setting Increment: 0.5°C
- Mmetụta mgbanwe: ±0.2°C (or ±0.1°C after manual adjustment)
- Akụkụ (L x W x H): 8.5 x 8.5 x 2.8 cm
- Arọ: 160 grams
- Njikọta: Ekwenyere
- Agba: Ọcha


Figure 4: Dimensions of the COMPUTHERM T-32 thermostat.
7. Akwụkwọ ikike
The COMPUTHERM T-32 Digital Room Thermostat comes with a Akwụkwọ ikike onye nrụpụta afọ 5. Biko dowe ihe akaebe nke ịzụrụ ihe maka akwụkwọ ikike. Akwụkwọ ikike ahụ na-ekpuchi ntụpọ dị na akụrụngwa yana arụ ọrụ n'okpuru ojiji nkịtị.
8. Nkwado
For further assistance or if you encounter issues not covered in this manual, please refer to the official COMPUTHERM website or contact your retailer. Always ensure that any electrical work is performed by a qualified professional.
For more information, you may visit the manufacturer's websaịtị: www.calorsol.de
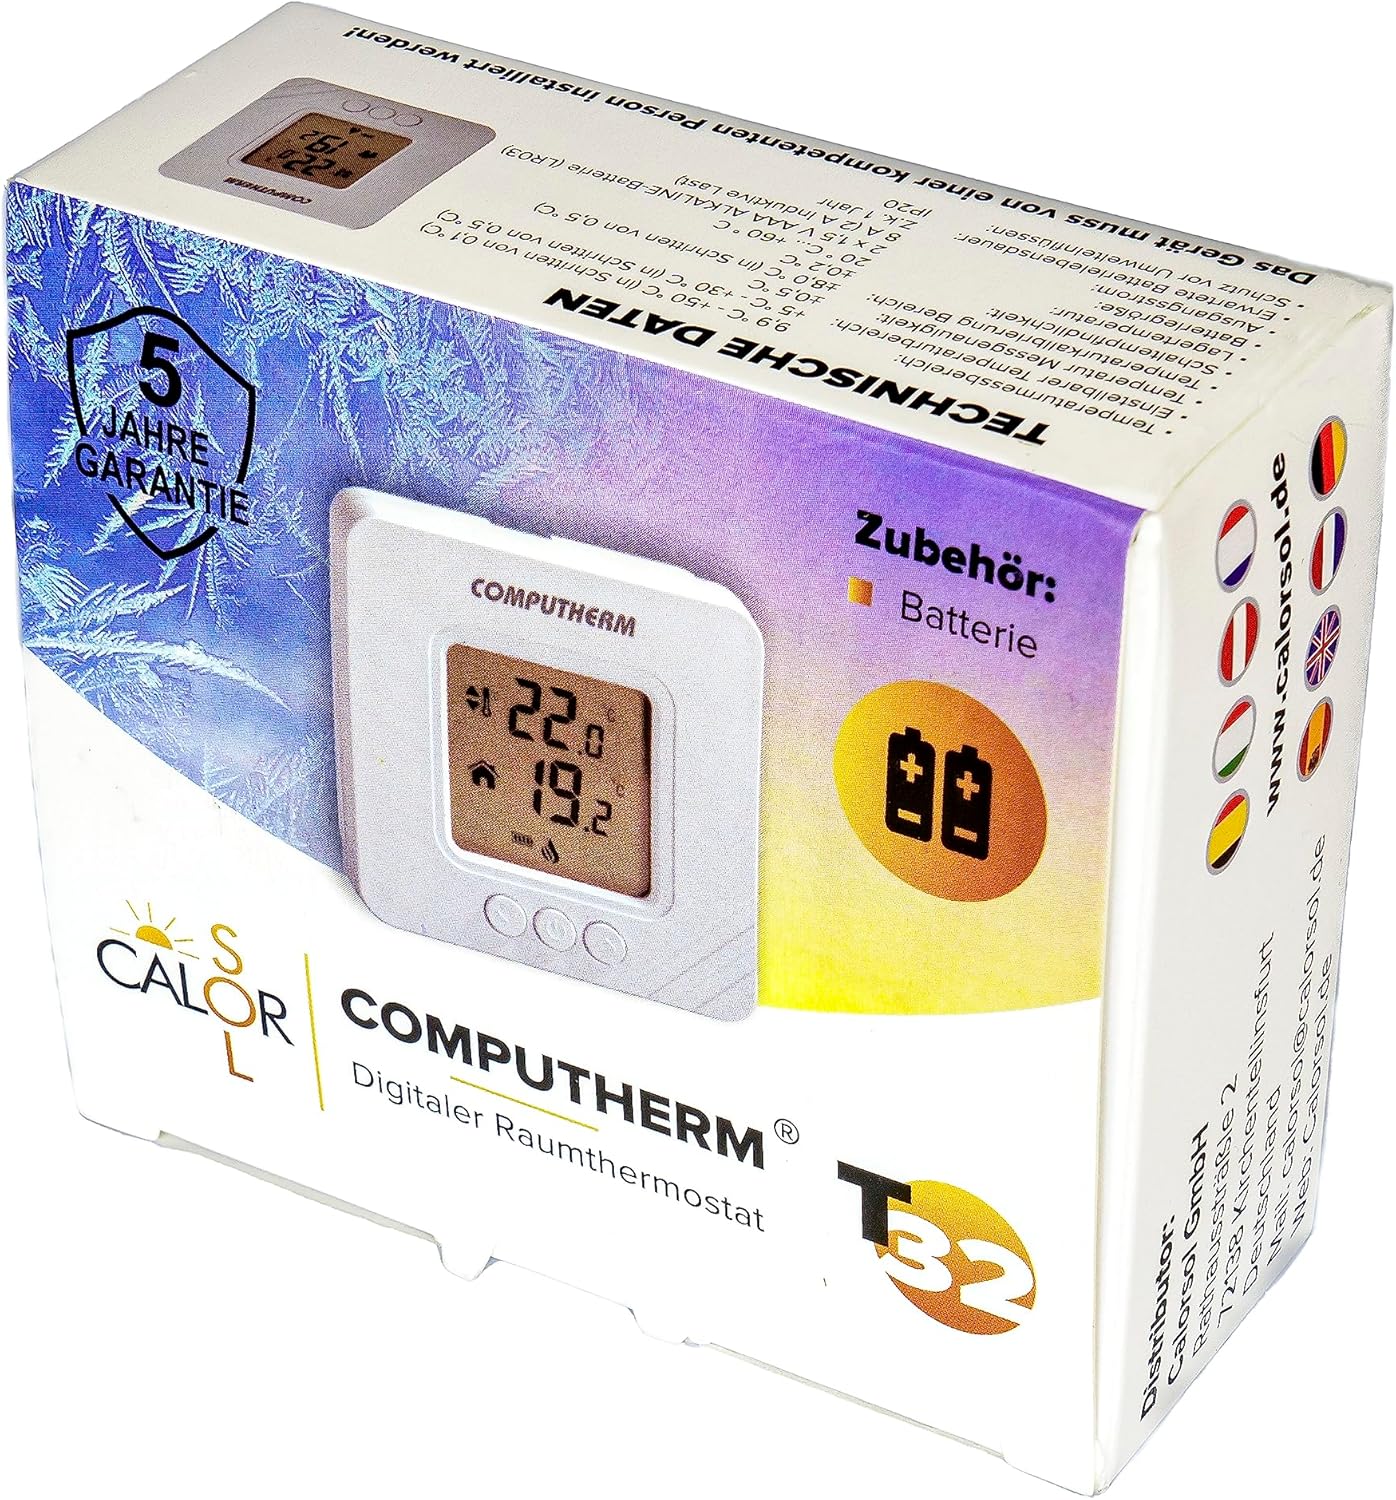
Figure 5: Product packaging displaying warranty information and technical data.


