Okwu mmalite
Thank you for choosing the Voyager Monster Jam 12V ATV Ride On Toy. This manual provides essential information for the safe assembly, operation, and maintenance of your new ride-on toy. Please read this manual thoroughly before use and retain it for future reference. This ATV is designed to provide an exciting and imaginative play experience for children aged 3 years and up.

Image: The Voyager Monster Jam 12V ATV Ride On Toy, showcasing its vibrant green and purple design with Monster Jam graphics and illuminated headlights.
Ozi nchekwa
Ịdọ aka ná ntị: To reduce the risk of injury, adult supervision is required. Never use in roadways, near motor vehicles, on or near steep inclines or steps, swimming pools or other bodies of water. Always wear shoes. Never allow more than one rider.
Please follow all instructions in this user manual carefully to ensure safe operation. This product is intended for children aged 3 years and up, with a maximum weight capacity of 66 lbs (30 kg). Ensure the child is always wearing appropriate safety gear, including a helmet, when operating the ATV.
- Na-elekọta ụmụaka mgbe niile mgbe a na-arụ ọrụ ahụ.
- Do not operate on public roads, sidewalks, or near traffic.
- Avoid operating on uneven terrain, steep slopes, or near water.
- Gbaa mbọ hụ na chajịla batrị nke ọma tupu ojiji ọ bụla.
- Regularly inspect the ATV for any damage or loose parts.
Kedu ihe dị na Igbe ahụ
Mgbe imepechara ngwugwu ahụ, biko chọpụta na akụrụngwa niile dị na enweghị mmebi:
- ATV Ride On (Main Unit)
- 12V Rechargeable Battery (pre-installed or separate)
- Chaja batrị
- Akwụkwọ ntuziaka
If any parts are missing or damaged, please contact customer support before assembly.
Mgbakọ na Nhazi
Adult assembly is required. Please follow these general steps for assembly. Specific details may vary, refer to diagrams if provided in a physical manual.
- Wepu akụrụngwa: Jiri nlezianya wepụ akụkụ niile na nkwakọ ngwaahịa.
- Nwụnye wheel: Attach the wheels securely to the axles. Ensure all washers and locking pins/nuts are properly installed.
- Mgbakwunye aka: Secure the handlebars to the steering column.
- Njikọ batrị: Locate the battery compartment, usually under the seat. Connect the battery terminals (red to red, black to black). Ensure connections are firm.
- Ntinye oche: Secure the seat in place.
- Ebube mbụ: Before first use, fully charge the battery for the recommended duration (see "Charging the Battery" section).

Foto: Zuru ezu view highlighting the ATV's rugged wheels, the push-start button on the dashboard, and the overall sturdy construction, essential for assembly and operation.
Ịchaji batrị
The Voyager Monster Jam ATV is powered by a 12V rechargeable battery. Proper charging ensures optimal performance and battery longevity.
- Ojiji mbụ: Charge the battery for 8-12 hours before the first use. Do not overcharge for more than 18 hours.
- Ịchaji mgbe niile: After each use, recharge the battery for 8-12 hours.
- Nchaji ọdụ ụgbọ mmiri: Locate the charging port on the ATV (typically near the battery compartment or under the seat).
- Njikọ: Plug the charger into a standard wall outlet, then connect the charger's plug to the ATV's charging port.
- Ihe ngosi: The charger may have an indicator light to show charging status (e.g., red for charging, green for fully charged).
- Ịkwụsị: Once charging is complete, disconnect the charger from the ATV and then from the wall outlet.
Ihe dị mkpa: Only use the charger supplied with this product. Do not allow children to charge the battery. Always charge in a dry, well-ventilated area.
Ntuziaka ọrụ
Once the ATV is assembled and the battery is charged, it's ready for operation. Ensure the child is seated properly and wearing safety gear.
- Ike Na: Locate the main power switch (if present) and turn it to the "ON" position.
- Bọtịnụ mmalite: Press the designated "Push Start Button" to activate the ATV.
- Njikwa ntụziaka: Use the forward/reverse switch to select the desired direction of travel.
- Ọsọ ọsọ: Press the foot pedal (accelerator) to move the ATV. Release the pedal to stop.
- Nduzi: Use the handlebars to steer the ATV left or right.
- Ọkụ: The ATV features bright LED headlights for enhanced visibility and a realistic look.
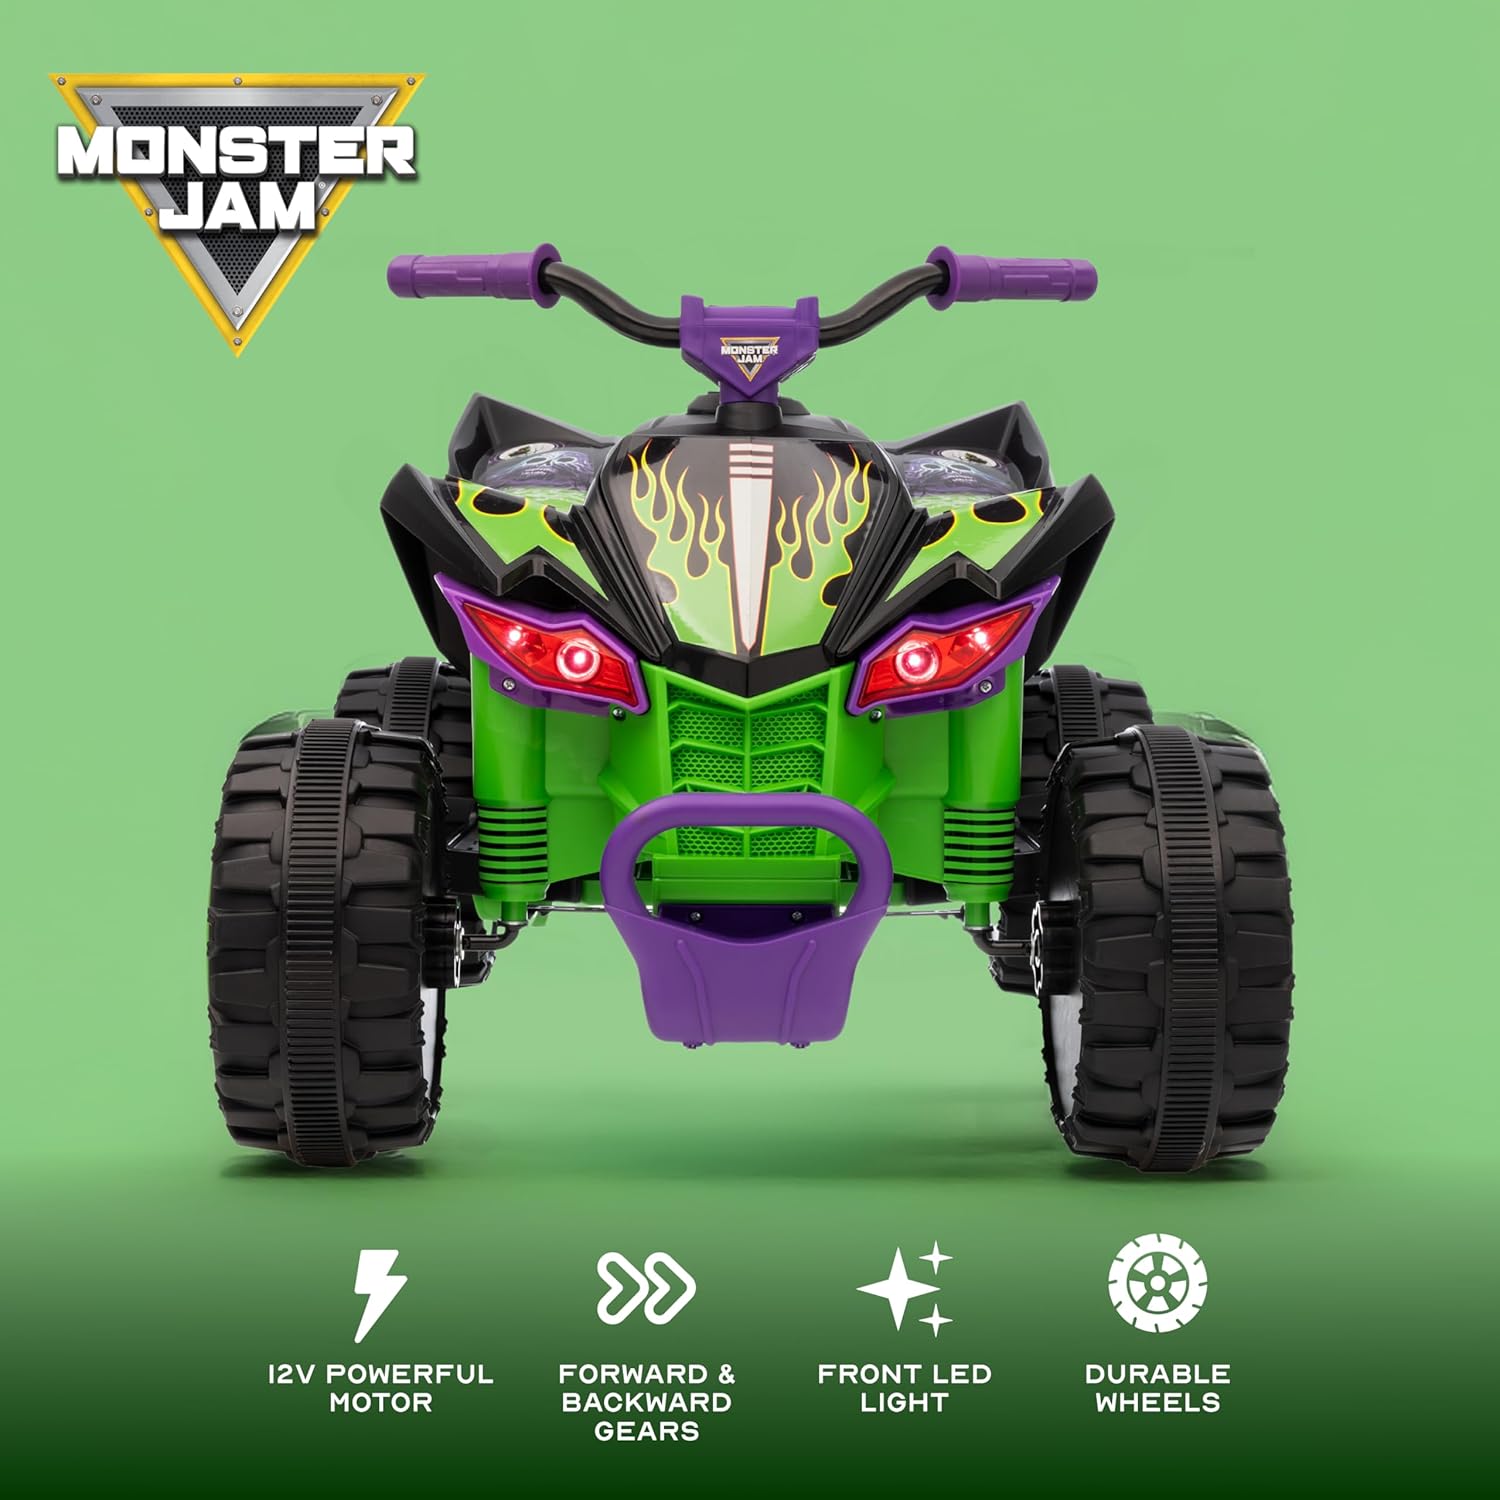
Image: A front-facing view of the ATV, illustrating key features such as the 12V powerful motor, controls for forward and backward gears, bright front LED lights, and robust, durable wheels.
Nlekọta
Regular maintenance helps prolong the life of your ATV and ensures safe operation.
- Nhicha: Wipe the ATV with a soft, damp cloth. Do not use abrasive cleaners or solvents. Avoid spraying water directly on electrical components.
- Nlekọta batrị:
- Na-agbaze batrị mgbe niile mgbe ejiri ya mgbe ọ bụla.
- If storing for extended periods, charge the battery once a month to prevent deep discharge.
- Do not store the battery in extreme temperatures.
- Nyocha: Periodically check all nuts, bolts, and fasteners for tightness. Inspect wheels and tires for wear or damage.
- Nchekwa: Store the ATV in a dry, cool place away from direct sunlight and moisture.
Nchọpụta nsogbu
| Nsogbu | Ihe nwere ike ime | Ngwọta |
|---|---|---|
| ATV does not move | Battery is low or not connected; Power switch is off; Loose wire connection; Overload protection activated. | Charge the battery; Ensure battery is connected; Turn power switch on; Check all wire connections; Reduce load on ATV. |
| Na-agba ọsọ nwayọ | Low battery charge; Overloaded; Operating on rough terrain. | Recharge battery; Ensure rider weight is within limits; Operate on smoother surfaces. |
| Charger gets warm | Normal during charging. | This is normal. If it becomes excessively hot, disconnect and contact support. |
Nkọwapụta
- Nọmba nlereanya: A12VGD138-GRN-STK-1
- Akara: Voyager
- Ike: 12V
- Afọ akwadoro: Afọ 3 na karịa
- Ikike ịdị arọ kacha elu: 66 lbs (30 n'arọ)
- Akụkụ ngwaahịa: 30.1 x 19 x 14.9 sentimita asatọ
- Ibu ihe: 30.8 pound
- Batrị: 1 x 12V rechargeable battery (included)
- Onye nrụpụta: Sakar International
- Ụbọchị mwepụta: Julaị 26, 2025
Akwụkwọ ikike na nkwado
For warranty information or technical support, please refer to the warranty card included with your product or contact the manufacturer directly. Keep your purchase receipt as proof of purchase.
Onye nrụpụta: Sakar International
Maka enyemaka ọzọ, biko gaa na Voyager Store on Amazon ma ọ bụ kpọtụrụ ndị ahịa ha.


