1. Okwu mmalite
Thank you for choosing the CGOLDENWALL A3 Industrial Paper Cutter. This heavy-duty precision paper trimmer is designed for efficient and accurate cutting of various materials, including paper, photos, and cardboard, up to A3 size. Featuring infrared-assisted laser positioning and a durable carbon steel blade, it ensures clean, precise cuts for both professional and personal use. This manual provides essential information for safe operation, setup, maintenance, and troubleshooting.

gafereview of the CGOLDENWALL A3 Industrial Paper Cutter, showcasing ya imewe na isi atụmatụ.
2. Ntuziaka nchekwa
To ensure safe operation and prevent injury or damage to the product, please read and follow these safety guidelines:
- Blade Hazard: The blade is extremely sharp. Always keep hands and fingers clear of the blade path.
- Nchekwa nchekwa: Always use the folding safety guard. Ensure it is properly positioned over the material before cutting to prevent accidental contact with the blade.
- Mkpọchi agụba: Engage the blade lock switch when the paper cutter is not in use or during storage to prevent accidental blade movement.
- Ọkpụrụkpụ ihe: Do not overload the cutter. Adjust cutting thickness based on the material's hardness to prevent blade damage or uneven cuts. The maximum capacity is 10 sheets of 80g paper.
- Elu nke kwụsiri ike: Operate the paper cutter on a stable, flat surface. The non-slip silicone pads on the bottom help ensure stability.
- Ụmụaka na anụ ụlọ: Keep the paper cutter out of reach of children and pets.
- Nwụnye na Nlekọta: Exercise extreme caution during installation, cleaning, and maintenance procedures.
3. Ngwa ngwaahịa
Familiarize yourself with the main parts of your CGOLDENWALL A3 Industrial Paper Cutter:
- Akara: High-hardness carbon steel blade for precise cutting.
- Ihe njikwa ergonomic: Designed for comfortable grip and force-saving operation.
- Folding Safety Guard: Transparent guard to protect against accidental blade contact.
- Blade Lock Switch: Mechanism to secure the blade in its resting position.
- Laser Positioning System: Infrared-assisted red laser line for accurate alignment.
- Red Laser Switch: Button to activate and deactivate the laser.
- Graduated Metal Panel: One-piece stamped metal work table with precise measurement markings and angle guides.
- Non-slip Silicone Pads: Located on the bottom for stable operation.
- Akụkụ batrị: Holds 2 AAA batteries for the laser system.
4. Nhazi
Follow these steps to set up your paper cutter for first use:
- Mwepu na nyocha: Carefully remove all components from the packaging. Inspect the unit for any signs of damage. Ensure all parts listed in the 'Product Components' section are present.
- Safety Guard Installation:
- Insert the narrow end of the safety guard into its designated slot on the cutter base.
- Lift the blade handle slightly and push the other part of the safety guard diagonally into the fuselage jack until it is securely in place.

This image provides a two-step visual guide for installing the safety guard. Step 1 shows inserting the narrow end of the guard, and Step 2 shows lifting the blade to push the other part of the guard diagonally into the fuselage jack. A safety note is included.
- Laser Positioning System Setup:
- Locate the battery compartment, usually on the side or back of the laser module.
- Install 2 AAA batteries (included) into the compartment, ensuring correct polarity.
- Press the red switch to activate the laser line.

This image presents a three-step guide for adjusting the red laser line. Step 1 shows installing AAA batteries. Step 2 shows pressing the red switch to activate. Step 3 details how to adjust the angle and focus position of the laser line using a hexagonal key. Tips for using white paper during adjustment are also provided.
- Nyochaa nhazi nhazi: The unit is factory-calibrated. If you notice any misalignment of the laser line due to transport, please refer to the Troubleshooting section for recalibration instructions.
5. Ntuziaka ọrụ
Follow these steps for precise and efficient cutting:
- Kwadebe ihe: Place the paper, photo, or cardboard on the graduated metal panel. Ensure the material is flat and aligned against the guides for accurate measurement.
- Activate Laser (Optional): Press the red switch to project the laser line onto your material. This infrared-assisted positioning helps reduce cutting line deviation.
- Ihe ọnọdụ: Align the material with the desired cutting line using the laser guide and the graduated markings on the panel. The panel supports multi-angle cutting.
- Secure Material: Hold the material firmly in place with one hand, ensuring it does not shift during the cut.
- Engage Safety Guard: Ensure the folding safety guard is properly positioned over the material, covering the blade area.
- Bee: With your other hand, firmly grasp the ergonomic handle. Apply steady downward pressure and smoothly pull the blade down to cut through the material. The force-saving lever structure reduces effort.
- Hapụ: Once the cut is complete, smoothly lift the blade back to its resting position.
- Ike: Do not exceed 10 sheets of 80g paper or an equivalent thickness for other materials. It is recommended to adjust the cutting thickness based on the material's hardness to avoid overloading the blade.

This image illustrates the red laser line positioning feature. It highlights how to adjust the angle and focus position of the laser line for precise cuts.
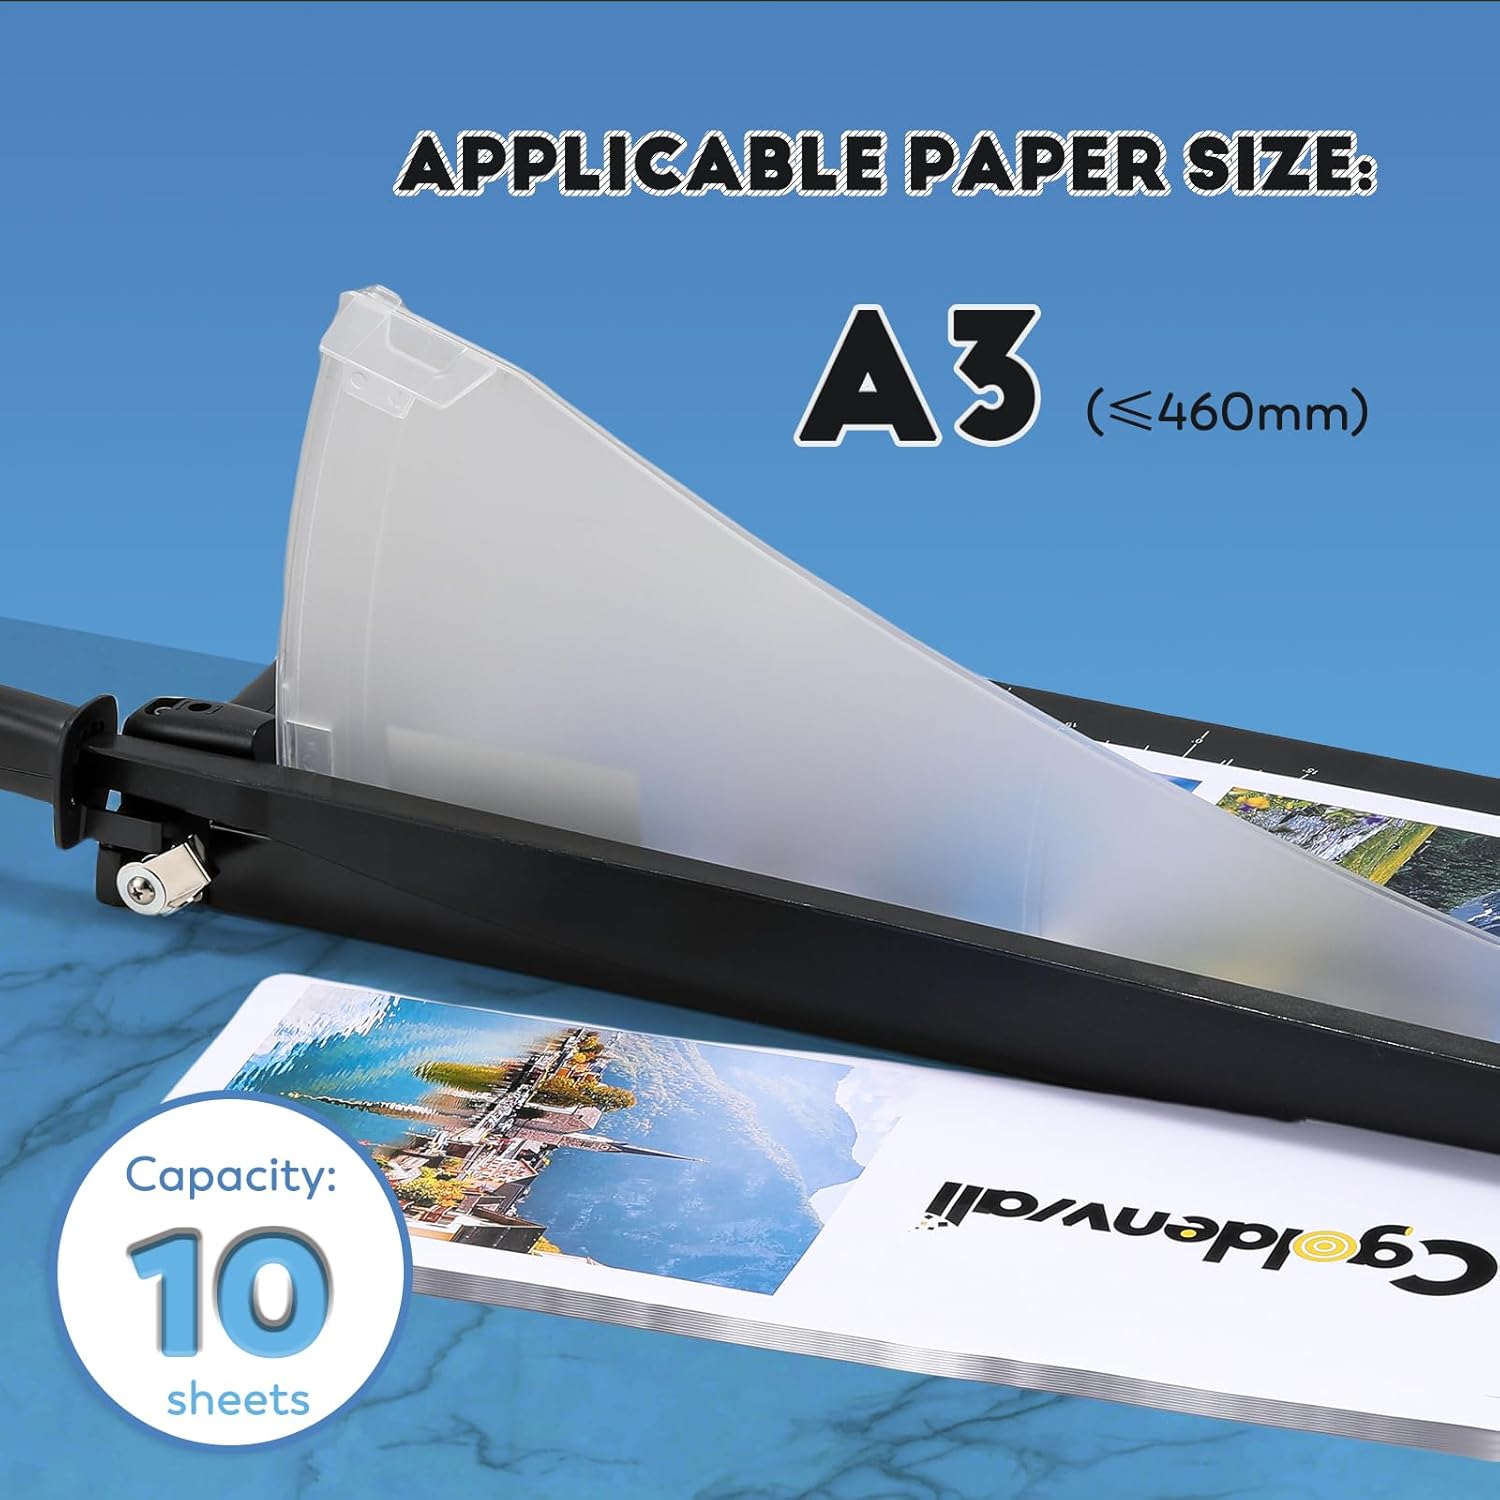
This image demonstrates the paper cutter's capacity, indicating it can handle A3 size paper (up to 460mm) and cut up to 10 sheets simultaneously.

This image highlights the dual safety design, featuring a transparent safety guard that covers the blade and a blade lock mechanism to prevent accidental operation.

This image displays the durable all-metal graduated panel, featuring precise measurement markings and angle guides for accurate cutting.
6. Nlekọta
Proper maintenance ensures the longevity and performance of your paper cutter:
- Nlekọta agụba: The carbon steel blade is designed for durability. Keep it clean and free of adhesive residue or paper fibers. Do not attempt to sharpen the blade yourself, as this may damage it.
- Nhicha: Wipe the graduated metal panel and other surfaces with a soft, dry cloth. For stubborn marks, use a slightly damp cloth and dry immediately. Avoid abrasive cleaners or solvents, which can damage the finish.
- Laser Batteries: Replace the 2 AAA batteries when the laser light dims or stops working. Ensure correct polarity when inserting new batteries.
- Nchekwa: Store the paper cutter in a clean, dry place. Always ensure the blade is locked and the safety guard is in place to prevent accidents.
7. Nchọpụta nsogbu
Nke a bụ ngwọta maka nsogbu nkịtị ị nwere ike ihu:
- Laser Misalignment: If the laser line appears misaligned after transport or prolonged use, you can recalibrate it:
- Retrieve the hexagonal key, typically stored at the back of the cutter.
- Iji dozie angle of the line, gently turn the hexagonal key clockwise or counter-clockwise as needed.
- Iji dozie focus position of the line, simply move the hexagonal key left or right without rotating it.
Ndụmọdụ: During adjustment, place a white sheet of paper on the cutting surface to improve the visibility of the red line position. After adjustment, perform a test cut to verify accuracy.
Note: Infrared rays may show thickness differences due to the principle of optical propagation; this is a normal physical phenomenon and does not affect precision.
- Blade Overload / Uneven Cuts: If the blade struggles to cut, produces rough edges, or results in uneven cuts:
- Reduce the number of sheets being cut. Ensure you are not exceeding the 10-sheet capacity for 80g paper.
- Adjust the cutting thickness based on the material's hardness. Thicker or denser materials require fewer sheets per cut.
- Ensure the material is properly aligned and held firmly against the guides.
- Check for any debris under the material or on the cutting surface that might interfere with the cut.
- Laser Not Working:
- Check if the AAA batteries are correctly installed with the right polarity.
- Replace the AAA batteries if they are depleted.
- Ensure the red laser switch is pressed firmly.
8. Nkọwapụta
| Ụdị | CGOLDENWALL |
| Nlereanya | KZH 12 |
| Akụkụ ngwaahịa (L x W x H) | 69.85 x 21.34 x 25.91 cm (27.5 x 8.4 x 10.2 inch) |
| Ibu Ibu | 2.57 n'arọ (5.7 lbs) |
| Ike ịkpụ | 10 sheets of 80g paper |
| Ogologo ịkpụcha oke | A3 and below (≤460mm) |
| Ihe agụba | High-hardness Carbon Steel |
| Ndokwa | Infrared-assisted Laser Positioning |
| Power Source for Laser | Batrị AAA 2 (gụnyere) |
| Ngwa panel | One-piece stamped metal with baked enamel coating |

This image provides a visual representation of the paper cutter's dimensions and weight, including its cutting width, length, width, and overall weight.
9. Akwụkwọ ikike na nkwado
For warranty information, technical support, or any inquiries regarding your CGOLDENWALL A3 Industrial Paper Cutter, please refer to the documentation provided with your purchase or contact CGOLDENWALL customer service directly. Please retain your purchase receipt as proof of purchase for any warranty claims.


