1. Okwu mmalite
The Kienzle Wireless Weather Station with Projection is a sophisticated device designed to provide comprehensive weather and indoor climate information. It features a clear color display and can project the current time and temperature onto a wall or ceiling. This manual will guide you through its setup, operation, and maintenance, ensuring you get the most out of your device.
2. Ihe ngwugwu
Please check that all items are present and in good condition upon unboxing:
- Ebe ọdụ
- 1 Thermo-Hygrometer Outdoor Sensor
- Ihe nkwụnye ọkụ
- Akwụkwọ ntuziaka onye ọrụ (Akwụkwọ a)
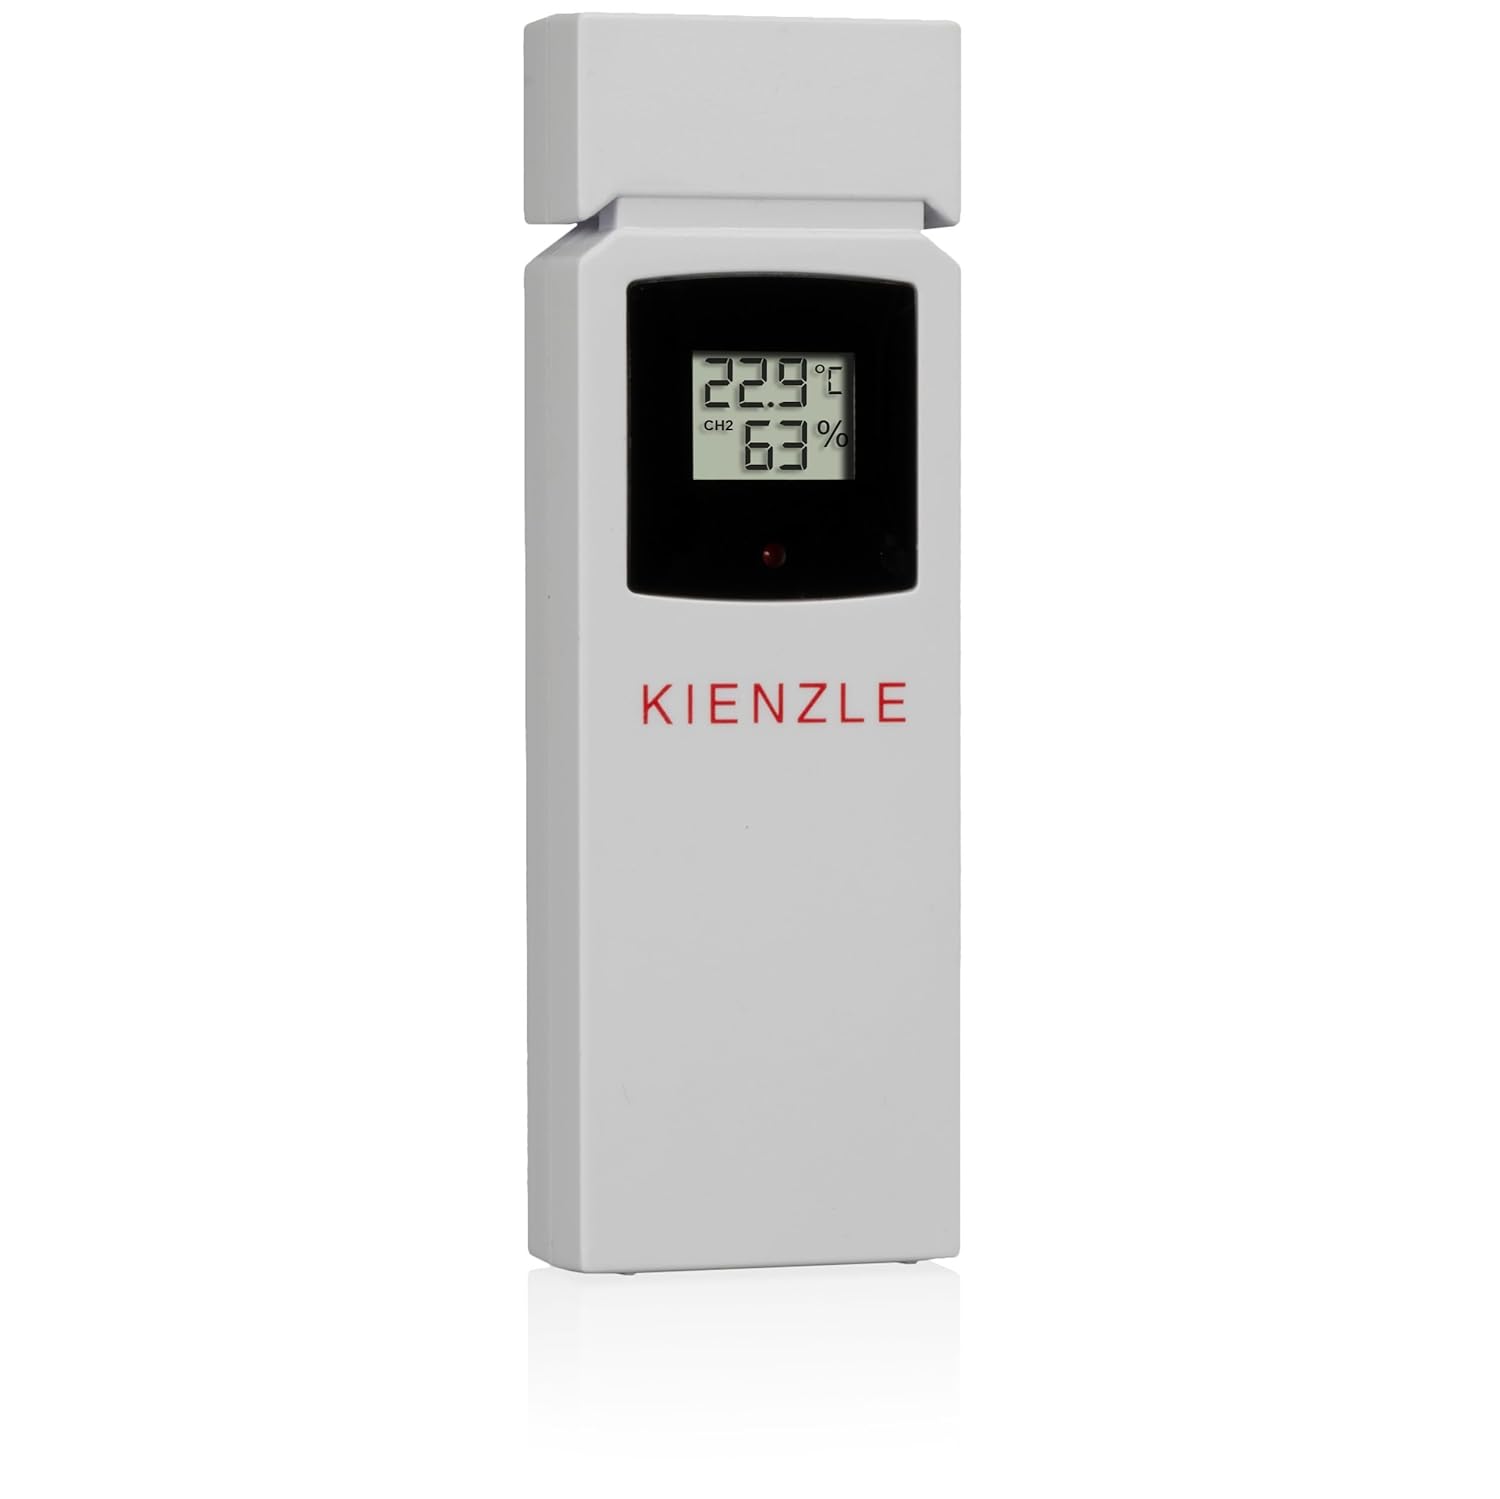
Image: The Kienzle weather station base unit and its accompanying outdoor thermo-hygrometer sensor.
3. Akụrụngwa Ngwaahịa
The Kienzle Wireless Weather Station offers a range of advanced features for monitoring your environment:
- Ọrụ amụma: Projects time and indoor/outdoor temperature onto a wall or ceiling.
- Ngosipụta agba: Clear, vibrant display showing all relevant data at a glance.
- Nlekota Ihu Igwe n'ime Ụlọ: Measures indoor temperature, humidity, and atmospheric pressure.
- Data mpụga: Displays outdoor temperature and humidity from the included wireless sensor.
- Amụma ihu igwe: Provides weather predictions based on atmospheric pressure changes.
- Ihe ngosi nkasi obi: A smiley icon provides a quick visual assessment of indoor climate comfort.
- Mold Risk Index: A 3-level indicator helps identify and prevent potential mold formation.
- Ịdọ aka ná ntị ice: A snowflake icon flashes when the outdoor temperature is between -1.0 °C and 2.9 °C, indicating potential icy conditions.
- Max/Min Value Recording: Automatically records and allows viewing of maximum and minimum temperature and humidity readings.
- Automatic Time Setting (DCF): Automatically sets date and time via the DCF radio signal for precise timekeeping.
- Elekere abụọ oti mkpu: Features two independent, adjustable alarm times with a convenient snooze function.
- Ìhè azụ: Provides illumination for the display, improving visibility in low-light conditions.
- Wireless Sensor Range: The outdoor sensor communicates wirelessly with the base station up to 80 meters in open areas.
4. Ntuziaka Nhazi
4.1. Powering the Base Station
Connect the provided power adapter to the DC 4.5V port on the back of the base station and plug it into a standard power outlet. The display will light up. For backup power during outages, insert 4 x AAA batteries (not included) into the battery compartment on the underside of the base station, ensuring correct polarity.
4.2. Installing the Outdoor Sensor
The outdoor sensor requires 2 x AAA batteries (not included). Open the battery compartment on the back of the sensor and insert the batteries, observing the correct polarity. Close the compartment securely. Place the outdoor sensor in a sheltered location outdoors, away from direct sunlight and rain, to ensure accurate readings and prolong its lifespan. Ensure it is within 80 meters of the base station and free from major obstructions.


Foto: ihu na azụ views of the Kienzle outdoor thermo-hygrometer sensor, showing its display and battery compartment.
4.3. Mmekọrịta izizi
Once both the base station and the outdoor sensor are powered, the base station will automatically attempt to connect with the outdoor sensor and receive the DCF time signal. This process may take a few minutes. Ensure both units are close to each other during initial setup. If synchronization fails, refer to the Troubleshooting section for assistance.
5. Ntuziaka ọrụ
5.1. Ngosipụta gafereview
The color display provides a comprehensive overview of various environmental data:
- Ime ụlọ okpomọkụ na iru mmiri
- Okpomọkụ dị n'èzí na iru mmiri
- Nrụgide ikuku
- Weather Forecast Icons (e.g., Sunny, Partly Cloudy, Rainy)
- Oge na ụbọchị dị ugbu a
- Mold Risk Indicator
- Comfort Level Indicator (Smiley)
- Ice Warning Icon (Snowflake)
- Ihe ngosi ọkwa mkpu

Image: The main display of the Kienzle weather station, showing various readings including time, indoor/outdoor temperature and humidity, and weather forecast icons.
5.2. Setting Time and Date (Manual Adjustment)
While the DCF signal typically sets the time automatically, you can manually adjust it if needed. Refer to the buttons on the top of the device (e.g., 'SET', 'MODE') to enter time setting mode. Use the '+' and '-' buttons to adjust values and 'SET' or 'MODE' to confirm and move to the next setting.
5.3. Isetịpụ Mkpu
The device supports two independent alarms. Locate the 'ALARM1' and 'ALARM2' switches on the back of the unit. Set the desired alarm times by pressing the corresponding 'ALARM' button and using the '+' and '-' buttons to adjust the hour and minute. Press the 'ALARM' button again to confirm. When an alarm sounds, press the 'SNOOZE' button to temporarily silence it for a few minutes, or any other button to turn it off completely.
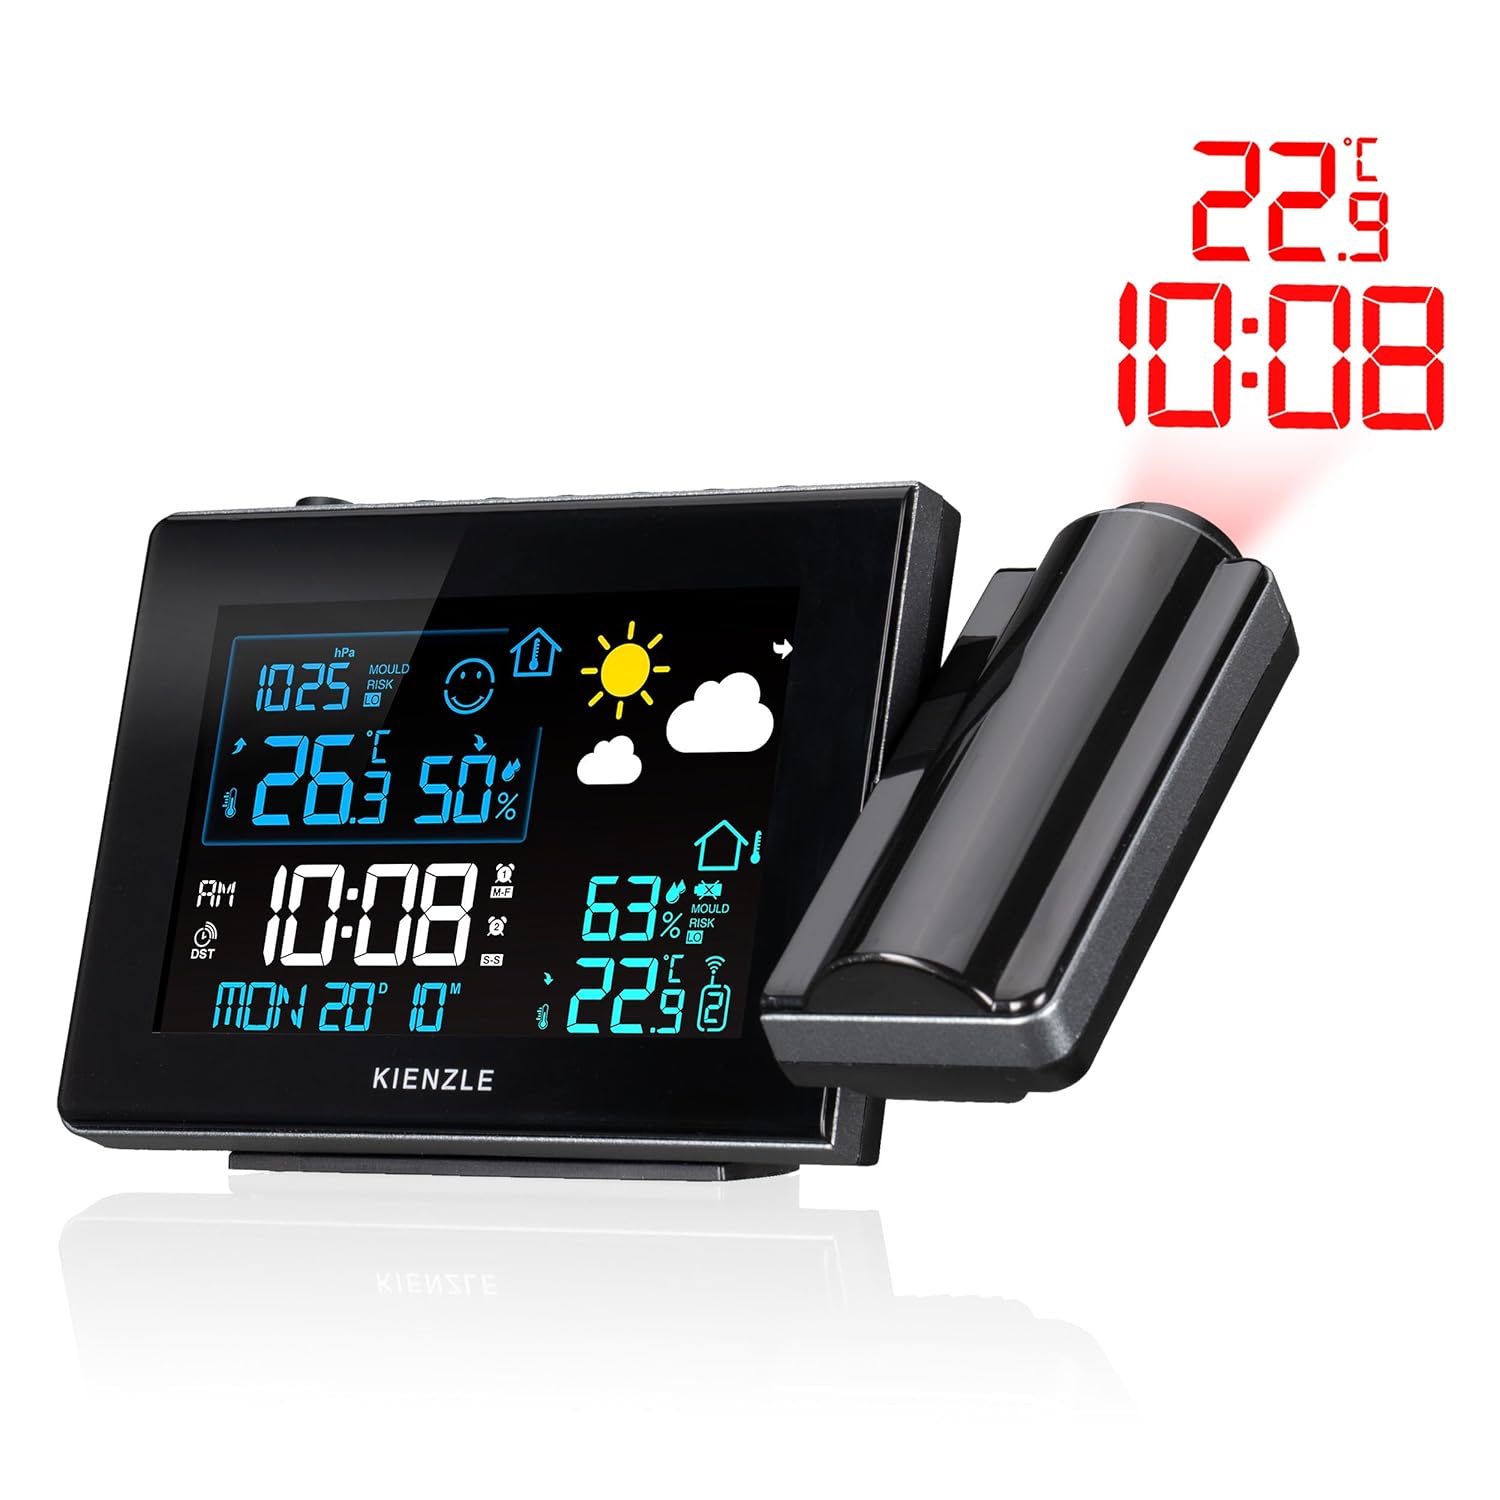
Image: The rear panel of the Kienzle weather station, highlighting the alarm switches and power input port.
5.4. Using the Projection Feature
The integrated projector can display the current time and indoor/outdoor temperature onto a wall or ceiling. To activate the projection, ensure the 'Projection' switch on the back of the unit is set to 'ON'. Adjust the projection angle by rotating the projector arm. Use the focus ring on the projector lens to achieve a clear image on your desired surface.
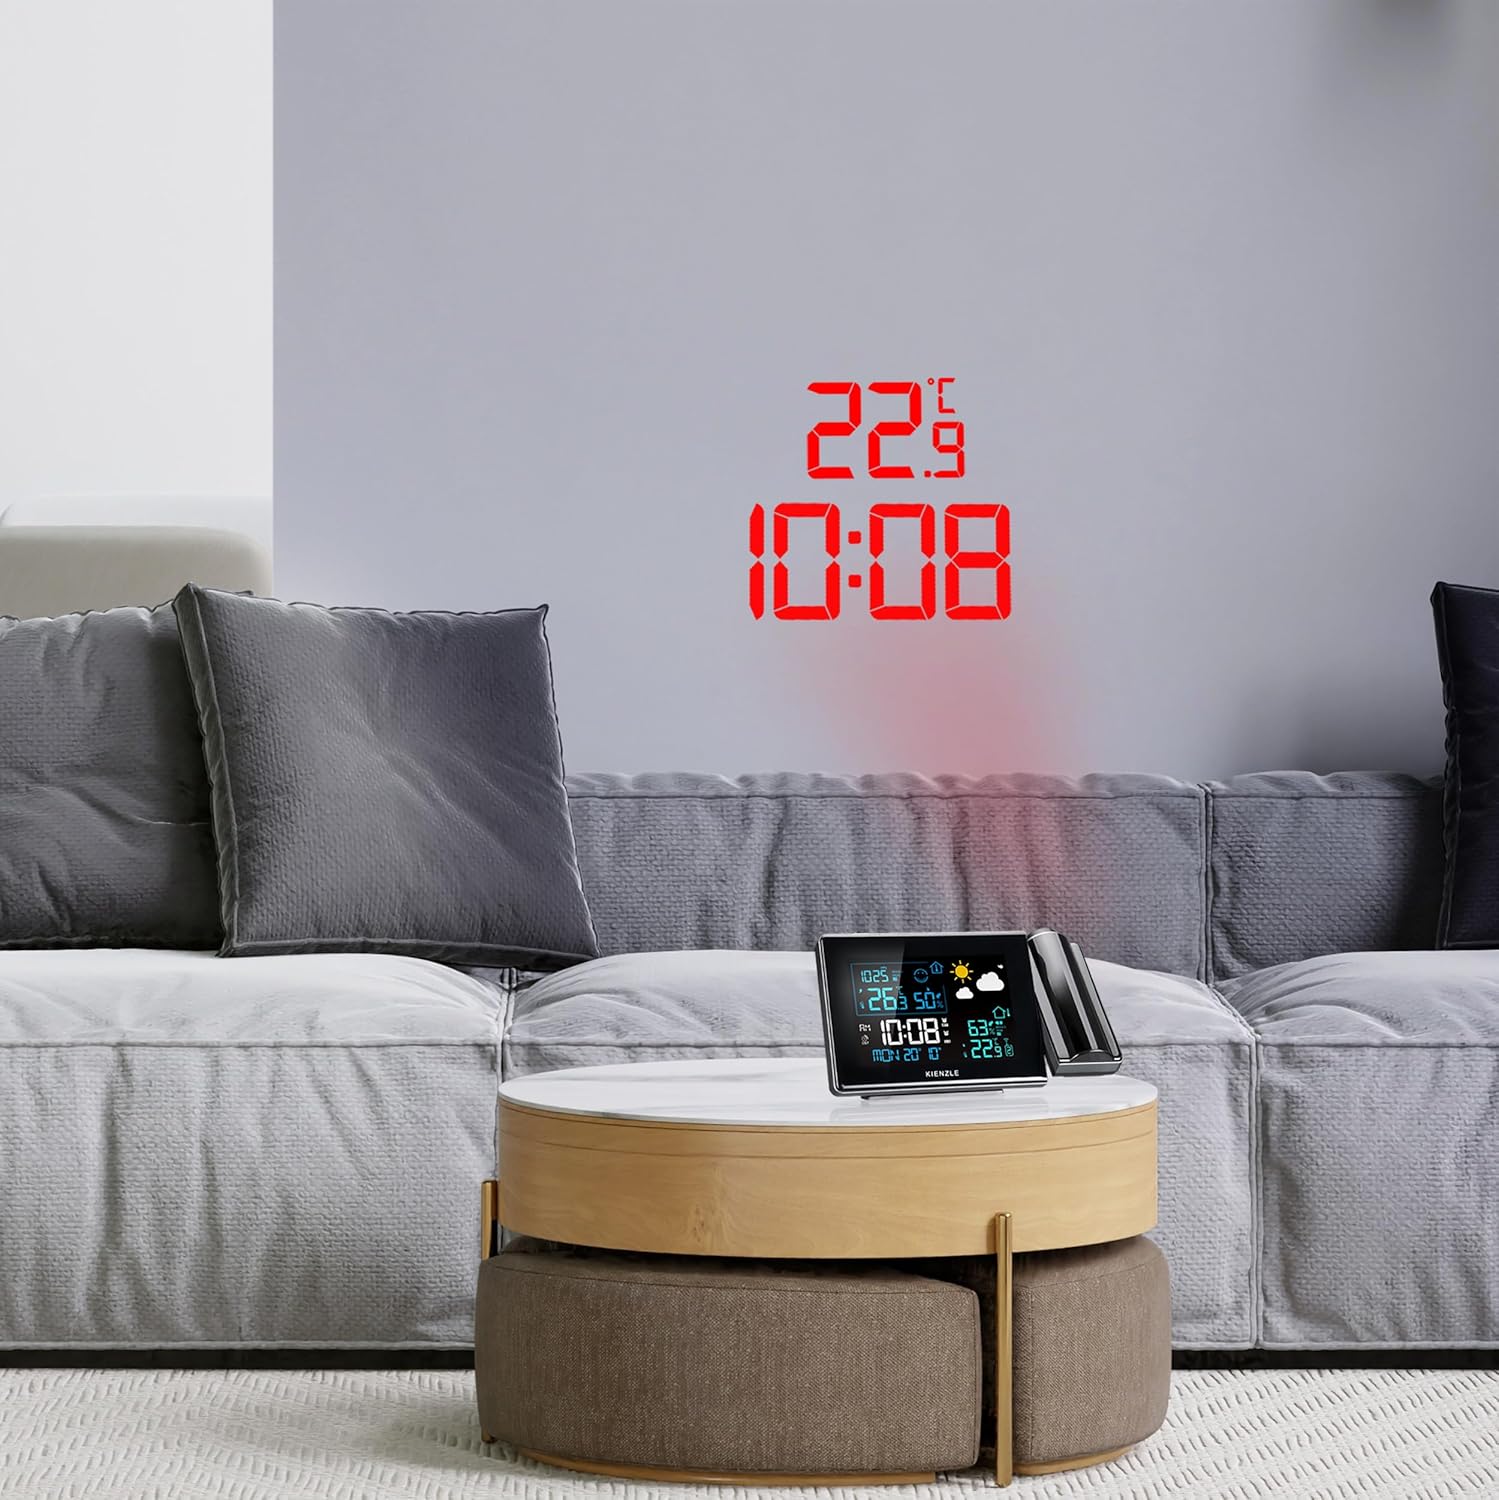

Image: The Kienzle weather station actively projecting the time and temperature onto a wall, demonstrating its projection capability in a home setting.
5.5. Viewing Uru Oke/Obere
Press the 'MAX/MIN' button on the top of the unit to cycle through the maximum and minimum recorded values for indoor temperature, outdoor temperature, indoor humidity, and outdoor humidity. Pressing the button repeatedly will show each value in sequence.
6. Nlekọta
- Nhicha: Wipe the device and sensor with a soft, dry cloth. Do not use abrasive cleaners, solvents, or corrosive chemicals, as these can damage the surfaces and internal components.
- Ngbanwe batrị: Replace batteries in both the base station and outdoor sensor when the low battery indicator appears on the display. Always replace all batteries in a unit at the same time with new ones of the same type.
- Nkwanye: Ensure the outdoor sensor remains in a sheltered location to protect it from extreme weather conditions and prolong its lifespan, while also maintaining accurate readings.
7. Nchọpụta nsogbu
| Nsogbu | Ihe nwere ike ime | Ngwọta |
|---|---|---|
| No display / Device not powering on | Ejikọghị ihe nkwụnye ike; Batrị agwụla ma ọ bụ tinye ya n'ụzọ na-ezighi ezi. | Check power adapter connection; Replace batteries, ensuring correct polarity. |
| Outdoor temperature not displayed / Incorrect readings | Sensor out of range; Sensor batteries depleted; Interference. | Move sensor closer to base station; Replace sensor batteries; Relocate units away from electronic interference. |
| Time not setting automatically (DCF) | Weak DCF signal; Interference. | Move base station to a location with better signal reception (e.g., near a window); Avoid placing near electronic devices; Manually set time if necessary. |
| Projection unclear or out of focus | Incorrect focus adjustment; Incorrect projection distance. | Adjust the focus ring on the projector; Adjust the distance of the base station from the projection surface. |
| Oti mkpu anaghị ada ụda | Alarm not activated; Volume too low. | Ensure alarm is set to "ON"; Check alarm settings. |
8. Nkọwapụta
- Nọmba nlereanya: 14993
- Dimensions (Base Station): 16.5 x 16.5 x 2.9 cm
- Weight (Base Station): 206 grams
- Power Source (Base Station): Power adapter (included), 4 x AAA batteries (not included) for backup
- Isi Iyi Ike (Ihe Mmetụta Mpụga): Batrị 2 x AAA (anaghị etinye ya)
- Ugboro ikuku: 433 MHz, 868 MHz
- Oke ikuku: Up to 80 meters (in open areas)
- Okpomọkụ ziri ezi: ±1 Celsius C
- Ihe: Plastic
- Agba: Black (Base Station), White (Sensor)
- Atụmatụ pụrụ iche: Mold alarm, Ice warning, Alarm function, Room temperature indicator, Max/Min value memory, Projection, Backlight, DCF time signal.
9. Akwụkwọ ikike na nkwado
For warranty information and technical support, please refer to the contact details provided with your purchase documentation or visit the official Kienzle website. Information regarding the availability of spare parts is not provided in this manual.


