1. Okwu mmalite
This manual provides detailed instructions for setting up, operating, and maintaining your YOOSEE KAP X330 Wireless WiFi Repeater Router. Please read this manual carefully before using the device to ensure optimal performance, extended network coverage, and safety. This device is designed to easily expand the range of your existing WLAN network or create a new access point.
2. Ngwaahịa gafereview
2.1 Atụmatụ
- Extends the range of your WLAN network easily.
- Provides Internet access for computers located at the edge or outside the range of your main access point.
- Supports both Wireless Repeater Mode and standard Access Point (AP) Mode.
- Utilizes WLAN 802.11N for high-speed wireless access.
- Compatible with 802.11G (54 Mbps) and 802.11B (11 Mbps) standards.
- Operates on the 2.4GHz WLAN frequency.
- Ensures maximum WLAN network security with WPA2, WPA, and WEP (64/128-bit) encryptions.
- Features integrated antennas for compact design.
- Bivolt (110V / 220V) power input for versatile use.
- Supports WPS (Wi-Fi Protected Setup) for easy connection.
Ihe ngwugwu 2.2
- 1x YOOSEE KAP X330 Wireless WiFi Repeater Router
- 1x Akwụkwọ ntuziaka onye ọrụ
2.3 Nkọwa anụ ahụ
The KAP X330 is a compact, white device designed to plug directly into a wall outlet. It features indicator lights on the front panel and an Ethernet port on the side for wired connections.
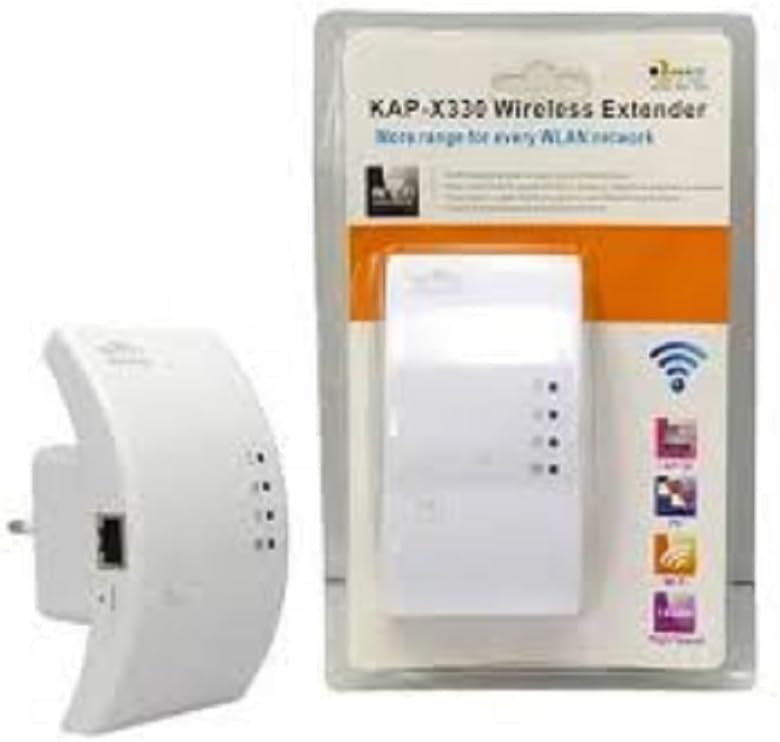
Figure 2.1: YOOSEE KAP X330 Wireless Repeater in its retail packaging and as a standalone unit. The packaging highlights its 'KAP-X330 Wireless Extender' name and 'More range for every WLAN network' slogan. The device itself is white with indicator lights and an Ethernet port visible.
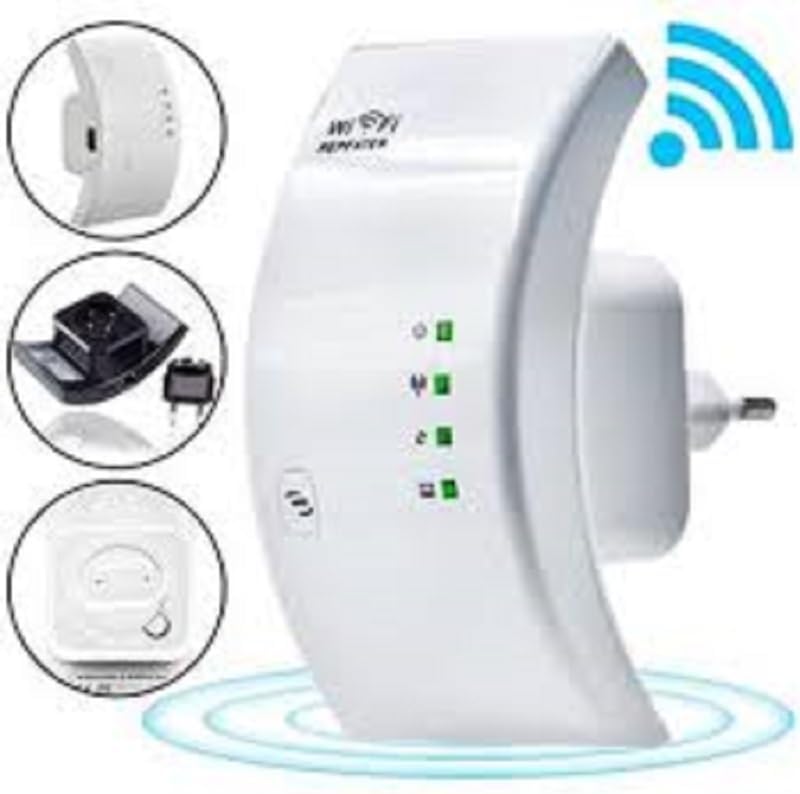
Figure 2.2: A closer look at the YOOSEE KAP X330 Wireless Repeater, emphasizing its design and features. It shows the device plugged into an outlet, with indicator lights illuminated. Insets highlight the side view with an Ethernet port, the power plug, and a reset button, along with a prominent WiFi signal icon.
3. Ntuziaka Nhazi
3.1 Na-agbanye ike
- Plug the KAP X330 into a standard electrical outlet within the range of your existing WiFi network (for Repeater Mode) or near your wired internet source (for AP Mode).
- Wait for the power indicator light to turn on, indicating the device is ready.
3.2 Ụdị njikọ
The KAP X330 supports two main operational modes:
- Ụkpụrụ ugboro ugboro: Extends the coverage of an existing wireless network.
- AP (Access Point) Mode: Creates a new wireless network from a wired Ethernet connection.
3.3 Configuration Steps (Repeater Mode)
- Connect to the Repeater: On your computer or smartphone, connect to the repeater's default WiFi network (SSID usually starts with 'Wireless-N' or similar, without a password).
- Nweta Web Ihuenyo: Mepee a web ihe nchọgharị wee tinye adreesị IP nke ndabara (dịka ọmụmaatụ,
192.168.1.1or192.168.10.1) or the default domain name (e.g.,repeater.net). Refer to the label on the device or the quick start guide for the exact address. - Banye: Enter the default username and password (commonly 'admin' for both).
- Select Repeater Mode: On the setup page, select 'Repeater Mode'.
- Nyochaa netwọkụ: The device will scan for available wireless networks. Select your home WiFi network from the list.
- Tinye okwuntughe: Enter the password for your home WiFi network.
- Configure Extended SSID (Optional): You can choose to keep the same SSID as your main network or create a new one (e.g., 'YourNetwork_EXT').
- Chekwa ntọala: Click 'Apply' or 'Save'. The repeater will restart.
- Njikọ: After the restart, connect your devices to the extended WiFi network.
3.4 Configuration Steps (AP Mode)
- Jikọọ eriri Ethernet: Connect an Ethernet cable from your router or modem to the LAN/WAN port on the KAP X330.
- Connect to the Repeater: On your computer or smartphone, connect to the repeater's default WiFi network (SSID usually starts with 'Wireless-N' or similar, without a password).
- Nweta Web Ihuenyo: Mepee a web ihe nchọgharị wee tinye adreesị IP nke ndabara (dịka ọmụmaatụ,
192.168.1.1or192.168.10.1) or the default domain name (e.g.,repeater.net). - Banye: Enter the default username and password (commonly 'admin' for both).
- Họrọ Ụdị AP: On the setup page, select 'AP Mode'.
- Configure New Network: Set a new SSID (network name) and a strong password for your new wireless network.
- Chekwa ntọala: Click 'Apply' or 'Save'. The device will restart.
- Njikọ: After the restart, connect your devices to the newly created WiFi network.
3.5 WPS Setup (Wi-Fi Protected Setup)
WPS allows for a quick and easy connection to your main router without needing to enter the password manually.
- Plug in the KAP X330 and wait for it to power on.
- Pịa bọtịnụ WPS na rawụta isi gị.
- Within two minutes, press the WPS button on the KAP X330.
- The devices will automatically connect and configure the repeater. The signal indicator lights on the repeater should show a strong connection.
4. Ọrụ
4.1 Ihe ngosi ọkụ
The KAP X330 features several indicator lights on its front panel to provide status information:
- Igwe ọkụ ọkụ: Na-egosi ma agbanyere ngwaọrụ ahụ.
- WLAN/WiFi LED: Shows wireless activity and connection status.
- LAN/WAN LED: Na-egosi mmemme na ọdụ ụgbọ mmiri Ethernet.
- Igwe ọkụ ọkụ ọkụ: (If present) Indicate the strength of the signal received from the main router in Repeater Mode. More lights usually mean a stronger signal.
4.2 Ebe kacha mma
For best performance in Repeater Mode, place the KAP X330 halfway between your main router and the area where you need extended WiFi coverage. Avoid placing it near large metal objects, concrete walls, or other devices that emit radio frequency interference (e.g., microwaves, cordless phones).
5. Nlekọta
5.1 Nhicha
To clean the device, unplug it from the power outlet. Use a soft, dry cloth to wipe the exterior. Do not use liquid cleaners or aerosol sprays.
5.2 Mmelite firmware
Periodically check the YOOSEE official website for firmware updates. Firmware updates can improve performance, add new features, or fix bugs. Follow the instructions provided with the firmware update package carefully.
6. Nchọpụta nsogbu
6.1 No Internet Access After Setup
- Ensure the repeater is receiving a strong signal from your main router (check signal strength LEDs).
- Verify that you entered the correct WiFi password for your main network during setup.
- Try restarting both your main router and the KAP X330.
- If in AP Mode, ensure the Ethernet cable is securely connected and your main router is providing internet.
6.2 Weak Signal or Slow Speed
- Relocate the KAP X330 closer to your main router, ensuring it's still within the desired coverage area.
- Avoid physical obstructions like thick walls or large metal objects.
- Lelee maka ndabichi sitere na ngwaọrụ eletrọnịkị ndị ọzọ.
6.3 Enweghị ike ịnweta Web Interface
- Ensure your device is connected to the repeater's WiFi network (or via Ethernet if in AP mode).
- Verify the IP address or domain name entered in the browser is correct.
- Hichapụ cache ihe nchọgharị gị ma ọ bụ nwaa ihe nchọgharị dị iche.
- Gbanyụọ ngwa VPN ma ọ bụ firewall ọ bụla na kọmputa gị nwa oge.
6.4 nrụpụta nrụpụta
Ọ bụrụ na ị zutere nsogbu na-adịgide adịgide ma ọ bụ chefuo nzere nbanye gị, ị nwere ike ịrụ nrụpụta nrụpụta ụlọ ọrụ:
- With the device powered on, use a paperclip or a thin object to press and hold the reset button (usually located in a small pinhole) for about 5-10 seconds.
- Release the button when the indicator lights flash or the device restarts.
- The device will revert to its factory default settings, and you will need to reconfigure it.
7. Nkọwapụta
| Njirimara | Nkọwapụta |
|---|---|
| Onye nrụpụta | YOOSEE |
| Nlereanya | KAP-X330 |
| Ikuku Standard | 802.11n (compatible with 802.11g/b) |
| Ugboro ugboro | 2.4GHz |
| Usoro nchekwa | WPA2, WPA, WEP (64/128-bit) |
| Atụmatụ pụrụ iche | WPS, Standard AP Mode |
| Ntinye ike | Bivolt 110V / 220V |
| Akụkụ (L x W x H) | 15 x 12 x 8 cm |
| Ibu | 200 grams |
| Ngwa dakọtara | Laptop, Smartphone, Tablet, Smart TV |
8. Akwụkwọ ikike na nkwado
For warranty information and technical support, please refer to the contact details provided by your retailer or visit the official YOOSEE websaịtị. Debe nnata nzụta gị dị ka ihe akaebe nke ịzụrụ maka nkwupụta ikike.


