1. Okwu mmalite
Thank you for choosing the Zapco ST-4XP-SQ-III 4-Channel Class AB 800W RMS Sound Quality Amplifia. Akwụkwọ ntuziaka a na-enye ozi dị mkpa maka nrụnye, ọrụ, na mmezi kwesịrị ekwesị nke ngwaọrụ gị amplifier. Please read this manual thoroughly before attempting to install or operate the unit to ensure optimal performance and safety.
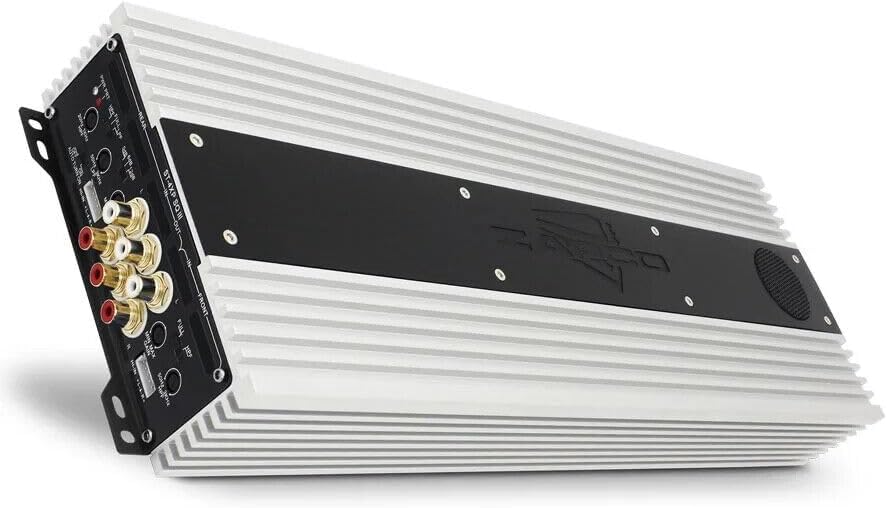
This image displays the Zapco ST-4XP-SQ-III ampihe ngosi, ihe ngosiasing its sleek design and heat sink fins. The main body is silver with a black central panel featuring the Zapco logo.
2. Ozi nchekwa
Na-edebe nchekwa nchekwa ndị a mgbe niile n'oge ntinye na arụ ọrụ:
- Disconnect the vehicle's negative battery terminal before any wiring.
- Gbaa mbọ hụ na agbajichara wiwi niile nke ọma ma chekwaa ya ka ọ gbochie mmebi ma ọ bụ sekit dị mkpụmkpụ.
- Jiri waya nha kwesịrị ekwesị maka njikọ ike, ala, na igwe okwu dịka akọwapụtara.
- Ugwu ahụ amplifier securely in a location that allows for adequate ventilation and is protected from moisture and excessive heat.
- Arụla ọrụ ahụ amplifier if it is damaged or malfunctioning. Refer to the troubleshooting section or contact support.
3. Ngwaahịa gafereview
The Zapco ST-4XP-SQ-III is a high-performance 4-channel Class AB amplifier designed for superior sound quality in automotive applications. Key features include:
- 4-Channel, Full Range, Class A/B operation
- Tiffany style Panel Mount RCA connectors
- Speaker Level Inputs with Auto-on functionality
- Njikwa inweta mgbanwe na -agbanwe agbanwe
- Variable electronic crossover (HPF/LPF)
- Njikwa nkwalite bass dị iche iche
- Robust new aluminum chassis for efficient heat dissipation
Nhazi Ogwe njikwa

This image shows the input and control panel of the Zapco ST-4XP-SQ-III amplifier. Visible controls include gain adjustments, high-pass filter (HPF), low-pass filter (LPF), bass boost, and RCA input jacks for front and rear channels. Speaker level inputs and an auto-on switch are also present.
The control panel provides access to input connections and sound tuning adjustments. This includes RCA inputs, speaker level inputs, gain controls, and crossover frequency adjustments for both front and rear channels.
Power and Speaker Output Terminals

This image details the power and speaker output terminals of the Zapco ST-4XP-SQ-III amplifier. It includes connections for Ground (GND), Remote (REM), +12V Battery (Bat), and speaker outputs for front and rear channels, with bridging options indicated.
The power and speaker output panel features robust terminals for secure connections. These include connections for the main power supply (+12V Bat), ground (GND), remote turn-on (REM), and speaker outputs for the front and rear channels, with clear markings for bridging configurations.
4. Ntọala na nwụnye
Nrụnye kwesịrị ekwesị dị oke mkpa maka ịrụ ọrụ na ogologo ndụ nke gị amplifier. If you are unsure about any steps, consult a professional installer.
4.1 Na-arịgo
- Họrọ ebe a na-etinye ihe n'ime ya nke kpọrọ nkụ, nke ikuku na-abata nke ọma, nakwa ebe anwụ na-anaghị apụta kpọmkwem ma ọ bụ ebe okpomọkụ na-esi apụta.
- Ensure sufficient space around the amplifier maka ikuku mgbasa.
- Chekwaa amplifier firmly using appropriate hardware to prevent movement during vehicle operation.
4.2 Njikọ njikọ
Refer to the 'Power and Speaker Output Terminals' image for visual guidance.
- Power (BAT +12V): Connect a fused power cable directly from the vehicle's positive battery terminal to the +12V terminal on the amplifier. The fuse should be located within 18 inches of the battery.
- Ala (GND): Connect a ground cable of the same gauge as the power cable to a clean, unpainted metal surface on the vehicle chassis. Ensure a solid electrical connection.
- Ime (REM): Jikọọ waya ntụgharị dịpụrụ adịpụ site na mpụta dịpụrụ adịpụ nke isi gị gaa na ọdụ REM na ampihe na-eme ka ihe dị ndụ dị ndụ. Nke a na-atụgharị amplifier on and off with your head unit. If using speaker level inputs, the amplifier features an auto-on function.
- Ihe nrịbama ntinye:
- Ntinye RCA: Jikọọ eriri RCA site na isi ngwaọrụ gị tupu oge eruoamp outputs to the corresponding RCA input jacks (Front IN, Rear IN) on the ampna -emegharị ihe.
- Ntinye Ọkwa Ọkà Okwu: If your head unit does not have RCA outputs, connect the speaker wires from the head unit to the amplifier's speaker level input terminals. Ensure correct polarity. The amplifier's auto-on feature will activate when a signal is detected.
- Mpụta okwu: Jikọọ ọkà okwu gị na amplifier's speaker output terminals (Front L/R, Rear L/R). Observe correct polarity (+ to + and - to -). For bridged operation, refer to the markings on the amplifier for the correct terminals.
5. Ntuziaka ọrụ
Once installed, adjust the amplifier settings for optimal sound performance.
5.1 Nweta njikwa
The variable input gain control (MIN MAX GAIN) matches the amplifier's input sensitivity to the output level of your head unit. Start with the gain set to minimum. Play a familiar track at about 75% of your head unit's maximum volume. Slowly increase the amplifier's gain until you hear slight distortion, then back off slightly. This ensures maximum clean output.
5.2 Ntọala Ngafe
The ST-4XP-SQ-III features variable electronic crossovers for both High-Pass Filter (HPF) and Low-Pass Filter (LPF).
- HPF (nyocha dị elu): Na-enye ohere ugboro ugboro n'elu the set point to pass through. Use this for full-range speakers to prevent them from playing low bass, which can cause distortion and damage.
- LPF (Nyocha dị ala-Pass): Na-enye ohere ugboro ugboro n'okpuru the set point to pass through. Use this for subwoofers to ensure they only reproduce bass frequencies.
- juputara: Na-agafe crossover, na-ekwe ka frequency niile gafere.
Adjust the HPF and LPF settings according to your speaker types and desired sound. Typical settings for full-range speakers might be an HPF between 80Hz-120Hz. For subwoofers, an LPF between 80Hz-100Hz is common.
5.3 Bass nkwalite
The variable bass boost control allows you to enhance low-frequency output. Use this feature sparingly, as excessive bass boost can lead to distortion and potential speaker damage. Adjust to taste, ensuring the sound remains clear.
5.4 Auto-on with Speaker Level Inputs
When using speaker level inputs, the amplifier can automatically detect an audio signal and power on. Ensure the 'AUTO TURN ON' switch is set to 'ON' if you wish to utilize this feature. If using a remote turn-on wire, set this switch to 'OFF'.
6. Nlekọta
The Zapco ST-4XP-SQ-III amplifier requires minimal maintenance to ensure long-term performance.
- Nhicha: Na-ehichapụkwa oge ụfọdụ ampJiri ákwà dị nro ma kpọọ nkụ wepụ uzuzu na unyi n'elu mpụta lifier. Ejila kemịkalụ siri ike ma ọ bụ ihe nhicha na-eme ka ihe dị nro.
- Nyocha: Regularly check all wiring connections for tightness and signs of corrosion or damage. Ensure the amplifier's mounting remains secure.
- Igwe ikuku: Gbaa mbọ hụ na amplifier's heat sink fins are not obstructed, allowing for proper airflow and cooling.
7. Nchọpụta nsogbu
Ọ bụrụ na ị nwere nsogbu na ndụ gị amplifier, consult the following table before contacting support.
| Nsogbu | Ihe nwere ike ime | Ngwọta |
|---|---|---|
| Enweghị ike / Amplifier anaghị agbanye |
|
|
| Enweghị mpụta ụda |
|
|
| Ụda agbagọ |
|
|
| Amplifier ekpo oke ọkụ |
|
|
8. Nkọwapụta
The following are the technical specifications for the Zapco ST-4XP-SQ-III ampntughari:
- Ike @ 4Ω: 4 x 150 watt RMS
- Ike @ 2Ω: 4 x 250 watt RMS
- Akwadoro ike @ 4Ω: RMS 2 x 500W
- THD @ Enyere Ike: <0.1% THD
- Mgbama na oke mkpọtụ: > 95dB
- Nkewa Channel: > 60dB
- Nzaghachi ugboro ugboro: 15Hz ruo 30KHz ± 1dB
- Mmetụta ntinye: 0.25v ruo 5v
- Net Dimensions (W x H x L): 160mm x 58mm x 450mm (6.3 x 2.28 x 17.72 inch)
- Overall Dimensions (W x H x L): 160mm x 58mm x 475mm (6.3 x 2.28 x 18.7 inch)
- Ibu ihe: Ihe dị ka 10 pound
9. Akwụkwọ ikike na nkwado
9.1 Ozi akwụkwọ ikike
The Zapco ST-4XP-SQ-III amplifier na-abịa na a Akwụkwọ ikike nke afọ 1 from the date of purchase. This warranty covers defects in materials and workmanship under normal use. It does not cover damage caused by improper installation, accident, misuse, abuse, neglect, unauthorized modification, or normal wear and tear. Please retain your proof of purchase for warranty claims.
9.2 Nkwado ndị ahịa
For technical assistance, warranty service, or general inquiries, please visit the official Zapco website or contact your authorized Zapco dealer. You can often find detailed FAQs, additional resources, and contact information on the manufacturer's websaịtị.
Zapco Official Websaịtị: Visit the Zapco Store on Amazon


