1. Okwu mmalite
This manual provides essential information for setting up, operating, maintaining, and troubleshooting your MINIX Z150-Aero Mini PC. Please read this guide thoroughly before using the device to ensure optimal performance and longevity.
2. Kedu ihe dị na Igbe ahụ
Carefully unpack your MINIX Z150-Aero Mini PC and verify that all items are present:
- 1 x MINIX NEO Z150-Aero Mini PC
- 1 x HDMI USB
- 1 x Vesa Mount nwere skru
- Akwụkwọ ntuziaka onye ọrụ 1 x (akwụkwọ a)
- 1 x 12V/3A Power Adapter with US/EU/UK Plug
3. Ntuziaka Nhazi
3.1 Njikọta Peripherals
Tupu ị gbanye Mini PC gị, jikọọ ihe ndị dị mkpa gị:
- Ngosipụta Jikọọ: Use the provided HDMI cable or a DisplayPort cable to connect your monitor to the Mini PC. The device supports up to three 4K displays at 60Hz via HDMI 2.0, DisplayPort, and USB-C.
- Jikọọ ahụigodo na òké: Plug your USB keyboard and mouse into any of the available USB-A 3.2 Gen2 (10Gbps) or USB-A 3.2 Gen1 (5Gbps) ports.
- Jikọọ netwọk (Nhọrọ): For a wired internet connection, connect an Ethernet cable to either the 1G or 2.5G LAN port. For wireless connectivity, ensure your Wi-Fi network is available during initial setup.
- Njikọ Ike: Plug the 12V/3A power adapter into the DC-IN port on the Mini PC, then into a power outlet.

3.2 Ike mbido
Press the power button located on the front of the Mini PC. The device will boot up, and you will be guided through the Windows 11 Pro setup process. Follow the on-screen instructions to configure your operating system preferences.
3.3 Ntinye VESA Mount (Nhọrọ)
The included VESA mount allows you to attach the Mini PC to the back of a compatible monitor or TV, saving desk space. Use the provided screws to secure the mount to your display's VESA holes, then slide the Mini PC onto the mount.
4. Ntuziaka ọrụ
4.1 Basic Arụmọrụ
The MINIX Z150-Aero Mini PC is designed for a variety of applications, including home entertainment, office tasks, and industrial uses. Its Intel N150 processor with Intel UHD Graphics provides reliable performance for web nchọgharị, ndezi akwụkwọ na oriri ọtụtụ.
4.2 Triple Display Setup
The Mini PC supports connecting up to three 4K displays simultaneously at 60Hz. This can be achieved using the HDMI 2.0, DisplayPort, and USB-C outputs. This feature is ideal for enhanced productivity or immersive entertainment setups.

4.3 Njikọta
The device offers extensive connectivity options:
- LAN abụọ: Features one 1G Ethernet port and one 2.5G Ethernet port for high-speed and stable wired network connections.
- Wi-Fi 5: Integrated 802.11ac Wi-Fi for wireless internet access.
- Bluetooth Bluetooth: Maka ijikọ ihe ndị ọzọ na-anaghị ekwe ntị dịka ahụigodo, òké, na ngwaọrụ ọdịyo.
- ọdụ ụgbọ mmiri USB: Includes 2x USB-A 3.2 Gen2 (10Gbps), 2x USB-A 3.2 Gen1 (5Gbps), and 1x USB-C 3.2 for connecting various devices and external storage.

4.4 Memory and Storage Expansion
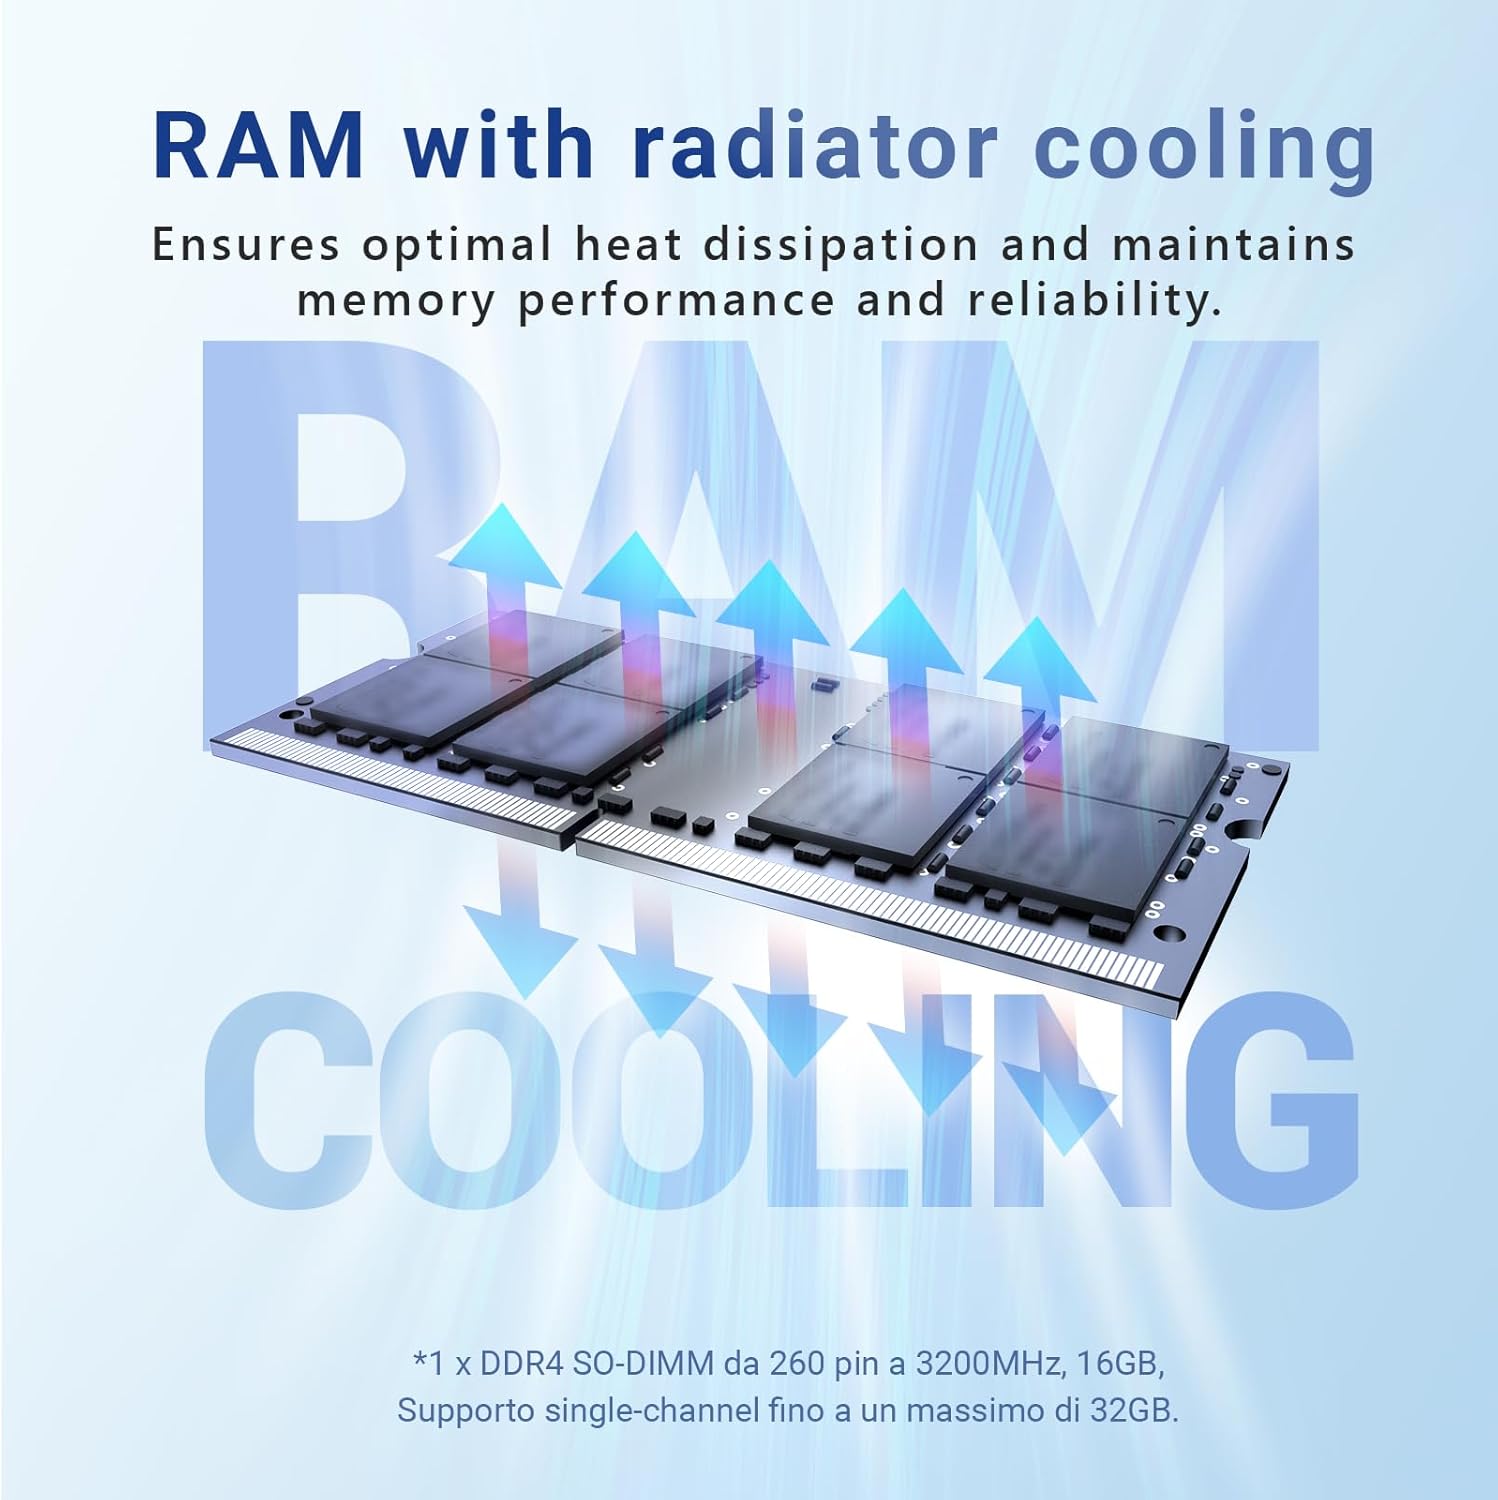
The Z150-Aero comes with 16GB DDR4 3200MHz RAM and a 512GB M.2 PCIe 3.0 x1 NVMe SSD. The RAM can be expanded up to 32GB, and the storage can be upgraded to 4TB, providing flexibility for future needs.
5. Nlekọta
5.1 Anti-Static Design
The Z150-Aero incorporates robust anti-static hardware protection to minimize the risk of electrostatic discharge. This feature contributes to the device's longevity and stable performance. Handle the device with care, especially when connecting or disconnecting components, to further prevent static damage.

5.2 Active Cooling System
Unlike fanless models, the Z150-Aero features an active cooling system with an internal fan. This system effectively controls internal temperatures, ensuring optimal operation even under high workloads. Ensure proper ventilation around the device and avoid blocking air vents to maintain efficient cooling.

5.3 Nlekọta n'ozuzu
- Keep the device in a clean, dry environment away from direct sunlight and extreme temperatures.
- Clean the exterior with a soft, dry cloth. Avoid using liquid cleaners or solvents.
- Anwala imepe casing beyond accessible upgrade compartments unless instructed by support personnel.
6. Nchọpụta nsogbu
If you encounter issues with your MINIX Z150-Aero Mini PC, refer to the following common troubleshooting steps:
6.1 Enweghị Ike / Enweghị Ngosipụta
- Gbaa mbọ hụ na ejikọrọ ihe nkwụnye ọkụ na nke ọma na ma PC Obere yana oghere ọkụ na-arụ ọrụ.
- Verify that your monitor is powered on and correctly connected to the Mini PC via HDMI, DisplayPort, or USB-C.
- Try a different display cable or monitor to rule out external display issues.
6.2 Okwu Njikọta netwọkụ
- Njikọ waya: Check if the Ethernet cable is properly plugged into both the Mini PC and your router/modem. Verify router status.
- Njikọ ikuku: Ensure Wi-Fi is enabled in Windows settings. Check if the Mini PC is within range of your Wi-Fi router. Restart your router if necessary.
6.3 Nsogbu Arụmọrụ
- Mechie ngwa na-adịghị mkpa na-agba n'azụ.
- Hụ na Mini PC nwere ikuku ikuku zuru oke ma ọ naghị ekpo oke ọkụ.
- Check for and install any available Windows updates or driver updates.
7. Nkọwapụta
Detailed technical specifications for the MINIX Z150-Aero Mini PC:
| Njirimara | Nkọwapụta |
|---|---|
| Nhazi | Intel N150 (Upgraded N100), 3.4 GHz Celeron, 4 Cores |
| Eserese | Ihe osise Intel UHD (Agbakwunyere) |
| RAM | 16 GB DDR4 3200 MHz (Expandable up to 32GB) |
| Nchekwa | 512 GB M.2 PCIe 3.0 x1 NVMe SSD (Expandable up to 4TB) |
| Sistemụ nrụọrụ | Windows 11 Pro (Etinyegoro ya na mbụ) |
| Ngosipụta mmepụta | Triple 4K@60Hz (HDMI 2.0, DisplayPort, USB-C) |
| LAN | 1G + 2.5G Dual Ethernet |
| Njikọ ikuku | Wi-Fi 5 (802.11ac), Bluetooth 5.1 |
| ọdụ ụgbọ mmiri USB | 2x USB-A 3.2 Gen2 (10Gbps), 2x USB-A 3.2 Gen1 (5Gbps), 1x USB-C 3.2 |
| Audio | 3.5mm Jack Jack |
| Akụkụ (LxWxH) | 5 x 5 x 1.69 sentimita (127 x 127 x 43 mm) |
| Ibu | 1.32 pound |
| Na-ajụ oyi | Active Cooling (with Fan) |
8. Akwụkwọ ikike na nkwado
8.1 Ozi akwụkwọ ikike
For specific warranty details, please refer to the warranty card included with your product or visit the official MINIX websaịtị. Usoro akwụkwọ ikike na-ekpuchikarị ntụpọ nrụpụta n'okpuru ọnọdụ ojiji nkịtị.
8.2 Nkwado ndị ahịa
If you require technical assistance or have questions regarding your MINIX Z150-Aero Mini PC, please use the following channels:
- Nkwado Amazon: Log in to your Amazon account, navigate to "Your Orders," and select "Ask Product Question" for the MINIX Z150-Aero.
- Ndị ọchịchị Websaịtị: For offline maintenance services and additional support resources, please visit the official MINIX websaịtị.


