1. Introduction and System Overview
This manual provides detailed instructions for the installation, operation, and maintenance of your GRSICO Wireless Home Alarm System 15-Piece Kit. This system is designed to enhance home security with easy DIY setup, remote control via a smartphone application, and compatibility with smart home assistants.
Akụkụ ndị bụ isi:
- Nwụnye DIY dị mfe: Set up the system in minutes without the need for complex wiring or drilling.
- Enweghị ụgwọ ọnwa kwa ọnwa: Enjoy comprehensive 24-hour home security protection with a one-time purchase.
- Njikwa anya: Arm, disarm, and monitor your system anytime, anywhere using the Smart Life App.
- Mkpu ozugbo: Receive immediate notifications on your smartphone and deter intruders with a 120dB alarm siren.
- Ngwakọta Smart Home: Works with Alexa and Google Assistant for convenient voice control.
2. What's Included in Your Kit
Your GRSICO Wireless Home Alarm System 15-Piece Kit includes the following components:
- 1x Base Station (Alarm Siren)
- 2x Keypads
- 2x Njikwa anya
- 2x Motion Sensors
- 8x Contact Sensors (for doors/windows)
- 1x nkwụnye ọkụ
- USB USB Nchaji USB 1x
- Mounting accessories (e.g., double-sided tape)
- Akwụkwọ ntuziaka onye ọrụ

Image: All components included in the GRSICO 15-Piece Home Alarm System Kit, including the base station, keypads, remote controls, motion sensors, and contact sensors.
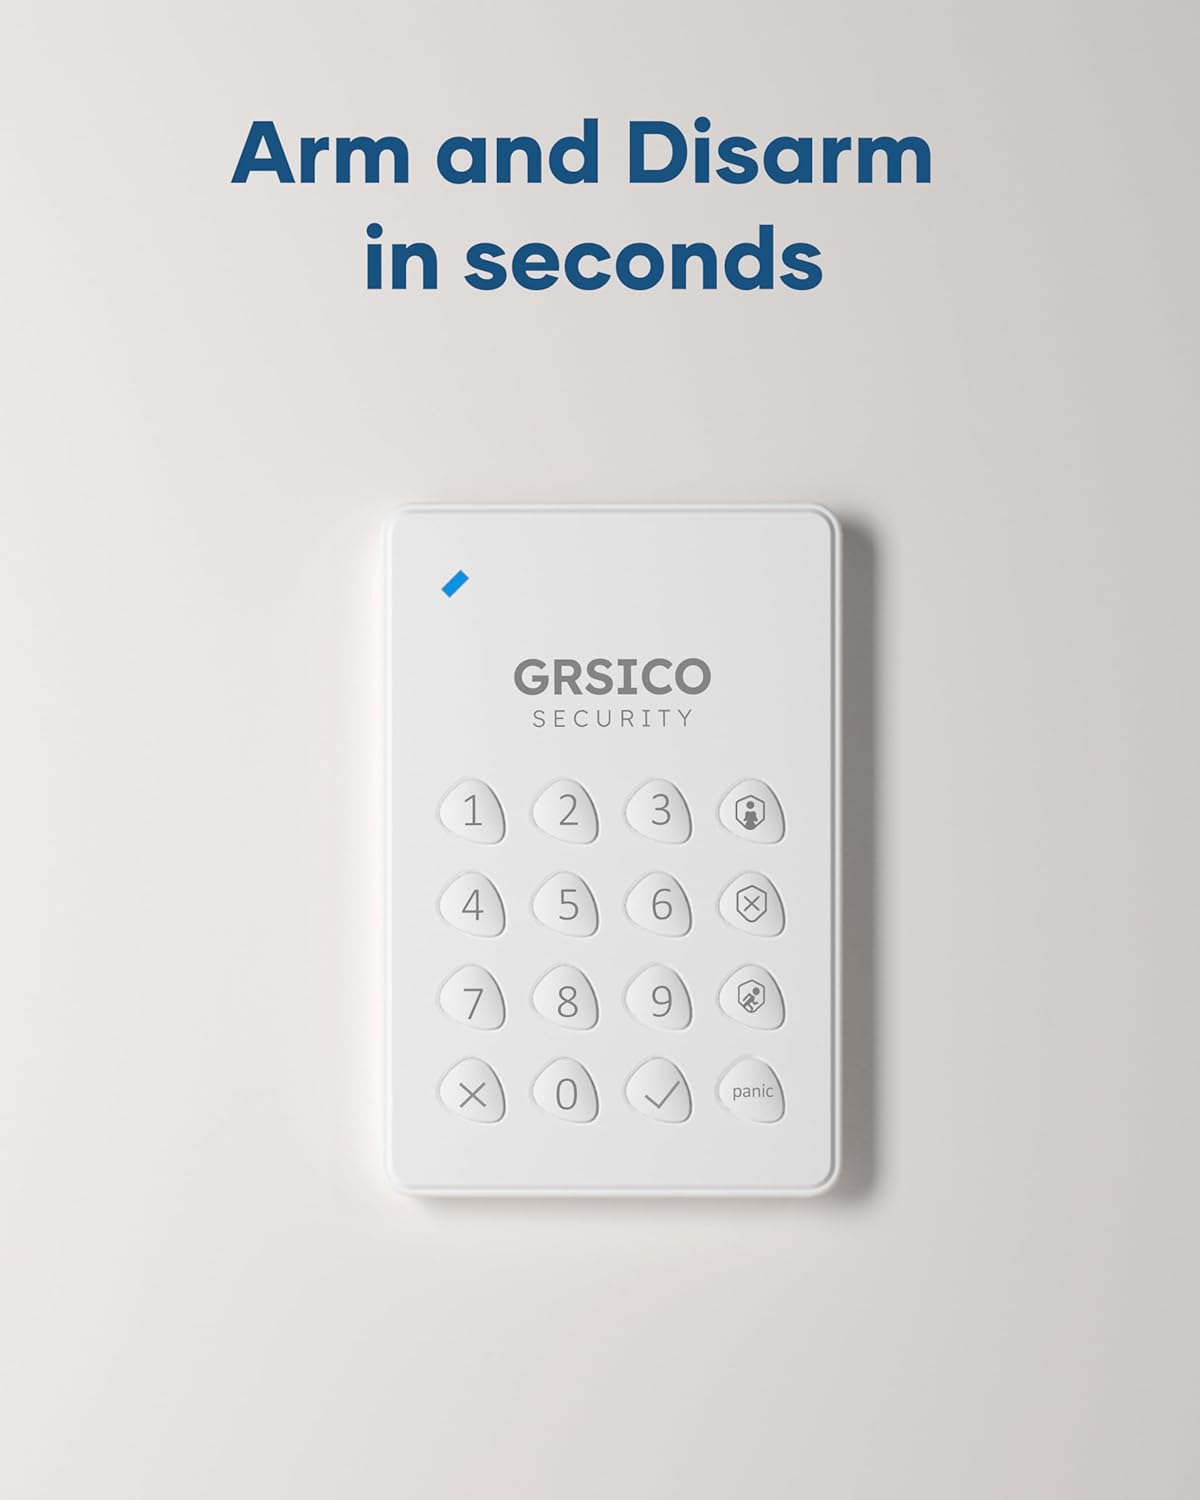
Image: Close-up of the GRSICO keypad and two remote controls, used for arming and disarming the system.

Image: A GRSICO motion sensor, designed to detect movement within a room.

Image: A GRSICO contact sensor, consisting of two parts that detect when a door or window is opened.
3. Ntọala na nwụnye
The GRSICO Wireless Home Alarm System is designed for easy, do-it-yourself installation. Follow these steps to set up your system:
3.1. Powering the Base Station
- Connect the power adapter to the base station and plug it into a wall outlet.
- The base station has an internal backup battery that provides up to 8 hours of power during outages.

Image: The GRSICO base station, which serves as the central hub for the alarm system.
3.2. Installing Sensors
All sensors come with pre-installed batteries and can be easily mounted using the provided double-sided tape. No drilling is required.
Ihe mmetụta ngagharị:
- Choose a location where the motion sensor can cover a wide area, such as a corner of a room or a hallway.
- Ensure the sensor is placed at an appropriate height (typically 6-8 feet from the floor) to optimize detection.
- Peel off the backing from the double-sided tape and firmly press the motion sensor onto a clean, dry surface.
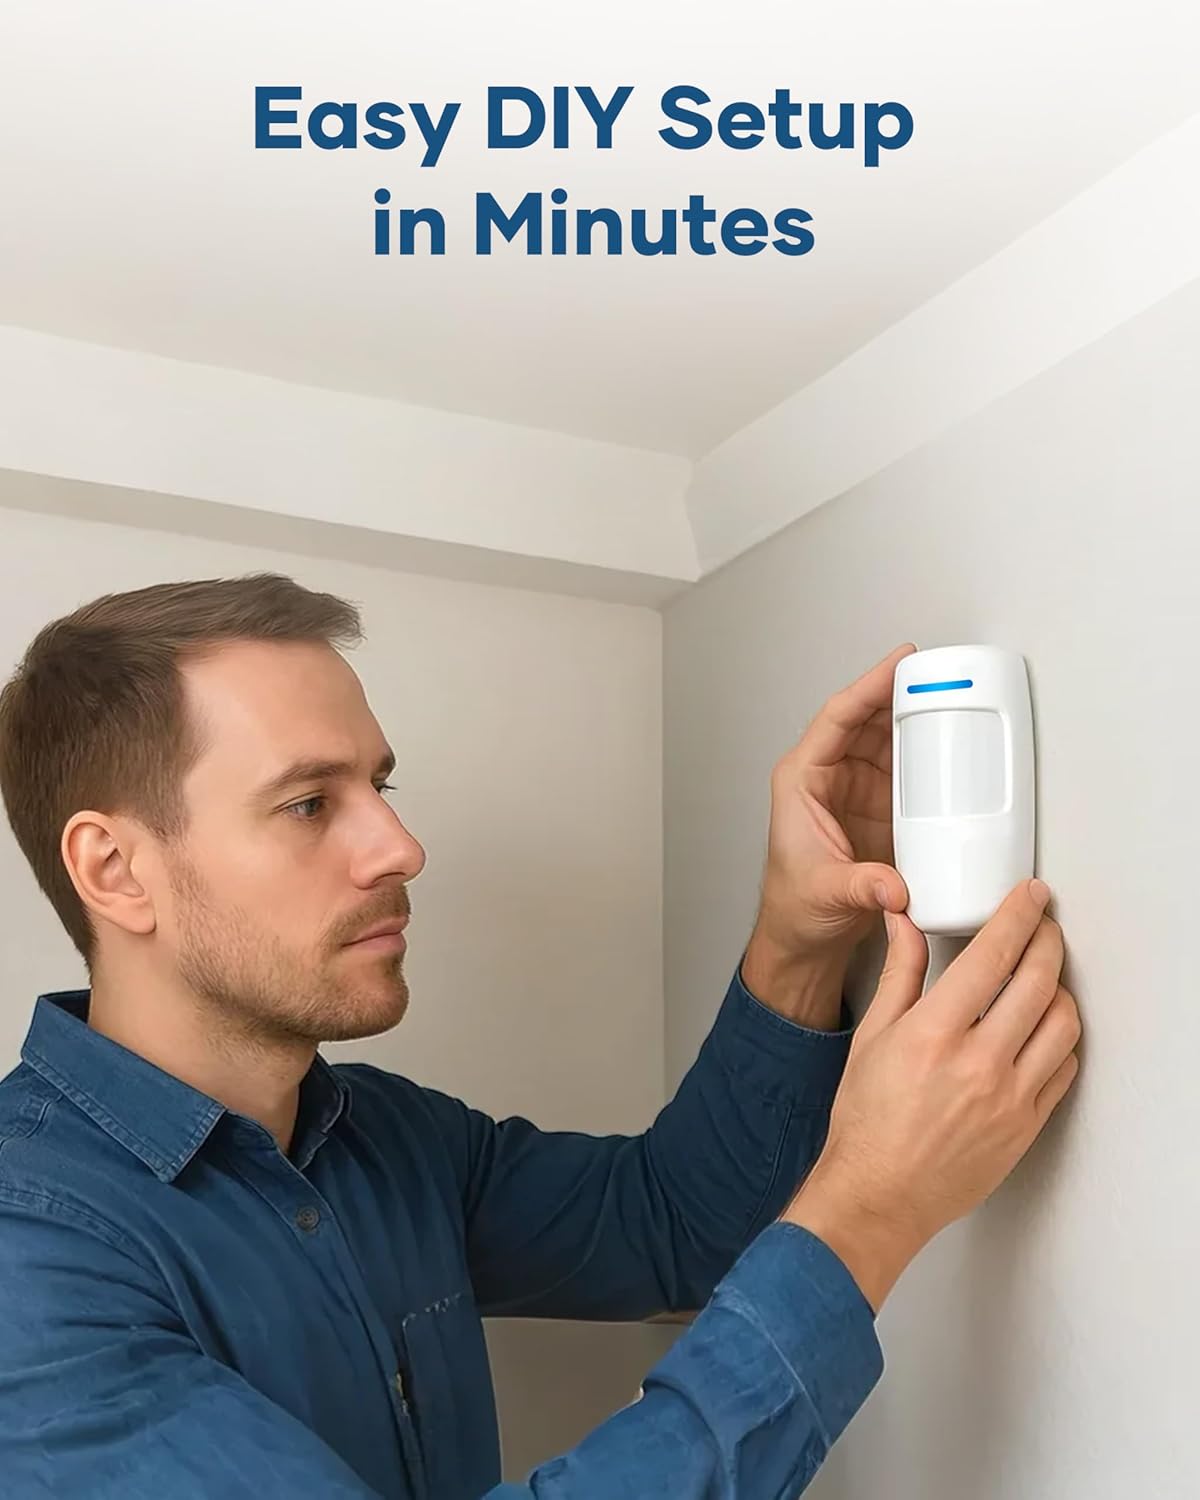
Image: A person demonstrating the easy installation of a GRSICO motion sensor on a wall.
Contact Sensors (Door/Window Sensors):
- Attach one part of the contact sensor to the door or window frame and the other part to the moving door or window.
- Ensure the two parts are aligned and are no more than 1 cm apart when the door/window is closed.
- Use the provided double-sided tape for secure attachment.

Image: A GRSICO door sensor installed on a window, designed to trigger an alarm if the window is opened.
3.3. Pairing Devices and App Setup
- Budata ya Ndụ Smart Ndụ site na ụlọ ahịa ngwa ekwentị gị (dị na iOS na Android).
- Follow the in-app instructions to create an account and add your GRSICO Home Alarm System.
- The app will guide you through pairing the base station, keypads, remote controls, and all sensors.
- Ensure your home Wi-Fi network is stable for optimal performance.
4. Ntuziaka ọrụ
Your GRSICO Home Alarm System offers multiple ways to arm and disarm, providing flexibility for your security needs.
4.1. Arming and Disarming the System
Iji ahụ igodo:
- Enter your personalized PIN code.
- Press the appropriate button for your desired mode:
• Wepụ ogwe aka: Activates all sensors.
• Arm Home: Activates perimeter sensors (e.g., doors/windows) while allowing movement inside.
• Wepu ngwa agha: Deactivates the alarm system.
Image: A GRSICO keypad with numerical buttons and mode selection for arming and disarming the system.
Iji Remote Control:
The remote control allows for quick arming and disarming with dedicated buttons:
- Pịa Mkpọchi button to Arm Away.
- Pịa Ụlọ button to Arm Home.
- Pịa Mepee button to Disarm.
4.2. Ọrụ Ụjọ
In case of an emergency, press the Ụjọ button on the keypad or remote control to immediately trigger the 120dB alarm siren and send instant alerts to your smartphone.
4.3. Njikwa ngwa
The Smart Life App provides full control over your alarm system from anywhere with an internet connection. You can:
- Arm or disarm the system.
- Switch between Home and Away modes.
- View real-time status of all sensors.
- Receive instant notifications for triggered alarms or system status changes.
- Set schedules for arming and disarming.

Image: A smartphone showing the Smart Life App interface, allowing remote control of the home security system.
5. Smart Home Integration
The GRSICO Home Alarm System is compatible with popular smart home platforms, allowing for convenient voice control.
5.1. Njikwa olu site na Alexa na Google Assistant
Integrate your alarm system with Amazon Alexa or Google Assistant for hands-free operation:
- Enable the Smart Life skill/action in your Alexa or Google Home app.
- Link your Smart Life account.
- Use voice commands such as "Alexa, arm my system" or "Hey Google, disarm the alarm."

Image: A woman interacting with an Alexa device to arm her GRSICO home alarm system using voice commands.
6. Nlekọta
Mmezi mgbe niile na-eme ka arụmọrụ kachasị mma na ogologo oge nke sistemụ mkpu gị.
6.1. Ngbanwe batrị
- Sensors, keypads, and remote controls are battery-powered. The Smart Life App will notify you when batteries are low.
- Refer to the individual sensor/device instructions for specific battery types and replacement procedures.
6.2. Base Station Charging
- The base station has a built-in backup battery. Ensure it is regularly connected to power to keep the backup battery charged.
- Use the provided USB-C charging cable and power adapter for charging.
7. Nchọpụta nsogbu
If you encounter any issues with your GRSICO Home Alarm System, please refer to the following common solutions:
- Ngwaọrụ anaghị aza: Check battery levels and ensure the device is within range of the base station. Re-pair the device if necessary.
- Okwu Njikọta ngwa: Ensure your smartphone has a stable internet connection and that the Smart Life App is updated to the latest version. Restart the app or your phone.
- Mkpu ụgha: Verify that motion sensors are not placed in areas with pets or moving objects. Ensure contact sensors are securely attached and properly aligned.
- Mkpu Anaghị akpali: Check if the system is armed in the correct mode (e.g., Arm Away for motion sensors). Verify sensor battery levels.
For further assistance, please contact GRSICO customer support.
8. Nkọwapụta
| Njirimara | Nkọwa |
|---|---|
| Ụdị | GRSICO |
| Nọmba nlereanya | GRA15 |
| Isi Iyi Ike | Akwanyere batrị |
| Ngwa dakọtara | Smartphone (Smart Life App), Alexa, Google Assistant |
| Akụkụ ihe (L x W x H) | 10 x 7 x 4 sentimita asatọ |
| Teknụzụ Njikọta | Ikuku |
| Ụdị nwụnye | Nrapara onwe ya |
| Rtdị Alert | Motion, Siren (120 Decibels) |
| Usoro njikwa | App, Keypad, Remote Control, Voice |
| Ngwakọta cell batrị | Alkaline |
| Ngwa gụnyere | 1* Base Station, 2* Keypads, 2* Remote Controls, 2*Motion Sensors, 8* Contact Sensors |
| Ọkwa mkpọtụ | 120 decibel |
| Ibu Ibu | 2.55 pound |
9. Videos ngwaahịa
Vidiyo: Efereview of the GRSICO Home Alarm System components and a demonstration of its easy installation and features.
Video: A detailed look at the GRSICO Home Alarm System, showcasing the keypad, motion sensor, and contact sensors, along with their simple setup.
10. Akwụkwọ ikike na nkwado
For warranty information or technical support, please refer to the contact details provided in your product packaging or visit the official GRSICO website. Our support team is available to assist you with any questions or issues you may encounter.
