1. Okwu mmalite
The MINIX C1 is a versatile USB-C to HDMI wireless extender designed for seamless screen mirroring and extension. It offers a plug-and-play experience without the need for drivers, apps, or Wi-Fi logins, providing a direct and reliable connection for various devices including laptops, PCs, smartphones, and game consoles. This manual provides detailed instructions for setting up, operating, and maintaining your MINIX C1 extender.
2. Ihe ngwugwu
- MINIX C1 Transmitter (USB-C)
- MINIX C1 Receiver (HDMI with USB-A power)

Image: The MINIX C1 package includes the USB-C transmitter and the HDMI receiver with an integrated USB-A power cable.
3. Ngwaahịa gafereview
3.1 Mbufe (TX)
The Transmitter (TX) features a USB-C connector and is designed to connect to your source device (e.g., laptop, smartphone). It wirelessly sends the video and audio signal to the Receiver.
3.2 onye nnata (RX)
The Receiver (RX) features an HDMI output for connecting to a display (e.g., TV, monitor, projector) and a USB-A cable for power. It receives the wireless signal from the Transmitter and outputs it to the connected display. A 'Pair/Reset' button is located on the side of the receiver.

Foto: Zuru ezu view of the MINIX C1 Transmitter and Receiver, highlighting their respective ports (USB-C, HDMI, USB for power) and dimensions.
4. Nhazi ntuziaka
The MINIX C1 is designed for a quick and easy plug-and-play setup.
4.1 Connecting the Receiver (RX)
- Connect the HDMI end of the Receiver (RX) to an available HDMI input port on your TV, monitor, or projector.
- Connect the USB-A power cable from the Receiver (RX) to a USB-A power source (e.g., TV's USB port, USB wall adapter, power bank) with a minimum output of 5V/0.5A. The receiver requires external power to function.
4.2 Connecting the Transmitter (TX)
- Connect the USB-C end of the Transmitter (TX) to the USB-C port of your source device (e.g., laptop, PC, smartphone, game console).
4.3 Pairing (If Necessary)
The MINIX C1 units are typically pre-paired from the factory. If the devices do not connect automatically after 12 seconds, you may need to re-pair them:
- Ensure both the Transmitter and Receiver are powered on and connected to their respective devices.
- Press and hold the 'Pair/Reset' button on the side of the Receiver (RX) until the indicator light changes.
- Within a few seconds, the Transmitter (TX) and Receiver (RX) should establish a connection, and your screen will be mirrored or extended.

Image: The MINIX C1 in action, showing the transmitter plugged into a laptop and the receiver connected to a desktop monitor, wirelessly extending the display.

Image: Visual representation of the MINIX C1's ease of use, emphasizing its plug-and-play functionality without requiring logins or additional applications.
5. Ntuziaka ọrụ
5.1 Ngosipụta ihuenyo
By default, the MINIX C1 will mirror your source device's screen to the connected display. This means whatever is shown on your laptop, PC, or smartphone screen will be duplicated on the larger display.
5.2 Screen Extension
For Windows and macOS users, you can configure your display settings to extend your screen. This allows you to have different content on your source device and the external display, increasing your workspace.
- Windows: Right-click on your desktop, select 'Display settings', and choose 'Extend these displays' from the 'Multiple displays' dropdown.
- MacOS: Go to 'System Settings' (or 'System Preferences'), then 'Displays', and uncheck 'Mirror displays' to enable extended desktop mode.

Image: A visual guide demonstrating the ability to either mirror the laptop screen onto an external monitor or extend the desktop across multiple displays.
5.3 Instant Swap and Share
The MINIX C1 allows for quick switching between multiple transmitters (sold separately) connected to different source devices. Simply plug in another transmitter to a different device, and the receiver will automatically switch to the active signal, making it ideal for collaborative environments.
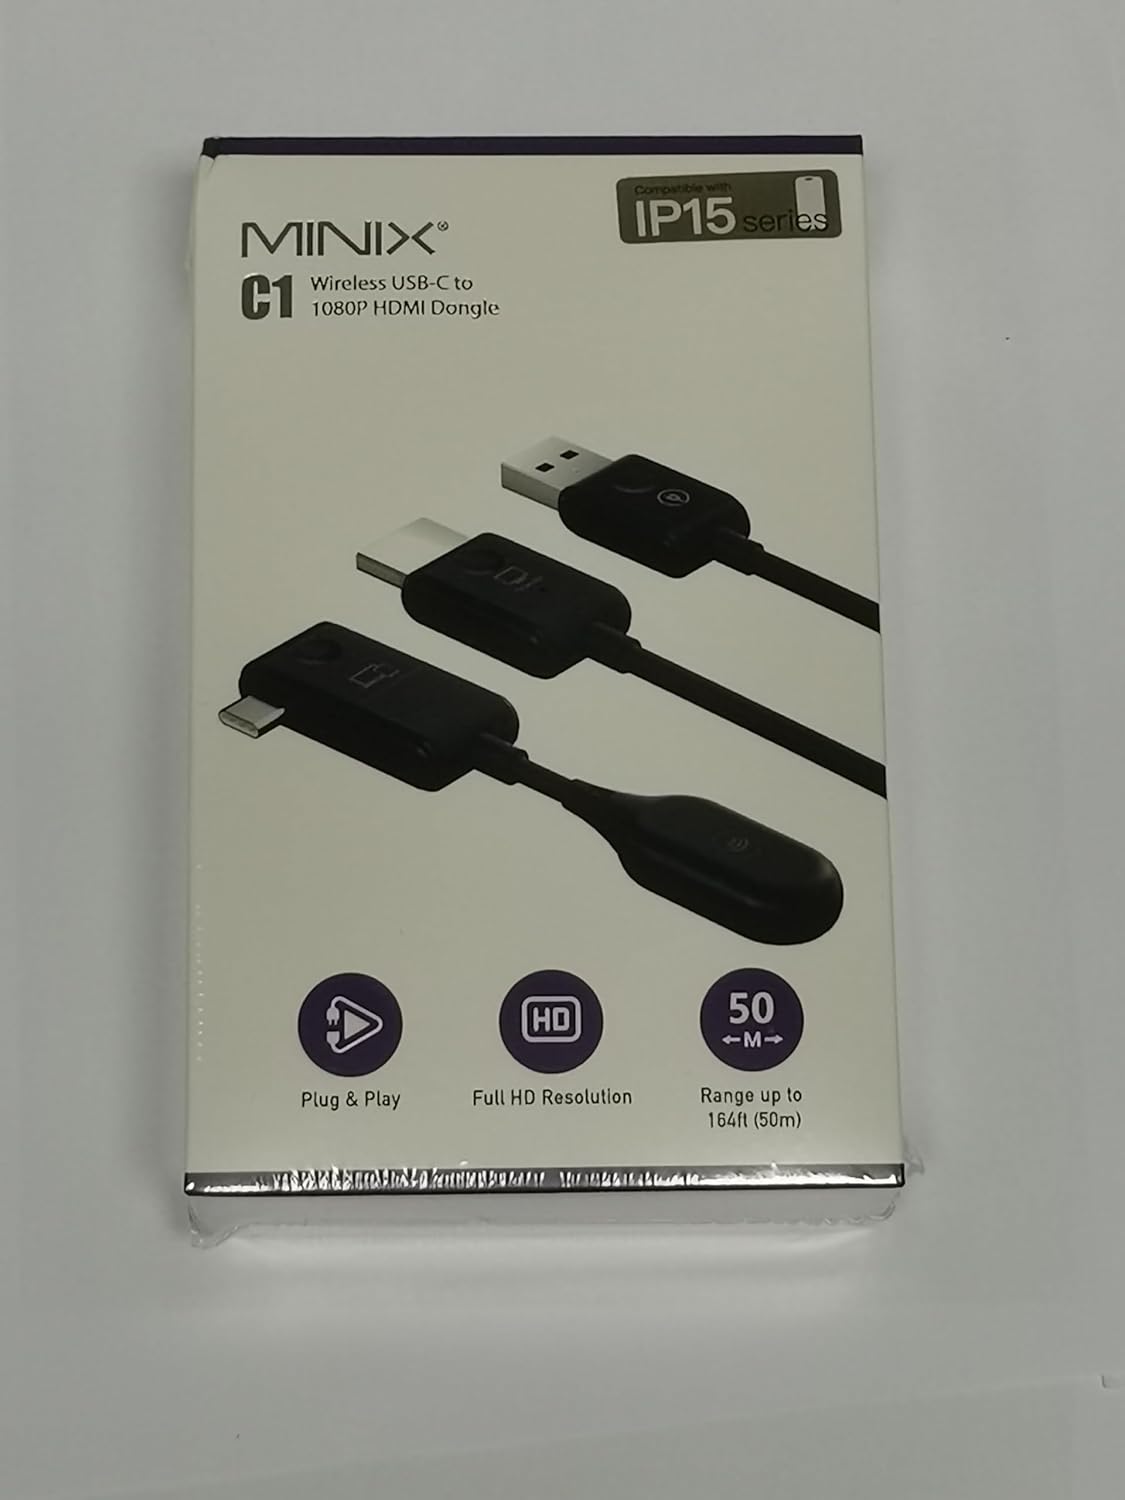
Image: A hand inserting the MINIX C1 transmitter into a laptop, illustrating the ease of instant swapping and sharing content on a larger screen.
6. Atụmatụ igodo
- Seamless Setup: No drivers or apps required. Plug-and-play functionality ensures a direct, reliable connection in approximately 12 seconds.
- iPhone 15 Compatibility: Seamlessly connects with the new USB-C port on iPhone 15 models, offering cross-platform compatibility beyond Apple iOS AirPlay limitations.
- Full HD 1080P@60Hz: Experience stunning video quality with ultra-high-definition resolution at 60Hz, ensuring sharp and vibrant visuals.
- Low Latency Transmission: Enjoy swift and low-latency (<0.25 second) transmission with a 5GHz connection, ideal for high-bandwidth activities like gaming and video streaming.
- Oke ikuku agbatịkwuru: Utilizes a 2.4/5GHz transmission protocol for robust and reliable signals. The wireless transmission distance can reach up to 50m (164ft) in an open environment, with optimal performance within 25m. Effective distance through walls is within 10m (32ft).

Image: The MINIX C1 demonstrating compatibility with iPhone 15, allowing users to mirror content from their phone to a larger display.

Image: A graphic illustrating the MINIX C1's extended wireless transmission range of up to 50 meters (164 feet) in an open environment.
7. Nkọwapụta
| Njirimara | Nkọwa |
|---|---|
| Akụkụ ngwaahịa | 2.2 x 0.55 x 1.39 sentimita asatọ |
| Ibu Ibu | 0.96 ounces |
| Nọmba nlereanya | C1 |
| Ngwa dakọtara | Laptops, PCs, Smartphones, Game Consoles, iPhones (including iPhone 15) |
| Ojiji akọwapụtara | Laptop, Cell Phone |
| Ụdị njikọ | HDMI, USB Ụdị C |
| Agba | Nwa |
| Onye nrụpụta | MINIX Technology Limited |
| Mkpebi vidiyo | 1080P @ 60Hz |
| Protocol ikuku | 2.4/5GHz |
| Ikuku iche | Up to 50m (164ft) in open environment; within 10m (32ft) through walls |
| Ntinye ike nnata | 5V/0.5A (site na USB-A) |
8. Nchọpụta nsogbu
If you encounter issues with your MINIX C1, please refer to the following common solutions:
| Nsogbu | Ihe kpatara/ Ngwọta nwere ike ime |
|---|---|
| Enweghị mgbaama na ngosi |
|
| Intermittent signal / Poor quality |
|
| Enweghị ọdịyo |
|
| Device gets warm | The operating surface temperature can reach approximately 60°C (140°F). This is normal. Ensure proper heat dissipation and do not cover the device during operation. |
9. Nlekọta
To ensure the longevity and optimal performance of your MINIX C1:
- Debe ngwaọrụ ahụ ọcha site na iji akwa dị nro na-ehichapụ ya.
- Zere ikpughe ngwaọrụ ahụ na oke okpomọkụ, iru mmiri, ma ọ bụ ìhè anyanwụ kpọmkwem.
- Anwala ịkwasa ma ọ bụ rụkwaa ngwaọrụ n'onwe gị. Rụtụ aka na ndị ọrụ ruru eru.
- Ensure proper ventilation during operation, especially for the receiver, as its surface temperature can reach up to 60°C (140°F).
10. Akwụkwọ ikike na nkwado
For warranty information and technical support, please visit the official MINIX websaịtị:
- Ndị ọchịchị Websaịtị: www.minix.com.hk
- MINIX Forum: www.theminixforum.com
- Facebook: www.facebook.com/minixtech
Biko dowe ihe akaebe nke ịzụrụ ihe maka akwụkwọ ikike.
11. Ozi nchekwa
- Ewepụla ngwaọrụ ahụ na mmiri ma ọ bụ mmiri.
- Zere idobe ma ọ bụ idobe ngwaọrụ ahụ na mmetụta siri ike.
- Use only the specified power requirements for the receiver (5V/0.5A USB-A).
- Keep the device away from heat sources and open flames.
- Akwụsịla oghere ikuku.
- Tụfuo ihe mkpofu eletrọniki n'ụzọ kwesịrị ekwesị dịka iwu obodo si dị.


