Okwu mmalite
Thank you for choosing the HOMEFORT 4-Shelving Unit. This manual provides detailed instructions for the assembly, operation, and maintenance of your new adjustable wire shelving unit. Please read this manual thoroughly before assembly and retain it for future reference.
Ozi nchekwa
Ịdọ aka ná ntị:
- Do not exceed the weight limit of 120 lbs (55 kgs) per shelf.
- Ensure the shelf is level and properly assembled for stability and safety.
- Always distribute weight evenly across the shelves.
- Keep small children away from the shelving unit during assembly and ensure it is stable before use.
Ndepụta akụkụ
Tupu ịmalite njikọta ahụ, biko hụ na akụkụ niile dị ma ghara imebi emebi. Ọ bụrụ na akụkụ ọ bụla efuola ma ọ bụ mebie, biko kpọtụrụ ndị ahịa.
| Akụkụ | Nkọwa | Ọnụọgụ |
|---|---|---|
| Ogwe nchekwa | Eriri waya | 4 |
| Osisi nkwado | Vertical support poles (upper and lower sections) | 8 (4 upper, 4 lower) |
| Mpekere plastik | Used to secure shelves to poles | 16 pairs (32 pieces) |
| Na-ebuli ụkwụ | Ụkwụ na-agbanwe agbanwe maka nkwụsi ike | 4 |
| Shelf Liners | Clear mats to prevent small items from falling through | 4 |
| nko | For hanging accessories | 4 |
| Mgbidi arịlịka | Optional for securing unit to wall | 1 set |
Ntọala na Mgbakọ
Follow these steps for proper assembly of your HOMEFORT 4-Shelving Unit. No tools are required for basic assembly.
Step 1: Attach Leveling Feet
Screw the four leveling feet into the bottom of the lower support poles. These feet help stabilize the unit on uneven surfaces.

Zuru ezu view of the adjustable leveling feet.
Step 2: Assemble Support Poles
Connect the upper and lower sections of the support poles. Ensure they click securely into place. The poles have grooves at regular intervals for shelf placement.

Illustration of how pole sections connect.
Step 3: Install Plastic Clips
Determine the desired height for your first shelf. Snap two plastic clips around each pole at the same height, ensuring the arrows on the clips point upwards. Make sure the clips are securely seated in the grooves.

Close-up of a plastic clip correctly positioned on a pole.
Step 4: Place the First Shelf
Slide a wire shelf down over the poles, aligning the corner sleeves of the shelf with the plastic clips. Press down firmly on each corner until the shelf is securely seated over the clips. Ensure the shelf is level.
Illustration of shelf height adjustment and placement.
Step 5: Repeat for Remaining Shelves
Repeat Steps 3 and 4 for the remaining three shelves, adjusting their heights as needed. You can customize the spacing between shelves to accommodate different item sizes.
Step 6: Add Shelf Liners and Hooks
Place the clear shelf liners on top of the wire shelves to prevent small items from falling through. Attach the included hooks to the side of any shelf for hanging kitchen utensils or other accessories.
Optional: Wall Anchoring
For added stability, especially in households with children or pets, use the provided wall anchors to secure the shelving unit to a wall. Follow the instructions included with the wall anchor kit.
Arụ ọrụ na ojiji
The HOMEFORT 4-Shelving Unit is designed for versatile storage in various environments.
- Shelves nwere ike idozi: The height of each shelf can be adjusted to suit your storage needs. Simply remove the shelf, reposition the plastic clips at the desired height, and re-seat the shelf.
- Nkwanye ọtụtụ: This unit is suitable for kitchens, pantries, closets, bathrooms, laundry rooms, and garages.
- Nkesa arọ: Always distribute items evenly across the shelves to maintain stability and prevent tipping.
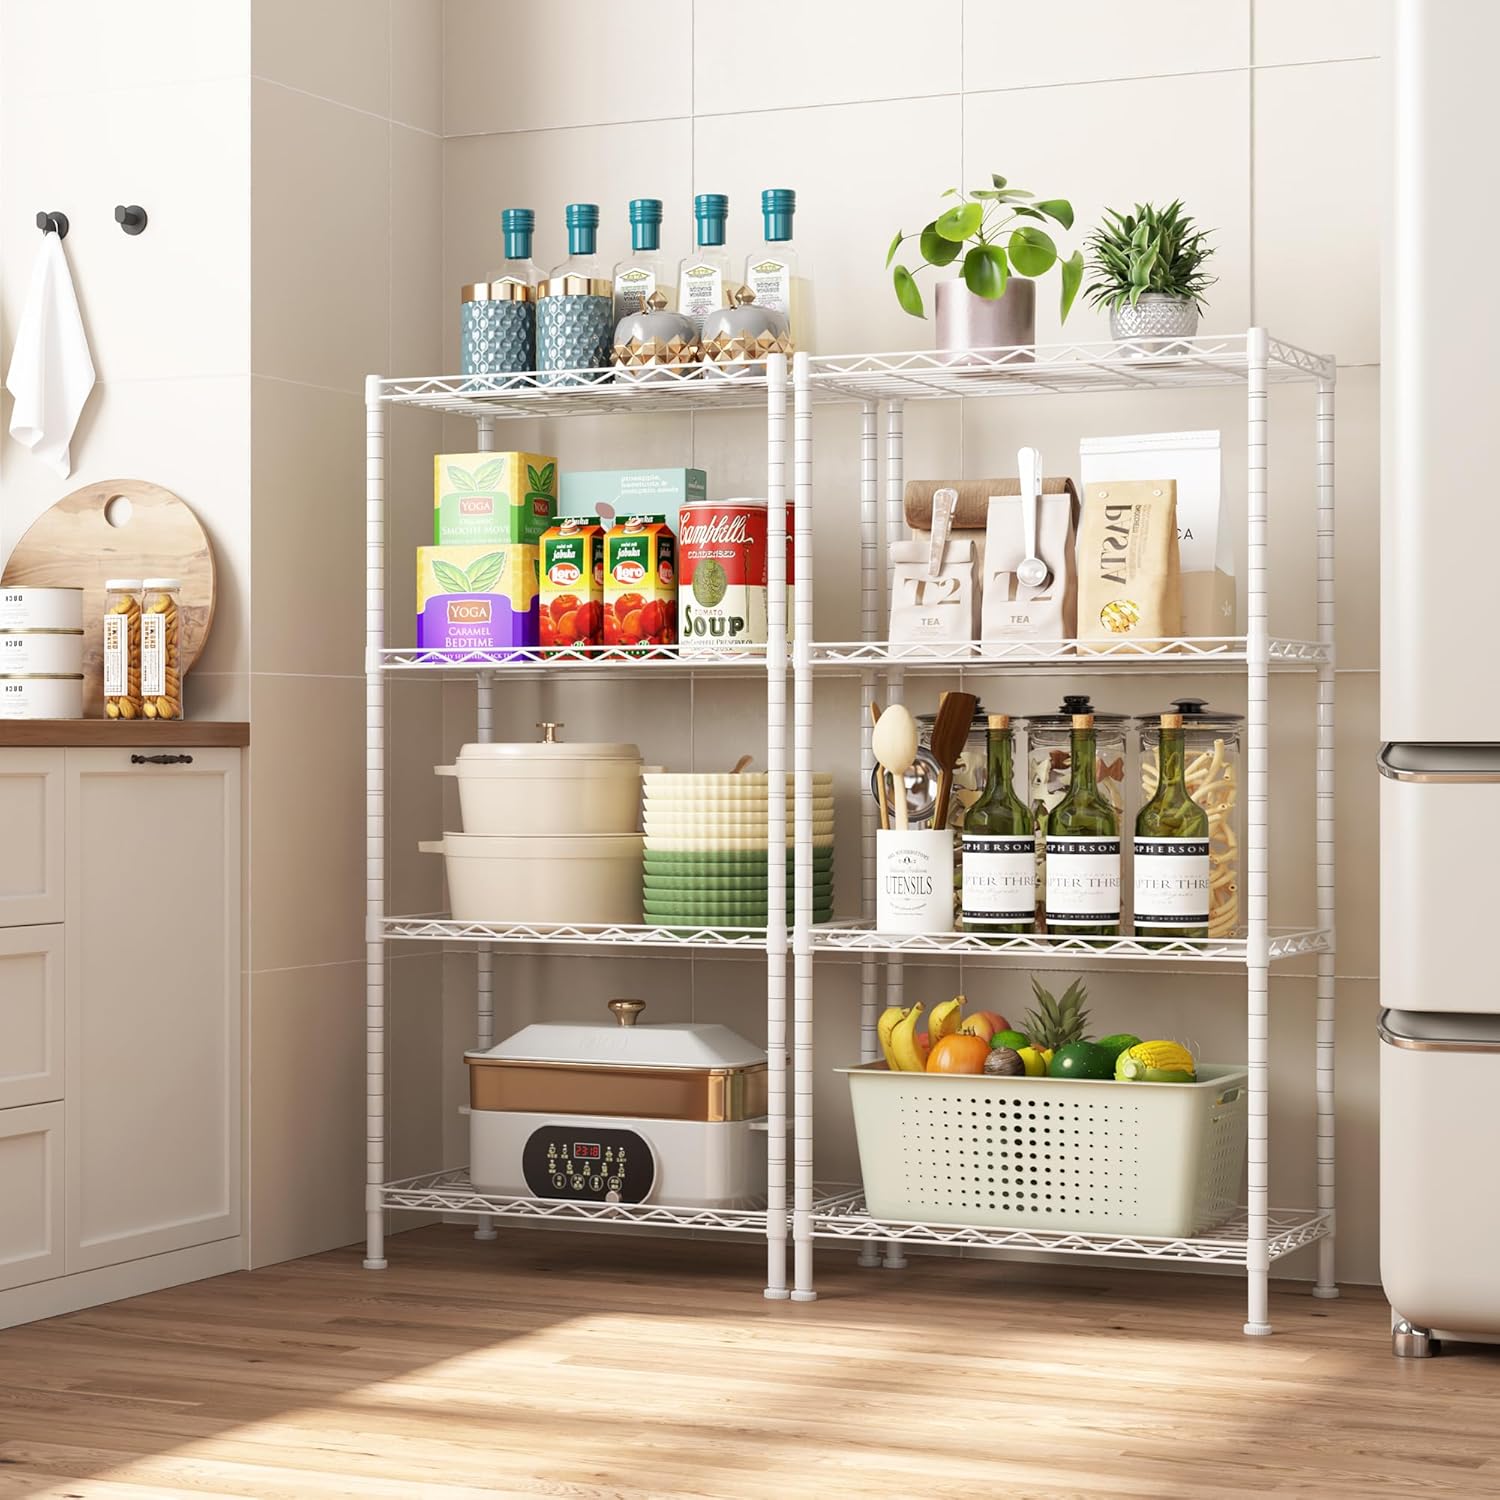
The shelving unit provides organized storage in a kitchen setting.
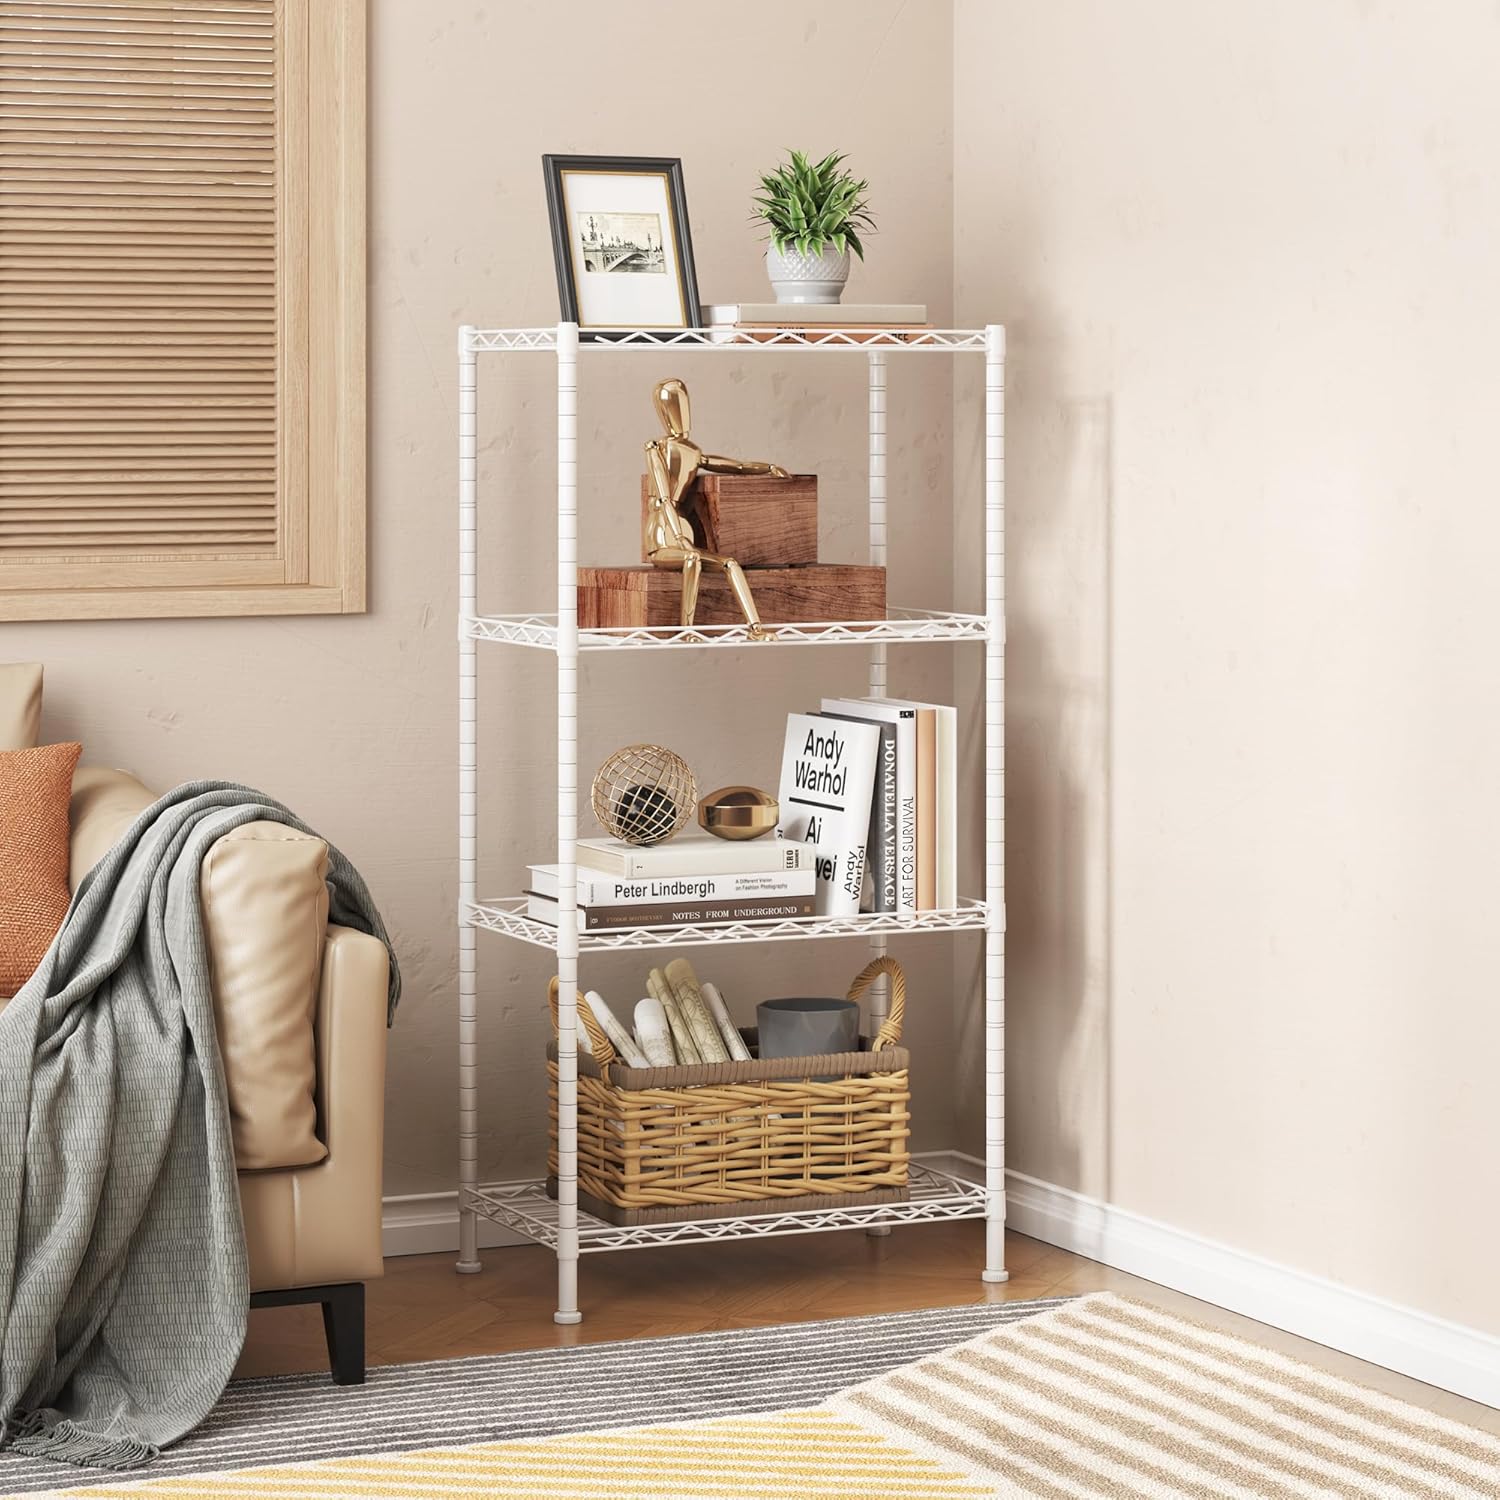
The unit can also serve as a decorative storage solution in a living room.
Video: Adjustable Wire Shelving Features
This video demonstrates the adjustable features and versatility of the HOMEFORT wire shelving unit.
Nlekọta
To ensure the longevity and appearance of your shelving unit, follow these simple maintenance guidelines:
- Nhicha: Wipe the metal shelves and poles with a dry cloth. For the plastic shelf liners, rinse them with water if needed. Avoid abrasive cleaners that may damage the finish.
- Nyocha: Periodically check all connections and leveling feet to ensure they are secure. Tighten if necessary.
- Oke ibu: Always adhere to the maximum weight limit of 120 lbs per shelf to prevent damage or collapse.
Nchọpụta nsogbu
If you encounter any issues with your HOMEFORT 4-Shelving Unit, refer to the following common solutions:
| Nsogbu | Ihe nwere ike ime | Ngwọta |
|---|---|---|
| Unit ahụ na-ama jijiji ma ọ bụ na-adịghị akwụsi ike | Uneven floor; loose leveling feet; improper shelf seating. | Adjust the leveling feet until the unit is stable. Ensure all shelves are firmly seated on their plastic clips. Consider using wall anchors for added stability. |
| Shelf slides down | Plastic clips not properly seated in pole grooves; clips installed upside down. | Remove the shelf and clips. Reinstall clips ensuring they are firmly in the pole grooves and the arrows point upwards. Re-seat the shelf. |
| Akụkụ na-efu | Njehie nkwakọ ngwaahịa. | Contact HOMEFORT customer support with your purchase details for replacement parts. |
| Difficulty assembling poles | Sections not aligned correctly. | Ensure the pole sections are aligned straight and push firmly until they click into place. |
Nkọwapụta
| Njirimara | Nkọwa |
|---|---|
| Aha Nlereanya | 21x11x43 inch |
| Akụkụ (W x D x H) | 21.3"W x 11.4"D x 41.3"H |
| Ọnụọgụ nke shelf | 4 |
| Ihe onwunwe | Ọla |
| Agba | Ọcha |
| Oke Ibu kwa Shelf | 120 lbs (55kg) |
| Mkpokọta ịdị arọ | 400 n'arọ |
| Mgbakọ chọrọ | Ee |
| Atụmatụ pụrụ iche | Adjustable shelf height, flexible placement, includes shelf liners and hooks. |
| Nlekọta ngwaahịa | Jiri akwa akọrọ hichaa |

Dimensional diagram showing approximate dimensions and weight capacity per shelf. Please refer to the specifications section for exact weight limits (120 lbs per shelf, 400 lbs total).
Akwụkwọ ikike na nkwado
HOMEFORT products are designed for quality and durability. For any questions, concerns, or to report missing/damaged parts, please contact HOMEFORT customer support.
While specific warranty details are not provided in this manual, please refer to your purchase documentation or contact the seller directly for warranty information.
Ozi mkpọtụrụ:
- Akara: EZIOKWU
- Onye na-ere ahịa: HOMEFORT DIRECT
- Storelọ ahịa n'ịntanetị: Visit the HOMEFORT Store on Amazon