1. Nchekwa dị mkpa
Mgbe ị na-eji ngwa eletriki, ekwesịrị ịgbaso usoro nchekwa nchekwa bụ isi mgbe niile iji belata ihe egwu ọkụ, ujo eletrik na mmerụ ahụ n'ahụ mmadụ, gụnyere ihe ndị a:
- Gụọ ntuziaka niile tupu i jiri ngwa.
- Ejila ngwa ọ bụla nwere eriri ma ọ bụ plọg mebiri emebi rụọ ọrụ, ma ọ bụ mgbe ngwa ahụ dara ma ọ bụ mebie n'ụzọ ọ bụla.
- Ejila n'èzí.
- Ejila eriri, plọg, ma ọ bụ ngwa n'ime mmiri ma ọ bụ mmiri mmiri ọzọ.
- Nleba anya dị mkpa mgbe ụmụaka na-eji ngwa ọ bụla ma ọ bụ nso.
- Ekwela ka eriri ahụ kwụgidere na nsọtụ tebụl ma ọ bụ counter, ma ọ bụ metụ ebe dị ọkụ aka.
- Etinyela na ma ọ bụ nso gas na-ekpo ọkụ ma ọ bụ ọkụ eletrik, ma ọ bụ na oven ọkụ.
- Buru ụzọ tinye plọg mgbe niile na ngwa, wee tinye eriri n'ime oghere mgbidi. Iji kwupu njikọ, gbanyụọ njikwa ọ bụla ka ọ bụrụ "gbanyụọ", wee wepụ plọg na mpụta mgbidi.
- Ejila ngwa maka ndị ọzọ na-abụghị ebumnuche ebumnuche.
- Always ensure the glass turntable is properly seated before operation.
- Ejila mmiri ọkụ ma ọ bụ ihe oriri ndị ọzọ ọkụ n'ime akpa ejiri mechiri emechi ka ha nwere ike ịgbawa.
- Maintain the inside of the oven. Food particles or spilled liquids can cause arcing or fire.
- Anwala iji oven meghee oven a ebe ọ bụ na ịrụ ọrụ na-emeghe nwere ike ibute ọkụ microwave na-emerụ ahụ.
- Edokwala ihe ọ bụla n'etiti ihu oven na ọnụ ụzọ ma ọ bụ kwe ka ala ma ọ bụ ihe fọdụrụ dị ọcha kwakọba n'elu ebe mkpuchi.
- Ejila oven ahụ rụọ ọrụ ma ọ bụrụ na ọ mebiri emebi. Ọ dị mkpa karịsịa ka ọnụ ụzọ oven ahụ mechie nke ọma nakwa ka ọ ghara imebi (1) ọnụ ụzọ (gbagọrọ agbagọ), (2) njikọ na mkpọchi (gbajiri agbaji ma ọ bụ tọgbọrọ chakoo), (3) akara ọnụ ụzọ na elu mkpuchi.
- Onye ọ bụla ekwesịghị ịgbanwe ma ọ bụ rụzie oven ma ewezuga ndị ọrụ ruru eru nke ọma.
2. Ngwaahịa gafereview
The West Bend 900-Watt 0.9 Cu. Ft. Compact Microwave Oven (Model WBMW92W) is designed for convenient and efficient cooking in various settings. It features a compact footprint, electronic control panel, and a rotating glass turntable for even heating.

Foto 2.1: The West Bend Microwave Oven (Model WBMW92W) positioned on a kitchen countertop, showcasing its compact design and white finish. The microwave features a black door and control panel, with a silver trim.
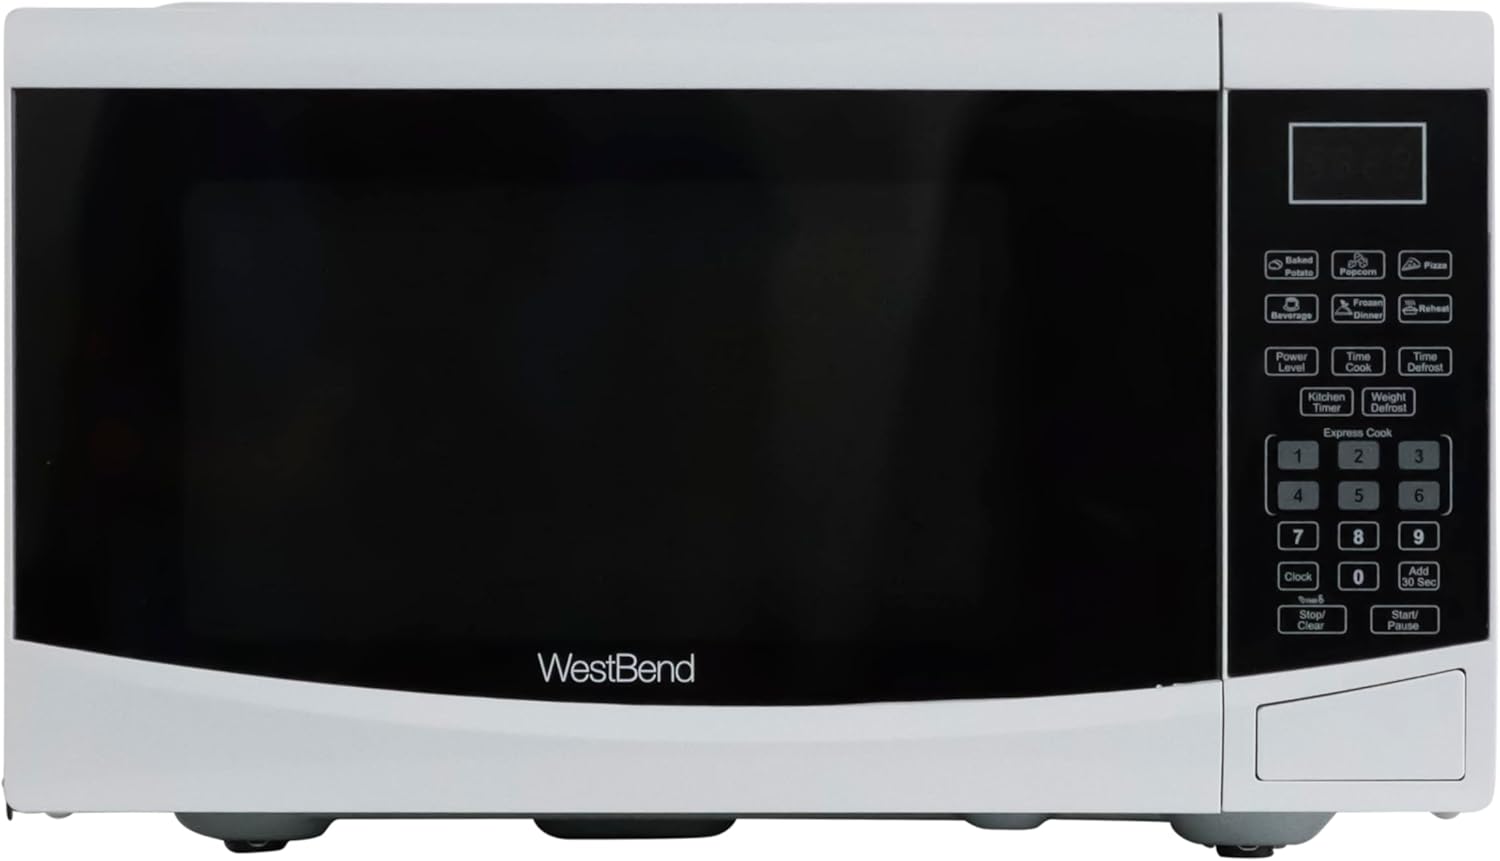
Foto 2.2: A kpọmkwem n'ihu view of the West Bend Microwave Oven, highlighting the door, control panel, and the West Bend logo. The unit is white with a black door and silver accents.
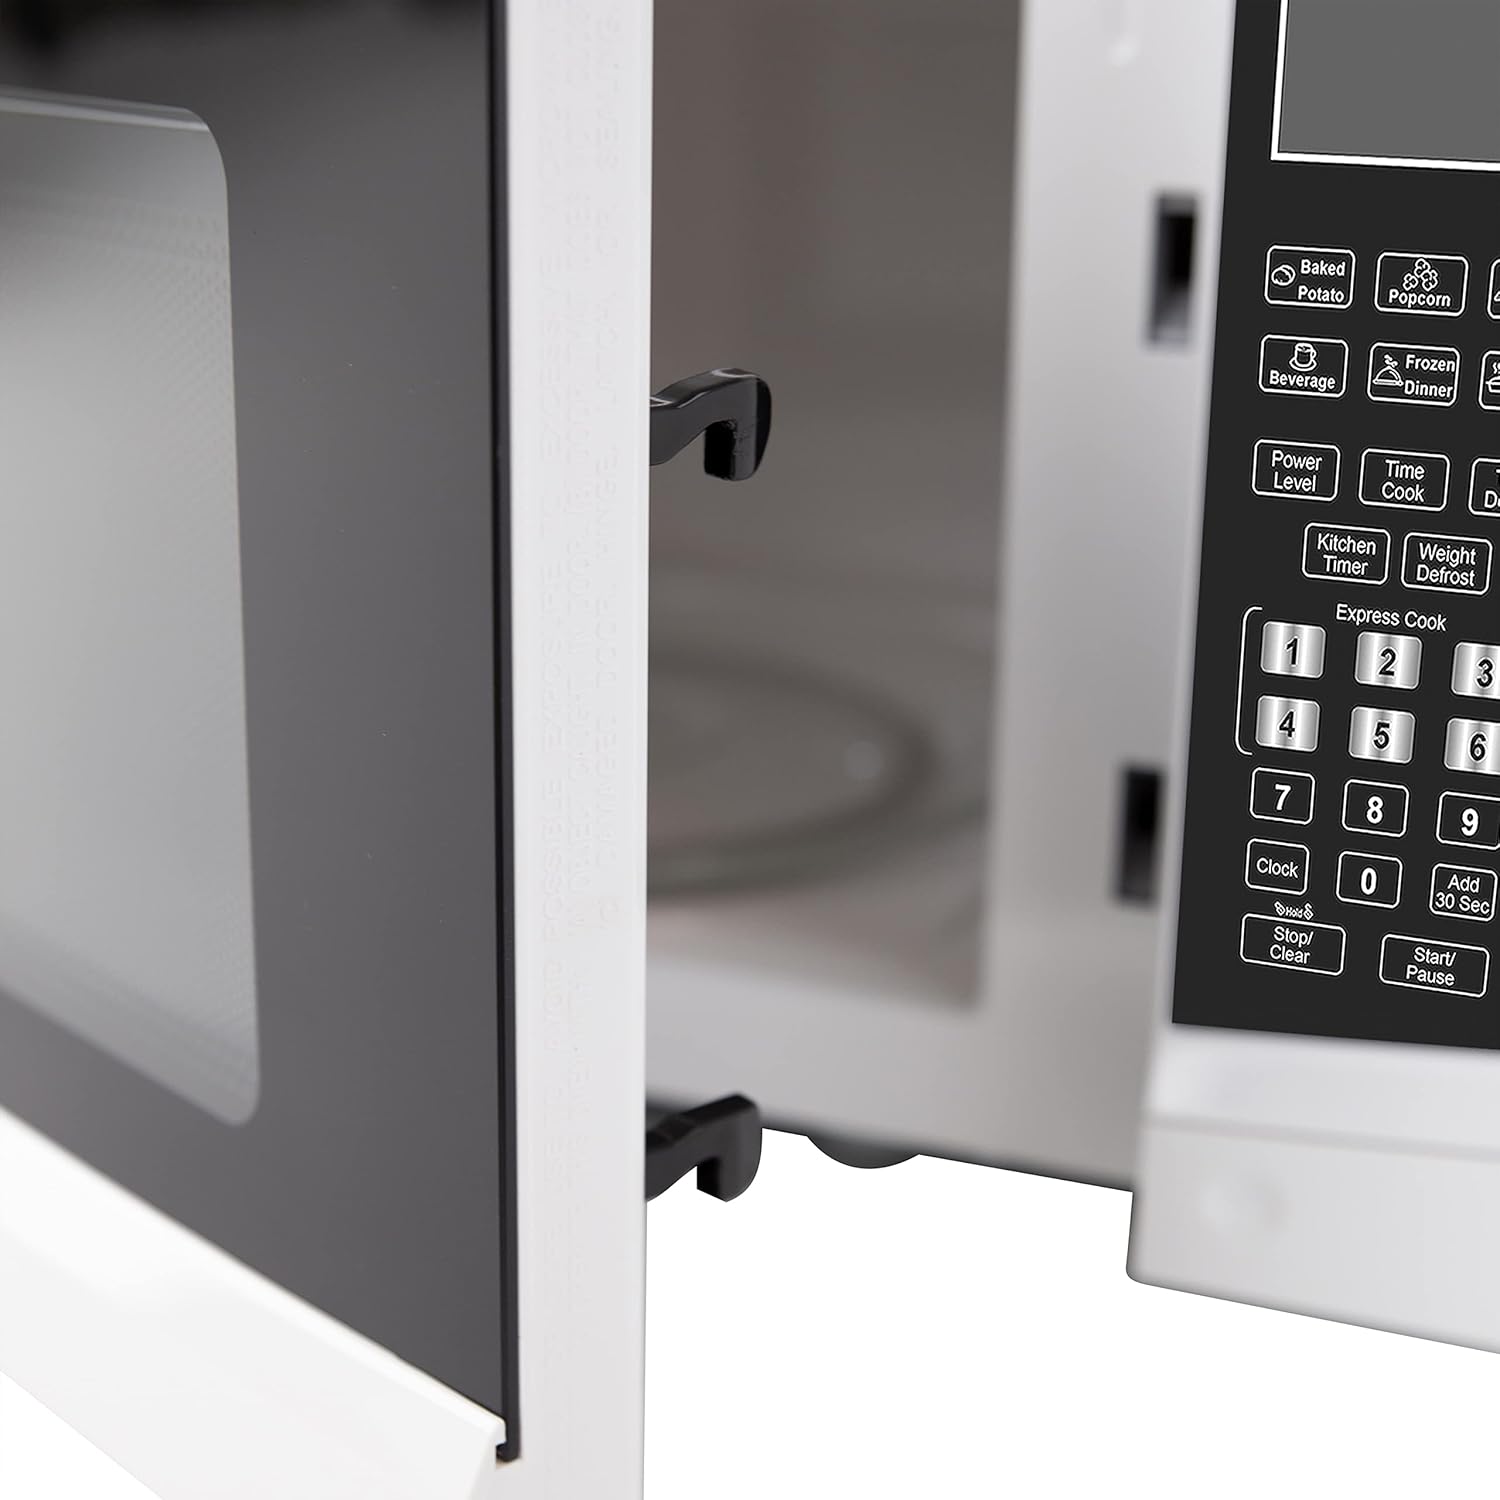
Foto 2.3: The interior of the microwave oven with the door open, revealing the glass turntable and the oven cavity. The interior is white, and the 900 WATTS power rating is visible above the door opening.
3. Ntọala na nwụnye
3.1 Nwepu
Carefully remove the microwave oven from its packaging. Remove all packing materials, including any protective film or tape from the oven surfaces. Check the oven for any damage, such as dents or a misaligned door. Do not operate the oven if it is damaged. Contact customer support if any damage is found.
3.2 Mgbakọ Turntable
Place the roller ring in the depression in the bottom of the microwave oven. Place the glass turntable on top of the roller ring, ensuring it is securely seated in the center support.
- Edokwala traị ugegbe ihu ihu.
- The glass tray and roller ring must always be used during cooking.
- A ga-edobe nri niile na arịa nri na tray ugegbe maka isi nri.
3.3 Ntinye
Place the microwave oven on a flat, stable surface that can support its weight and the heaviest food item likely to be cooked in it. Ensure there is adequate ventilation around the oven. Maintain a minimum of 3 inches (7.5 cm) of space on the top, sides, and rear for proper airflow.
3.4 Eletriki chọrọ
The microwave oven requires a standard 120V AC, 60Hz electrical outlet. Do not use an extension cord. Ensure the outlet is properly grounded.
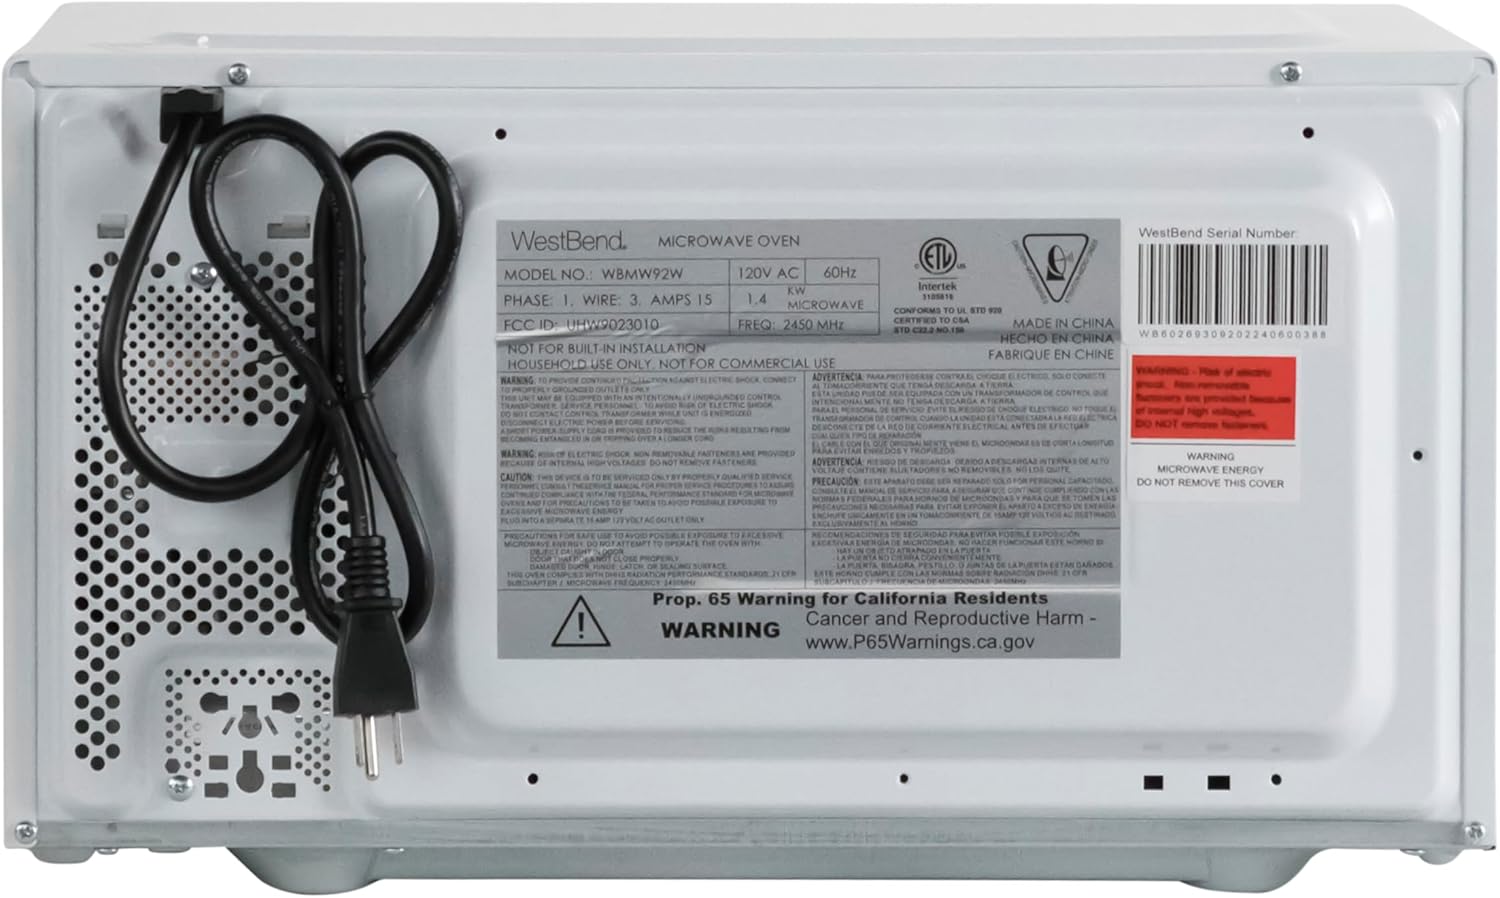
Foto 3.1: The rear of the microwave oven, displaying the power cord and the product information label with electrical specifications and model number WBMW92W.
4. Ntuziaka ọrụ
The control panel allows you to set cooking times, power levels, and use pre-programmed functions.

Foto 4.1: A zuru ezu view of the electronic control panel, showing buttons for Time Cook, Time Defrost, Weight Defrost, Power Level, Clock, Kitchen Timer, Popcorn, Potato, Pizza, Frozen Vegetable, Beverage, Dinner Plate, Express Cook numbers, Stop/Clear, and Start/+30 Sec.
4.1 Ịtọ elekere
- Pịa EGE bọtịnụ otu ugboro.
- Jiri pad nọmba tinye oge ugbu a (dịka ọmụmaatụ, 12:30 maka 12:30 PM).
- Pịa EGE bọtịnụ ọzọ iji gosi.
4.2 Isi nri ngwa ndakwa nri (Oge esi nri)
- Tinye nri n'ime oven microwave.
- Pịa Oge nri bọtịnụ.
- Jiri mpe mpe akwa nọmba tinye oge nri achọrọ.
- (Optional) To adjust power level, press Ọkwa IKE and then a number from 1-10 (10 being 100% power).
- Pịa Mmalite/+30 SEC malite isi nri.
4.3 Onye na-esi nri ngwa ngwa
For quick cooking at 100% power, simply press one of the number buttons (1-6) to cook for that many minutes. Press Mmalite/+30 SEC to add 30 seconds to the current cooking time or to start cooking for 30 seconds at 100% power if no other function is selected.
4.4 Pre-Set Cooking Functions
The microwave includes 6 pre-set cooking options for common food items:
- ỌKA AGBARA AGBA: For microwave popcorn.
- POTATO: Maka ịsa poteto.
- PIZZA: Maka ịkpo ọkụ ọzọ na mpekere pizza.
- FROZEN VEGETABLE: Maka isi nri akwụkwọ nri oyi kpọnwụrụ akpọnwụ.
- BEVERAGE: Maka ihe ọṅụṅụ kpo oku.
- DINNER PLATE: Maka ịkpoghachi efere nri abalị ọkụ.
To use a pre-set function, simply press the corresponding button. The oven will automatically set the cooking time and power level. For some functions, you may need to press the button multiple times to select the desired quantity (e.g., number of potatoes).

Foto 4.2: The interior of the microwave oven with a bag of microwave popcorn placed on the glass turntable, ready for cooking using the Popcorn pre-set function.
4.5 Ọrụ Gbazee
Ngwa ndakwa nri microwave nwere ụzọ abụọ iji defrost:
- OGE MGBE:
- Pịa OGE AKWEFKWỌ.
- Enter the desired defrosting time.
- Pịa Mmalite/+30 SEC.
- MKWUO ALA:
- Pịa EKWU ALA.
- Tinye ibu nke nri ahụ na ounces (dịka ọmụmaatụ, 16 maka 1 lb).
- Pịa Mmalite/+30 SEC.
4.6 ngụ oge
The Kitchen Timer operates independently of the microwave cooking functions.
- Pịa Oge kichin bọtịnụ.
- Tinye oge achọrọ site na iji akara nọmba.
- Pịa Mmalite/+30 SEC. The timer will count down without activating the microwave.
4.7 Mkpọchi ụmụaka
The Child Lock feature prevents unintended operation of the microwave oven, enhancing safety.
- Rụọ ọrụ: Pịa ma jide Kwụsị/ Kwụsịchaa bọtịnụ maka sekọnd atọ. Ihe ngosi mkpọchi ga-apụta na ngosipụta ahụ.
- Iji gbanyụọ: Pịa ma jide Kwụsị/ Kwụsịchaa bọtịnụ ahụ ọzọ maka sekọnd atọ. Ihe ngosi mkpọchi ahụ ga-apụ n'anya.

Foto 4.3: An informational graphic detailing the new mandatory 2-step child safety lock feature, explaining how it reduces risks by preventing the oven door from being opened during cooking cycles when enabled.
5. Nlekọta na nlekọta
Nhicha na mmezi mgbe niile ga-eme ka ọ dị ogologo ndụ yana ịrụ ọrụ kacha mma nke oven microwave gị.
5.1 Na-ehicha Mpụga
Jiri nwayọ hichaa elu mpụta, damp akwa . Zere iji ihe nchacha abrasive ma ọ bụ kemịkalụ siri ike nke nwere ike imebi njedebe.
5.2 Na-ehicha ime ime
To clean the interior, wipe with a soft, damp cloth and mild soap. For stubborn food splatters, place a bowl of water with lemon slices inside and microwave on high for 2-3 minutes. The steam will loosen the residue, making it easier to wipe clean. Ensure the oven is unplugged before cleaning.
5.3 Cleaning the Glass Turntable
Enwere ike iwepụ ihe ntụgharị iko na mgbanaka rola maka ihicha. Sachaa ha na mmiri ọkụ, ncha ma ọ bụ n'ime efere efere. Gbaa mbọ hụ na akpọọla ha kpamkpam tupu etinyeghachi ha na oven.
6. Ntuziaka nchọpụta nsogbu
If you experience issues with your microwave oven, consult the following table for common problems and solutions.
| Nsogbu | Ihe nwere ike ime | Ngwọta |
|---|---|---|
| Igwe ọkụ agaghị amalite. | Agbanyeghi eriri ike; A naghị emechi ọnụ ụzọ nke ọma; Fiusi fụrụ ma ọ bụ ihe mgbawa sekit kụdara; Agbanyere mkpọchi nwa. | Ensure power cord is securely plugged into a grounded outlet; Close the oven door firmly; Check household fuse/circuit breaker; Deactivate child lock by holding STOP/CLEAR for 3 seconds. |
| Nri abụghị kpo oku. | Oge esi nri ma ọ bụ ọkwa ike adịghị mma; Emechighị ụzọ nke ọma. | Adjust cooking time and power level as needed; Ensure the door is fully closed and latched. |
| Turntable anaghị atụgharị. | Turntable or roller ring not positioned correctly; Obstruction under the turntable. | Remove and re-seat the turntable and roller ring; Check for any debris or obstructions. |
| Sparking or arcing inside the oven. | Metal in microwave; Food splatters or grease buildup. | Remove any metal objects or containers; Clean the oven interior thoroughly. |
| Ngosipụta na-egosi "E" ma ọ bụ koodu mperi. | Nrụ ọrụ dị n'ime. | Wepụ ihe mkpuchi oven ahụ ruo otu nkeji, wee tinyeghachi ya ọzọ. Ọ bụrụ na njehie ahụ anọgide, kpọtụrụ ndị ọrụ nkwado ndị ahịa. |
7. Nkọwapụta
Key technical specifications for the West Bend 900-Watt 0.9 Cu. Ft. Compact Microwave Oven.
| Njirimara | Nkọwa |
|---|---|
| Nọmba nlereanya | WBMW92W |
| Ike | 0.9 Cubic ụkwụ |
| Wattage | 900 Watt |
| Ọkwa ike | 10 |
| Akụkụ ngwaahịa (W x D x H) | 19" x 14.5" x 11" (ihe dị ka) |
| Ibu Ibu | 27 pound |
| Agba | Ọcha |
| Ihe a na-atụgharị anya | Glass |
| Ụdị nwụnye | Countertop |
| Ngwa gụnyere | Microwave, Glass Turntable, Nlekọta na ntuziaka ojiji |

Foto 7.1: A diagram illustrating the approximate dimensions of the microwave oven: 19 inches wide, 14.5 inches deep, and 11 inches high.
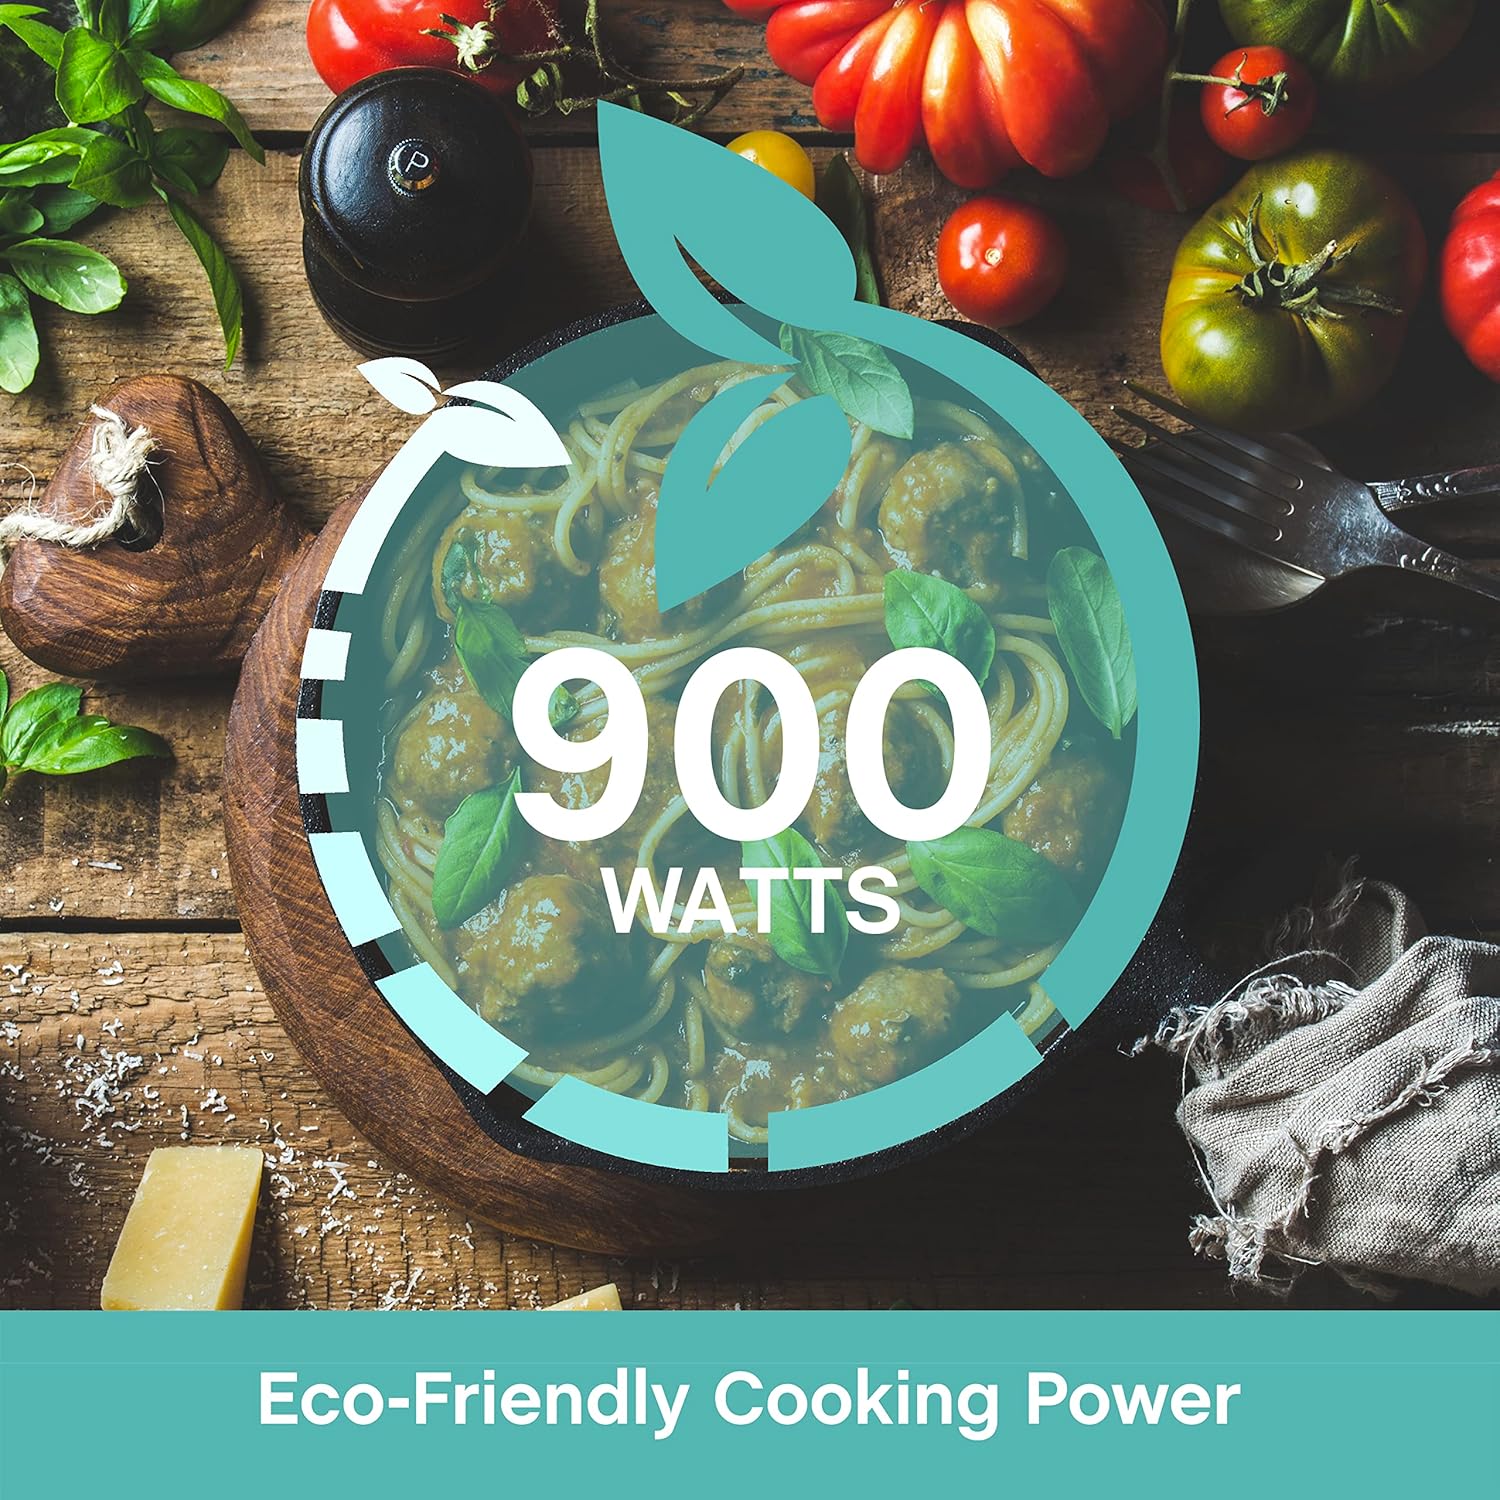
Foto 7.2: A graphic emphasizing the 900 Watts of cooking power, indicating efficient performance.
8. Akwụkwọ ikike na nkwado
This West Bend microwave oven is covered by a manufacturer's warranty. Please refer to the included "Care and Use Manual" for specific warranty details, terms, and conditions. For technical assistance, troubleshooting beyond this guide, or warranty claims, please contact West Bend Customer Support.
Nkwado ndị ahịa: Refer to the official West Bend website or the contact information provided in your product's packaging for the most up-to-date support details.