1. Okwu mmalite
The Renogy RMS-DCDC-JP is a high-precision monitor specifically designed for Renogy MPPT charge controllers. It provides a clean and professional interface for monitoring your charging system. This monitor can be flush-mounted and features a backlit LCD display. With its four intuitive buttons, users can easily view critical system information, including charging parameters and error codes. It offers real-time feedback for two battery systems, ensuring you have the most current status of your power setup.
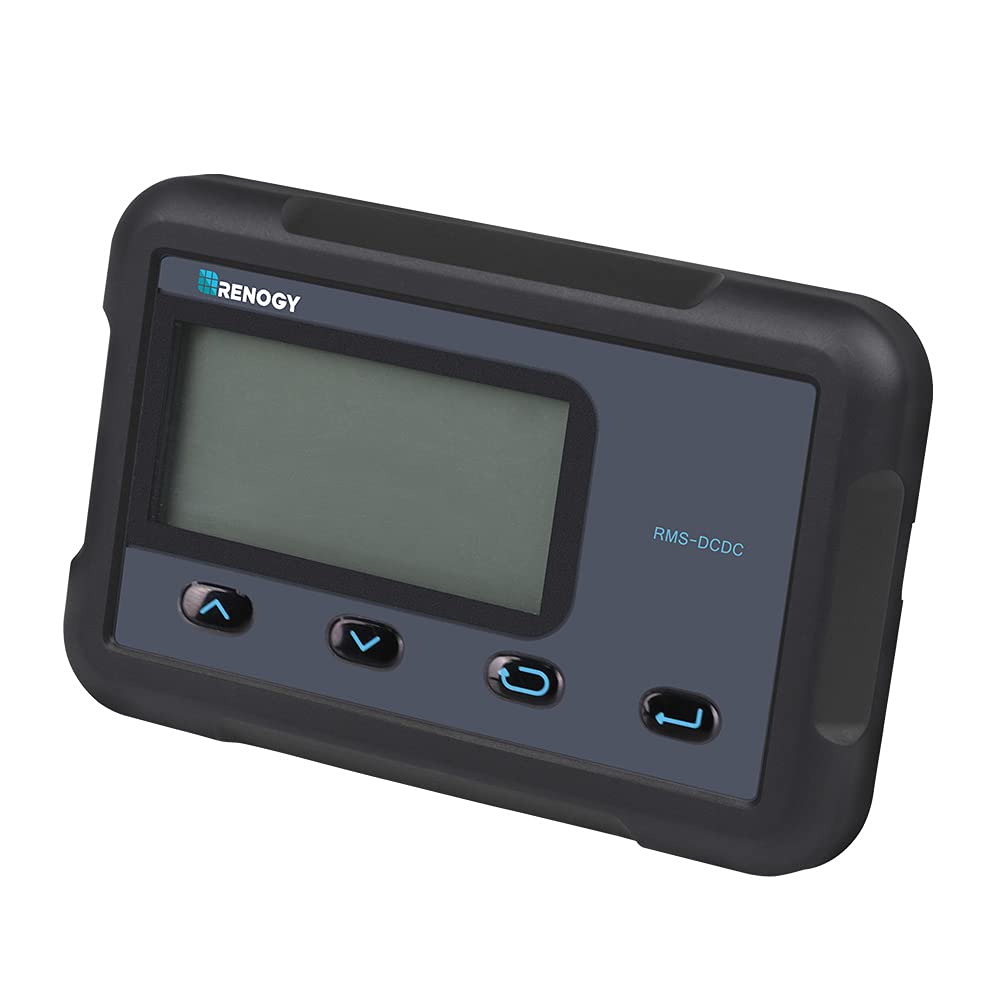
Image: The Renogy RMS-DCDC-JP monitor displaying system information, shown with and without its backlight activated.
2. Atụmatụ igodo
- Two Battery System Monitoring: Continuously track the charging status of both main and sub-batteries, providing a comprehensive overview of your solar system's health.
- Oke ndị nwere ike idozi: Modify charging voltage, charging current, and other settings directly through the monitor interface.
- Njikọ dị mfe: Connects directly to the DCC charge controller via an RJ45 cable for immediate use.
- Ntụle ziri ezi: Provides real-time charging information from both solar panels and the alternator with high accuracy.
- ndakọrịta: Designed for use with DCC Charge Controllers 12V 30A MPPT (RBC30D1S-JP) and DCC Charge Controllers 12V 50A MPPT (RBC50D1S-JP).
3. Ihe ngwugwu
Verify that all items listed below are included in your package. If any items are missing or damaged, please contact Renogy customer support.
- LCD Monitor (x1)
- English Instruction Manual (x1)
- Communication Cable (CAT5, 5m) (x1)
- Mounting Screws (M2.9x13) (x4)
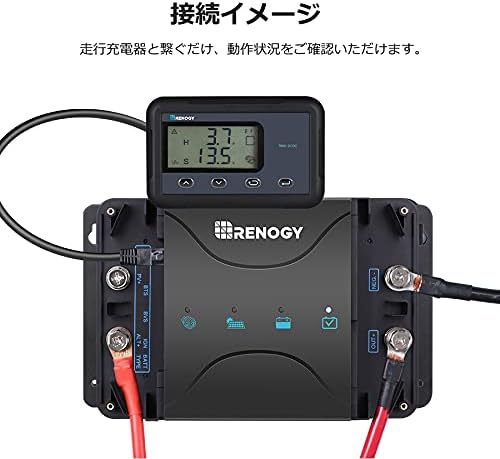
Image: All components included in the RMS-DCDC-JP product package.
4. Ntọala na nwụnye
4.1 Nwụnye anụ ahụ
The RMS-DCDC-JP monitor is designed for flush mounting. Ensure you have adequate space behind the mounting surface for the monitor's body and cable connections. Use the provided mounting screws to secure the monitor in place.

Image: Exploded diagram illustrating the monitor's components, including the PVC board, ABS resin covers, and high-resolution display.
4.2 Njikọ eletrik
Connect the monitor to your Renogy DCC charge controller using the supplied RJ45 communication cable. Simply plug one end of the RJ45 cable into the monitor's port and the other end into the corresponding port on the DCC charge controller. The monitor will power on automatically once connected.
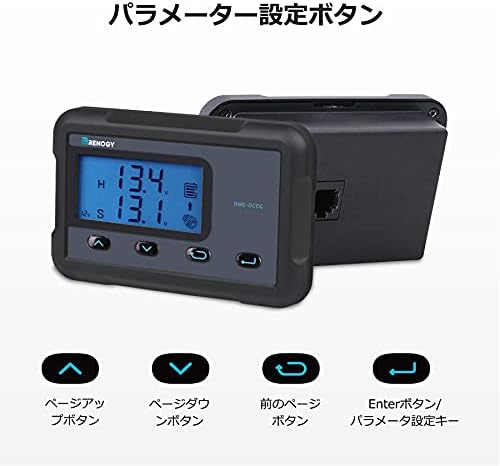
Image: The RMS-DCDC-JP monitor connected to a Renogy DCC charge controller, showing the RJ45 cable connection.
4.3 Nduzi Vidiyo Nwụnye
Video: A detailed guide on how to install and connect the Renogy RMS-DCDC-JP monitor to your charge controller.
5. Ntuziaka ọrụ
5.1 Ngosipụta karịrịview
The LCD display provides real-time information about your battery and charging system. The displayed items may vary based on your system's configuration.

Image: Detailed breakdown of the monitor's display, indicating icons for solar charging, sub-battery, system error, parameter units, alternator, main battery, and charging status.
- Solar Charge Icon: Indicates active solar charging.
- Sub-Battery Icon: Represents the secondary battery's status.
- Mperi sistemu: Displays error codes if a fault is detected.
- Parameter Unit: Shows units for displayed values (e.g., V, A, W, kWh).
- Alternator Icon: Indicates charging from the alternator.
- Main Battery Icon: Represents the primary battery's status.
- Nchaji Status: Shows the current charging phase (MPPT, Boost, Float, Equalization).
- Sistemụ Voltage: Na-egosiputa sistemu dị ugbu a voltage.
- Oke batrị: Shows various battery-related data.
- Sub-Battery State of Charge (SOC): Indicates the charge level of the sub-battery.
5.2 bọtịnụ Ọrụ
The monitor features four buttons for navigation and parameter adjustment.

Image: The four control buttons on the monitor: Page Up, Page Down, Previous Page, and Enter/Parameter Setting Key.
- Up Arrow (Page Up) Button: Navigates up through menu options or increases a value.
- Down Arrow (Page Down) Button: Navigates down through menu options or decreases a value.
- Left Arrow (Previous Page) Button: Na-alaghachi na ihuenyo gara aga ma ọ bụ menu.
- Right Arrow (Enter/Parameter Setting Key) Button: Confirms selections or enters parameter adjustment mode.
5.3 Ndozi Paramita
You can adjust charging current limits for the sub-battery directly from the monitor. This feature allows you to optimize charging based on your battery's specifications and system requirements.

Image: Current limit settings for DCC30S and DCC50S models, adjustable via the monitor.
Ka ịgbanwee paramita:
- Pịa Banye button to access the parameter setting menu.
- Jiri ihe Up na Ala arrow buttons to navigate through the available parameters (e.g., charging voltage, charging current limit).
- Pịa Banye again to select a parameter for adjustment.
- Jiri ihe Up na Ala arrow buttons to change the value.
- Pịa Banye iji kwado uru ọhụrụ ahụ.
- Pịa Ibe gara aga button to exit the setting menu.
5.4 Arụ ọrụ gafereview Vidiyo
Vidiyo: Efereview of the monitor's display and basic operation, including how to navigate through information screens.
6. Nkọwapụta
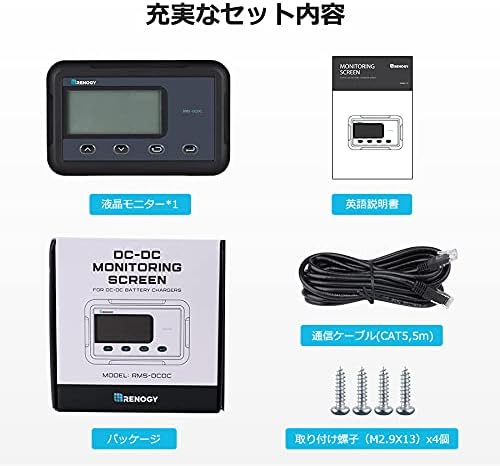
Image: Technical specifications and dimensions of the RMS-DCDC-JP monitor.
| Oke | Uru |
|---|---|
| Nkọwapụta ọkụ eletrik | 5VDC |
| Nyefee ugbu a | 30mA |
| Oriri nke onwe | <1W |
| Oke okpomoku na-arụ ọrụ | -20°C ruo 45°C |
| Voltage ziri ezi | ± 0.1V |
| Izi ezi ugbu a | 0.1A |
| Akụkụ (L x W x H) | 70 x 110 x 31.5 mm (2.76 x 4.33 x 1.24 inch) |
| Ibu | 62g (0.14 lbs) |
| Mmepụta Voltage | 12 volts |
7. Ndakọrịta
The Renogy RMS-DCDC-JP monitor is compatible with the following Renogy DCC Charge Controllers:
- DCC Charge Controller 12V 30A MPPT (Model: RBC30D1S-JP)
- DCC Charge Controller 12V 50A MPPT (Model: RBC50D1S-JP)
8. Nchọpụta nsogbu
If you encounter issues with your Renogy RMS-DCDC-JP monitor, please refer to the following common troubleshooting steps:
- Monitor Not Powering On:
- Ensure the RJ45 communication cable is securely connected to both the monitor and the DCC charge controller.
- Verify that the DCC charge controller is powered on and functioning correctly.
- Ọgụgụ na-ezighi ezi:
- Lelee njikọ eriri niile maka ikesa ma ọ bụ mmebi.
- Confirm that the monitor is compatible with your specific DCC charge controller model.
- Refer to the main DCC charge controller manual for calibration procedures if available.
- Na-egosipụta Koodu mperi:
- Note the specific error code displayed on the monitor.
- Consult the DCC charge controller's instruction manual for a detailed explanation of error codes and their corresponding troubleshooting steps.
- Bọtịnụ anaghị anabata:
- Ensure the monitor is not in a locked mode (if applicable, refer to the main manual).
- Gently press the buttons to ensure proper contact.
For persistent issues or advanced troubleshooting, please contact Renogy customer support.
9. Nlekọta
The Renogy RMS-DCDC-JP monitor requires minimal maintenance to ensure optimal performance and longevity.
- Nhicha: Regularly wipe the display screen and casing with a soft, dry cloth. Avoid using abrasive cleaners, solvents, or harsh chemicals, as these can damage the surface.
- Njikọ: Lelee njikọ eriri USB niile kwa oge iji hụ na echedoro ha na enweghị mmebi.
- gburugburu: Ensure the monitor is installed in a location that adheres to the specified operating temperature range and is protected from direct moisture and extreme environmental conditions.
10. Akwụkwọ ikike na nkwado
The Renogy RMS-DCDC-JP monitor comes with a Akwụkwọ ikike onye nrụpụta afọ 1. Akwụkwọ ikike a na-ekpuchi ntụpọ dị na ngwa na arụ ọrụ n'okpuru ojiji nkịtị.
For warranty claims, technical assistance, or any product-related inquiries, please contact Renogy customer support through their official website or the retailer where the product was purchased. Please have your product model number (RMS-DCDC-JP) and proof of purchase ready when contacting support.
10.1 Additional Support Videos
Vidiyo: Onye isi izugbe gafereview of Renogy products and their features, which may provide additional context for your system.
Video: Another informational video from Renogy, potentially covering system integration or advanced tips.