Okwu mmalite
This user manual provides comprehensive instructions for the TERIOS Wireless Controller, designed for an enhanced gaming experience. This controller is compatible with PlayStation 4, PS4 Pro, and PS4 Slim consoles.

Foto: N'ihu view of the green TERIOS Wireless Controller, showcasing ya ergonomic imewe na nhazi bọtịnụ.
Kedu ihe dị na Igbe ahụ
Mgbe ịmepechara ngwugwu ahụ, biko hụ na ihe niile dị:
- 1 x TERIOS Wireless Controller
- 1 x eriri USB
- 1 x Controller User Manual (this document)

Image: The TERIOS Wireless Controller, USB charging cable, and user manual laid out, representing the package contents.
Njirimara ngwaahịa
The TERIOS Wireless Controller is equipped with several features designed to enhance your gaming experience:
- Ikuku Njikọ: Connects wirelessly to your PS4 console via Bluetooth 4.2 for a stable connection up to 8 meters.
- Built-in Speaker & Headset Jack: Features an integrated speaker and a 3.5mm stereo headset jack for immersive audio.
- Multitouch Pad: A central multitouch pad expands gaming possibilities and interaction.
- Bọtịnụ Ekekọrịta: Allows for live-streaming and sharing gameplay moments without interrupting your session.
- Dual Analog Sticks: Provides pinpoint accuracy and enhanced sensitivity for precise control.
- Double Shock Vibration: Integrated motors provide haptic feedback for an immersive gaming experience.
- Turbo Feature: Enables rapid-fire functionality for certain in-game actions.
- Batrị enwere ike ịchaji: Equipped with a 1000mAh lithium battery, offering 10-12 hours of continuous use on a single charge.
- Nhazi Ergonomic: Conforms to the palm structure for comfortable extended gaming sessions.

Foto: nso nso views highlighting the built-in speaker, share button, and multitouch pad functionalities of the controller.

Image: Visuals illustrating the Bluetooth 4.2 connection, ergonomic design for comfortable grip, and the placement of advanced gaming buttons.

Image: The controller with a visual emphasis on its dual analog sticks, indicating their role in providing a better gaming experience.

Foto: Ihe dị n'ime view of the controller highlighting the double shock vibration motors, designed to provide immersive haptic feedback.
Ntuziaka nhazi
1. Nchaji mbụ
Before first use, fully charge the controller. Connect the supplied USB charging cable to the controller's micro USB port and the other end to a USB port on your PlayStation 4 console or a compatible USB wall adapter.
- Charging Time: Approximately 2-3 hours for a full charge.
- Battery Life: Up to 10-12 hours of continuous gameplay.
- Oge Njikere: Ruo ụbọchị iri atọ.
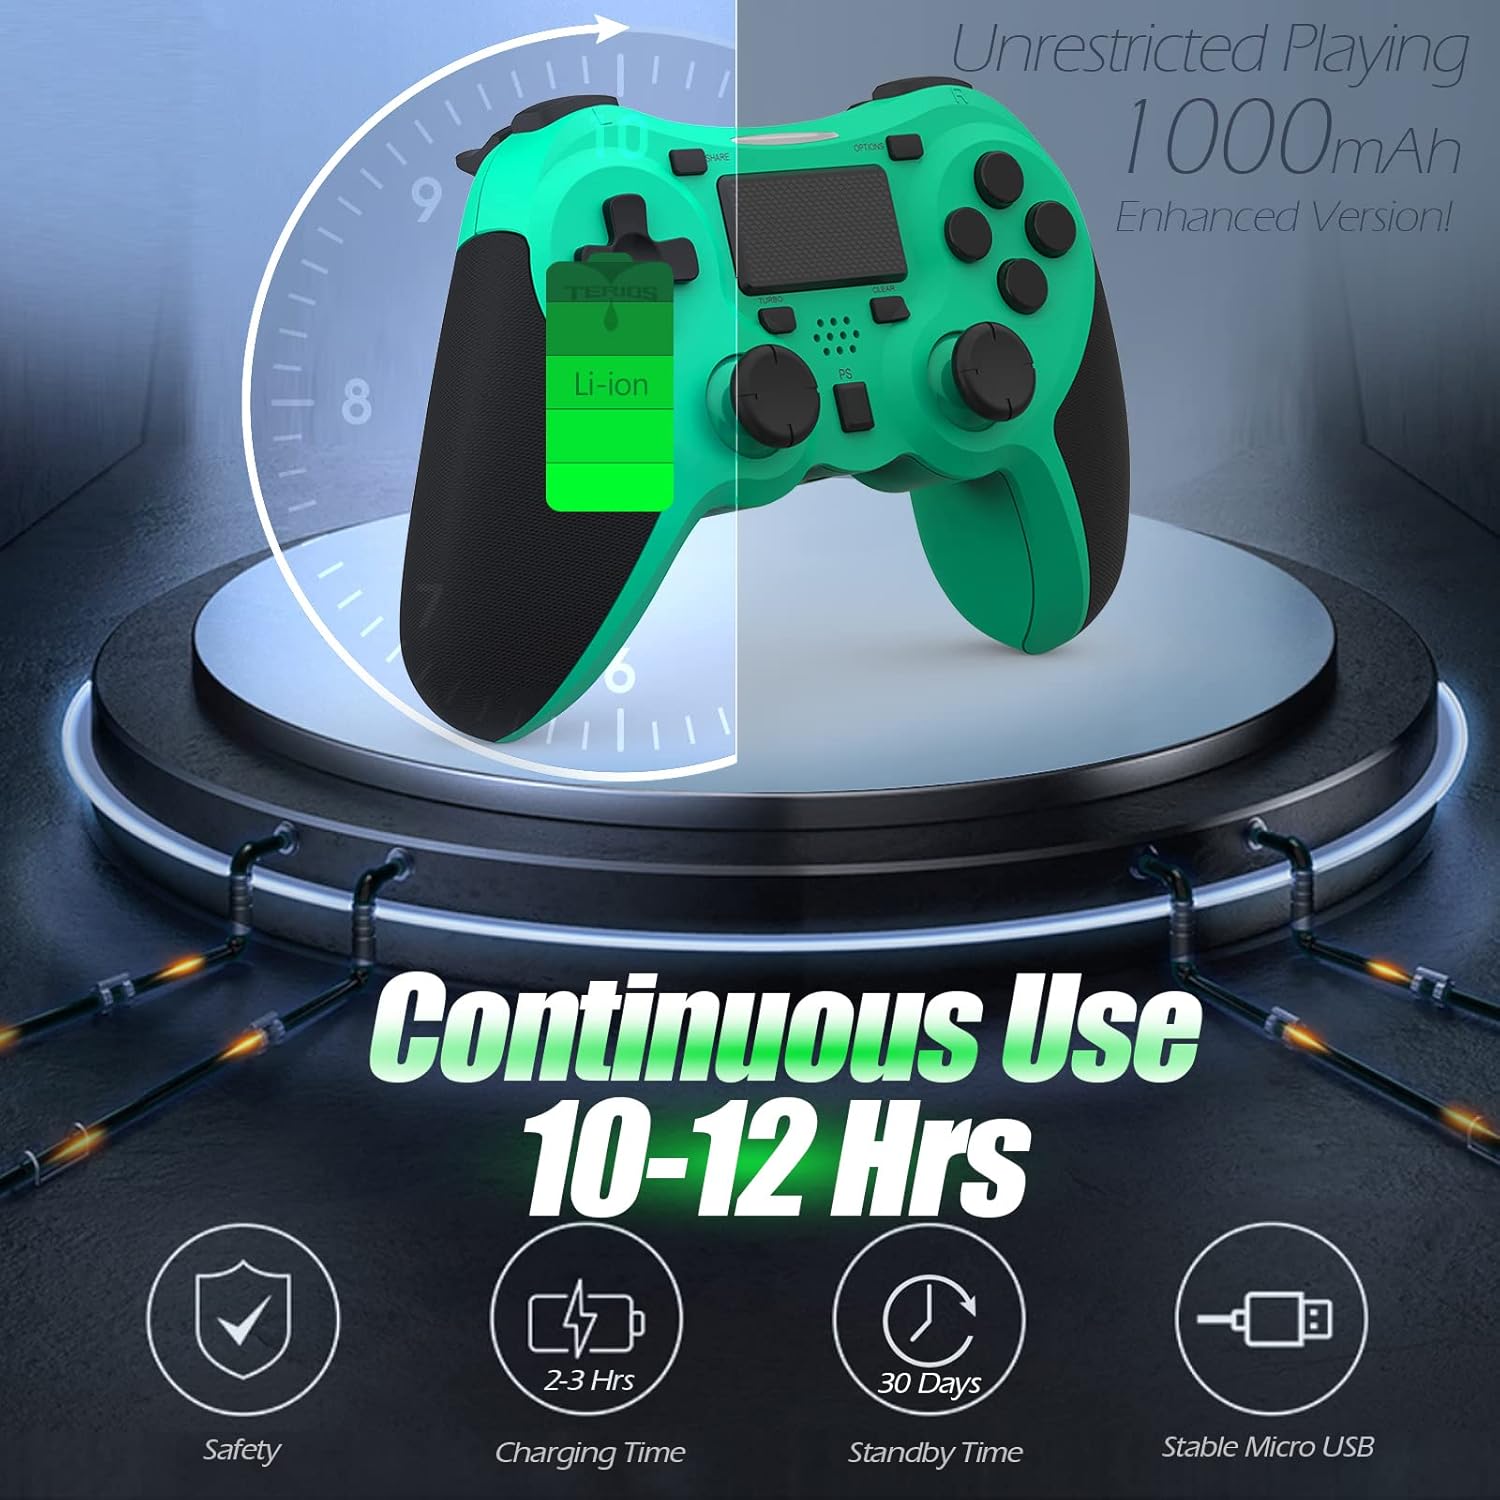
Image: A visual representation of the controller's 1000mAh battery, indicating 10-12 hours of continuous use, 2-3 hours charging time, and 30 days standby time.
2. Pairing with PlayStation 4
Ijikọ njikwa na njikwa PS4 gị:
- Jide n'aka na agbanyere njikwa PS4 gị.
- Jikọọ njikwa ahụ na njikwa PS4 site na iji eriri USB chaja.
- Pịa PS bọtịnụ (located in the center of the controller). The light bar on the controller will flash, then glow a solid color, indicating successful pairing.
- Ozugbo ejikọtara ya, ị nwere ike ịkwụsị eriri USB maka egwuregwu ikuku.
Mara: If the controller does not pair, ensure it is charged and try connecting it to a different USB port on the console. For persistent issues, refer to the Troubleshooting section.
Ntuziaka ọrụ
Njikwa ntọala
| Akụkụ | Ọrụ |
|---|---|
| Ps bọtịnụ | Powers on the controller, accesses the PS4 home screen, switches users, or turns off the console (long press). |
| Bọtịnụ SHARE | Accesses the Share menu to capture screenshots, record video clips, or broadcast gameplay. |
| Bọtịnụ Nhọrọ | Pauses games, accesses in-game menus, or confirms selections. |
| Directional Buttons (D-Pad) | Navigates menus and provides directional input in games. |
| Action Buttons (Triangle, Circle, Cross, Square) | Performs in-game actions, confirms, or cancels selections. |
| Left/Right Sticks (L3/R3) | Controls character movement, camera, or other analog inputs. Pressing down on the sticks activates L3/R3 buttons. |
| Bọtịnụ L1/R1 | Trigger various in-game actions, often for aiming or secondary functions. |
| Ihe mkpali L2/R2 | Analog triggers for actions like accelerating, braking, or firing weapons. |
| Multitouch Pad | Provides touch input for specific game interactions or navigation. |
| Jack ekweisi 3.5mm | Connects compatible headsets for game audio and voice chat. |
Ọrụ Pụrụ Iche
Njirimara Turbo
The Turbo feature allows for rapid, continuous input of a button press, useful for actions like rapid firing in games.
- Pịa ma jide TURBO bọtịnụ (located below the touchpad).
- While holding TURBO, press the action button you wish to apply the rapid-fire function to (e.g., Square, Cross, Circle, Triangle, L1, R1, L2, R2).
- Release both buttons. The selected action button will now continuously register presses as long as it is held down.
- To disable Turbo for a specific button, repeat the process: hold TURBO and press the button again.

Image: A visual guide demonstrating how to activate the Turbo feature on the controller for rapid-fire actions.
Share Button Functionality
The SHARE button provides quick access to PS4's sharing features:
- Otu Pịa: Opens the Share menu, allowing you to save a screenshot, save a video clip, or start a broadcast.
- Ogologo Pịa: Takes a screenshot directly.
- Ugboro abụọ Press: Na-amalite/kwụsị ndekọ vidiyo.
Nlekọta
Proper maintenance ensures the longevity and optimal performance of your TERIOS Wireless Controller.
Nhicha
- Jiri ákwà dị nro ma kpọọ nkụ hichaa elu ihe njikwa ahụ.
- Maka unyi isi ike, ntakịrị dampen akwa na mmiri ma ọ bụ dị nwayọọ, na-adịghị abrasive Cleaner. Zere oke mmiri mmiri.
- Do not use harsh chemicals, solvents, or abrasive materials, as these can damage the controller's finish and internal components.
Nchekwa
- Debe ihe njikwa ahụ n'ebe dị jụụ ma kpọọ nkụ, ebe anwụ na-anaghị apụta kpọmkwem, oke okpomọkụ, na oke iru mmiri.
- Avoid placing heavy objects on the controller to prevent damage to buttons or analog sticks.
Nlekọta batrị
- To preserve battery life, avoid fully discharging the controller frequently.
- Ọ bụrụ na echekwara ya ruo ogologo oge, chajie batrị ahụ ruo ihe dịka 50% tupu echekwa ya.
- Recharge the controller at least once every three months if not in use to prevent deep discharge.
Nchọpụta nsogbu
If you encounter issues with your TERIOS Wireless Controller, please refer to the following common solutions:
Njikwa Anaghị ejikọta/Na-ejikọ
- Lelee batrị: Ensure the controller is sufficiently charged. Connect it to the PS4 via USB cable to charge.
- Tinyegharịa ụzọ: Connect the controller to the PS4 with the USB cable and press the PS button to re-establish the connection.
- Reset Controller: Locate the small reset button hole on the underside of the controller (near the L2 button). Use a straightened paperclip or a similar thin object to press and hold the button for 3-5 seconds. This will reset the controller. After resetting, attempt to re-pair it with the PS4.
- Ntinye aka: Move closer to the PS4 console to rule out wireless interference.
Buttons or Sticks Unresponsive/Lagging
- Reset Controller: Perform a hard reset as described above.
- Ọcha: Ensure no debris is lodged around the buttons or sticks. Clean the controller as per the Maintenance section.
- Firmware: Ensure your PS4 system software is up to date.
Oke ịma jijiji
- Reset Controller: A reset can often resolve unexpected vibration issues.
- Ntọala egwuregwu: Check in-game settings for vibration intensity.
Nkọwapụta
| Njirimara | Nkọwa |
|---|---|
| Nlereanya | TERIOS 5S |
| ASIN | B09KLR5DCZ |
| Ndakọrịta | PlayStation 4, PS4 Pro, PS4 Slim |
| Njikọta | Wireless (Bluetooth 4.2), USB |
| Ụdị batrị | Lithium polymer (1 gụnyere) |
| Ike batrị | 1000mAh |
| Oge eji na-aga n'ihu | 10-12 awa |
| Oge Nchaji | 2-3 awa |
| Oge Njikere | Ruo ụbọchị 30 |
| Ibu Ibu | 10.8 ounces (ihe dị ka gram 306) |
| Akụkụ ngwugwu | 6.69 x 5.24 x 2.72 sentimita asatọ |
| Onye nrụpụta | TERIOS |
| Ụbọchị mbụ dị | Ọktoba 28, 2021 |
Akwụkwọ ikike na nkwado
TERIOS stands behind the quality of its products. This controller comes with a 1-afọ akwụkwọ ikike site na ụbọchị ịzụrụ, na-ekpuchi ntụpọ nrụpụta.
For customer support, technical assistance, or warranty claims, please contact TERIOS customer service through the platform where you purchased the product or visit the official TERIOS store page for contact information.
We are committed to providing premium customer support and ensuring your satisfaction with our products.


