1. Ngwaahịa gafereview
The XPG Defender is a mid-tower ATX PC case designed for efficient airflow and ease of assembly. It features a mesh front panel, tempered glass side panel, and supports various motherboard sizes.
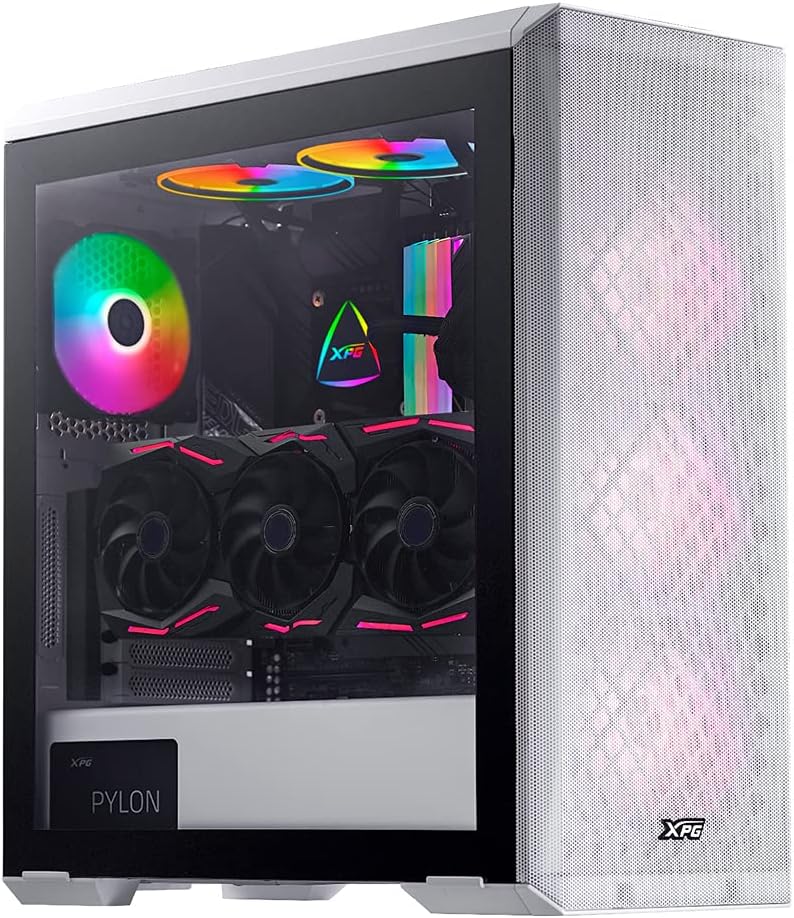
Image: XPG Defender PC Case, white, with tempered glass side panel and mesh front panel, showcasing internal components and RGB fans.
2. Ntọala na nwụnye
2.1 Unboxing na Nkwadebe
- Carefully remove the PC case from its packaging.
- Inspect the case for any signs of damage during transit.
- Debe igbe ahụ n'elu elu kwụsiri ike ma dịkwa larịị.
2.2 Removing Panels
The tempered glass side panel is secured with thumbscrews. Carefully remove these screws and gently pull the panel away from the chassis. The mesh front panel is magnetic and can be pulled off directly to access front fan mounts.

Image: XPG Defender PC Case, white, with the mesh front panel detached, revealing the fan mounting points behind it.
2.3 Nwụnye motherboard
The XPG Defender supports Mini-ITX, Micro-ATX, ATX, and E-ATX motherboards. Install the necessary standoffs for your motherboard size, then secure the motherboard with screws.

Foto: Ime view of the XPG Defender PC Case, white, showing the spacious interior, motherboard tray, and cable management cutouts.
2.4 Ntinye draịva
The case provides space for two 2.5-inch drives and two convertible 2.5-inch/3.5-inch drive trays. Locate the drive bays and secure your storage devices using the provided screws or tool-less mechanisms.

Foto: Ime view of the XPG Defender PC Case, white, focusing on the drive bays with trays for 2.5-inch and 3.5-inch drives.
2.5 Ntinye ike
Install your power supply unit (PSU) into the rear mount area at the bottom of the case. Secure it with screws from the rear of the chassis.

Image: Rear internal view of the XPG Defender PC Case, white, highlighting the power supply shroud and drive bay area.
2.6 Graphics Card and Expansion Cards
Install your graphics card and other expansion cards into the appropriate PCIe slots on your motherboard. The case offers ample space for long graphics cards.

Foto: Ime view of the XPG Defender PC Case, white, showing a graphics card installed, emphasizing the ample space for long GPUs.
2.7 Njikwa eriri
Utilize the cable routing cutouts and tie-down points behind the motherboard tray to manage cables for a clean build and improved airflow.
3. Ntuziaka ọrụ
3.1 Na-agbanye ike
After connecting all internal components and external peripherals, connect the power cable to your PSU and press the power button located on the top I/O panel of the case.
3.2 Ikuku na Oyi
The XPG Defender is designed with an efficient airflow layout, featuring a mesh front panel for optimal air intake. It comes with three pre-installed XPG VENTO 120 fans to facilitate cooling.

Foto: N'ihu view of the XPG Defender PC Case, white, with its mesh front panel and three illuminated fans visible behind it.
4. Nlekọta
4.1 Nhicha uzuzu uzuzu
To maintain optimal airflow and prevent dust buildup, regularly clean the dust filters. The magnetic mesh front panel can be easily removed for cleaning. The bottom dust filter is also detachable for convenient maintenance.

Image: Close-up of the removable bottom dust filter of the XPG Defender PC Case, white, illustrating its easy access for cleaning.
4.2 Nhicha izugbe
Use a soft, dry cloth to wipe down the exterior of the case. For the tempered glass panel, use a glass cleaner and a microfiber cloth. Avoid abrasive cleaners or solvents.
5. Nchọpụta nsogbu
- Enweghị ike: Ensure all power cables (PSU to wall, PSU to motherboard, CPU, GPU) are securely connected. Check the power switch on the PSU.
- Ndị Fans anaghị agba ọsọ: Verify that the fan cables are correctly connected to the motherboard or fan controller.
- ekpo oke ọkụ: Ensure proper fan orientation for airflow (intake/exhaust). Clean dust filters and internal components regularly. Confirm CPU cooler and GPU fans are functioning correctly.
- Tempered Glass Handling: The tempered glass panel is durable but can shatter if subjected to sharp impacts or uneven pressure. Handle with care during installation and removal.
- Front Panel I/O Issues: Check that the front panel connectors (USB, audio, power/reset switches) are correctly plugged into the motherboard headers.
6. Nkọwapụta
| Akụkụ ngwaahịa | 19.37 x 8.66 x 17.36 sentimita asatọ |
| Ibu Ibu | 17.9 pound |
| Nọmba Nlereanya ihe | DEFENDER-WHCWW |
| Ndakọrịta Motherboard | Obere-ITX, Micro-ATX, ATX, E-ATX |
| Ụdị ikpe | Mid Tower |
| Agba | Ọcha |
| Ihe onwunwe | Igwe ọkụ |
| Ụdị Nkwanye Ike | Ugwu azụ |
| Usoro jụrụ oyi | Onye ofufe |
| Nha Fans | 120 Millimeters (3 pre-installed) |
7. Akwụkwọ ikike na nkwado
Maka ozi gbasara akwụkwọ ikike na nkwado teknụzụ, biko gaa na XPG gọọmentị websaịtị ma ọ bụ kpọtụrụ ndị ọrụ XPG ozugbo. Debe ihe akaebe nke ịzụrụ ihe gị maka nkwupụta nkwa.
You can visit the XPG Store for more information: XPG Store


