Okwu mmalite
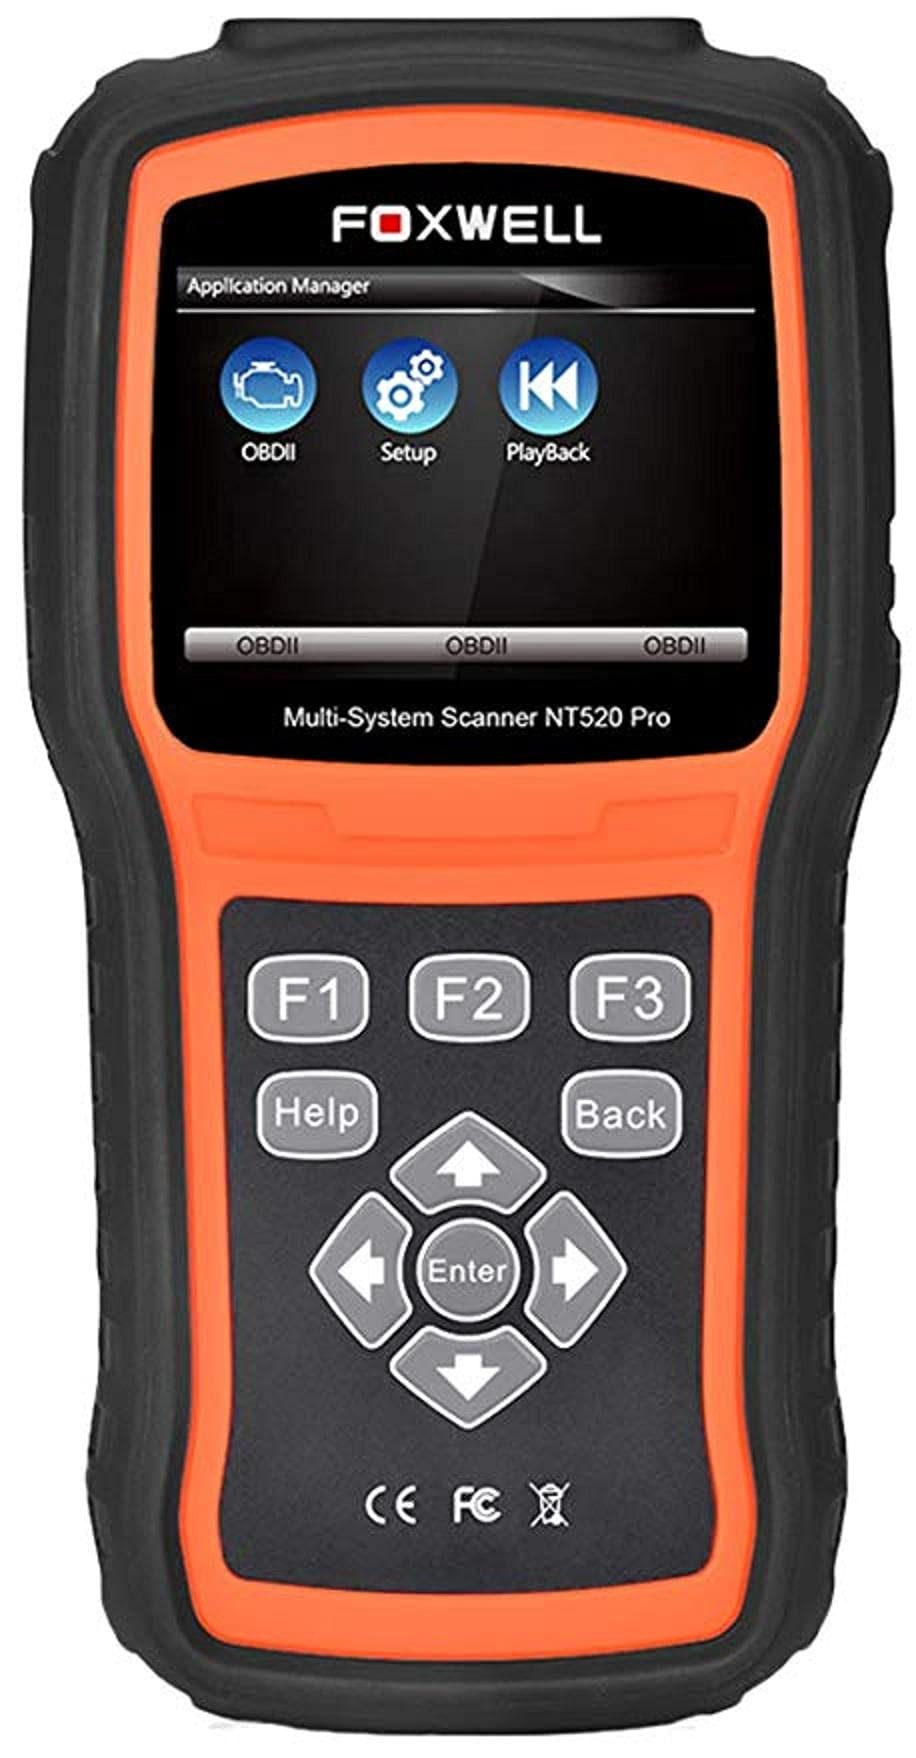
The Foxwell NT520 PRO is a professional-grade car fault diagnostic tool designed to help users identify and resolve issues in various vehicle systems. This device offers comprehensive diagnostic functions, including reading and clearing fault codes, viewing live data streams, and performing specialized tests and coding functions. It supports a wide range of car makes and models equipped with an OBD II - 16 pin connector.
1. Nhazi
Ihe ngwugwu 1.1
- Foxwell NT520 PRO Diagnostic Tool
- OBD II diagnostic USB
- USB Cable (for updates and data transfer)
- Akwụkwọ ntuziaka (akwụkwọ a)
1.2 Initial Device Power-Up
- Connect the OBD II diagnostic cable to the NT520 PRO device.
- Locate the vehicle's OBD II port, typically found under the dashboard on the driver's side.
- Plug the diagnostic cable into the vehicle's OBD II port. The device should power on automatically. If not, ensure the vehicle's ignition is in the ON position.
1.3 Mmelite ngwanrọ
The NT520 PRO offers free updates for one selected car brand. Additional brands (up to five) can be added via internet for a fee. Regular software updates ensure compatibility with newer vehicle models and provide access to the latest diagnostic features.
- Jikọọ ngwaọrụ na kọmputa site na iji eriri USB enyere.
- Install the Foxwell update client software on your computer (refer to the official Foxwell website for download).
- Follow the on-screen instructions in the update client to register your device and perform software updates.
2. Ntuziaka ọrụ
The NT520 PRO features a color screen for easy navigation and data display.
2.1 Nsoro ụzọ
- Use the arrow keys to navigate through menus.
- Press the 'Enter' or 'OK' button to select an option.
- Press the 'Back' or 'Exit' button to return to the previous screen.
2.2 Ọrụ nyocha
The device supports diagnostics for most available control units in a vehicle, including:
- Modul njikwa injin (ECM)
- Modul njikwa nnyefe (TCM)
- Sistemụ mgbachi mkpọchi (ABS)
- Sistemụ akpa ikuku
- Module njikwa ahụ (BCM)
2.2.1 Reading and Clearing Fault Codes
- From the main menu, select 'Diagnostics' or 'Scan'.
- Choose the vehicle make and model.
- Select the desired control unit (e.g., Engine, ABS).
- Họrọ 'Gụọ Koodu' ka view current and stored Diagnostic Trouble Codes (DTCs).
- Select 'Clear Codes' to erase the detected fault codes. This will also turn off the Malfunction Indicator Lamp (MIL) if the fault is no longer present.
2.2.2 Live Data iyi
View data oge dị adị site na ihe mmetụta na akụkụ dị iche iche.
- After selecting the control unit, choose 'Live Data'.
- Select the parameters you wish to monitor.
- The data will be displayed in numerical or graphical format.
2.2.3 Ozi ECU
Access information about the Electronic Control Unit.
- After selecting the control unit, choose 'ECU Information'.
- View details such as VIN, calibration ID, and software version.
2.2.4 Component Testing and Coding
The device can perform tests on various car parts and supports programming and coding for different components.
- Component Tests: Select 'Active Test' or 'Component Test' from the menu to activate specific components and check their functionality.
- Programming and Coding: This function allows for programming and coding of various parts. Use with caution and only if you are familiar with the specific vehicle's requirements.
- Key Coding: For certain models, the device supports key coding functionality. Refer to your vehicle's service manual for specific procedures.
3. Nlekọta
3.1 Nlekọta ngwaọrụ
- Debe ngwaọrụ ahụ ọcha na enweghị ntụ na mmiri.
- Chekwaa ngwaọrụ ahụ n'ebe dị jụụ, kpọrọ nkụ mgbe ọ naghị eji ya.
- Zere idobe ngwaọrụ ma ọ bụ tinye ya na mmetụta siri ike.
- Do not use harsh chemicals for cleaning; a soft, damp akwa zuru oke.
3.2 Mmezi Ngwanrọ
Regularly check for and install software updates to ensure optimal performance and compatibility with the latest vehicle models. Refer to section 1.3 for update instructions.
4. Nchọpụta nsogbu
4.1 Ngwaọrụ anaghị agba ọkụ
- Ensure the OBD II cable is securely connected to both the device and the vehicle's OBD II port.
- Verify that the vehicle's ignition is in the ON position.
- Check the vehicle's fuse for the OBD II port (consult your vehicle's owner's manual).
4.2 mperi nzikọrịta ozi
- Confirm the vehicle supports the OBD II protocol (most vehicles manufactured after 1996 do).
- Ensure the diagnostic cable is not damaged.
- Gbalịa ijikọ na ụgbọala ọzọ iji wepụ nsogbu nke kpọmkwem ụgbọala ahụ.
- Melite ngwanro ngwaọrụ na ụdị kachasị ọhụrụ.
4.3 Ihe ngosi na-adịghị mma Lamp (MIL) Remains On
After clearing fault codes, if the MIL (Check Engine Light) remains illuminated, it indicates that the underlying fault has not been resolved or a new fault has occurred. Address the root cause of the fault before attempting to clear codes again.
5. Nkọwapụta
| Njirimara | Nkọwa |
|---|---|
| Onye nrụpụta | Foxwell |
| Ụdị | Foxwell |
| Nọmba nlereanya | 111111111111 |
| Nọmba nke onye nrụpụta | 111111111111 |
| Isi Iyi Ike | Igwe ọkụ eletrik |
| Ibu Ibu | 818 g |
| Akụkụ Mbupu | 21.2 x 17.8 x 8.2 cm |
| ASIN | B092326PXZ |
| Ụbọchị mbụ dị | Eprel 8, 2021 |
6. Akwụkwọ ikike na nkwado
6.1 Akwụkwọ ikike ngwaahịa
Please refer to the warranty card included with your product or visit the official Foxwell website for detailed warranty information. Warranty terms typically cover manufacturing defects for a specified period from the date of purchase.
6.2 Nkwado nka na ụzụ
For technical assistance, software updates, or troubleshooting not covered in this manual, please contact Foxwell customer support through their official website or authorized service centers. Have your product model and serial number ready when contacting support.


