1. Okwu mmalite
The Retro-Bit Prism HDMI Adapter is designed to enhance your GameCube gaming experience on modern displays. This adapter converts the GameCube's digital AV output to an HDMI signal, supporting up to 1080P resolution. It is specifically compatible with GameCube Model DOL-001, which features a dedicated Digital AV Out port.

Image 1.1: The Retro-Bit Prism HDMI Adapter, its remote control, and product packaging.
2. Ngwaahịa gafereview
2.1 Atụmatụ
- GameCube Compatibility: Exclusively designed for GameCube Model DOL-001.
- Ihe mmepụta HDMI: Provides a digital video and audio signal for modern displays.
- Customizable On-Screen Display (OSD): Adjust video settings using the included IR remote.
- Mmelite femụwe: USB-C data port allows for easy firmware updates.
- Scan Filters: Includes various scan filter options for display customization.
- Ntọala nkwụnye na-egwu: Simple installation for immediate use.
2.2 Akụkụ

Image 2.1: Diagram illustrating the Digital AV Out connector, USB-C data port, HDMI output port, and Universal Remote Sync Button on the adapter, along with the included IR remote.
- Digital AV Out Connector: This connector plugs into the Digital AV Out port on the back of your GameCube Model DOL-001.

Image 2.2: Digital AV Out Connector.
- Ọdụ ụgbọ mmiri HDMI: Connects to your display via an HDMI cable (not included).

Image 2.3: HDMI Output Port.
- Ọdụ ụgbọ mmiri USB-C: Used for installing firmware updates.

Image 2.4: USB-C Data Port.
- Njikwa anya IR: For navigating the On-Screen Display and adjusting settings.

Image 2.5: IR Remote Control.
3. Nhazi ntuziaka
Follow these steps to connect your Retro-Bit Prism HDMI Adapter to your GameCube and display:
- Verify GameCube Model: Ensure your GameCube is Model DOL-001. This model has a Digital AV Out port next to the analog AV port on the back. The adapter is not compatible with later GameCube models (DOL-101) that lack this digital port.
- Jikọọ nkwụnye: Carefully insert the Digital AV Out Connector of the Prism HDMI Adapter into the Digital AV Out port on your GameCube.
- Jikọọ eriri HDMI: Plug one end of an HDMI cable (not included) into the HDMI Output Port of the Prism adapter and the other end into an available HDMI input on your television or monitor.
- Ike Na: Power on your GameCube and your display. Select the correct HDMI input on your display.

Image 3.1: Plug-and-Play Setup diagram. The adapter connects to the GameCube's digital AV port, and an HDMI cable connects the adapter to a display.
Ihe ndetu dị mkpa:
The adapter extends from the back of the GameCube. To prevent potential stress or damage to the GameCube's Digital AV Out port, it is recommended to provide support for the adapter and the connected HDMI cable. This can be achieved using a small prop or a custom-made bracket.
4. Ntuziaka ọrụ
4.1 On-Screen Display (OSD) and Remote Control
The included IR remote control allows you to access and navigate the adapter's On-Screen Display (OSD) to customize video settings. Use the directional buttons to navigate and the 'A' button (MENU/OK) to select options. The 'B' button (EXIT) is used to go back or exit the OSD.
Available settings may include:
- Scan filters (e.g., scanlines)
- Aspect ratio adjustments (e.g., 4:3, 16:9)
- Brightness, contrast, and color settings
4.2 Activating Progressive Scan (480p)
To achieve the highest possible picture quality (480p progressive scan) for compatible GameCube games, you must hold down the B bọtịnụ on your GameCube controller while booting up a game. If the game supports 480p, you will be prompted to enable it. Select 'Yes' to activate progressive scan.
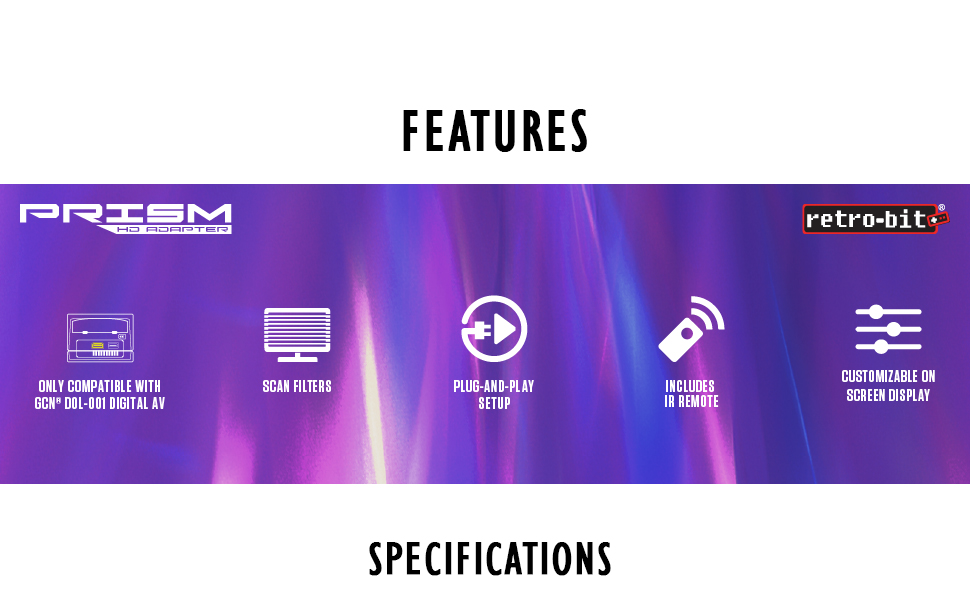
Image 4.1: Visual comparison demonstrating the improved clarity and detail when using HD 480p with Progressive Scan enabled compared to standard AV 480i Composite Video.
5. Nlekọta
5.1 Mmelite firmware
The Retro-Bit Prism HDMI Adapter features a USB-C data port for firmware updates. Periodically check the official Retro-Bit website for available firmware updates. These updates can provide performance improvements, bug fixes, and additional features. Follow the instructions provided on the Retro-Bit website for the specific update process.
6. Nchọpụta nsogbu
- Enweghị Foto na Ngosipụta:
- Ensure the GameCube is Model DOL-001.
- Verify the adapter is fully seated in the GameCube's Digital AV Out port.
- Check that the HDMI cable is securely connected to both the adapter and the display.
- Confirm your display is set to the correct HDMI input.
- Try a different HDMI cable or display to rule out external issues.
- Okwu Ogo foto:
- Ensure Progressive Scan (480p) is activated for compatible games by holding the B button during game boot-up.
- Adjust settings via the OSD using the IR remote.
- Adapter Feels Loose or Causes Port Strain:
- As noted in the setup section, provide physical support for the adapter and HDMI cable to alleviate strain on the GameCube's Digital AV Out port.
7. Nkọwapụta
| Njirimara | Nkọwa |
|---|---|
| Nọmba nlereanya | 849172013063 |
| Ndakọrịta | Nintendo GameCube Model DOL-001 (with Digital AV Out port) |
| Mpụta | HDMI |
| Mkpebi akwadoro | Up to 1080P (GameCube native output is 480p for progressive scan compatible games) |
| Port data | USB-C (for firmware updates) |
| Akụkụ | 5.51 x 0.79 x 6.69 sentimita asatọ |
| Ibu | 1.44 ounces |
| Onye nrụpụta | Retro-Bit |
| Ụbọchị mwepụta | Maachị 26, 2021 |
8. Akwụkwọ ikike na nkwado
For warranty information, technical support, or further assistance with your Retro-Bit Prism HDMI Adapter, please visit the official Retro-Bit websaịtị ma ọ bụ kpọtụrụ nkwado ndị ahịa ha ozugbo. Debe ihe akaebe nke ịzụrụ ihe maka akwụkwọ ikike.


