1. Okwu mmalite
Thank you for choosing the USX MOUNT UL Listed Heavy Duty TV Wall Mount. This product is engineered for secure and versatile mounting of televisions ranging from 32 to 90 inches and weighing up to 150 lbs. It features a full-motion design with swivel, tilt, and leveling adjustments, along with an 8-inch horizontal sliding function for optimal TV positioning. Please read this manual thoroughly before installation and retain it for future reference.

Foto 1: USX MOUNT Heavy Duty TV Wall Mount with bubble level and cable ties.
2. Ozi nchekwa dị mkpa
- Ịdọ aka ná ntị: This product is designed for use in wood stud, solid concrete, or brick walls only. Awụnyela na drywall naanị.
- Ensure your TV's weight and VESA pattern are within the specified limits of this mount.
- Always use a stud finder to locate wood studs accurately.
- If mounting to concrete or brick, appropriate concrete anchors are required. Contact USX MOUNT if you need these anchors.
- Installation should be performed by at least two people due to the weight and size of the TV and mount.
- Do not overtighten screws, as this may damage the wall or TV.
- Debe ụmụaka na anụ ụlọ n'oge echichi.
3. Ihe ngwugwu
Verify that all components are present and undamaged before beginning installation. If any parts are missing or defective, please contact USX MOUNT customer support.
- TV Wall Mount Assembly
- TV Brackets (2 pieces)
- Efere mgbidi
- Ọkwa afụ
- Cable Ties (3 pieces)
- Standard Mounting Hardware (various screws, washers, spacers for different TV types)
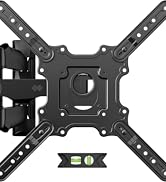
Foto 2: Ihe niile dị na ngwugwu ahụ.
4. Ngwaọrụ achọrọ (anaghị etinye ya)
- Onye nchọta nchọta
- Igwe ọkụ eletrik
- Level (a small one is included, but a larger one may be helpful)
- Pensụl
- Ihe teepu
- Phillips Isi Ihe Nleghari
- Socket Wrench (e.g., 13mm)
- Hama (maka arịlịka simenti)
5. Nkọwapụta ngwaahịa
| Njirimara | Nkọwapụta |
|---|---|
| Nọmba nlereanya | XML018-1 |
| Nha TV dakọtara | 32-90 sentimita asatọ |
| Ike ibu kacha | 150 lbs (68.2 n'arọ) |
| Ndakọrịta VESA | Max 600x400mm, Min 200x100mm |
| Ụdị mmegharị | Articulating, Swivel, Tilt |
| Tilt Angle | +5°/-15° |
| Akụkụ Swivel | +/-45° |
| Ogologo ruo Wall | 3.35-19.09 sentimita asatọ |
| Horizontal Sliding | 8 inches (left or right) |
| Ụdị Mgbidi Dakọtara | Wood studs (8", 12", 16", 18", 24"), Solid concrete wall, Brick wall |
| Ihe onwunwe | Alloy Steel |

Foto 3: Available VESA patterns and how to measure your TV's VESA.
6. Ntuziaka nwụnye
6.1. Ndepụta ntinye tupu etinyere
- Confirm your TV's size and weight are within the mount's specifications.
- Verify your TV's VESA mounting pattern.
- Identify your wall type (wood studs, concrete, or brick).
- Gather all necessary tools and included hardware.
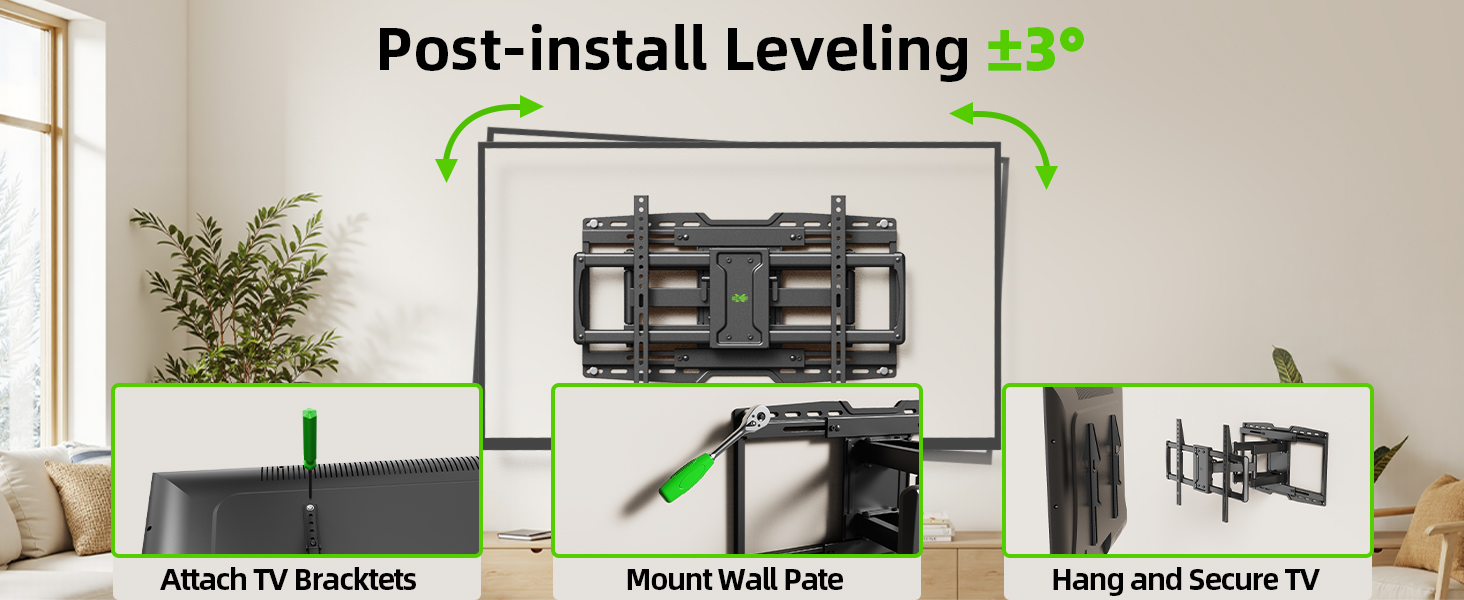
Foto 4: Confirm TV and wall compatibility before installation.
6.2. Nwụnye nzọụkwụ site na nzọụkwụ
Nzọụkwụ 1: Tinye eriri TV na TV
- Carefully place your TV face-down on a soft, clean surface.
- Align the TV brackets with the mounting holes on the back of your TV.
- Select the appropriate screws, washers, and spacers from the hardware kit. For flat TV backs, spacers may not be needed. For irregular or curved TV backs, use spacers to ensure a secure fit without damaging the TV.
- Secure the brackets to the TV using a screwdriver. Do not overtighten.
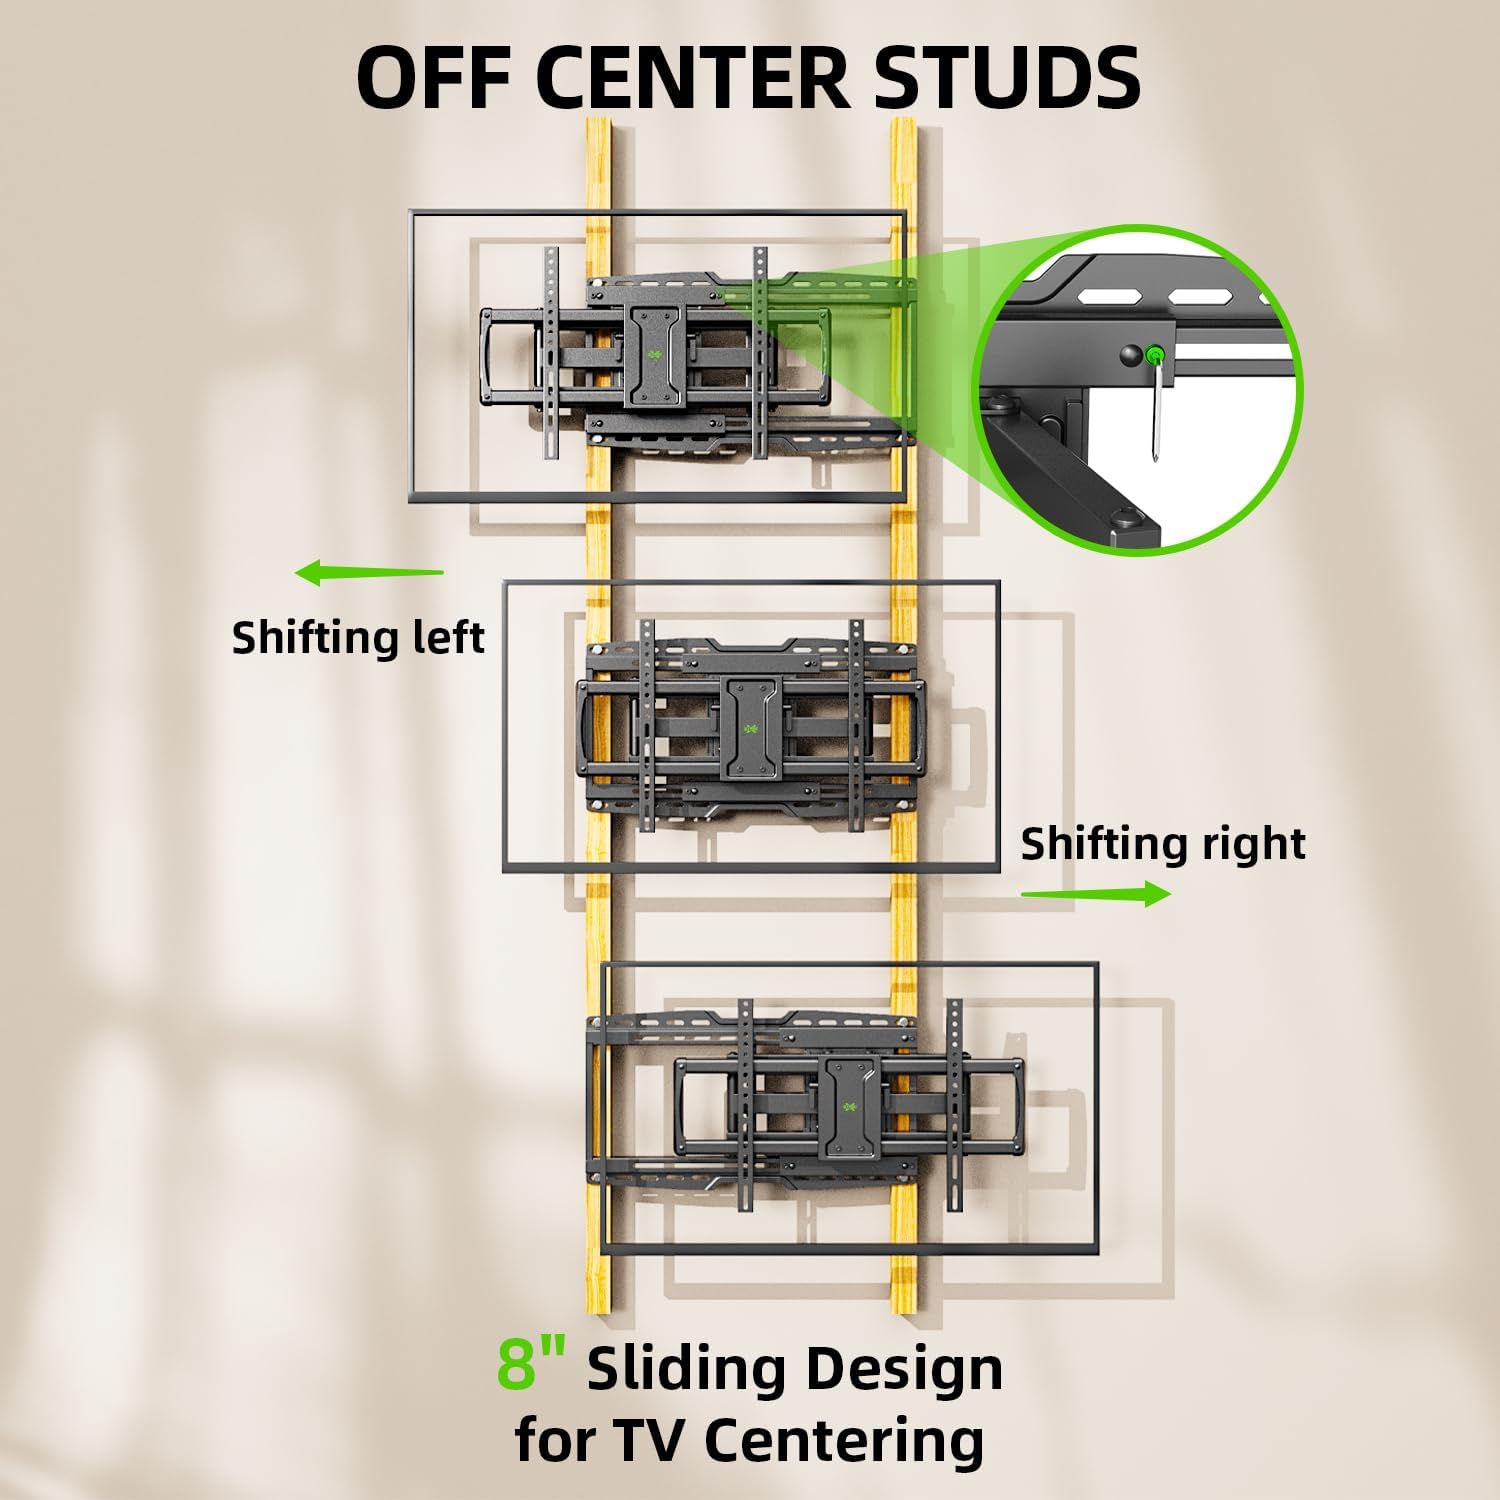
Foto 5: TV brackets attached to the back of the television.
Vidio 1: This video demonstrates the process of attaching the TV brackets to the television, including considerations for different TV back types.
Step 2: Locate Wall Studs and Mark Drilling Points
- Use a stud finder to locate the edges and center of two adjacent wood studs. Mark the center of each stud.
- Hold the wall plate against the wall at your desired height and use a level to ensure it is perfectly horizontal. Mark the drilling points through the wall plate's holes onto the wall.
- The mount features an 8-inch horizontal sliding design, allowing you to center your TV even if your studs are off-center. Plan your wall plate placement accordingly.

Foto 6: The 8-inch sliding design allows for TV centering even with off-center studs.
Nzọụkwụ 3: Tinye Plate Wall na Wall
Maka Mgbidi Osisi:
- Drill pilot holes at the marked locations using a 7/32 inch (5.5 mm) drill bit. Ensure the depth is sufficient for the lag bolts.
- Attach the wall plate to the wall using the provided lag bolts and washers. Tighten securely with a socket wrench.
Maka mgbidi simenti siri ike ma ọ bụ brik:
- Drill pilot holes at the marked locations using a 3/8 inch (10 mm) drill bit. Ensure the depth is sufficient for the concrete anchors.
- Insert the concrete anchors into the pilot holes, tapping gently with a hammer if necessary until flush with the wall surface.
- Attach the wall plate to the wall using the provided lag bolts and washers, screwing them into the anchors. Tighten securely.

Foto 7: Compatible wall types for installation. Do not install on drywall alone.
Vidio 2: This installation video demonstrates locating studs, drilling, and securing the wall plate for various wall types.
Step 4: Hang TV onto Wall Plate
- With assistance, carefully lift the TV and hook the attached TV brackets onto the wall plate.
- Hụ na TV ahụ dị n'elu mgbidi ahụ nke ọma.
- Engage the safety screws or locking mechanisms on the TV brackets to prevent accidental dislodging.

Foto 8: gafereview of the TV mounting process, including hanging and securing the TV.
Step 5: Leveling Adjustment
- After hanging the TV, use the horizontal post-installation leveling screws to fine-tune the TV's level. This allows for a +/-3° adjustment.
- Use the included bubble level or a larger level to achieve perfect horizontal alignment.
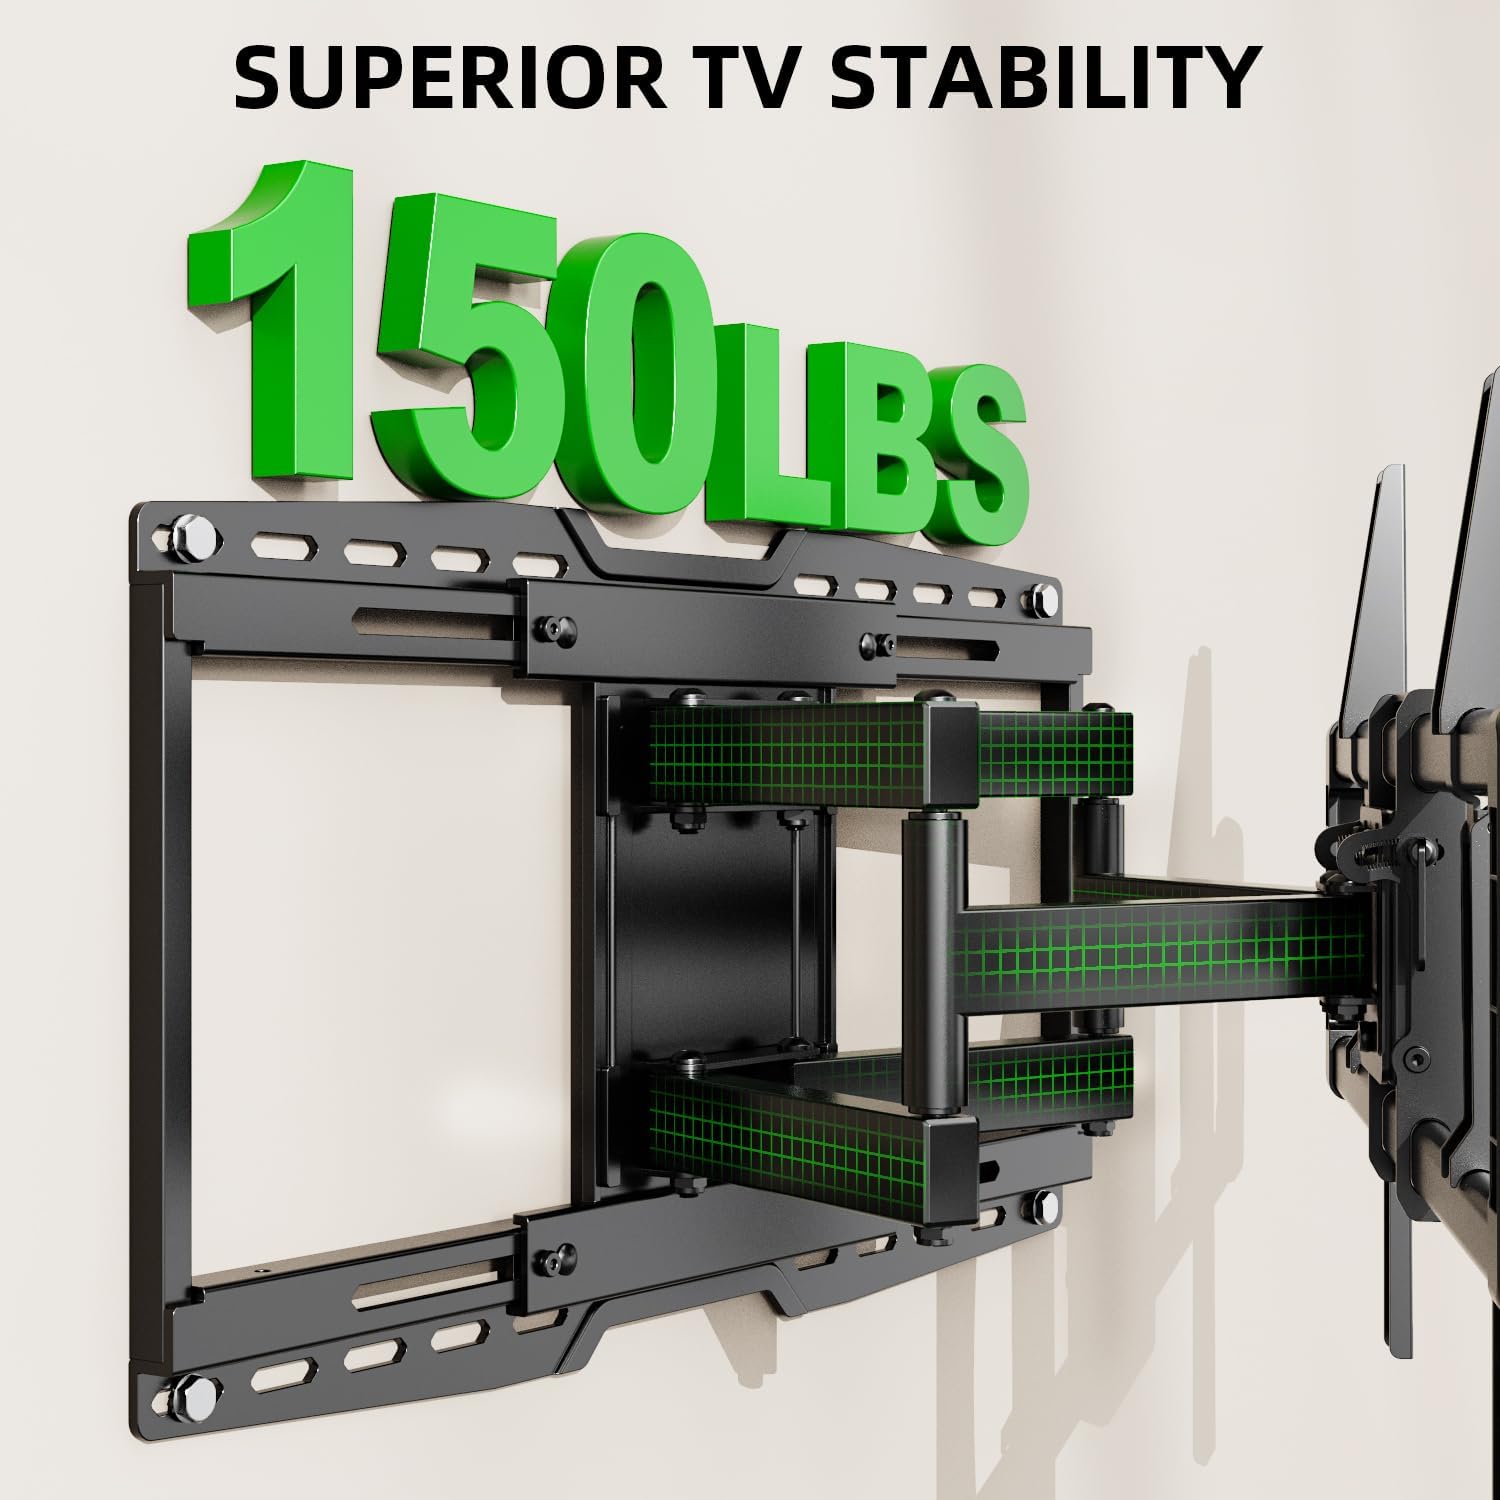
Foto 9: Post-installation leveling screws for precise alignment.
7. Ntuziaka ọrụ
7.1. Ntughari Ntughari
The mount allows for a tilt range of +5° (upward) to -15° (downward). This feature is useful for reducing glare and optimizing viewakụkụ .
- Locate the tilt handles on the TV brackets.
- Loosen the tilt handles to adjust the TV to your desired vertical angle.
- Tighten the tilt handles to secure the TV in position.

Foto 10: Adjusting the TV tilt for comfortable viewing.
7.2. Swivel and Extension/Retraction
The full-motion arms allow the TV to swivel up to +/-45° and extend from 3.35 inches to 19.09 inches from the wall.
- Gently pull the TV away from the wall to extend the articulating arms.
- Carefully pivot the TV left or right to achieve the desired swivel angle.
- To retract, push the TV back towards the wall until it is in the desired position.

Foto 11: Na-agbanwe agbanwe viewing with extension, retraction, and swivel capabilities.
7.3. Horizontal Sliding
The mount features an 8-inch horizontal sliding function on the wall plate, allowing you to shift the TV left or right by up to 8 inches after installation, ensuring perfect centering.
- Gently slide the TV along the wall plate to adjust its horizontal position.
- Ensure the TV is securely positioned after adjustment.
8. Nlekọta
- Lelee skru na njikọ niile iji hụ na ha kwụsiri ike na nchekwa.
- Jiri ákwà dị nro ma kpọọ nkụ hichaa ebe a na-etinye ihe n'elu ya. Zere ihe nhicha ma ọ bụ ihe mgbaze.
- Ọ bụrụ na ogwe aka na-ekwu okwu na-esi ike, a ga-etinye obere mmanụ na-esi na silicone na isi pivot.
9. Nchọpụta nsogbu
9.1. TV is not level after installation
- Use the horizontal post-installation leveling screws (as described in Section 6.2, Step 5) to adjust the TV's angle by +/-3°.
9.2. Difficulty moving the TV (stiff arms)
- Hụ na e nweghị waya ndị a kpọchiri akpọchi ma ọ bụ ndị na-egbochi mmegharị.
- Apply a small amount of silicone-based lubricant to the articulating joints if movement remains stiff.
9.3. TV is not centered on the wall
- Utilize the 8-inch horizontal sliding feature of the mount to reposition the TV left or right on the wall plate.
10. Akwụkwọ ikike na nkwado
This USX MOUNT product is manufactured by X-MOUNT LIMITED. For specific warranty details, please refer to the product packaging or visit the official USX MOUNT website. If you require concrete anchors not included in your package, or have any questions or concerns regarding installation or operation, please contact USX MOUNT customer support.


