Okwu mmalite
This manual provides essential information for the proper setup, operation, and maintenance of your Schubert Preludio 88-Key Digital Piano. Please read this manual thoroughly before using the instrument to ensure optimal performance and longevity. Keep this manual for future reference.
Ntuziaka nchekwa
- Hụ na ihe nkwụnye ike voltage dakọtara ọkụ ọkụ mpaghara gị.
- Do not expose the instrument to rain, moisture, or extreme temperatures.
- Avoid placing the instrument near heat sources or in direct sunlight.
- Emeghela casing; zigara ndị ọrụ ruru eru ọrụ niile.
- Keep out of reach of small children to prevent accidents.
- Gbanyụọ ike n'oge oké ifufe ma ọ bụ mgbe a naghị eji ya ruo ogologo oge.
Melite
Iwepu na Mgbakọ
Carefully remove all components from the packaging. Ensure all items listed in the "Included in Delivery" section are present.
- Place the keyboard on a stable, flat surface or a compatible keyboard stand.
- Attach the music stand to the designated slot on the keyboard.
- Connect the sustain pedal to the "PEDAL" input on the rear panel of the keyboard.
- Connect the power adapter to the "DC 12V" input and then to a power outlet.

Ọgụgụ 1: Ngwa gụnyere. The image displays the Schubert Preludio keyboard's accessories, including the music stand, sustain pedal, power adapter, and various USB cables for connectivity.

Figure 2: Connection Options. This image shows the various input/output ports on the rear of the keyboard, including Audio In, Audio Out, USB, pedal input, and two 6.3mm headphone jacks.
Ntuziaka ọrụ
Gbanyụọ/ Gbanyụọ
Pịa IKE button to turn the keyboard on or off.
Njikwa olu
Hazie olu ukwu site na iji UMUAKA VOLUME knob. Individual volumes for Upper and Lower voices can be adjusted via the VOL+ na Vol- buttons in Function mode.
Selecting Voices (Sounds)
The Schubert Preludio offers 140 different voices. To select a voice:
- Pịa olu bọtịnụ.
- Use the number pad or the +/- buttons to select the desired voice number. The selected voice number will be displayed on the LED screen.

Figure 3: Control Panel and Voice Selection. The image highlights the control panel with buttons for voice selection, layering, splitting, and reverb, along with categories like Piano, Organ, Guitar, and Strings.
Layer and Split Functions
- Layer: Pịa Okirikiri button to combine two voices simultaneously. Select the second voice using the voice selection method.
- Kewaa: Pịa KEWAA button to divide the keyboard into two sections, each with a different voice. The split point can be adjusted. This is useful for teaching or playing duets.
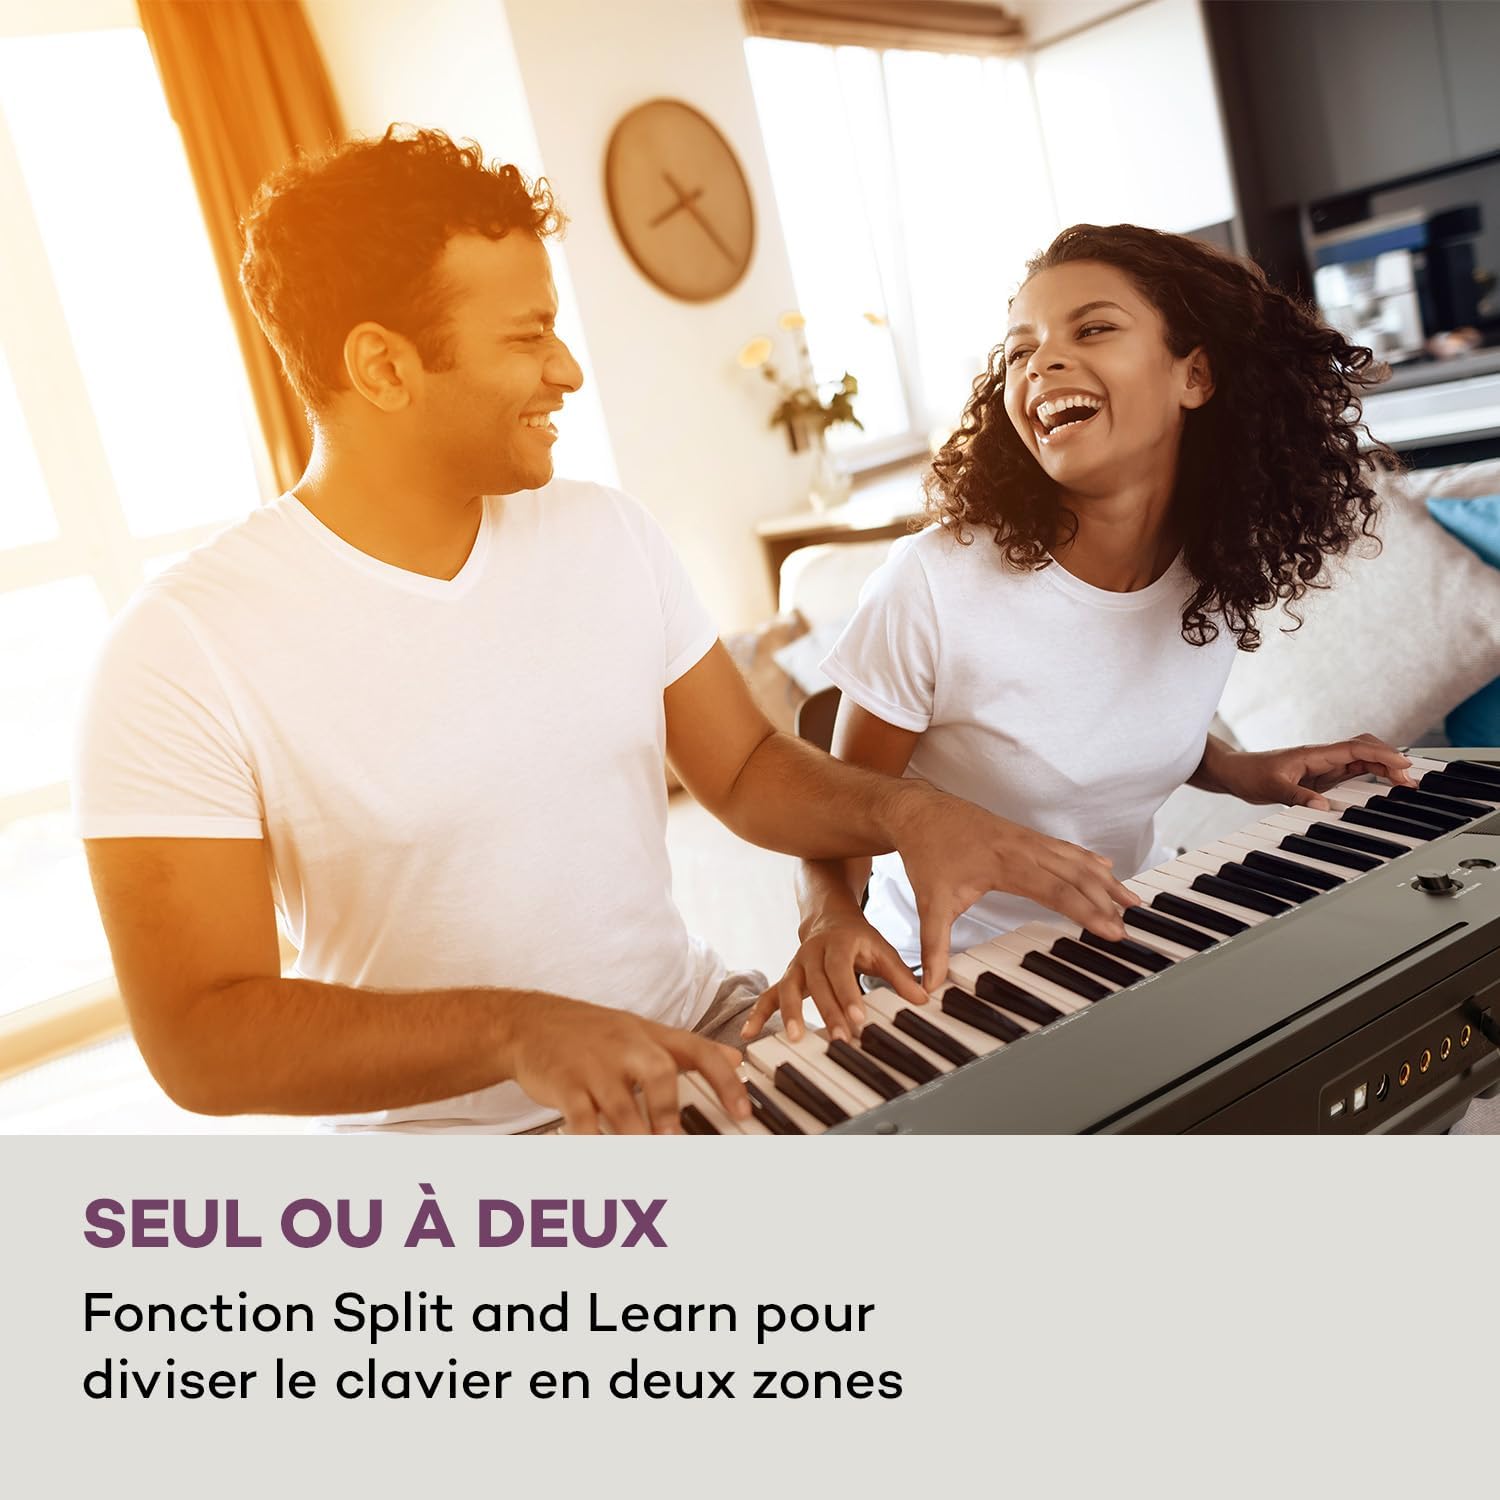
Figure 4: Split and Learn Function. This image shows two individuals playing the keyboard simultaneously, demonstrating the Split function which divides the keyboard into two playable zones.
Metronome and Tempo
Activate the metronome by pressing the METRO button. Adjust the tempo using the TEMPO bọtịnụ.
Ndekọ na ịkpọghachi
The keyboard features a recording function:
- Pịa Dekọọ button to start recording your performance.
- Pịa KWURU iji gee egwu gị edekọrọ.
Njikọ USB
The integrated USB port allows for MP3 playback and MIDI connectivity:
- Mkpọghachi MP3: Fanye draịva USB nwere MP3 files into the USB port. Use the ABỤ buttons to navigate and play tracks.
- USB-MIDI: Connect the keyboard to a computer using the provided USB-MIDI cable for use with educational and recording software.

Figure 5: Recording and USB Playback. The image depicts the keyboard's capability for recording performances and playing MP3 files via its integrated USB port, enhanced by its 5-watt RMS speakers.
Nlekọta
- Nhicha: Use a soft, dry cloth to clean the surface of the keyboard. Do not use abrasive cleaners or solvents.
- Nchekwa: When not in use, store the keyboard in a dry, dust-free environment. If storing for a long period, disconnect the power adapter.
- Isi nlekọta: Avoid excessive force on the keys. Clean keys gently with a slightly damp cloth if necessary, then dry immediately.
Nchọpụta nsogbu
| Nsogbu | Ihe nwere ike ime | Ngwọta |
|---|---|---|
| Enweghị ụda | Power not connected, volume too low, headphones connected. | Check power connection, increase master volume, disconnect headphones. |
| Igodo anaghị aza | Function mode active, internal error. | Exit Function mode, power cycle the instrument. |
| Pedal nkwado anaghị arụ ọrụ | Pedal not fully inserted, pedal polarity issue. | Ensure pedal is firmly connected. Some pedals require the keyboard to be powered on with the pedal already pressed to set polarity. |
| Nsogbu ọkpụkpọ USB | Enweghị nkwado file format, corrupted USB drive. | Gbaa mbọ hụ files are MP3 format. Try a different USB drive or reformat the current one. |
Nkọwapụta
- Aha nlereanya: Preludio
- Ọnụọgụ nke igodo: 88
- Dị Key: Full-size, touch-sensitive (3 levels)
- Sounds (Voices): 140
- Egwu ngosi: 16
- Ọrụ: Sustain, Vibrato, Transposition, Octave, Split, Layer, Metronome, Record, Playback, Learning Function
- Njikọta: 1 x 6.3 mm Audio In, 1 x 6.3 mm Audio Out, 2 x 6.3 mm Headphone Outputs, 1 x USB (Type A for MP3), 1 x USB-MIDI (Type B)
- Ịnye ọkụ: AC adapter (220-240 V~ | 50/60 Hz)
- Akụkụ (L x H x D): Ihe ruru. 130 x 29 x 35 cm (51.2 x 11.4 x 13.8 sentimita)
- Arọ: Ihe ruru. 6.2 n'arọ (13.7 lbs)
- Ihe: Plastic

Ọgụgụ 6: Akụkụ ngwaahịa. A visual representation of the keyboard's length, height, and depth measurements.
Akwụkwọ ikike na nkwado
For detailed warranty information and technical support, please refer to the warranty card included with your product or visit the official Schubert websaịtị. Debe ihe akaebe nke ịzụrụ ihe maka akwụkwọ ikike ọ bụla.
Vidiyo ngwaahịa
Sustain Pedal Overview
This video provides a close-up view and demonstration of the M-Audio SP-2 sustain pedal, which is compatible with digital pianos like the Schubert Preludio. It shows how the pedal functions to extend notes, similar to an acoustic piano.
Keyboard Features Overview
This video offers a detailed close-up view of the digital piano, showcasing its keys, control panel, and various functions. It provides a visual guide to the instrument's design and user interface.


