
Okwu mmalite
This manual provides essential information for the proper installation, operation, and maintenance of your RYOBI Genuine 741921003 40V Motor Assembly. This motor is a direct replacement part designed for specific RYOBI 40V outdoor power tools, including models RY40200 and RY40021. Please read these instructions carefully before proceeding with any installation or maintenance to ensure safe and effective use.
Ozi nchekwa
WARNING: Always disconnect the battery pack from the tool before performing any assembly, adjustments, or maintenance. Failure to do so can result in serious personal injury.
- Yiri akụrụngwa nchedo nkeonwe kwesịrị ekwesị (PPE), gụnyere ugogbe nchekwa na uwe aka, n'oge ntinye.
- Gbaa mbọ hụ na mpaghara ọrụ ahụ dị ọcha, na-enwu nke ọma na enweghị ihe mgbochi.
- Use only genuine RYOBI replacement parts to maintain product integrity and warranty.
- Ọ bụrụ na obi adịghị gị mma maka nzọụkwụ ọ bụla, gakwuru ọkachamara ọrụ ruru eru.
Ngwaahịa gafereview
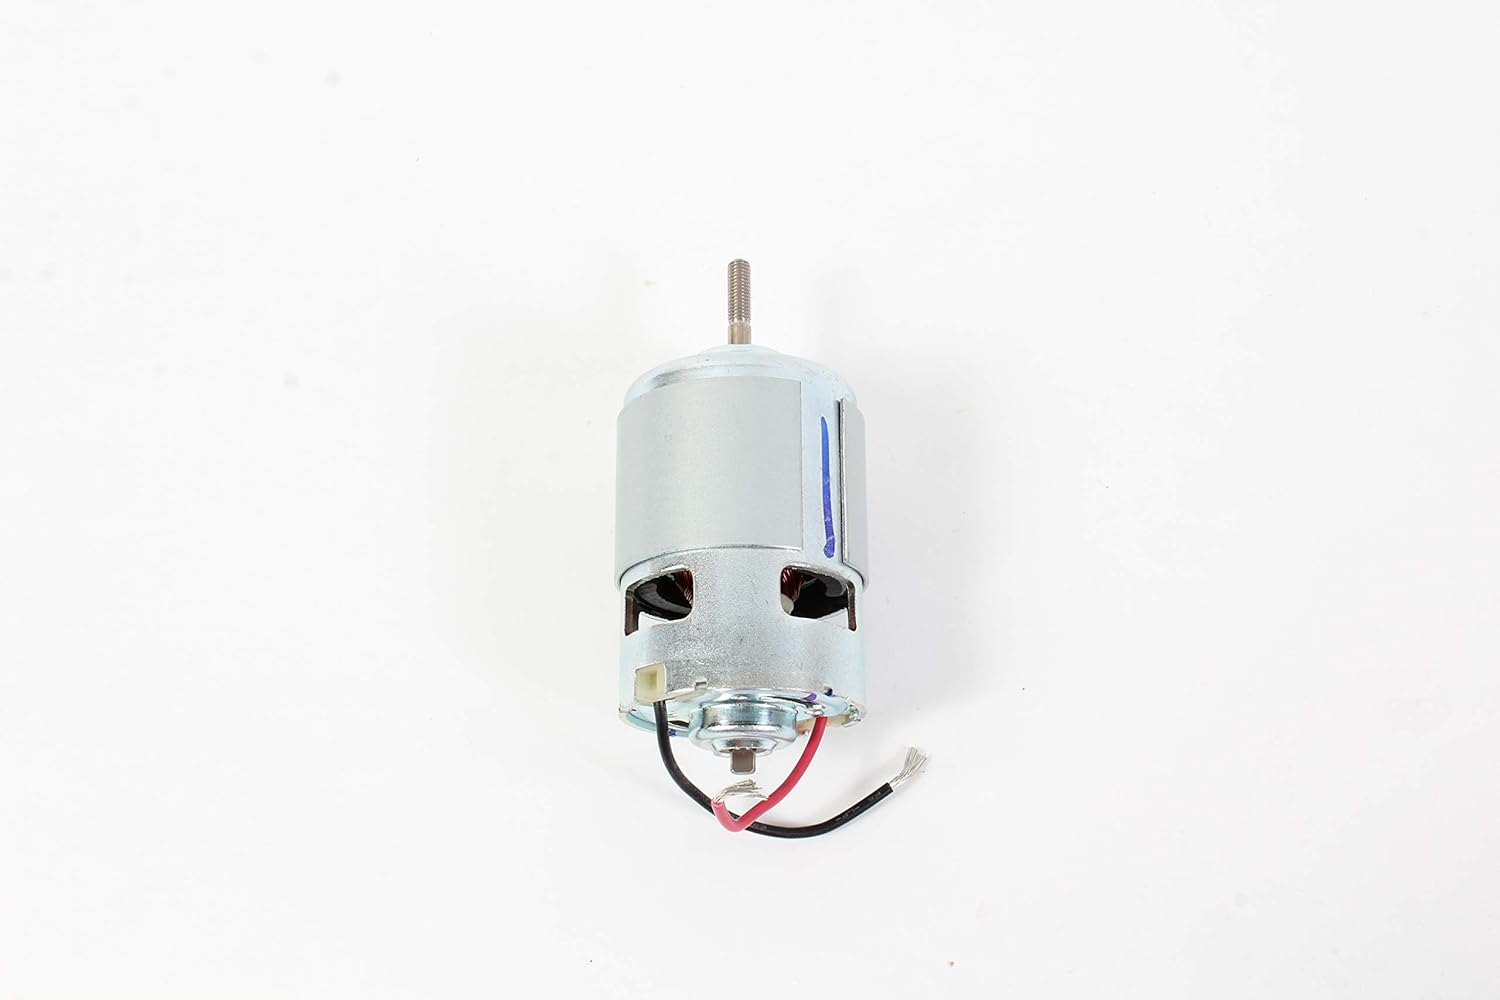
The RYOBI 741921003 40V Motor Assembly is a genuine OEM replacement motor designed to restore functionality to compatible RYOBI 40V string trimmers and other outdoor power tools. It features a robust design for reliable performance.


Ntọala na nwụnye
This section outlines the general steps for replacing the motor assembly. Specific disassembly and reassembly procedures may vary slightly depending on your exact tool model. Refer to your tool's original instruction manual for detailed housing removal steps.
Ngwa achọrọ:
- T15 Star Screwdriver (or appropriate screwdriver for your tool's housing)
- Ndị na -egbutu waya/warara
- Crimp-on Wire Connectors (if existing connections are not plug-and-play)
- Pliers (optional, for crimping)
Nzọụkwụ nwụnye:
- Kwụpụ ike: Ensure the battery pack is removed from your RYOBI 40V tool.
- Access Motor Housing: Carefully disassemble the tool's housing to gain access to the existing motor. This typically involves removing screws with a T15 star screwdriver.
- Disconnect Old Motor: Note the wiring connections of the old motor. Disconnect the electrical wires leading to the old motor. You may need to cut the wires if they are soldered or permanently crimped.
- Wepu moto ochie: Detach the old motor from its mounting points within the housing.
- Wụnye moto ọhụrụ: Position the new RYOBI 741921003 motor assembly into the housing, ensuring it aligns correctly with any mounting brackets or gears.
- Jikọọ Wiring: Connect the electrical wires from the tool to the new motor's leads. If you cut the old wires, strip the insulation from both the tool's wires and the new motor's wires. Use appropriate crimp-on connectors to secure the connections. Ensure polarity is correct (typically red to red, black to black, or as indicated by your tool's original wiring).
- Secure Motor: Fasten the new motor securely within the housing using the original mounting hardware.
- Ịchịkọtaghachi Ụlọ: Carefully reassemble the tool's housing, ensuring all wires are tucked away and not pinched. Tighten all screws securely.
- Ọrụ nnwale: Insert the battery pack and perform a brief test to ensure the motor operates correctly. Listen for unusual noises and check for proper function.
Na-arụ ọrụ
Once the RYOBI 741921003 40V Motor Assembly is correctly installed, your RYOBI 40V tool should operate as intended. Refer to the original instruction manual for your specific RYOBI tool model (e.g., RY40200, RY40021) for detailed operating procedures, safety guidelines, and usage tips.
Nlekọta
The RYOBI 741921003 40V Motor Assembly is designed for durability and generally requires minimal maintenance. However, regular inspection of the tool it is installed in can help prolong its life and ensure optimal performance.
- Debe Ọcha: Periodically clean the exterior of the tool and motor housing to prevent dust and debris buildup, which can impede cooling.
- Lelee Wiring: Regularly check the electrical connections for any signs of wear, fraying, or corrosion. Ensure all connections remain secure.
- Gee ntị maka mgbanwe: Pay attention to any unusual noises or vibrations during operation, which could indicate a developing issue.
- Nchekwa: Store the tool in a clean, dry place away from extreme temperatures.
This motor assembly does not contain user-serviceable internal components. Attempting to disassemble the motor itself may void any applicable warranty and could cause damage.
Nchọpụta nsogbu
If your tool is not functioning correctly after motor replacement, consider the following troubleshooting steps:
- Ngwa anaghị ebido:
- Ensure the battery pack is fully charged and properly inserted.
- Verify all electrical connections to the motor are secure and correctly wired.
- Check for any obstructions preventing the motor shaft from turning.
- Mkpọtụ ma ọ bụ ịma jijiji na-adịghị ahụkebe:
- Confirm the motor is securely mounted within the tool housing.
- Ensure no foreign objects are interfering with the motor or its moving parts.
- Verify that the output shaft is properly connected to the tool's drive mechanism.
- Mbelata arụmọrụ:
- Ensure the battery pack is providing adequate power.
- Check for any binding in the tool's cutting head or other moving parts.
If these steps do not resolve the issue, it is recommended to contact RYOBI customer support or a certified service center for further assistance.
Nkọwapụta
| Nkọwapụta | Uru |
|---|---|
| Ụdị | RYOBI |
| Nọmba nlereanya | 741921003 |
| Voltage | 40 volts |
| Ọsọ | 2000 RPM |
| Ihe onwunwe | Ọla |
| Akụkụ ngwaahịa | 7 x 6 x 3 sentimita asatọ |
| Ibu Ibu | 1.1 pound |
| Ndakọrịta | RY40200, RY40021 (and other compatible RYOBI 40V tools) |
Akwụkwọ ikike na nkwado
As a genuine RYOBI part, this motor assembly is subject to RYOBI's standard warranty terms and conditions. For detailed warranty information, registration, or to contact customer support, please visit the official RYOBI website or refer to the documentation provided with your original RYOBI tool.
For technical assistance or to locate a service center, please visit: www.ryobitools.com/support


