Okwu mmalite

Figure 1: The mooas Qi Wireless Charging Slim Mirror Desk Clock.
Daalụ maka ịzụrụasing the mooas Qi Wireless Charging Slim Mirror Desk Clock. This compact digital alarm clock combines time display, dual alarm functions, and both wireless and wired charging capabilities in a sleek, mirror-finished design. Please read this manual carefully to ensure proper use and optimal performance of your device.
Njirimara ngwaahịa
- Nchaji ikuku Qi: Simply place your compatible smartphone on top of the clock for automatic wireless charging.
- Wired & Simultaneous Charging: Features a USB port for wired charging, allowing simultaneous wireless and wired charging with a 5V 2A adapter.
- Dual Alarm with Snooze: Set up to two independent alarms. Press the SNOOZE button for a five-minute delay.
- Time Memorizing Function: Equipped with a coin battery to retain time settings even if the power adapter is disconnected.
- Mirror Display: The front surface acts as a reflective mirror, blending seamlessly with your decor.

Figure 2: The clock's mirror display function.

Figure 3: The mooas clock available in Charcoal Gray and White.
Ihe ngwugwu
Biko lelee na ihe niile dị:
- mooas Qi Wireless Charging Slim Mirror Desk Clock
- USB Power Cable (Type-C input)
- Akwụkwọ ntuziaka onye ọrụ
Note: A 5V 2A power adapter is required for optimal charging performance and is not included.
Melite
- Njikọ ike: Connect the provided USB cable to the Type-C input port on the back of the clock. Plug the other end into a 5V 2A USB power adapter (not included) and then into a wall outlet. The clock display will light up.
- Ntọala Oge Mmalite: Upon first power-up, the time may need to be set. Refer to the "Operating Instructions" section for detailed steps on setting the time and 12/24H mode.

Ọgụgụ 4: N'azụ view of the clock with labeled buttons and ports. From left to right: LED display ON/OFF, 12/24H Time mode setting, Alarm 1 setting, Alarm 2 setting, Time/Alarm Increase numbers, Time/Alarm Decrease numbers, Micro 5pin port (Type-C input), USB 2A Output.
Ntuziaka ọrụ
Time Setting (12/24H Mode)
- Press the "12/24H Time mode setting" button (second from left) to toggle between 12-hour and 24-hour time formats.
- To set the time, press and hold the "12/24H Time mode setting" button until the hour digits flash.
- Use the "Time/Alarm Increase numbers" (right arrow) and "Time/Alarm Decrease numbers" (left arrow) buttons to adjust the hour.
- Press the "12/24H Time mode setting" button again to move to minute adjustment. Adjust minutes using the arrow buttons.
- Press the "12/24H Time mode setting" button one more time to confirm and exit time setting mode.
Alarm Setting (Dual Alarms & Snooze)
Elekere ahụ na-akwado mkpu abụọ nọọrọ onwe ha (Mkpu 1 na Mkpu 2).
- To Set Alarm 1: Press and hold the "Alarm 1 Time setting" button (third from left) until the hour digits flash. Adjust the hour using the arrow buttons. Press the "Alarm 1 Time setting" button again to adjust minutes. Press again to confirm.
- To Set Alarm 2: Follow the same procedure using the "Alarm 2 Time setting" button (fourth from left).
- To Activate/Deactivate Alarm: Briefly press the respective Alarm 1 or Alarm 2 button to turn the alarm ON or OFF. An alarm icon will appear on the display when active.
- Ọrụ Sooze: When an alarm sounds, press the "SNOOZE" button (located on top of the clock) to temporarily silence the alarm for five minutes.
- Kwụsị mkpu: To stop an alarm completely, press any button on the back of the clock other than the "SNOOZE" button.

Figure 5: The clock display showing active dual alarms and the location of the Snooze button.
Ngosipụta LED GBANYE/ Gbanyụọ
To turn the LED display ON or OFF, briefly press the "LED display ON/OFF" button (far left on the back of the clock).
Nchaji ikuku
Place your Qi-compatible device (e.g., smartphone, AirPods) on the designated wireless charging area on top of the clock. Charging will begin automatically. Ensure the device is centered on the charging pad for optimal performance.

Figure 6: A smartphone being wirelessly charged on the clock.
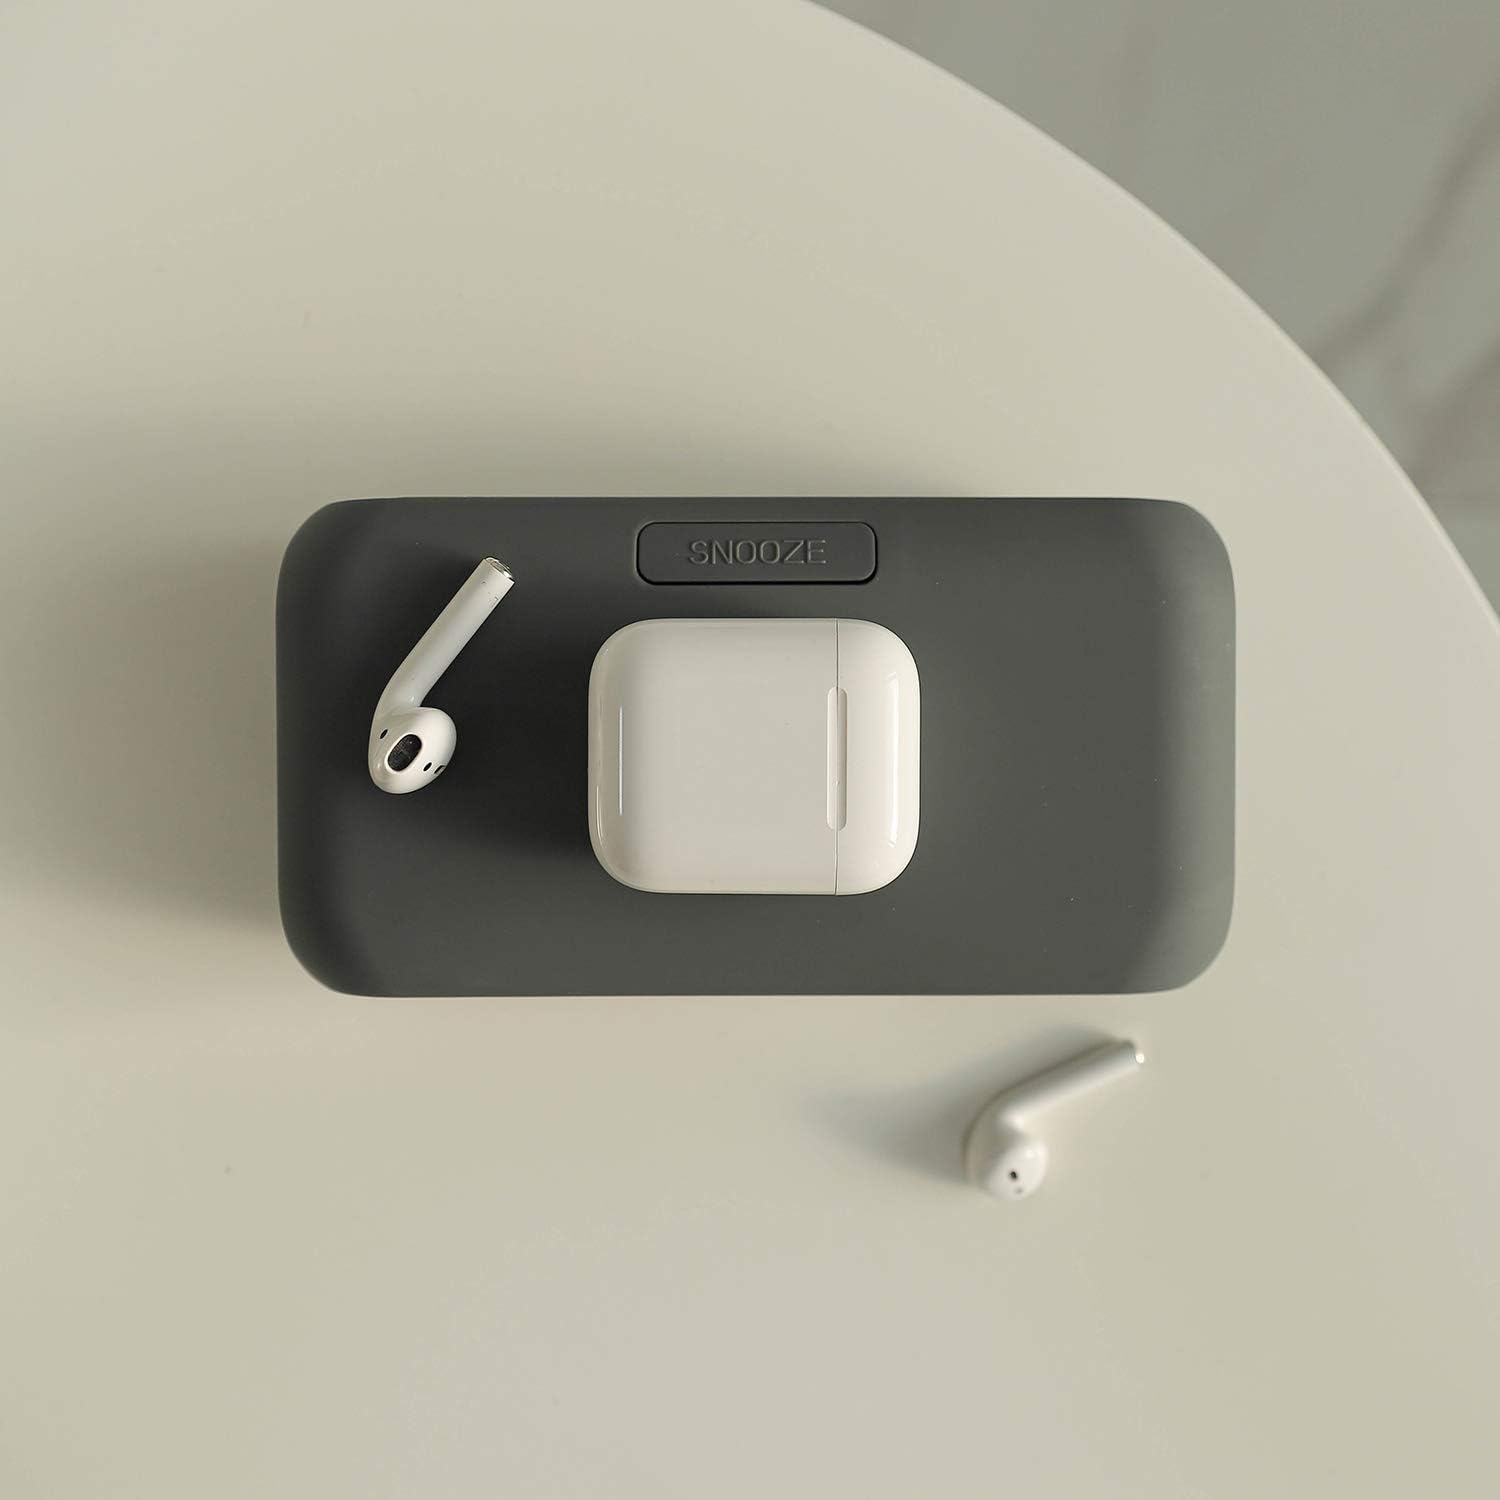
Figure 7: AirPods and their case placed on the wireless charging area.
Wired Charging (USB Port)
The clock features a 2A USB output port on the back. Connect your device's charging cable to this port to charge it. Both wireless and wired charging can occur simultaneously.

Figure 8: Simultaneous wireless and wired charging of two smartphones.

Figure 9: The USB output port can also power small USB-powered appliances.
Nlekọta
- Clean the clock's surface with a soft, dry cloth. Avoid using abrasive cleaners or solvents.
- Debe ngwaọrụ ahụ pụọ na mmiri na oke iru mmiri.
- Do not expose the clock to direct sunlight or extreme temperatures.
Nchọpụta nsogbu
| Nsogbu | Ihe nwere ike ime | Ngwọta |
|---|---|---|
| Device not wirelessly charging. |
|
|
| Agbanyụrụ ihe ngosi elekere. |
|
|
| Oti mkpu anaghị ada ụda. |
|
|
Nkọwapụta
| Njirimara | Nkọwa |
|---|---|
| Ụdị | mmuo |
| Nlereanya | Qi Wireless Charging Slim Mirror Desk Clock |
| Agba | Charcoal Gray (This manual refers to the Charcoal Gray model, other colors may be available) |
| Ụdị ngosi | Dijitalụ |
| Akụkụ ngwaahịa | 6.61"W x 1.81"H |
| Isi Iyi Ike | Battery Powered (for memory), Corded Electric (for operation and charging) |
| Ihe onwunwe | Acrylonitrile Butadiene Styrene, igwe |
| Ibu Ibu | 6.4 ounces |
| Teknụzụ Njikọta | USB |
| Batrị | 1 LR44 battery required (for time memorizing, not included) |
Vidiyo ngwaahịa ngwaahịa
Vidiyo nke 1: Mwepuview of the mooas Qi Wireless Charging Slim Mirror Desk Clock, demonstrating its features including wireless charging, dual alarms, and design in both Charcoal Gray and White colors.
Akwụkwọ ikike na nkwado
For warranty information or technical support, please refer to the product packaging or contact mooas customer service directly. Contact details are typically provided on the manufacturer's official website or within the product's retail packaging.


