Okwu mmalite
This manual provides essential information for the safe and efficient operation of your Dual MCR 4 Portable DAB+/FM Radio. This device offers both digital DAB+ and analog FM radio reception, ensuring a wide range of listening options. Its color TFT display enhances usability by showing station names and additional information. With intuitive controls, auxiliary input, and headphone jack, the MCR 4 is designed for versatile and enjoyable audio experiences.
Ozi nchekwa
- Gụọ ntuziaka niile nke ọma tupu i jiri ngwaọrụ ahụ.
- Keep the device away from water, moisture, and high temperatures.
- Anwala ịkwasa ma ọ bụ gbanwee unit ahụ. Kpọtụrụ ndị ọrụ ruru eru ọrụ niile.
- Use only the provided power adapter or recommended battery types.
- Gbaa mbọ hụ na ikuku ikuku dị na gburugburu ngwaọrụ mgbe ọ na-arụ ọrụ.
- Tụfuo batrị n'ụzọ ziri ezi dịka iwu obodo siri dị.
Ihe ngwugwu
Biko lelee ma ihe niile dị na ngwugwu ahụ:
- Dual MCR 4 Main Unit
- Ihe nkwụnye ọkụ
- Akwụkwọ ntuziaka onye ọrụ
Ngwaahịa gafereview
The Dual MCR 4 features a compact design with intuitive controls for easy access to its functions. Key components include:
- Color TFT Display: Na-egosi ozi ọdụ ụgbọ mmiri, oge, na nhọrọ menu.
- Rotary akpu: For tuning, volume control, and menu navigation.
- Memory Buttons: To save and recall your favorite radio stations.
- Antenna telescopic: For optimal radio signal reception.
- Auxiliary Input (AUX-IN): Located at the back, for connecting external audio devices.
- Jack ekweisi: Located at the back, for private listening.
- Mechanical On/Off Switch: Located at the back, for direct power control.
- Passive Membrane: Located at the back, contributing to exceptional sound quality.
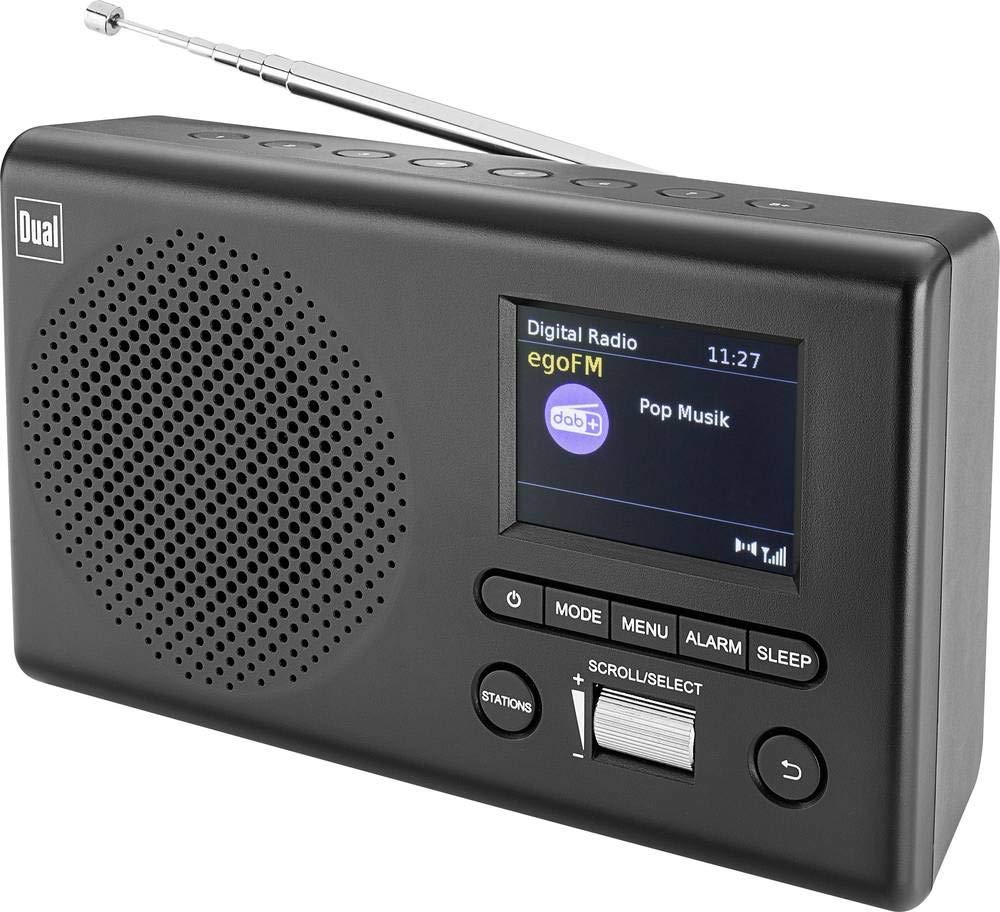
Foto: N'ihu view of the Dual MCR 4 Portable DAB+/FM Radio, showing the color TFT display, rotary knob, and control buttons. The radio has a black and silver finish.
Melite
1. Ịkwanye ngwaọrụ
The Dual MCR 4 can be powered by either the included AC power adapter or batteries, offering portability.
- Iji AC nkwụnye: Connect the power adapter to the DC IN port on the back of the radio and plug the other end into a standard wall outlet.
- Iji batrị: Open the battery compartment on the bottom/back of the radio and insert the required batteries (type and quantity usually specified inside the compartment or in the full manual). Ensure correct polarity.
2. Ndozi antenna
Extend the telescopic antenna fully for optimal reception of both DAB+ and FM radio signals. Adjust its position for the best signal quality.
3. Initial Power On and Station Scan
After connecting power, switch on the radio using the mechanical ON/OFF switch at the back. The radio will typically perform an automatic station scan upon first use, searching for available digital (DAB+) and analog (FM) radio stations. This process may take a few moments.
Ntuziaka ọrụ
1. Basic Ọrụ
- Gbanyụọ/ Gbanyụọ: Use the mechanical switch at the back. For standby, a dedicated button on the front might be available (refer to physical unit).
- Njikwa olu: Rotate the main rotary knob to adjust the listening volume.
2. DAB+ Radio Mode
- Selecting DAB+ Mode: Press the MODE button (if available) or navigate through the menu using the rotary knob until DAB+ mode is selected.
- Nhọrọ ọdụ ọdụ: After an automatic scan, use the rotary knob to scroll through the list of available DAB+ stations. Press the knob to confirm your selection.
- Ịchekwa atọrọ atọ: Tune to your desired station. Press and hold a memory button (e.g., 1-5) until the display confirms the station is saved.
- Icheta atọrọ atọ: Briefly press the corresponding memory button to recall a saved station.
- Ozi ngosi: The color TFT display will show station name, program information (DLS), and potentially station logos or slideshows.
3. Ọnọdụ redio FM
- Selecting FM Mode: Press the MODE button or navigate through the menu until FM mode is selected.
- Akwụkwọ ntuziaka: Rotate the tuning knob to manually adjust the frequency.
- Nyocha akpaka: Press and hold the tuning knob or a dedicated scan button to automatically search for the next available FM station.
- Ịchekwa atọrọ atọ: Tune to your desired FM station. Press and hold a memory button until the display confirms the station is saved.
- Icheta atọrọ atọ: Briefly press the corresponding memory button to recall a saved station.
4. Auxiliary Input (AUX-IN)
Connect an external audio device (e.g., smartphone, MP3 player) to the AUX-IN port on the back of the radio using a 3.5mm audio cable. Select AUX mode on the radio to play audio from the connected device.
5. Ojiji Ekweisi
For private listening, plug standard 3.5mm headphones into the headphone jack located on the back of the unit. The internal speaker will automatically mute.
Nlekọta
- Nhicha: Jiri ákwà dị nro ma kpọọ nkụ hichaa redio ahụ. Ejila ihe nhicha ma ọ bụ ihe mgbaze.
- Nchekwa: If storing for an extended period, remove batteries and store the unit in a cool, dry place.
- Nlekọta Antenna: Handle the telescopic antenna gently to prevent damage.
Nchọpụta nsogbu
| Nsogbu | Ngwọta enwere ike |
|---|---|
| Enweghị ike |
|
| Nnabata redio adịghị mma |
|
| Enweghị ụda sitere na ndị ọkà okwu |
|
Nkọwapụta
| Ụdị | Abụọ |
| Nọmba nlereanya | 76074 |
| Agba | Nwa, ọla ọcha |
| Teknụzụ Ndozi | DAB+, FM |
| Teknụzụ Njikọta | Auxiliary (AUX-IN) |
| Atụmatụ pụrụ iche | Portable, Color TFT Display |
| Ngwa dakọtara | Headphones, External Audio Devices (via AUX-IN) |
| Isi Iyi Ike | Mains (AC Adapter), Battery Powered |
| Ngwa gụnyere | Main Unit, Power Adapter, User Manual |
| Akwadoro ojiji | Egwu |
Akwụkwọ ikike na nkwado
For warranty information and technical support, please refer to the specific warranty card included with your product or contact Dual customer service. The included user manual provides detailed instructions and contact information.