1. Okwu mmalite
Daalụ maka ịzụrụasing the American Audio WM-419 4-Channel UHF Handheld Wireless Microphone System. This system is designed to provide high-quality, reliable wireless audio for various applications, including PA systems, karaoke, mobile entertainment, schools, and houses of worship. This manual provides essential information for the proper setup, operation, and maintenance of your WM-419 system.
Please read this manual thoroughly before operating the unit to ensure optimal performance and to prevent damage.
2. Ihe ngwugwu
Nyochaa na etinyere akụrụngwa niile edepụtara n'okpuru na ngwugwu gị:
- 1 x WM-419 Wireless Receiver Unit
- 4 x Handheld Wireless Microphones
- Kpido Igwe Okwu 4 x
- Batrị 8 x AA (maka igwe okwu)
- 1 x Power Adapter for Receiver
- 1 x 1/4" Audio Cable
- Akwụkwọ ntuziaka (akwụkwọ a)
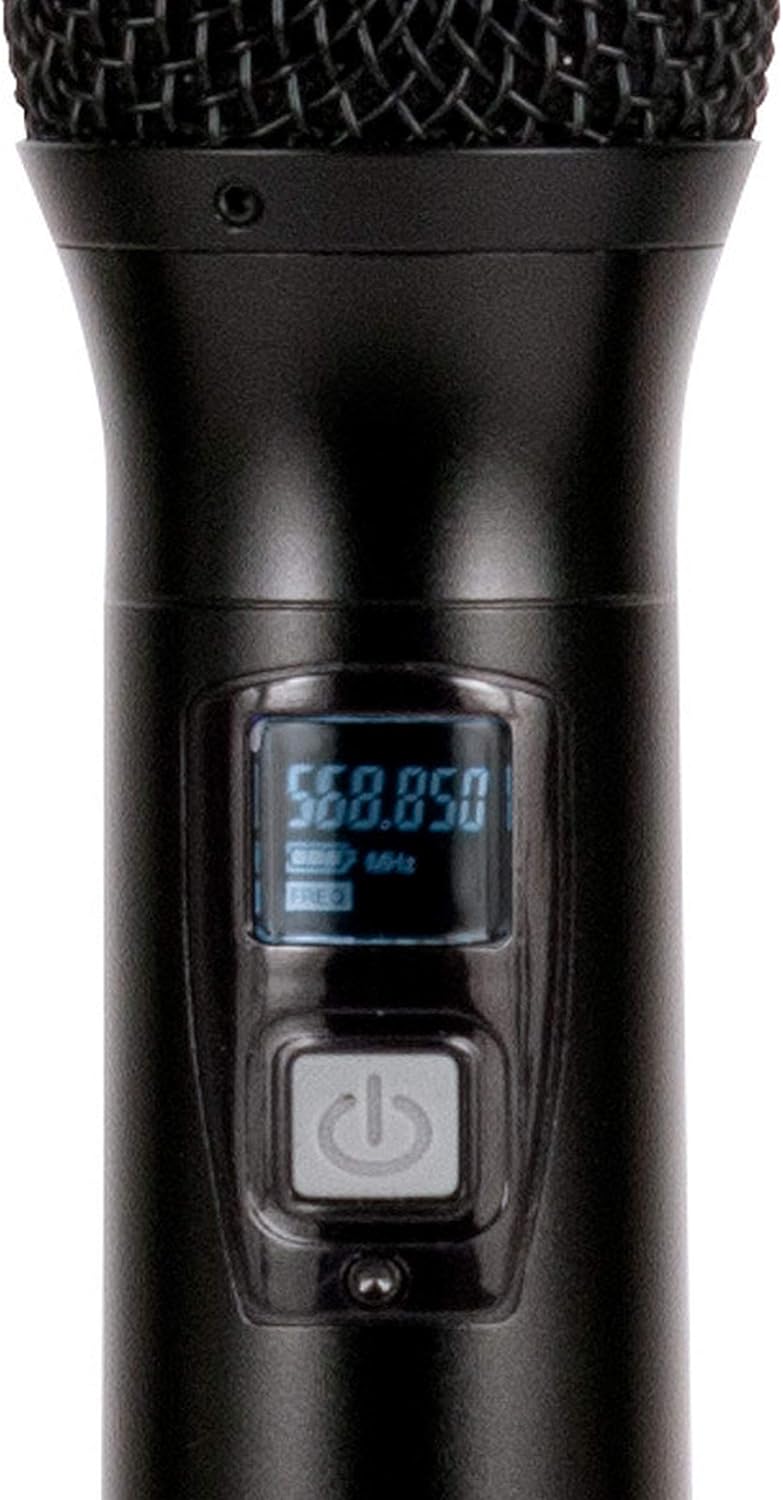
Foto 2.1: Included components of the WM-419 system. This image displays the receiver, four handheld microphones, four detachable antennas, eight AA batteries, a power adapter, and a 1/4" audio cable, along with four microphone clips.
3. Atụmatụ igodo
- 4-Channel UHF Wireless Handheld Microphone System
- Intelligent Frequency Autoscan with IR Synchronization
- Individual Volume Control for each microphone channel on the receiver
- XLR Audio Output for each microphone channel
- 50 Channels Available per Receiver (200 total channels)
- 16-Bit Pilot Technology to assist with eliminating frequency interference
- Wireless Range: Up to 300 feet / 90 meters (line of sight)
- Microphone Battery Life: 6-10 hours (with included AA batteries)
- OLED Screen on Handheld MIC Transmitters
4. Ntuziaka Nhazi
4.1 Receiver Placement
Place the WM-419 receiver on a stable, flat surface, away from strong electromagnetic interference sources. Ensure there is adequate ventilation around the unit. For optimal signal reception, position the receiver's antennas vertically and ensure they are not obstructed.

Foto 4.1: N'ihu view of the WM-419 receiver with microphones. This image shows the receiver unit with its four antennas extended, and the four handheld microphones resting on top, illustrating the compact design.
4.2 Jikọọ onye nnata
- Njikọ ike: Connect the included power adapter to the DC 12-15V input on the rear panel of the receiver. Plug the adapter into a suitable power outlet.
- Mmepụta ọdịyo: Connect the receiver to your PA system, mixer, or amplifier using the XLR audio outputs for individual microphone channels (Balanced A, B, C, D) or the AF MIX OUT (1/4" unbalanced) for a combined output.

Foto 4.2: Rear panel connections of the WM-419 receiver. This image highlights the DC power input, four balanced XLR outputs (A, B, C, D), and a mixed 1/4" audio output, along with the antenna connections.
4.3 Installing Batteries in Microphones
Each handheld microphone requires two AA batteries. Ensure correct polarity when inserting the batteries.
- Unscrew the bottom cap of the microphone to reveal the battery compartment.
- Insert two AA batteries, observing the polarity markings (+/-).
- Gbanye mkpuchi ala ahụ n'enweghị nsogbu.

Foto 4.3: Four handheld microphones. This image displays the four individual handheld microphones, each featuring an OLED display and power button, ready for battery installation and use.
5. Ntuziaka ọrụ
5.1 Gbanyụọ/ gbanyụọ
- onye nnata: Press the POWER button on the front panel of the receiver to turn it on or off.
- Igwe okwu: Press and hold the power button on each handheld microphone for a few seconds to turn it on or off. The OLED screen will illuminate when powered on.
5.2 Frequency Synchronization (IR Sync)
The WM-419 features Intelligent Frequency Autoscan and IR Synchronization for easy setup.
- Turn on the receiver and the desired microphone.
- On the receiver, press the Nyochaa button for the channel you wish to set. The receiver will automatically scan for an available clear frequency.
- Once a frequency is found, the display will show "SYNC". Position the IR window of the microphone (usually near the bottom of the display) close to the IR sensor on the receiver (located near the channel display).
- Pịa SET button on the receiver for that channel. The frequency information will be transmitted to the microphone via infrared. The microphone's display should show the same frequency as the receiver, indicating successful synchronization.
- Repeat this process for each microphone.

Foto 5.1: Receiver front panel detail. This image provides a close-up view of the receiver's illuminated OLED displays for each channel, showing frequency information, signal strength, and individual volume controls.

Foto 5.2: Microphone OLED display. A detailed view of one handheld microphone's OLED screen, showing the current frequency and battery indicator, along with the power/mute button.
5.3 na-agbanwe olu
Each channel on the receiver has an independent volume control knob. Adjust these knobs to achieve the desired audio level for each microphone.
5.4 Muting Microphones
A short press of the power button on the handheld microphone will mute/unmute the microphone. The OLED display will indicate the mute status.
6. Nlekọta
- Nhicha: Use a soft, dry cloth to clean the surfaces of the receiver and microphones. Do not use abrasive cleaners or solvents.
- Ngbanwe batrị: Replace microphone batteries when the low battery indicator appears on the microphone's OLED screen or when audio quality degrades. Always use fresh AA batteries.
- Nchekwa: When not in use for extended periods, remove batteries from the microphones to prevent leakage. Store the system in a cool, dry place.
7. Nchọpụta nsogbu
| Nsogbu | Ihe nwere ike ime | Ngwọta |
|---|---|---|
| Enweghị ụda sitere na igwe okwu | Microphone not powered on; Batteries dead; Microphone not synchronized; Receiver volume too low; Output cable disconnected. | Ensure microphone is on; Replace batteries; Perform IR sync; Increase receiver channel volume; Check audio cable connections to mixer/PA. |
| Interference/Static | Nearby electronic devices; Other wireless systems on same frequency; Obstructions between mic and receiver; Receiver too far from microphone. | Move receiver away from interference sources; Perform Autoscan and re-sync to a clear frequency; Ensure line of sight; Reduce distance between mic and receiver. |
| Ogologo ikuku dị mkpụmkpụ | Antennas not properly positioned; Obstructions; Low microphone battery. | Ensure antennas are vertical and unobstructed; Minimize physical barriers; Replace microphone batteries. |
| Microphone display not working | Dead batteries; Microphone not powered on. | Replace batteries; Press and hold power button to turn on. |
8. Nkọwapụta
| Njirimara | Nkọwa |
|---|---|
| Aha Nlereanya | American Audio WM-419 |
| Ihe kpatara ụdị igwe okwu | Microphone System (Handheld) |
| Ọnụọgụ nke ọwa | 4 (50 channels available per receiver, 200 total) |
| Teknụzụ Njikọta | UHF Wireless, XLR |
| Isi Iyi Ike | Receiver: AC Adapter; Microphones: 2 x AA Batteries (per mic) |
| Battery Life (Microphones) | 6-10 awa |
| Ikuku iche | Up to 300 feet / 90 meters (line of sight) |
| Signgbaàmà-na-Noise ruru | 70 dB |
| Ọkwa mkpọtụ | 85 dB |
| Nha Ngwaahịa (Onye Nnata) | 22 x 14 x 6 sentimita asatọ |
| Ibu Ibu | 9 pound |
| Agba | Nwa |
| Ngwa dakọtara | PA System, Karaoke Machine |
| Njirimara Pụrụ Iche | Volume Control (individual channel) |
| Ụkpụrụ Polar | Unidirectional |
9. Akwụkwọ ikike na nkwado
For warranty information and technical support, please contact ADJ Products directly or visit their official websaịtị. Debe nnata nzụta gị dị ka ihe akaebe nke ịzụrụ ihe maka akwụkwọ ikike ọ bụla.
Onye nrụpụta: Ngwaahịa ADJ
Akara: ADJ
Websaịtị: www.adj.com
10. Ozi nchekwa
ỊDỌ AKA NA NTỊ: Ngwaahịa a nwere ike ikpughe gị na kemịkalụ gụnyere lead, nke steeti California mara na ọ na-ebute ọrịa kansa na ntụpọ ọmụmụ ma ọ bụ mmerụ ahụ ọmụmụ ọzọ. Maka ozi ndị ọzọ gaa na www.P65Warnings.ca.gov.
- Ewepụla unit ahụ na mmiri ozuzo ma ọ bụ mmiri.
- Ewepụla mkpuchi ahụ. Enweghị akụkụ ndị ọrụ ga-arụ ọrụ n'ime. Tụtụ aka na ndị ọrụ ruru eru.
- Gbaa mbọ hụ na ikuku ikuku dị mma. Akwụsịla oghere ikuku.
- Jiri naanị ihe nkwụnye ọkụ ewepụtara na unit ahụ.
- Tụfuo batrị n'ụzọ ziri ezi dịka iwu obodo siri dị.


