1. Okwu mmalite
This manual provides essential information for the installation, operation, and maintenance of your Lowrance HDS-9 Live Fishfinder with Active Imaging 3-1 Sonar. Please read this manual thoroughly before using the device to ensure proper functionality and to maximize your experience.
The Lowrance HDS-9 Live is a high-performance marine electronics device designed to provide advanced fishfinding capabilities, detailed chartplotting, and navigation assistance. Its 9-inch LCD touchscreen display offers intuitive control and clear visibility of sonar data and nautical charts.
2. Ozi nchekwa
Na-edebe nchekwa nchekwa ndị a mgbe niile iji gbochie mmerụ ahụ ma ọ bụ mebie ngwaọrụ:
- Mkpughe mmiri: Ensure all connections are properly sealed to prevent water ingress. While the device is designed for marine environments, prolonged submersion or high-pressure water jets can cause damage.
- Ịnye ọkụ: Connect the device only to a 12V DC power source. Incorrect voltage can damage the unit. Ensure proper fuse protection is used.
- Ịkwanye: Securely mount the device and transducer according to the instructions to prevent detachment during operation, especially in rough conditions.
- Ntugharị: This device is an aid to navigation. Always use official nautical charts and visual navigation techniques. Do not rely solely on the electronic chartplotter for navigation.
- Ntinye Transducer: When installing the transducer, ensure it is placed in a location free from obstructions and turbulence for optimal sonar performance.
3. Ihe ngwugwu
Biko lelee ọdịnaya nke ngwugwu ahụ ka ị hụ na ihe niile dị:
- Lowrance HDS-9 Live Display Unit
- Active Imaging 3-1 Transducer
- Igwe ọkụ ọkụ
- Arịọnụ mgbodo na Hardware
- Akwụkwọ (Nduzi Mmalite Ngwa Ngwa, Kaadị Akwụkwọ ikike)
If any items are missing or damaged, please contact your dealer or Lowrance customer support.
4. Nhazi
4.1 Ịwụnye Ngalaba Ngosipụta
The HDS-9 Live supports surface mounting. Choose a location on your boat that provides clear visibility, easy access to the touchscreen, and protection from excessive spray. Ensure sufficient space behind the unit for cable connections and ventilation.
- Position the mounting bracket and mark the drill holes.
- Drill pilot holes using an appropriate drill bit for your boat's material.
- Secure the mounting bracket using the provided hardware.
- Attach the HDS-9 Live display unit to the mounting bracket.
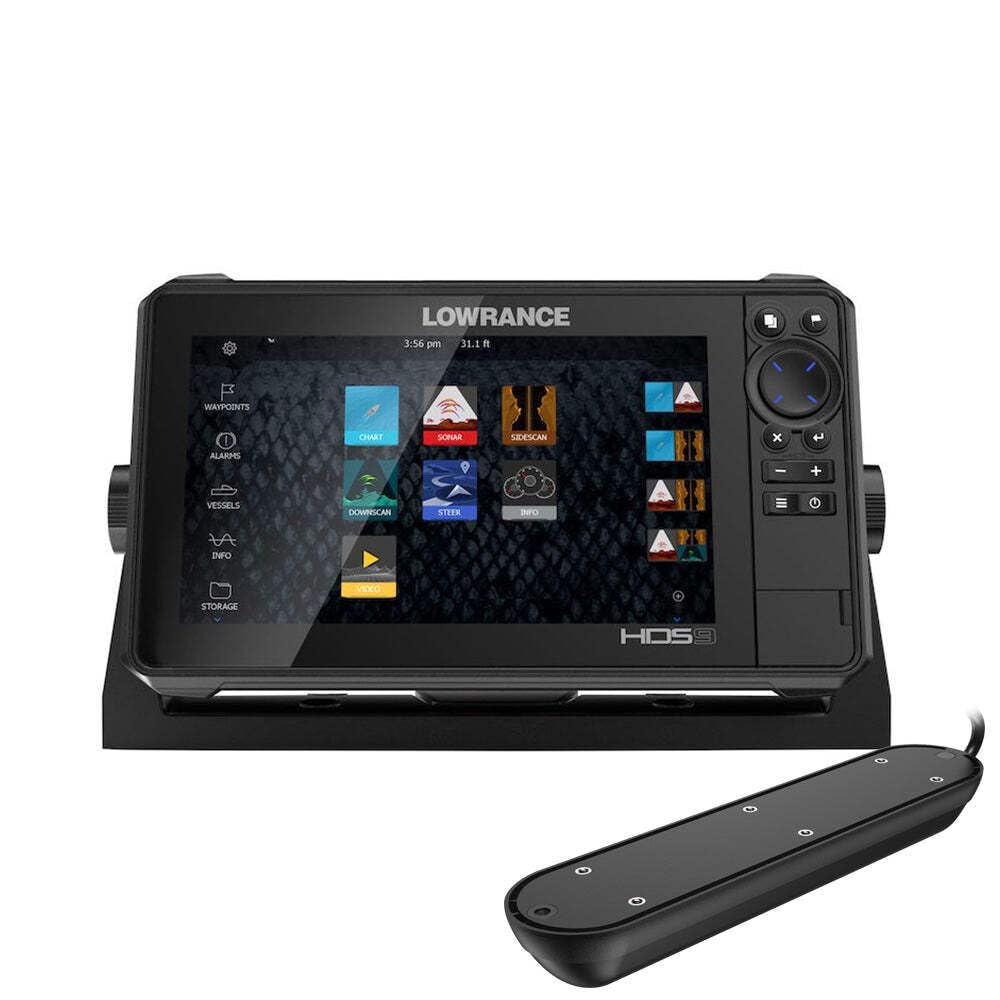
Figure 1: Lowrance HDS-9 Live Fishfinder display unit. This image shows the front view of the device, highlighting its 9-inch screen and sleek design, ready for marine installation.
4.2 Njikọ ike
Connect the red wire from the power cable to the positive (+) terminal of your 12V DC power source, and the black wire to the negative (-) terminal. Install an in-line fuse (recommended 3A) on the positive wire as close to the power source as possible.
4.3 Transducer Connection
Connect the Active Imaging 3-1 transducer cable to the corresponding sonar port on the back of the HDS-9 Live unit. Ensure the connection is secure and the locking collar is tightened to prevent water intrusion.
4.4 Network Connection (Ethernet)
For connecting to other compatible Lowrance devices or a marine network, use an Ethernet cable. Plug one end into the Ethernet port on the HDS-9 Live and the other end into the network hub or another device.
5. Ntuziaka ọrụ
5.1 Gbanyụọ/ gbanyụọ
- Iji gbanye: Press and hold the Power button (usually located on the front or side of the unit) until the Lowrance logo appears.
- Iji gbanyụọ: Press and hold the Power button until the power options menu appears. Select 'Power Off' or 'Shutdown'. A quick press of the power button may put the unit into standby mode.
5.2 Basic Navigation (Touchscreen)
The HDS-9 Live features a capacitive touchscreen for intuitive control:
- Kpatụ: Select items, open menus, or confirm actions.
- Mịpụta: Scroll through lists or pan across maps.
- Tụọ-gaa-mbugharị: Use two fingers to zoom in or out on charts and sonar views.
- Ogologo Pịa: Access contextual menus or advanced options.
5.3 Sonar Operation (Active Imaging 3-1)
The Active Imaging 3-1 transducer provides traditional CHIRP sonar, SideScan, and DownScan Imaging. To access sonar views:
- From the Home screen, select the 'Sonar' page.
- Tap the menu icon to select different sonar views (e.g., 'Traditional', 'DownScan', 'SideScan').
- Adjust settings such as sensitivity, range, and frequency from the sonar menu to optimize performance for current conditions.
5.4 GPS/Charting
The HDS-9 Live supports nautical charts for navigation. To use the chartplotter:
- From the Home screen, select the 'Chart' page.
- Your current position will be displayed on the chart.
- Use the touchscreen to pan and zoom.
- To create a waypoint, tap on the desired location on the chart.
- To create a route, select the 'Routes' option from the menu and follow the on-screen prompts.
5.5 Settings Adjustment
Access the system settings from the Home screen to customize your device. Here you can adjust display brightness, unit preferences, network settings, and more.
6. Nlekọta
6.1 Nhicha
Regular cleaning helps maintain the device's performance and longevity:
- Ngosipụta: Jiri nwayọọ, damp cloth with fresh water to clean the screen. Avoid abrasive cleaners or solvents, which can damage the display coating.
- Nkeji Casing: Hichapụ casing na adamp akwa .
- Onye ntụgharị: Periodically check the transducer face for marine growth or debris. Clean gently with a soft brush and fresh water.
6.2 Mmelite ngwanrọ
Lowrance periodically releases software updates to improve performance, add features, and fix bugs. It is recommended to keep your device's software up to date. Visit the official Lowrance website for the latest software versions and instructions on how to perform an update.
6.3 Nchekwa
When storing the device for extended periods, especially in cold climates, remove the unit from its mounting bracket and store it in a dry, temperature-controlled environment. Disconnect all cables.
7. Nchọpụta nsogbu
If you encounter issues with your HDS-9 Live, refer to the following common problems and solutions:
- Enweghị ike:
- Lelee njikọ eriri ọkụ.
- Verify the fuse in the power line is intact.
- Gbaa mbọ hụ na batrị nwere chaja zuru oke.
- No Sonar Readings:
- Ensure the transducer is properly connected to the unit.
- Check for obstructions or marine growth on the transducer face.
- Verify the correct transducer type is selected in the system settings.
- Adjust sonar sensitivity and range settings.
- GPS Not Acquiring Position:
- Gbaa mbọ hụ na unit ahụ nwere nke doro anya view nke elu-igwe.
- Allow several minutes for the GPS receiver to acquire satellites.
- Check for any metallic objects or other electronics interfering with the GPS signal.
- Ihuenyo Anaghị azaghachi mmetụ aka:
- Ensure the screen is clean and dry.
- Malitegharịa ekwentị ahụ.
- If wearing gloves, try operating with bare fingers or compatible touchscreen gloves.
For further assistance, contact Lowrance customer support.
8. Nkọwapụta
| Ụdị | Ọdịda ala |
| Nọmba nlereanya | 003-4114425 |
| Nha ihuenyo | 9 sentimita asatọ |
| Ụdị ngosi | LCD |
| Scdị Touchscreen | Capacitive |
| Teknụzụ Njikọta | Ethernet |
| Njirimara Pụrụ Iche | Active Imaging 3-1 Sonar |
| Ụdị map | Nautical |
| Ụdị nkwụnye | Ugwu elu |
| Akụkụ ngwaahịa (L x W x H) | 24 x 69 x 2.5 cm |
| Ibu Ibu | 4.81 kilogram |
9. Akwụkwọ ikike & Nkwado
9.1 Ozi akwụkwọ ikike
For detailed warranty information regarding your Lowrance HDS-9 Live Fishfinder, please refer to the warranty card included in your product packaging or visit the official Lowrance websaịtị. Usoro na ọnọdụ ikike nwere ike ịdị iche site na mpaghara.
9.2 Nkwado ndị ahịa
If you require technical assistance, have questions about your product, or need to report an issue, please contact Lowrance customer support. Contact details, including phone numbers and online support resources, can be found on the official Lowrance websaịtị: