1. Ngwaahịa gafereview
The Midiplus Studio M is a compact and high-performance USB audio interface designed for studio recording. It features one input and two outputs, supporting high-quality microphone input and 24-bit/192kHz high-precision sampling. The device is powered via PC USB and includes 48V phantom power for condenser microphones. Its small, exquisite design is compatible with both Mac and Windows operating systems, making it a versatile tool for musicians and producers.
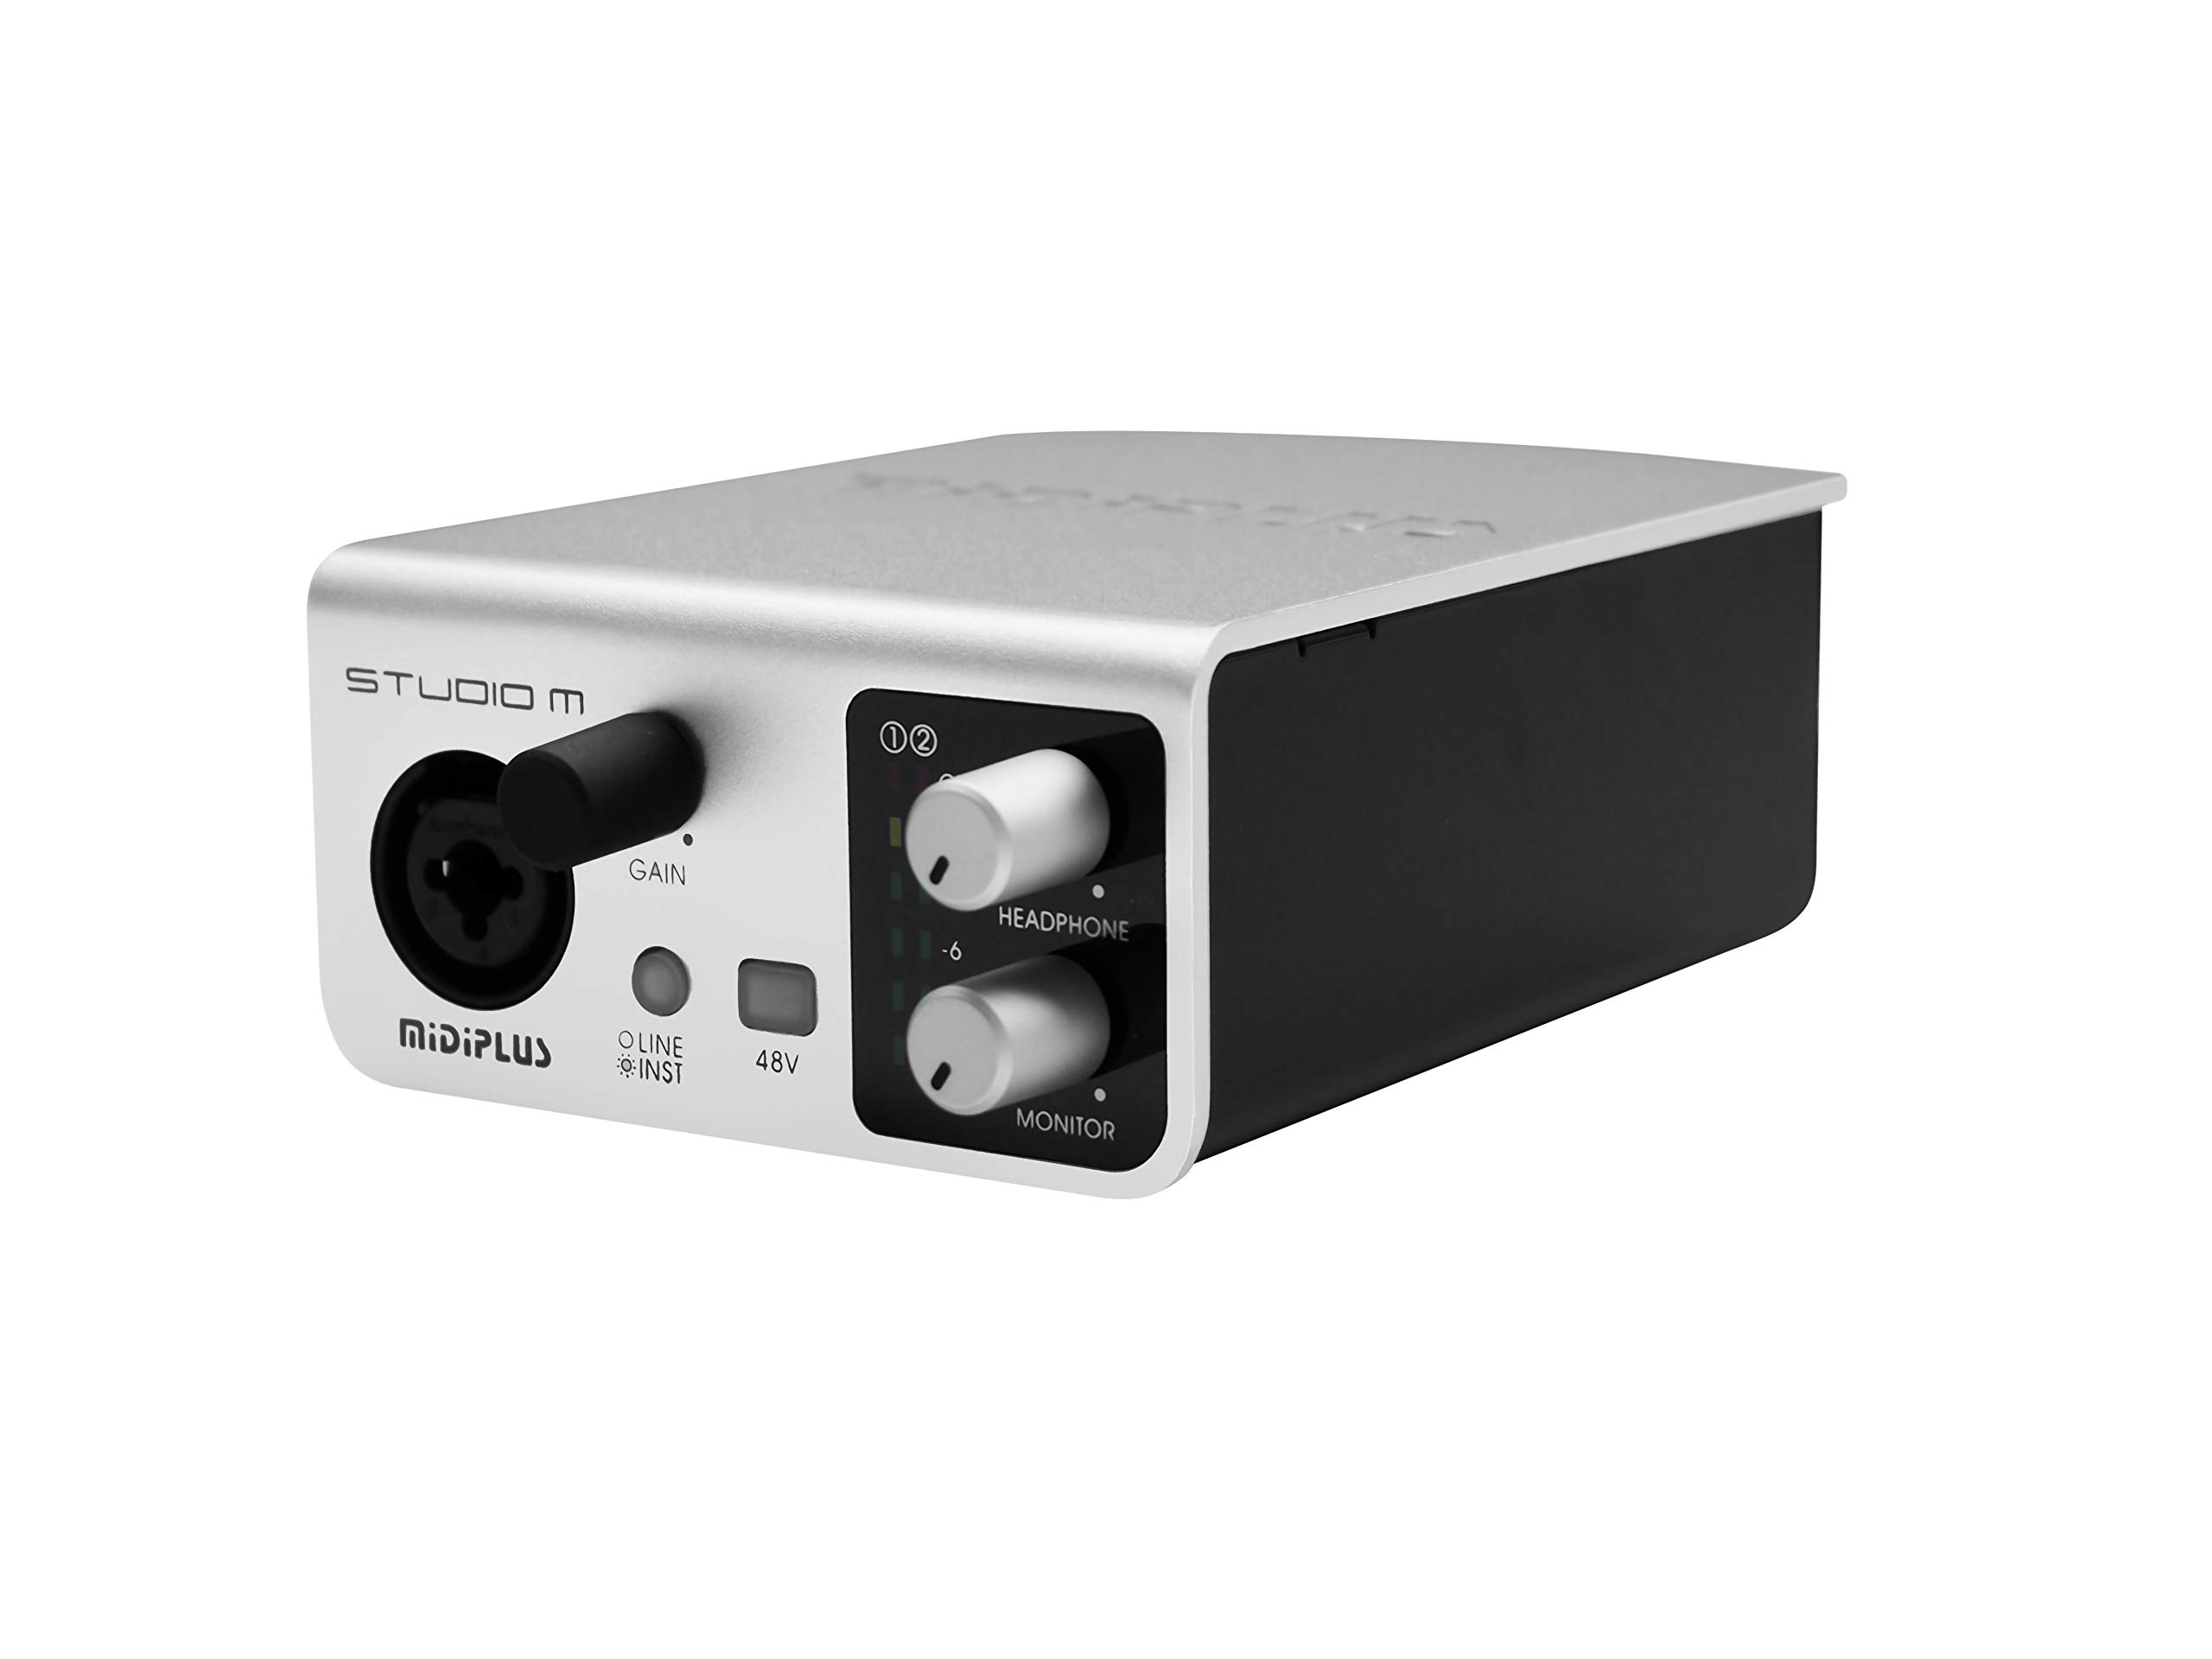
Foto 1: N'ihu na azụ view of the Midiplus Studio M USB Audio Interface.
2. Ntuziaka Nhazi
Ihe ngwugwu 2.1
- Midiplus Studio M USB Audio Interface
- eriri USB
- Akwụkwọ ntuziaka onye nwe (akwụkwọ a)
- Kaadị ozi
2.2 System chọrọ
- Sistemụ arụmọrụ: Windows, macOS
- Compatible Devices: Personal Computer with USB port
2.3 Ijikọ ngwaọrụ
- Connect the Midiplus Studio M to your computer using the provided USB cable. The device is USB-powered.
- Ensure your operating system (Windows or macOS) recognizes the device. Drivers may be required for optimal performance; refer to the Midiplus websaịtị maka nbudata ọkwọ ụgbọala kacha ọhụrụ.
- Connect your microphone or instrument to the Input (MIC/Line/Hi-z) interface on the front panel.
- Connect your headphones to the headphone interface on the front panel, or your studio monitors to the Output interface (Left/Right) on the rear panel.

Figure 2: Midiplus Studio M connected to a computer, showing input and output cables.
3. Ntuziaka ọrụ
3.1 Njikwa ihu ihu
- Input Gain Control Knob: Adjusts the input level for the connected microphone or instrument.
- Switch (Mic/Instrument) Button: Toggles between microphone and instrument input modes.
- 48V Phantom Power ON/OFF: Activates or deactivates 48V phantom power for condenser microphones.
- Headphone Volume Control Button: Adjusts the output volume for connected headphones.
- Output Volume Control Button: Adjusts the main output volume for connected studio monitors.

Figure 3: Midiplus Studio M in a studio setup, demonstrating its compact size and integration.
3.2 Njikọ azụ azụ
- Njikọ USB: USB2.0 port for connection to your computer and power supply.
- Output Interface (Left/Right): Connects to your studio monitors or other output devices.
- Extensible Device Interface: Provides additional connectivity options for other devices.
4. Nlekọta
- Debe ngwaọrụ ahụ ọcha site n'iji ákwà dị nro ma kpọọ nkụ hichaa ya. Zere iji kemịkalụ siri ike ma ọ bụ ihe ndị na-emebi ihe.
- Ensure all cables are securely connected to prevent signal loss or damage.
- Store the interface in a cool, dry place away from direct sunlight and extreme temperatures.
- Zere idobe ihe ndị dị arọ n'elu unit ahụ.
5. Nchọpụta nsogbu
5.1 Enweghị mpụta ụda
- Check all cable connections (USB, input, output, headphones).
- Ensure the device is powered on and recognized by your computer.
- Verify that the output volume controls (headphone and main output) are turned up.
- Check your computer's sound settings to ensure the Midiplus Studio M is selected as the output device.
5.2 Input Signal Issues
- Adjust the Input Gain Control Knob.
- Ensure the correct input mode (Mic/Instrument) is selected.
- If using a condenser microphone, verify that 48V Phantom Power is enabled.
- Check the microphone/instrument cable for damage.
5.3 Device Not Recognized by Computer
- Gbalịa ijikọ eriri USB na ọdụ ụgbọ USB dị iche na kọmputa gị.
- Malitegharịa ekwentị gị na kọmputa.
- Ensure the latest drivers for the Midiplus Studio M are installed from the official Midiplus websaịtị.
- Jiri eriri USB dị iche nwalee ma ọ dị.
6. Nka na ụzụ nkọwa
| Njirimara | Nkọwa |
|---|---|
| Nọmba nlereanya | Studio M |
| Ụdị | Midiplus |
| Teknụzụ Njikọta | USB (USB2.0) |
| Mkpebi ọdịyo | 24-bit/192 kHz |
| Ntinye | 1 (MIC/Line/Hi-z) |
| Nsonaazụ | 2 (Left/Right) |
| Phantom Ike | 48V (switchable) |
| Sistemu eji arụ ọrụ dakọtara | Windows, macOS |
| Akụkụ ngwaahịa | 5.28 x 3.54 x 1.89 sentimita asatọ |
| Ibu Ibu | 14.1 ounces (0.4 Kilogram) |
7. Akwụkwọ ikike na nkwado
For warranty information and technical support, please refer to the official Midiplus website or contact your local dealer. Keep your purchase receipt as proof of purchase for any warranty claims.