Ngwaahịa gafereview
The Tackform Magnetic Phone Holder V2.0 is a versatile mounting solution designed to securely hold smartphones, tablets, and GPS units in various locations. It features strong N52 Neodymium magnets and authentic 3M adhesive for reliable attachment.

Image: The Tackform Magnetic Phone Holder V2.0, showcasing its compact design and magnetic surface.
Atụmatụ igodo
- Igwe ndọbanye: Attaches securely with high strength neodymium magnets.
- Ojiji dị iche iche: Can be used on car dash, kitchen counter, bedside table, bathroom mirror.
- Nrikwa nrapado: Stick-on magnetic holder with authentic 3M adhesive for a no-slip grip.
- Ngwa dakọtara: Fits most smartphones, tablets, GPS units and smartwatches.
- Ihe owuwu na-adịgide adịgide: Made from flexible silicone material that is easy to clean.

Image: Diagram illustrating the versatile, safe, strong, smart, compatible, and secure features of the magnetic phone holder.
Kedu ihe gụnyere
Chọpụta na akụrụngwa niile dị na ngwugwu gị:

Image: Contents of the Tackform Magnetic Phone Holder package, including the mount, metal disks, re-install adhesives, alcohol pad, and dry wipe.
- 1 - Magnetic Dash Mount
- 2 - Metal Disks
- 1 - Round Disk
- 2 - Re-install Adhesives
- 1 - Alcohol Pad
- 1 - Dry Wipe
Ntọala na nwụnye
Step 1: Choose a Mounting Location
Select a flat, clean surface for mounting the holder. Common locations include car dashboards, kitchen counters, or bedside tables. Ensure the surface is free from dust, grease, and moisture.
Nzọụkwụ 2: Kwadebe elu
Use the included alcohol pad to thoroughly clean the chosen mounting surface. Allow it to dry completely.
Step 3: Attach the Magnetic Dash Mount
Remove the protective film from the 3M adhesive on the base of the magnetic dash mount. Carefully position the mount on the prepared surface. Press firmly for at least 30 seconds to ensure strong adhesion. For optimal bonding, allow the adhesive to cure for 24 hours before attaching your device.
Video: This video demonstrates the installation process of the Tackform Magnetic Phone Holder on a car dashboard, showing how to apply the adhesive mount.
Kwụpụ 4: Kwadebe Ngwaọrụ gị
Choose one of the provided metal disks. You can either stick it directly to the back of your phone or phone case, or place it between your phone and its case (if the case is not too thick). If sticking the disk, ensure the surface is clean and dry before applying.
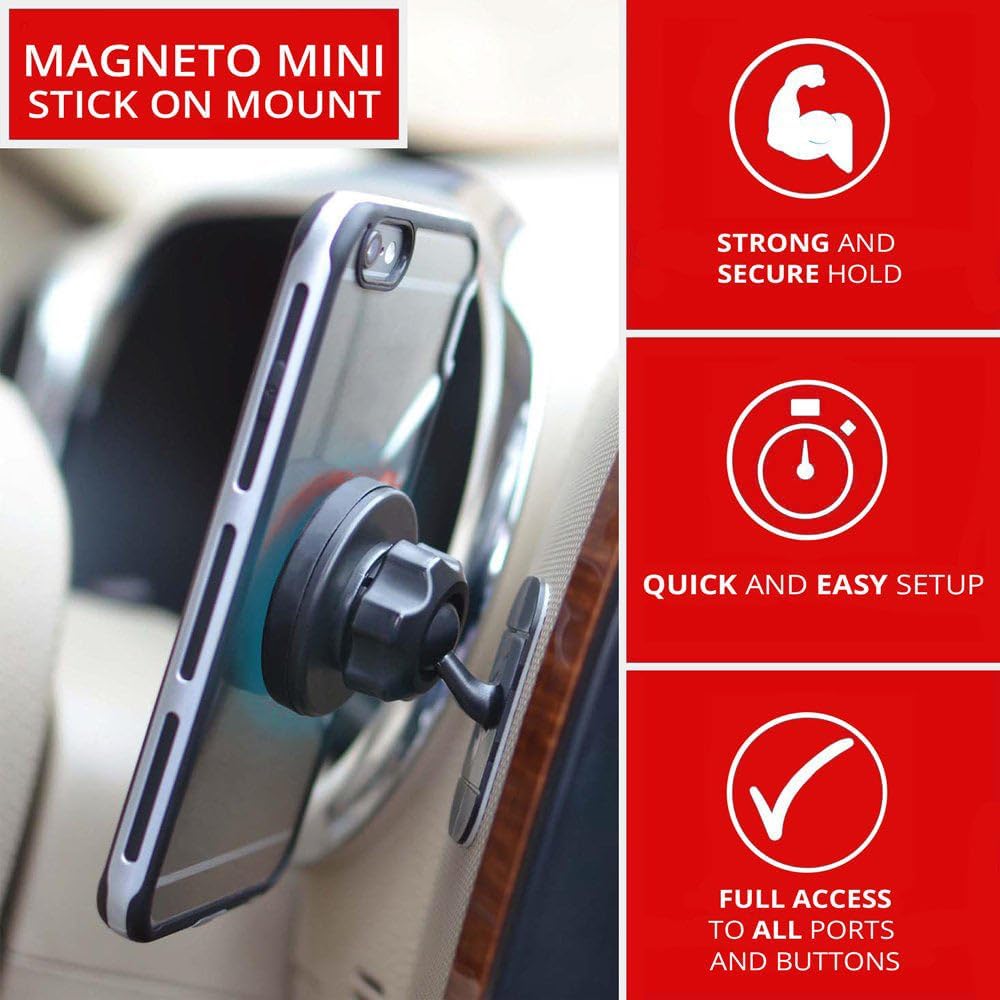
Image: A smartphone securely attached to the magnetic mount in a car, highlighting quick and easy setup and full access to device ports.
Ntuziaka ọrụ
Attaching Your Device
Once the magnetic dash mount is securely installed and the metal disk is attached to your device, simply bring your device close to the magnetic surface of the mount. The strong N52 magnets will automatically align and hold your device in place.
Na-edozi Viewna n'akuku
The mount features a ball joint for 360-degree rotation, allowing you to adjust your device to the perfect viewing angle. Loosen the collar on the ball joint, adjust the angle, and then tighten the collar to secure it.
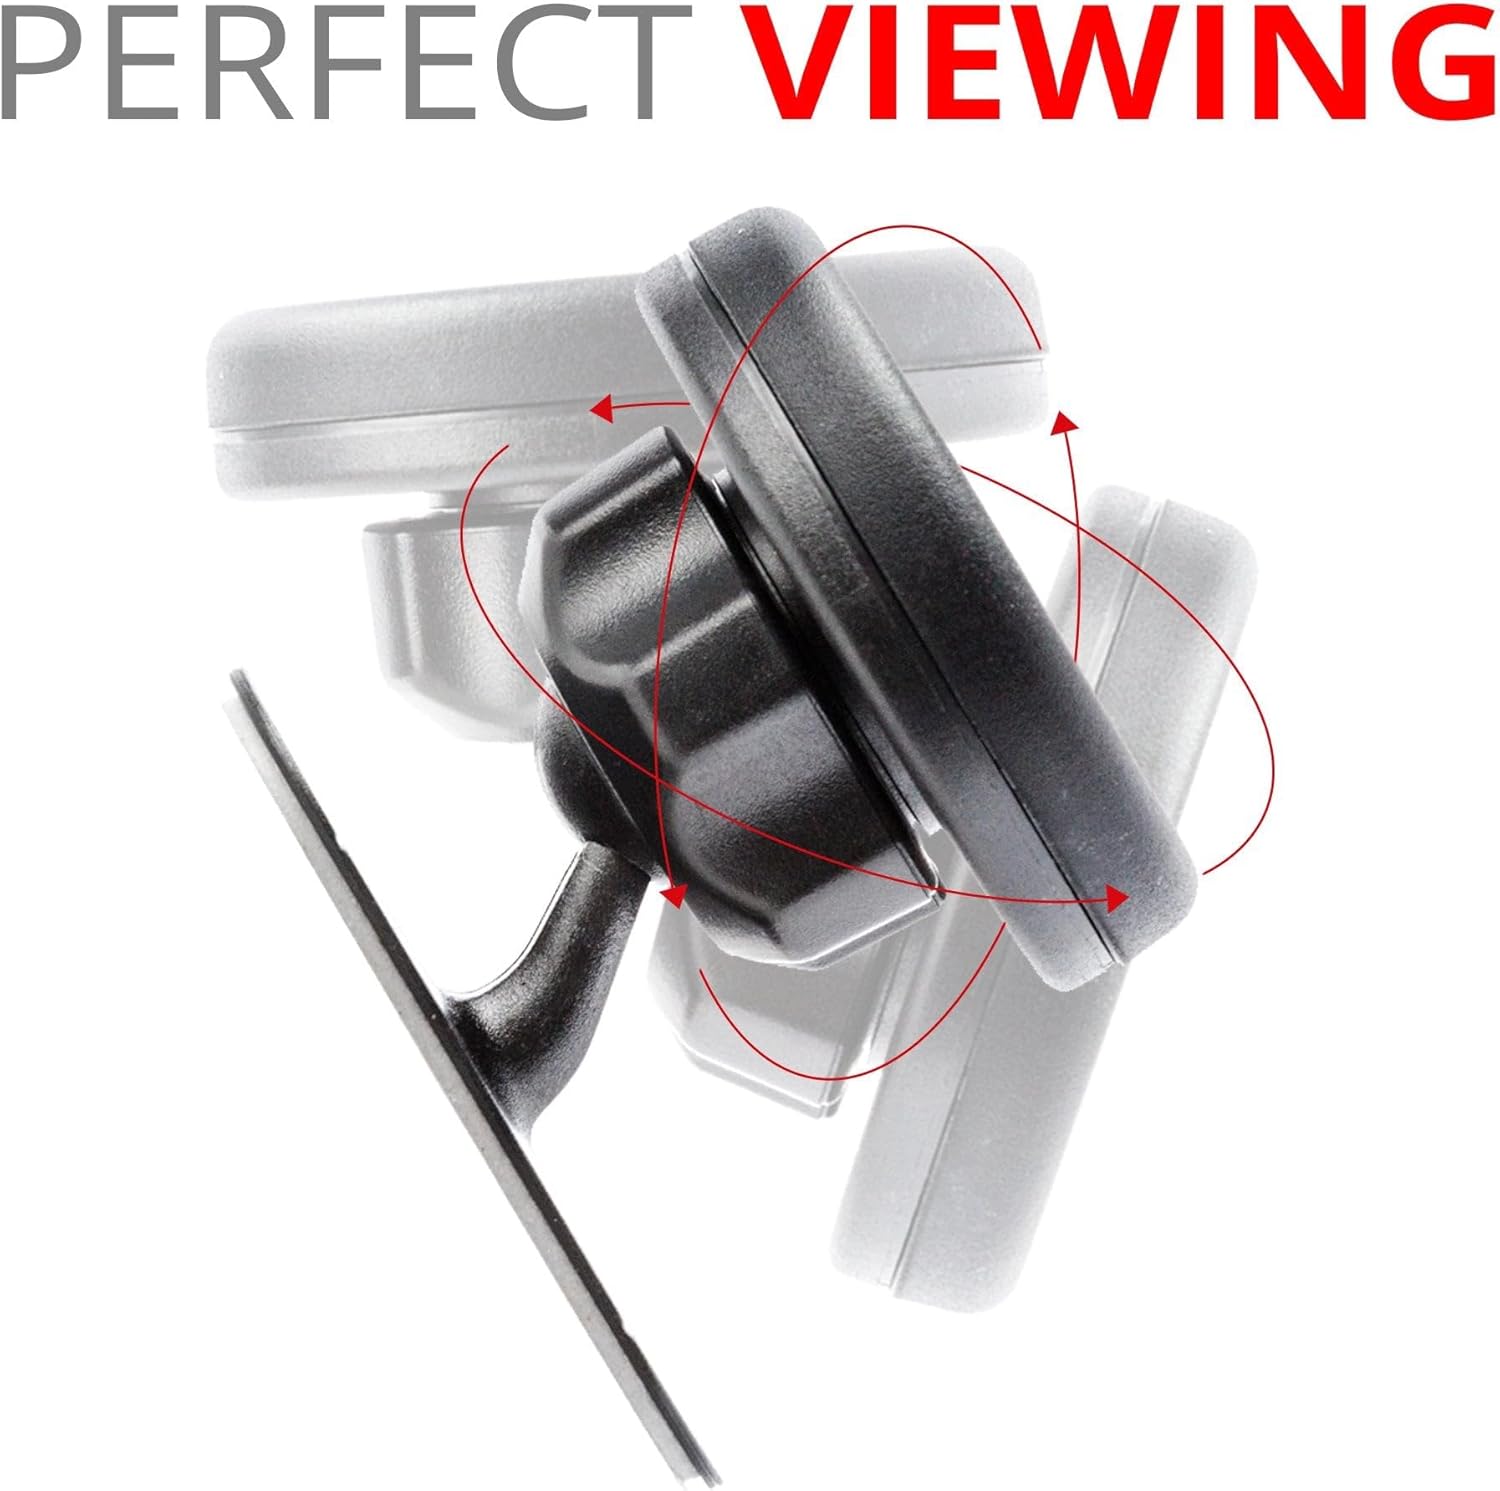
Image: Illustration of the 360-degree rotation and adjustable viewing angles provided by the magnetic phone holder's ball joint.
Nlekọta
To clean the magnetic mount, wipe it with a soft, damp cloth. Avoid using harsh chemicals or abrasive cleaners, as these may damage the finish or adhesive. Ensure the magnetic surface and the metal disk on your device are kept clean for optimal magnetic connection.
Nchọpụta nsogbu
Issue: Mount is not sticking securely.
- Ngwọta: Ensure the mounting surface was thoroughly cleaned with the alcohol pad and completely dry before application. Press firmly for the recommended time and allow 24 hours for the adhesive to cure without a device attached. Extreme temperatures can affect adhesive performance; apply in moderate conditions.
Issue: Device is not holding firmly to the magnet.
- Ngwọta: Verify that the metal disk is correctly positioned on your device or inside your case. If using a phone case, ensure it is not excessively thick, as this can weaken the magnetic connection. Ensure both the mount's magnetic surface and the metal disk are clean.
Nkọwapụta
| Njirimara | Nkọwa |
|---|---|
| Akụkụ ngwaahịa | 0.75 x 1.2 x 1.2 sentimita asatọ |
| Ibu Ibu | 1.6 ounces |
| Onye nrụpụta | Tackform |
| Nọmba Nlereanya ihe | TF00-0N0M |
| Ụdị | Tackform |
| Agba | Nwa |
| Ngwa dakọtara | Smartphones, Tablets, GPS Units |
| Ụdị nkwụnye | Adhesive (3M) |

Image: Detailed dimensions of the Tackform Magnetic Phone Holder, showing its compact design.
Akwụkwọ ikike na nkwado
For warranty information or technical support, please contact Tackform customer service directly. Refer to the product packaging or the official Tackform websaịtị maka nkọwa kọntaktị.


