1. Okwu mmalite
This manual provides detailed instructions for the assembly, operation, and maintenance of your Sharkoon VS4-W Series ATX/MicroATX Mid-Tower PC Case, model SHA-VS4-WBK. Please read this manual thoroughly before beginning installation to ensure proper setup and to maximize the lifespan of your product.
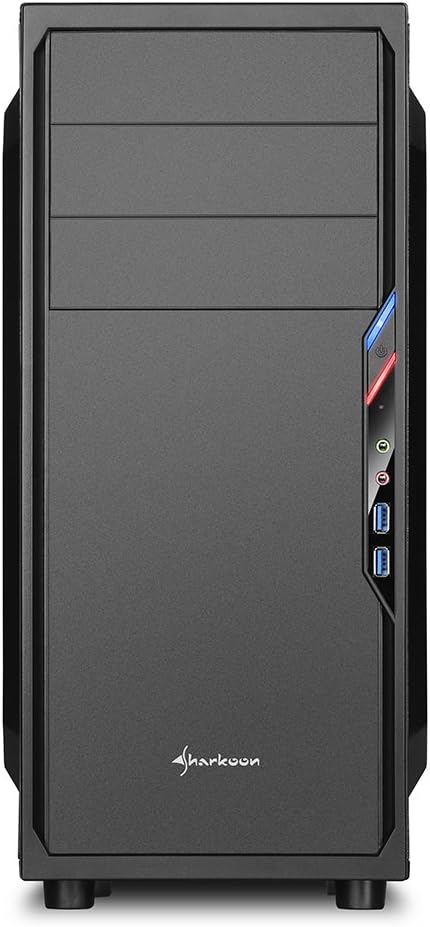
The Sharkoon VS4-W Series is designed for users seeking a cost-effective and functional PC case. It features a full-black aesthetic with an acrylic side window panel, offering a clear view of your internal components. The case supports ATX and Micro-ATX motherboards and provides ample space for various components, including multiple storage drives and long graphics cards.
2. Ngwaahịa gafereview
2.1. Atụmatụ igodo
- Acrylic side window panel for component visibility.
- Full-black interior and exterior design.
- Support for ATX and Micro-ATX motherboards.
- Three 5.25-inch drive bays, two with tool-less mechanisms.
- Seven drive bays for storage: three 3.5-inch and four 2.5-inch.
- Generous expansion card space, up to 385mm with 2.5-inch cage removed.
- Cable management space behind the motherboard tray due to a bulged side panel design.
- Supports CPU coolers up to 160mm in height.
- Front I/O panel with 2x USB 3.0 and 2x USB 2.0 ports, plus HD Audio.
- Pre-installed 120mm front fan and 120mm blue LED rear fan.
2.2. Njirimara akụrụngwa


3. Ntọala na nwụnye
3.1. Ịkwadebe Okwu ahụ
- Unpack the PC case and remove all packaging materials.
- Debe igbe ahụ n'elu elu kwụsiri ike ma dịkwa larịị.
- Remove the side panels by unscrewing the thumbscrews at the rear of the case.
3.2. Nwụnye motherboard
- Install the I/O shield provided with your motherboard into the cutout at the rear of the case.
- Ensure standoffs are correctly aligned for your ATX or Micro-ATX motherboard. Install additional standoffs if necessary.
- Carefully place the motherboard into the case, aligning it with the standoffs and I/O shield.
- Chekwaa motherboard na kposara.
3.3. Nwụnye ọkụ ọkụ
- Mount the power supply unit (PSU) in the designated area at the bottom rear of the case.
- Chekwaa PSU site na skru site n'azụ ikpe ahụ.
- Route necessary power cables through the cable management cutouts.
3.4. Mbanye nwụnye
- 5.25-inch Drives: For tool-less bays, slide the drive in until it clicks into place. For other bays, secure with screws.
- 3.5-inch Drives: Slide the 3.5-inch drives into the designated bays and secure them.
- 2.5-inch Drives: Mount 2.5-inch SSDs/HDDs onto the dedicated mounting points.
3.5. Ntinye Kaadị Mgbasawanye
- Remove the necessary PCI slot covers from the rear of the case.
- Insert your graphics card or other expansion cards into the appropriate PCI-E slots on the motherboard.
- Secure the cards with screws. For longer graphics cards, the 2.5-inch drive cage can be removed to provide up to 385mm of space.
3.6. Njikwa USB
Utilize the space behind the motherboard tray and the various cable routing holes to organize cables. This improves airflow and aesthetics.
4. Ntuziaka ọrụ
Once all components are installed and connected, replace the side panels and secure them with the thumbscrews. Connect your peripherals (monitor, keyboard, mouse, etc.) to the motherboard's I/O ports. Connect the power cable to the PSU and a wall outlet. Press the power button on the front panel to start your system.
5. Nlekọta
5.1. Nhicha
- Regularly clean dust filters (if present) to maintain optimal airflow.
- Jiri ikuku amịkọrọ ekpochapụ uzuzu sitere na ihe ndị dị n'ime yana fan.
- Jiri ihe dị nro hichaa mpụta nke akpa ahụ, damp akwa . Zere ndị na-ehicha ihe na-ekpo ọkụ.
5.2. Nlekọta Fans
Ensure fans are free from obstructions and spinning correctly. If a fan becomes noisy or stops working, consider replacing it to maintain proper cooling.
6. Nchọpụta nsogbu
6.1. Sistemụ anaghị arụ ọrụ
- Check all power connections, including the PSU to the wall, and internal connections to the motherboard and components.
- Ensure the power button cable from the case is correctly connected to the motherboard's front panel header.
- Hụ na mgbanwe PSU dị n'ọnọdụ 'ON'.
6.2. Poor Airflow/Overheating
- Clean any dust filters and internal components.
- Ensure fans are operating correctly and oriented for optimal airflow (intake/exhaust).
- Improve cable management to reduce obstructions to airflow.
6.3. USB/Ọdịyo nke Panel Ihu Adịghị Arụ Ọrụ
- Verify that the front panel USB and HD Audio cables are securely connected to the corresponding headers on your motherboard.
7. Nkọwapụta
| Aha Nlereanya | VS4-W Series |
| Nọmba Nlereanya Ngwaahịa | SHA-VS4-WBK |
| Ụdị ikpe | Mid Tower |
| Ihe onwunwe | Plastic, ígwè, acrylic |
| Agba | Nwa |
| Ndakọrịta Motherboard | ATX, Micro-ATX |
| 5.25" Ụgbọ mmiri | 3 (2 with tool-less mechanism) |
| 3.5" Internal Drive Bays | 3 |
| 2.5" Ụgbọ mmiri | 4 |
| Oghere Mgbasawanye PCI | 7 |
| Oke. Ogologo Kaadị eserese | 310mm (385mm with 2.5" cage removed) |
| Oke. CPU cooler elu | 160mm |
| Oke. Ogologo PSU | 260mm |
| N'ihu I / O Ports | 2x USB 3.0, 2x USB 2.0, HD Audio (Mic/Headphone) |
| Ndị Fans etinyegoro mbụ | Front: 1x 120mm, Rear: 1x 120mm Blue LED |
| Usoro jụrụ oyi | Ikuku jụrụ oyi |
| Akụkụ ngwaahịa (L x W x H) | 44.5 x 20 x 43 cm |
| Ibu Ibu | 3.5 n'arọ |
8. Akwụkwọ ikike na nkwado
For warranty information and technical support, please refer to the official Sharkoon websaịtị ma ọ bụ kpọtụrụ onye na-ere ahịa mpaghara gị. Debe ihe akaebe nke ịzụrụ ihe maka akwụkwọ ikike.
Official Sharkoon Websaịtị: www.sharkoon.com


