1. Okwu mmalite
Daalụ maka ịzụrụasing the Sharp XL-HF201P Micro Hi-Fi System. This system is designed to provide high-quality audio playback from various sources, including CDs, USB devices, and iPods. This manual provides essential information for the safe and efficient operation of your new audio system. Please read it thoroughly before use and retain it for future reference.
2. Ozi nchekwa dị mkpa
- Isi mmalite ike: Jikọọ unit naanị na oghere AC nke voltage specified on the unit's rear panel.
- Igwe ikuku: Ensure adequate ventilation. Do not block ventilation openings. Avoid placing the unit on soft surfaces that may block vents.
- Mmiri na mmiri: Etinyela ihe ndị e ji mmiri ozuzo, mmiri ozuzo, ma ọ bụ ihe ndị na-asọpụta/na-efesa mmiri n'ime ihe ahụ. Etinyela ihe ndị e ji mmiri mmiri jupụta, dị ka ite, n'elu ihe ahụ.
- Okpomọkụ: Debe ngwaọrụ ahụ n'ebe dị anya site na isi iyi okpomọkụ dịka radiators, ndekọ okpomọkụ, stovu, ma ọ bụ ngwaọrụ ndị ọzọ (gụnyere amplifiers) nke na-emepụta okpomọkụ.
- Nhicha: Wepụ ihe mkpuchi ahụ na ihe mkpuchi mgbidi tupu ị hichaa ya. Jiri naanị ákwà kpọrọ nkụ.
- Ije ozi: Anwala ịnye ngwaahịa a n'onwe gị. Tụtụ aka n'aka ndị ọrụ ruru eru.
3. Ihe ngwugwu
Biko lelee na etinyere ihe niile edepụtara n'okpuru na ngwugwu gị:
- Main Unit (CD Player/Receiver)
- Left Speaker (x1)
- Right Speaker (x1)
- Njikwa Ime Obodo (na batrị AA abụọ)
- Antenna FM
- AM Loop Antenna
- Ụdọ ọkụ
- Akwụkwọ ntuziaka (akwụkwọ a)
4. Nhazi
4.1 Mwepu na ntinye
Carefully remove all components from the packaging. Place the main unit and speakers on a stable, flat surface. Ensure there is sufficient space around the unit for proper ventilation.
4.2 Ijikọ Ndị Ọkà Okwu
Connect the speaker wires to the corresponding terminals on the main unit and speakers. Match the positive (+) and negative (-) terminals. For optimal sound, ensure the wires are securely connected. If the speaker wires do not insert directly into the screw-knobs, wrap the bare wire ends around the terminal posts and then tighten the screw-knobs to secure them.
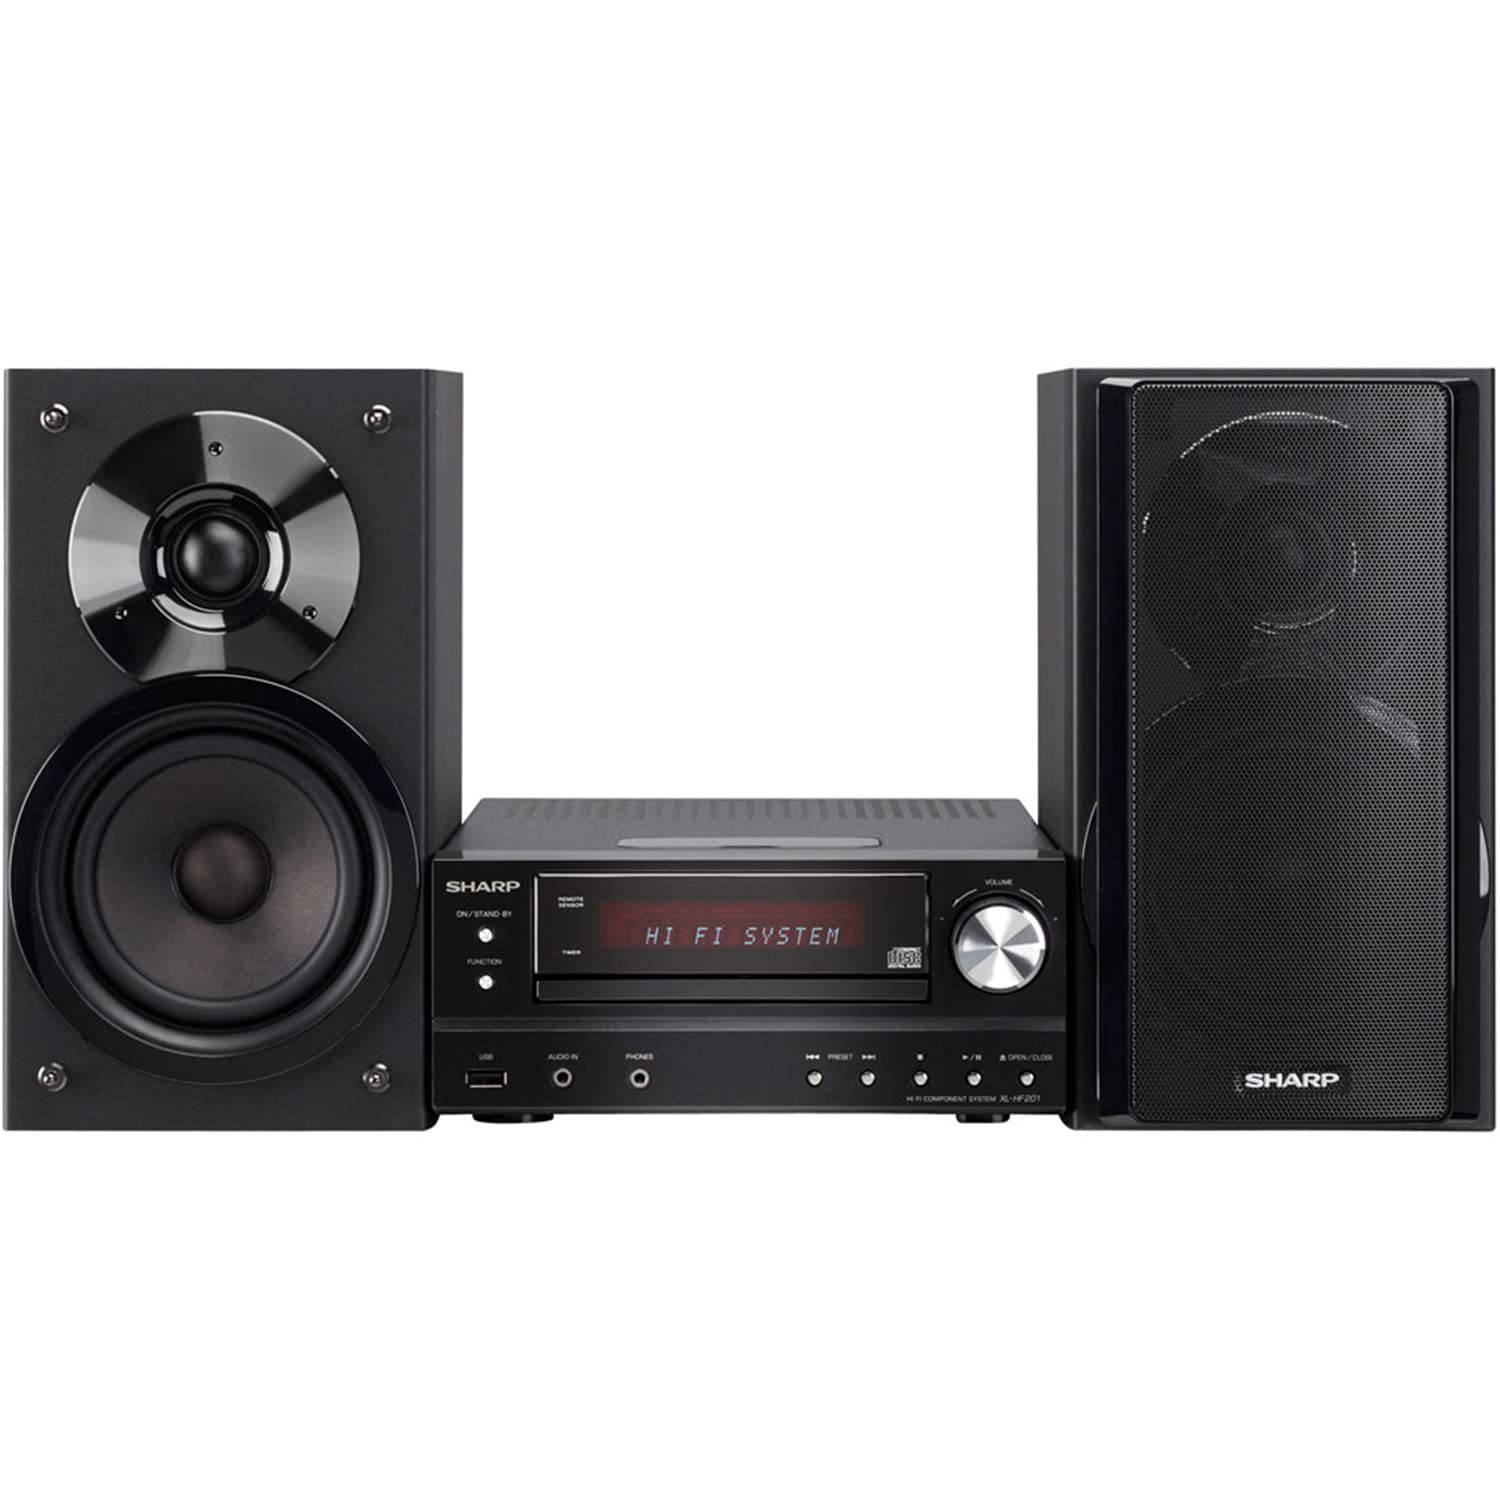
Image 4.2.1: The Sharp XL-HF201P Micro Hi-Fi System, showing the main unit and two speakers. This image illustrates the overall appearance of the system, which includes a central receiver with a CD tray and an iPod dock on top, flanked by two dark-colored speakers.
4.3 Connecting the Antennas
- Antenna FM: Connect the supplied FM wire antenna to the FM antenna terminal on the rear of the main unit. Extend the wire for better reception.
- Antenna AM: Assemble the AM loop antenna and connect it to the AM antenna terminals. Position the antenna for optimal AM reception.
4.4 Njikọ ike
After all other connections are made, plug the power cord into the AC inlet on the rear of the main unit, then plug the other end into a wall outlet.
5. Ntuziaka ọrụ
5.1 Gbanyụọ ma ọ bụ gbanyụọ
Pịa IKE button on the front panel or the remote control to turn the unit on or off (standby mode).
5.2 Nhọrọ Isi mmalite
Pịa Ọrụ button on the front panel or the remote control repeatedly to cycle through available sources: CD, USB, iPod, FM, AM, AUX.
5.3 CD ịkpọghachi
- Họrọ nke CD ọrụ.
- Pịa Mepee/mechie bọtịnụ imepe tray CD.
- Place a CD (CD-DA, MP3, WMA) with the label side up on the tray.
- Pịa Mepee/mechie again to close the tray. Playback will start automatically.
- Jiri KWURU/Kwụsịa, KWỤSỊ, MAKA (forward/backward) buttons for control.
5.4 USB playback
- Insert a USB device (containing MP3 or WMA files) into the USB port on the front panel.
- Họrọ nke USB ọrụ.
- Playback will begin automatically or you may need to select a track.
- Jiri KWURU/Kwụsịa, KWỤSỊ, MAKA bọtịnụ maka njikwa.
5.5 iPod / iPhone Dock
- Carefully place your compatible iPod or iPhone onto the dock connector on top of the main unit.
- Họrọ nke iPod ọrụ.
- Your device will begin charging and you can control playback using the system's remote or your device's controls.
5.6 Radio Tuning
- Họrọ nke FM or AM ọrụ.
- Jiri ihe NKWUKWU buttons (or knob on the unit) to manually tune to a station.
- Pịa ma jide NKWUKWU buttons for automatic station scanning.
- To preset stations, tune to the desired station, then press Ncheta followed by a preset number button.
5.7 Njikwa olu
Gbanwee olu site na iji Olu +/- buttons on the remote control or the volume knob on the main unit.
6. Nlekọta
6.1 Na-ehicha ngalaba ahụ
Wipe the exterior of the unit with a soft, dry cloth. Do not use abrasive cleaners, waxes, or solvents as they may damage the finish. For stubborn stains, lightly dampen the cloth with water and mild detergent, then wipe dry.
6.2 Nlekọta Lensi CD
Avoid touching the CD lens. If the lens becomes dirty, use a commercially available CD lens cleaner. Do not use compressed air or liquid cleaners directly on the lens.
7. Nchọpụta nsogbu
| Nsogbu | Ihe nwere ike ime | Ngwọta |
|---|---|---|
| Enweghị ike | Ejikọghị eriri ọkụ na nchekwa. | Lelee njikọ eriri ọkụ na unit na oghere mgbidi. |
| Enweghị ụda | Volume is too low or muted. Speaker wires are not connected correctly. | Increase volume. Check speaker wire connections, ensuring correct polarity (+/-). |
| CD anaghị egwu | CD is dirty, scratched, or inserted incorrectly. Incorrect function selected. | Clean or replace CD. Insert CD with label side up. Select CD function. |
| Achọpụtaghị ngwaọrụ USB | USB device is not formatted correctly or contains unsupported files. | Ensure USB device is FAT16/FAT32 formatted and contains MP3/WMA files. Try another USB device. |
| Nnabata redio adịghị mma | Antenna not properly positioned or connected. Interference. | Adjust antenna position. Move unit away from other electronic devices. |
| Njikwa anya anaghị arụ ọrụ | A na-ebelata ma ọ bụ tinye batrị n'ụzọ na-ezighi ezi. Ihe mgbochi dị n'etiti remote na unit. | Replace batteries (2 AA). Ensure clear line of sight to the unit's remote sensor. |
8. Nkọwapụta
- Akara: Nkọ
- Ụdị: XL-HF201P
- Ike mmepụta: 100 Watts RMS
- Mgbasa ozi akwadoro: CD-DA, MP3, WMA (CD, USB)
- Njikọta: USB, iPod Dock, AUX Input, FM/AM Tuner
- Ụdị ọkà okwu: Subwoofers (integrated into speaker design)
- Isi mmalite ike: Igwe ọkụ eletrik
- Nha Ngwaahịa (Isi Ngalaba): Ihe dịka 13 x 15.09 x 20.15 sentimita asatọ
- Ibu ihe: Ihe dị ka 20.3 pound
- Batteries (Remote): 2 batrị AA (gụnyere)
9. Akwụkwọ ikike na nkwado
For warranty information and customer support, please refer to the warranty card included with your product or visit the official Sharp website. You may also contact Sharp customer service directly for assistance with product registration, technical support, or service inquiries.
Nkwado n'ịntanetị: www.sharpusa.com


