1. Okwu mmalite
Thank you for choosing the Prestige PIC 3.0 V2 2000-Watt Induction Cooktop. This manual provides essential information for the safe and efficient operation, maintenance, and troubleshooting of your new appliance. Please read these instructions thoroughly before first use and retain them for future reference.
Ntuziaka nchekwa dị mkpa
- Ensure the cooktop is placed on a stable, flat, and heat-resistant surface.
- Ejila ngwa, eriri, ma ọ bụ nkwụnye n'ime mmiri ma ọ bụ mmiri mmiri ọ bụla ọzọ.
- Debe ngwa ahụ n'ebe ụmụaka nọ na anụ ụlọ.
- Use only induction-compatible cookware. Non-compatible cookware will not heat.
- Do not block the ventilation openings of the cooktop.
- Unplug the cooktop from the power outlet when not in use and before cleaning.
- Do not operate the appliance with a damaged cord or plug. Contact authorized service personnel for repairs.
- The cooktop features an anti-magnetic wall to protect users from harmful magnetic radiation.
- The cool-to-touch plate minimizes the risk of accidental burns.
2. Akụrụngwa Ngwaahịa
The Prestige PIC 3.0 V2 Induction Cooktop is designed for efficient and convenient cooking with several advanced features:
- Ike 2000-watt: Provides rapid heating for various cooking needs.
- Anti-Magnetic Wall: Protects users from magnetic radiation.
- Micro-Crystal Panel: Durable and easy-to-clean cooking surface.
- Dual Heat Sensors: For precise temperature control and safety.
- Pre-programmed Indian Menu Options: Simplifies cooking for common Indian dishes.
- Cool-to-Touch Plate: Enhances safety by keeping the cooking surface cool to the touch, except for the area directly under the cookware.
- Power Saver Technology: Optimizes energy consumption when not in active use.
- Ikanam Display: Shows temperature levels, time settings, and selected menu options.
- Feather Touch Buttons: For easy and precise control of settings.
- Automatic Start Option: For quick and convenient operation.
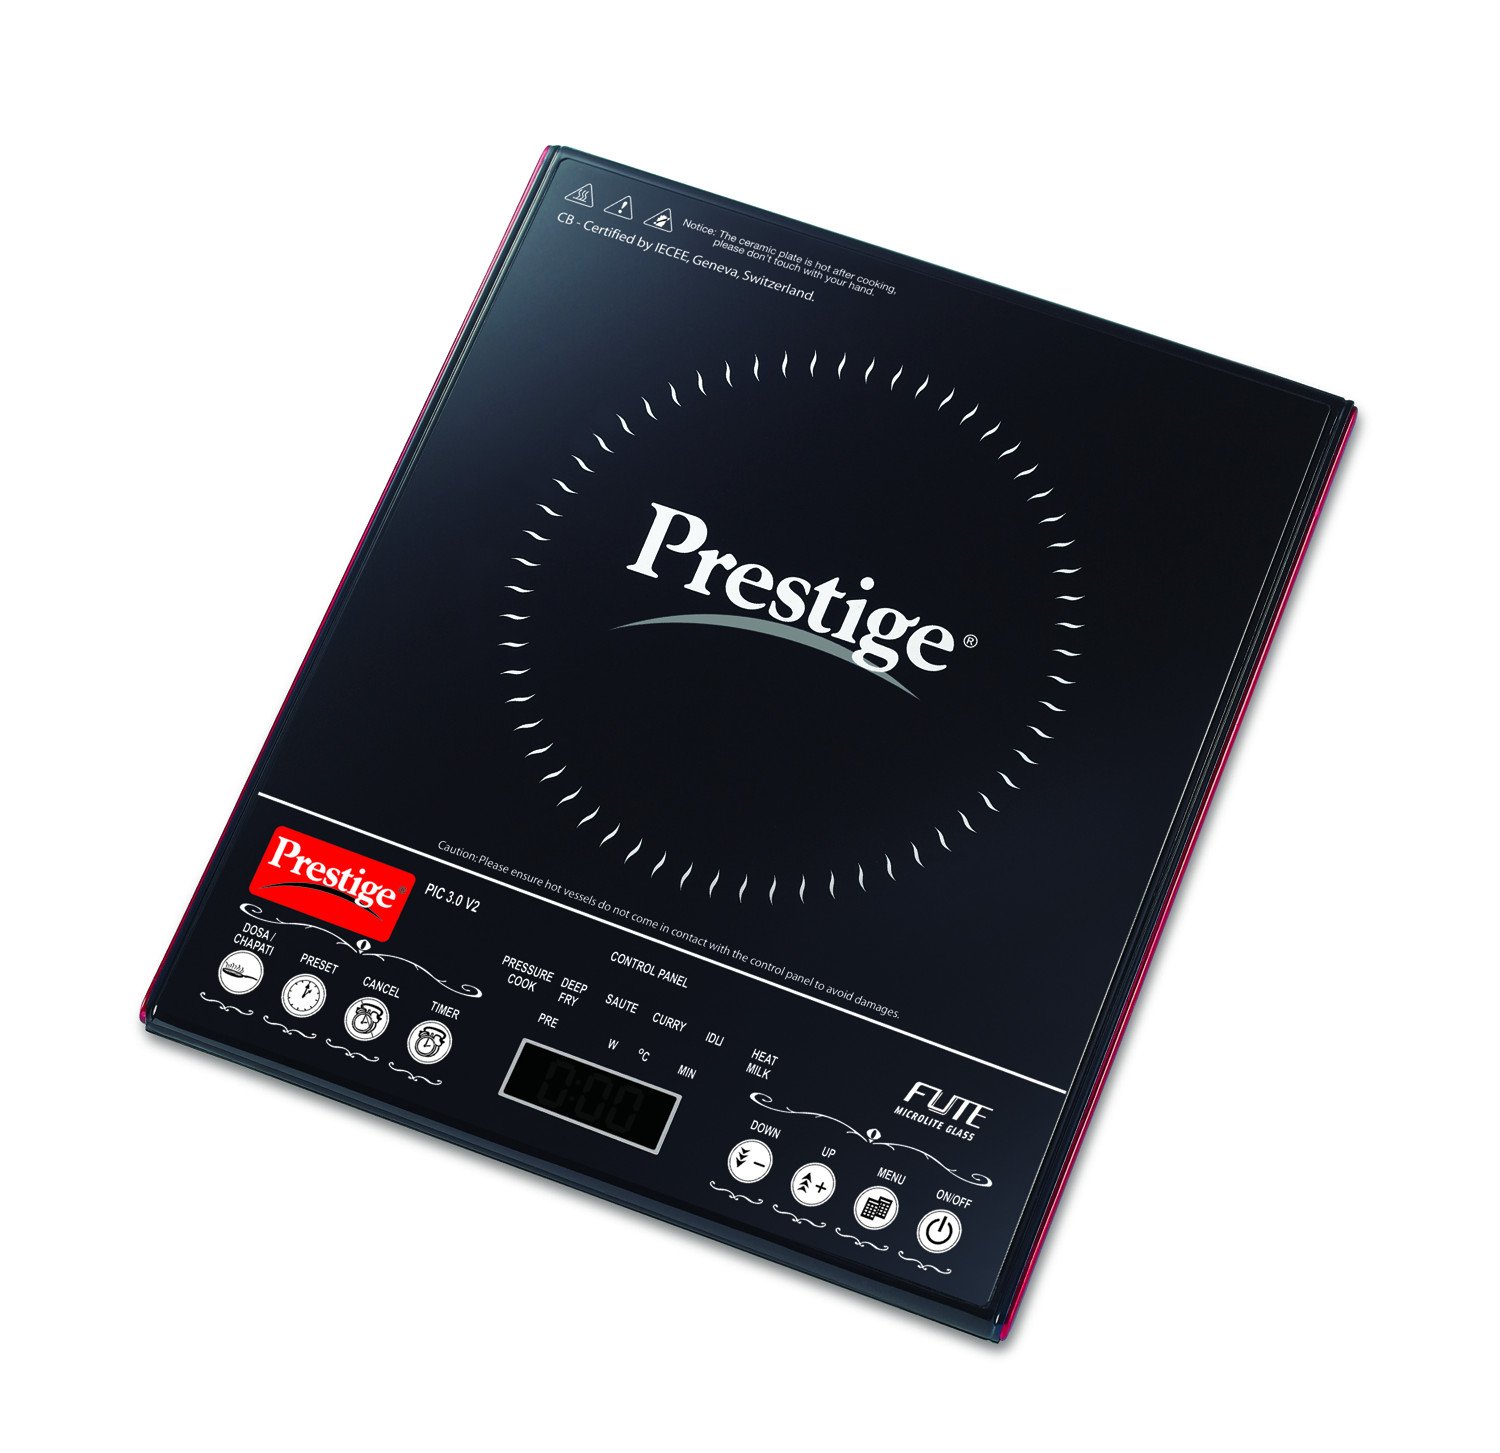
Foto 2.1: The Prestige PIC 3.0 V2 Induction Cooktop, showcasing its sleek black glass surface and intuitive feather touch control panel.
3. Ntọala na nwụnye
- Iwepu: Carefully remove the cooktop from its packaging. Retain the packaging for future transport or storage.
- Nkwanye: Place the induction cooktop on a dry, stable, and level surface. Ensure there is adequate ventilation around the appliance. Do not place it near heat sources or on metallic surfaces that could interfere with its operation.
- Njikọ ike: Plug the power cord into a standard 220-240V AC electrical outlet. Ensure the outlet is properly grounded and can support a 2000-watt appliance.
- Nyocha mbụ: Before placing cookware, ensure the cooktop surface is clean and free from debris.
4. Ntuziaka ọrụ
4.1 Basic Arụmọrụ
- Ike Na: Place suitable induction-compatible cookware centrally on the cooktop surface. Press the "ON/OFF" button. The LED display will illuminate.
- Malite isi nri: The cooktop may automatically start heating or prompt you to select a cooking mode.
- Adjusting Power/Temperature: Use the "+" and "-" feather touch buttons to increase or decrease the power level or temperature setting. The LED display will show the current setting.
- Ịtọ ngụ oge: If available, press the "Timer" button and use the "+" and "-" buttons to set the desired cooking time. The cooktop will automatically switch off once the timer expires.
- Gbanyụọ: Press the "ON/OFF" button to turn off the cooktop. The fan may continue to run for a short period to cool down internal components.
4.2 Using Pre-programmed Indian Menu Options
The cooktop comes with several pre-programmed Indian menu options for convenience.
- After powering on, press the "Menu" or specific Indian menu buttons (e.g., "Dosa," "Curry," "Fry" if labeled) to select a pre-set cooking mode.
- The cooktop will automatically adjust the power and temperature settings suitable for the selected dish.
- You may still be able to fine-tune temperature or time using the "+" and "-" buttons, depending on the specific menu option.
5. Ngwa nri dakọtara
For optimal performance, use only induction-compatible cookware. These typically have a flat bottom and are made of ferromagnetic materials such as:
- Nkedo ígwè
- Enamel ígwè
- Stainless steel (magnetic grade)
- Cookware with a magnetic base
To check if your cookware is compatible, hold a magnet to the bottom. If the magnet sticks, the cookware is suitable for induction cooking. Avoid using glass, ceramic, aluminum, or copper cookware unless specifically designed for induction.
6. Nlekọta na nlekọta
- Na-ehicha elu: After each use, allow the cooktop to cool completely. Wipe the glass surface with a damp akwa na ncha dị nro. Maka ntụpọ isi ike, jiri ihe nhicha na-adịghị abrasive emebere maka ebe a na-esi nri iko.
- Na-ehicha ahụ: Jiri ihe dị nro hichaa ahụ mpụta ahụ, damp akwa . Ejila ihe nchacha abrasive ma ọ bụ ihe ncha.
- Mmeghe ikuku: Ensure the ventilation openings are free from dust and debris to prevent overheating.
- Nchekwa: Store the cooktop in a dry place when not in use.
- Emikpula: Never immerse the cooktop in water or any other liquid.
7. Nchọpụta nsogbu
If you encounter issues with your induction cooktop, please refer to the following common problems and solutions:
- Cooktop does not turn on:
- Lelee ma ọ bụrụ na etinyere eriri ọkụ n'ime oghere eletrik na-arụ ọrụ.
- Ensure there is power to the outlet (test with another appliance).
- Verify that the "ON/OFF" button has been pressed.
- Cookware is not heating:
- Confirm that the cookware is induction-compatible (use a magnet test).
- Ensure the cookware is placed centrally on the cooking zone.
- Check if the cookware bottom is flat and makes good contact with the cooktop surface.
- Cooktop makes unusual noises:
- A slight humming sound is normal during induction cooking, especially at higher power settings.
- The cooling fan will operate during and after cooking; this is normal.
- Egosiri koodu mperi:
- If an error code appears, try turning off the cooktop, unplugging it for a few minutes, and then plugging it back in. If the error persists, contact customer support.
8. Nkọwapụta
| Nọmba nlereanya | PIC30V2 |
| Ụdị | ugwu |
| Wattage | 2000 Watt |
| Nrụ ọrụ Voltage | 220-240V |
| Ụdị njikwa | Metụ aka |
| Ihe ndị na-ekpo ọkụ | 1 |
| Ihe onwunwe | Glass |
| Ibu Ibu | 350 g |
| Onye nrụpụta | TTK |
9. Akwụkwọ ikike na nkwado
For warranty information, service, or technical support, please refer to the warranty card included with your product or contact Prestige customer service directly. Keep your purchase receipt as proof of purchase.
You can find contact details for Prestige customer support on their official websaịtị ma ọ bụ site na onye na-ere ahịa ebe ịzụrụ ngwaahịa ahụ.


