1. Ntuziaka nchekwa dị mkpa
Please read these instructions carefully before operating the unit and retain them for future reference. Following these guidelines will ensure safe and proper use of your GPX R602B radio.
- Mmiri na mmiri: Do not use this apparatus near water. Avoid exposure to rain or moisture.
- Isi mmalite ọkụ: Awụnyela n'akụkụ ebe okpomọkụ ọ bụla dị ka radiators, ndekọ okpomọkụ, stovu, ma ọ bụ ngwa ndị ọzọ (gụnyere amplifiers) nke na-emepụta okpomọkụ.
- Igwe ikuku: Gbaa mbọ hụ na ikuku ikuku dị mma. Akwụsịla oghere ikuku ikuku ọ bụla.
- Isi mmalite ike: Operate only from the type of power source indicated on the marking label.
- Nhicha: Jiri akwa kpọrọ nkụ hichaa naanị.
- Mgbakwụnye: Jiri naanị mgbakwunye / ngwa ndị nrụpụta akọwapụtara.
- Ije ozi: Tụtụ aka n'aka ndị ọrụ ruru eru. A na-achọ ọrụ mgbe ngwa ahụ mebiri emebi n'ụzọ ọ bụla, dị ka eriri ọkụ ma ọ bụ plọg mebiri emebi, mmiri mmiri wụfuru ma ọ bụ ihe dabara n'ime ngwa ahụ, ekpughere ngwa ahụ na mmiri ozuzo ma ọ bụ mmiri, anaghị arụ ọrụ nke ọma. , ma ọ bụ ahapụla ya.
Nchekwa batrị
- Agwakọtala batrị ochie na nke ọhụrụ.
- Ejikọtala batrị alkaline, ọkọlọtọ (carbon-zinc), ma ọ bụ batrị nwere ike ịgbanye (nickel-cadmium).
- Insert batteries correctly, observing the + and - polarities.
- Wepu batrị agwụla ngwa ngwa.
- Tụfuo batrị nke ọma. Ewela ọkụ.
2. Atụmatụ
The GPX R602B Portable AM/FM Radio offers a range of features designed for convenience and versatility:
- Portable AM/FM radio with a built-in handle for easy transport.
- Integrated speakers with analog volume control and durable metal grills.
- Digital clock with user-friendly setting buttons.
- Operates using the built-in AC power cable.
- Can also be powered by 3 C batteries (sold separately) for portable use.
- 3.5mm audio line input jack for connecting external audio devices.
- Telescopic antenna for improved FM reception.
- Stereo headphone jack for private listening.

Figure 2.1: Key features and connection points of the GPX R602B radio.
3. Ihe ngwugwu
Upon unpacking your GPX R602B radio, please ensure all the following items are present:
- GPX R602B Portable AM/FM Radio Unit
- Akwụkwọ ntuziaka onye nwe
- Built-in AC Power Adapter
4. Njikwa na egosi
Familiarize yourself with the controls and indicators on your radio for optimal operation.
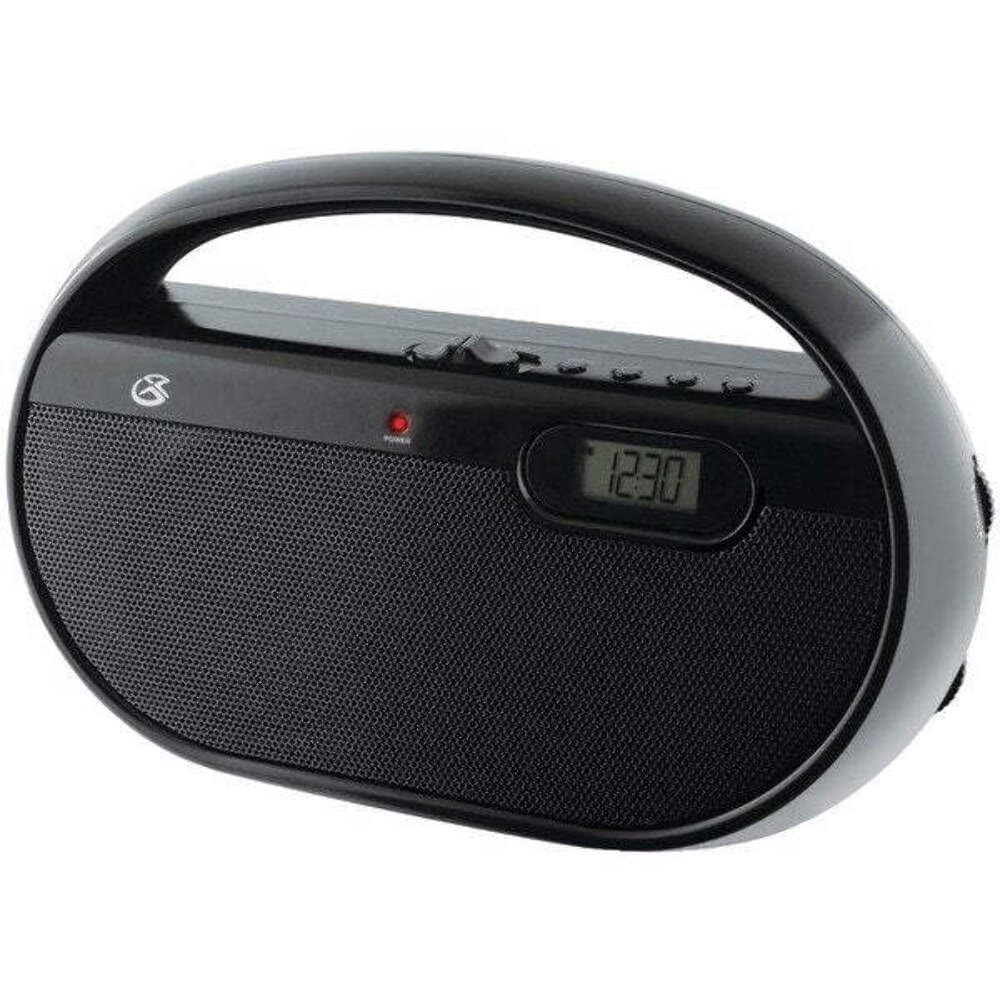
Foto 4.1: N'ihu view of the GPX R602B radio.
Control Layout (Refer to Figure 4.1)
- Ike/Mpịakọta olu: Rotates to turn the unit ON/OFF and adjust the volume level.
- Knob ntughari: Rotates to select AM or FM radio stations.
- Mgbanwe Nhọrọ Band: Slides to select between AM and FM radio bands.
- Ngosipụta Digital: Shows the current time or radio frequency.
- Set Time Button: Used in conjunction with H/M buttons to set the clock.
- H/M Buttons: Used to adjust hours and minutes when setting the clock.
- Display Time Button: Briefly shows the time when the radio is playing.
- Aux In Jack (3.5mm): Jikọọ ngwaọrụ ọdịyo mpụga.
- Jack ekweisi (3.5mm): Jikọọ ekweisi maka ige ntị nkeonwe.
- Telescopic FM Antenna: Extend and adjust for optimal FM reception.
5. Ịkwanye Unit
The GPX R602B radio can be powered by either AC power or batteries.
Ọrụ AC Power
- Locate the built-in AC power cord. This cord is typically stored in the battery compartment when not in use.
- Plug the AC power cord into a standard wall outlet (120V AC, 60Hz).
- Ngalaba ahụ adịla njikere ịrụ ọrụ.
Ọrụ ike batrị
For portable use, the radio requires 3 'C' size batteries (not included).
- Mepee mkpuchi nchekwa batrị dị n'azụ unit ahụ.
- Insert 3 'C' size batteries, ensuring the correct polarity (+ and -) as indicated inside the compartment.
- Mechie mkpuchi nke batrị batrị nke ọma.
- The unit is now ready for battery-powered operation.

Figure 5.1: Power options for the GPX R602B radio.
6. Ntọala na Basic Arụ Ọrụ
Ntọlite mbụ
- Njikọ ike: Connect the radio to AC power or insert batteries as described in Section 5.
- Ndozi antenna: For FM reception, extend the telescopic antenna fully. For AM reception, the unit has a built-in antenna, so no external adjustment is needed. Position the unit for best AM reception.
Na-arụ ọrụ redio
- Gbanwuo: Rotate the Power/Volume knob clockwise until it clicks and the unit powers on.
- Họrọ Eriri: Slide the Band Selector switch to either AM or FM.
- Ọdụ Tune: Rotate the Tuning knob to find your desired radio station. The frequency will be displayed on the digital screen.
- Gbanwee olu: Rotate the Power/Volume knob to adjust the sound level.
- Gbanyụọ: Rotate the Power/Volume knob counter-clockwise until it clicks and the unit powers off.
Using the Line Input (Aux In)
You can connect external audio devices, such as smartphones or MP3 players, to play audio through the radio's speakers.
- Connect a 3.5mm audio cable (not included) from the headphone jack or line-out jack of your external device to the Aux In jack on the radio.
- Turn on the radio and your external device.
- Adjust the volume on both the radio and your external device for optimal sound.

Figure 6.1: Devices compatible with the Aux In feature.
Iji ekweisi
For private listening, plug standard 3.5mm headphones (not included) into the Headphone Jack. The internal speakers will automatically mute.
Ịtọ elekere dijitalụ
The digital clock can be set when the radio is turned off.
- Ensure the radio is turned OFF using the Power/Volume knob.
- Pịa ma jide ha abụọ Tọọ Oge bọtịnụ na H/M bọtịnụ n'out oge.
- Mgbe ị na-ejide Tọọ Oge button, repeatedly press the H/M button to adjust the hour and then the minutes.
- Hapụ ya Tọọ Oge button once the desired time is set.
- Iji view the time while the radio is playing, press the Oge ngosi button. The time will appear briefly on the digital display.
7. Nlekọta
Proper care and maintenance will ensure the longevity of your GPX R602B radio.
- Nhicha: Jiri ákwà dị nro ma kpọọ nkụ hichaa mpụta nke ngwaọrụ ahụ. Ejila ihe nhicha, wax, ma ọ bụ ihe mgbaze.
- Ngbanwe batrị: If using batteries, replace all three 'C' batteries when the unit's performance diminishes. Always replace with new batteries of the same type.
- Nchekwa: If storing the unit for an extended period, remove the batteries to prevent leakage and corrosion.
8. Nchọpụta nsogbu
If you encounter issues with your GPX R602B radio, refer to the following common problems and solutions:
| Nsogbu | Ihe nwere ike ime | Ngwọta |
|---|---|---|
| Enweghị ike | AC cord not plugged in; Batteries exhausted or incorrectly inserted. | Ensure AC cord is securely plugged into a live outlet. Replace batteries with new ones, checking polarity. |
| Nnabata redio adịghị mma | Antenna not extended (FM); Unit poorly positioned (AM); Weak signal. | Extend and adjust the telescopic FM antenna. For AM, rotate the unit for better reception. Try moving the radio to a different location. |
| Enweghị ụda sitere na ndị ọkà okwu | Volume too low; Headphones connected. | Increase the volume using the Power/Volume knob. Disconnect headphones if not desired. |
| Clock not setting correctly | Usoro bọtịnụ na-ezighi ezi. | Ensure the radio is OFF. Press and hold both 'Set Time' and 'H/M' buttons simultaneously, then repeatedly press 'H/M' to adjust. Release 'Set Time' when done. |
| Ụda gbagọziri ma ọ bụ edoghị anya | Volume too high; Poor reception; External device volume too high. | Lower the volume. Adjust antenna or unit position for better reception. If using Aux In, adjust volume on the external device. |
9. Nkọwapụta
Detailed technical specifications for the GPX R602B Portable AM/FM Radio:
- Nọmba nlereanya: R602B
- Akụkụ ngwaahịa (L x W x H): 9.62 x 3.74 x 6.3 sentimita (24.43 x 9.50 x 16.00 cm)
- Ibu ihe: 1.76 pound (0.80 n'arọ)
- Isi mmalite ike: AC 120V, 60Hz or 3 x 'C' size batteries (not included)
- Nkà na ụzụ Tuner: AM/FM
- Ndị otu redio akwadoro: 2-Band (AM/FM)
- Teknụzụ Njikọta: Radio, 3.5mm Aux In
- Atụmatụ pụrụ iche: Built-In AM Antenna, Built-In Clock, Portable, Telescopic FM Antenna, 3.5mm Headphone Jack
- Agba: Nwa
- Onye nrụpụta: Digital Products International, Inc.
- Ụbọchị mbụ dị: Ọnwa Isii 5, 2012
10. Akwụkwọ ikike na nkwado
For warranty information and customer support regarding your GPX R602B radio, please refer to the warranty card included with your purchase or visit the official GPX websaịtị. Debe nnata nzụta gị dị ka ihe akaebe nke ịzụrụ ihe maka akwụkwọ ikike ọ bụla.
If you require technical assistance or have questions not covered in this manual, please contact GPX customer service directly. Contact details are typically available on the manufacturer's websaịtị ma ọ bụ na nkwakọ ngwaahịa.


