
Okwu mmalite
Thank you for choosing the OneOdio Focus A1Pro Wireless On-Ear Headphones. This manual provides detailed instructions for setting up, operating, maintaining, and troubleshooting your new headphones. Please read this manual thoroughly before use to ensure optimal performance and longevity of your device.
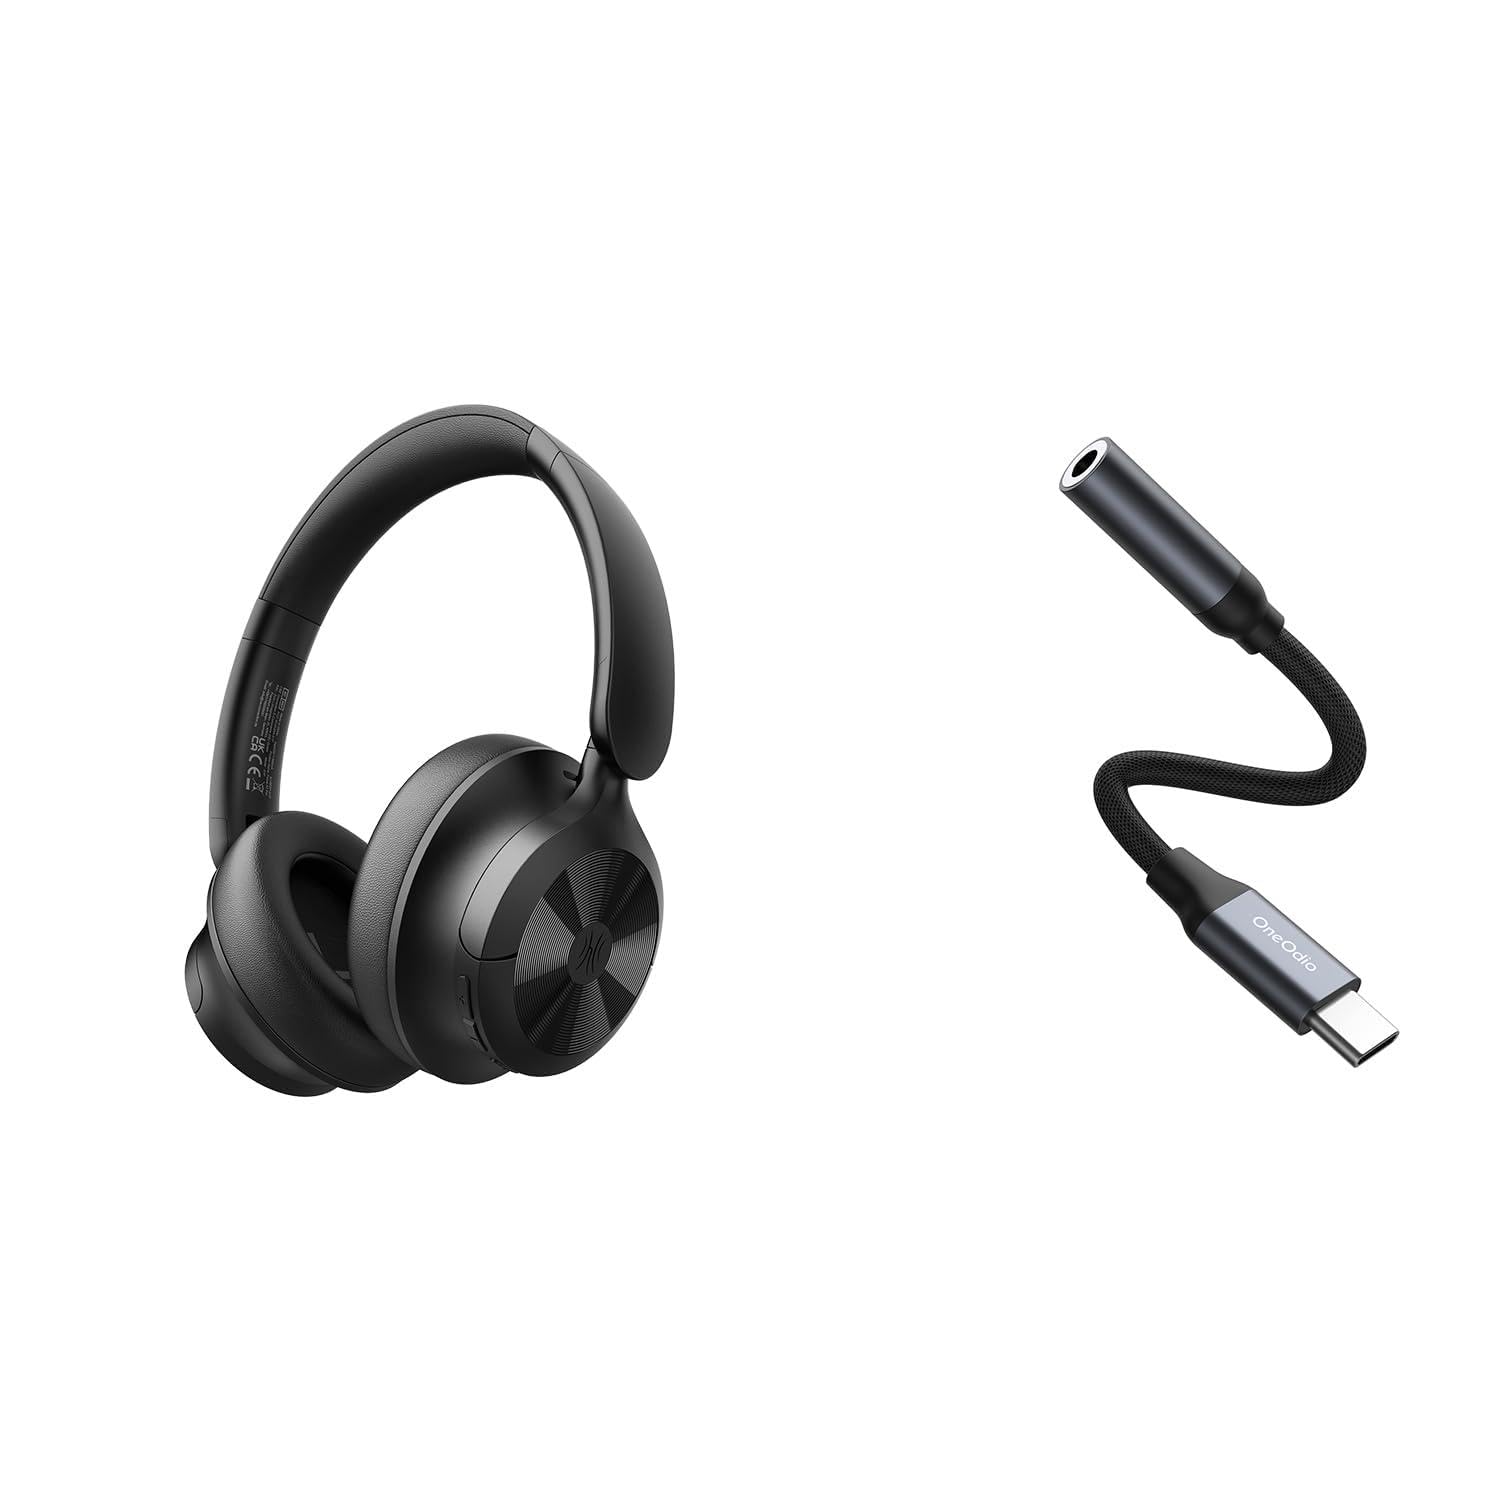
Image: OneOdio Focus A1Pro Wireless On-Ear Headphones. This image displays the headphones in their typical on-ear design, showcasing earcups na eriri isi.
Ihe ngwugwu
Biko lelee ngwungwu maka ihe ndị a:
- OneOdio Focus A1Pro Wireless On-Ear Headphones
- USB-C ruo 3.5mm ihe nkwụnye ụda
- USB-C eriri USB
- Obere akpa
- Akwụkwọ ntuziaka (akwụkwọ a)
Melite
1. Ịchaji ekweisi
Before first use, fully charge the headphones. Connect the USB-C charging cable to the charging port on the headphones and the other end to a USB power source (e.g., computer USB port, wall adapter). The LED indicator will show charging status and turn off or change color when fully charged.

Image: Close-up of the USB-C charging port on the OneOdio Focus A1Pro headphones, with a charging cable connected.
2. Ịgbanye / gbanyụọ
- Iji gbanye: Press and hold the Multi-function button for approximately 3 seconds until the LED indicator flashes blue.
- Iji gbanyụọ: Press and hold the Multi-function button for approximately 3 seconds until the LED indicator flashes red and then turns off.
3. Njikọ Bluetooth
- Gbaa mbọ hụ na agbanyụrụ ekweisi.
- Press and hold the Multi-function button for 5-7 seconds until the LED indicator flashes red and blue alternately. This indicates pairing mode.
- Na ngwaọrụ gị (smartphone, tabletị, kọmpụta), mee ka Bluetooth nwee ike wee chọọ ngwaọrụ dị.
- Select "OneOdio A1Pro" from the list of found devices.
- Ozugbo ejikọrọ, ihe ngosi LED ga -eji nwayọ na -acha anụnụ anụnụ.
- If a password is required, enter "0000".
Ekweisi ndị a ga-anwa ijikọghachi na ngwaọrụ ikpeazụ ejikọtara na akpaghị aka mgbe agbanyere ya.
4. Wired Connection (using USB-C to 3.5mm Audio Adapter)
For a wired connection, use the provided USB-C to 3.5mm audio adapter. This allows you to connect the headphones to devices with a standard 3.5mm audio jack.
- Plug the USB-C end of the adapter into the USB-C port on the headphones.
- Plug the 3.5mm end of the adapter into the 3.5mm audio jack of your audio source device.
- Ensure the headphones are powered off for wired mode to function correctly and conserve battery.

Image: The OneOdio Focus A1Pro headphones connected to an audio source via the USB-C to 3.5mm audio adapter.
Ntuziaka ọrụ
Njikwa agafelaview
The headphones feature intuitive controls located on the earcup. Familiarize yourself with these buttons for seamless operation.

Image: Diagram showing the location and function of control buttons on the OneOdio Focus A1Pro headphones, including volume, multi-function, and ANC buttons.
Egwu Egwu
- Gwuo/kwụsịtụ: Pịa bọtịnụ Multi-function ozugbo.
- Track na-esote: Press and hold the Volume Up button for 2 seconds.
- Gara aga Track: Press and hold the Volume Down button for 2 seconds.
- Olu elu: Press the Volume Up button briefly.
- Olu ala: Press the Volume Down button briefly.
Ijikwa oku
- Azịza/Kwụsị Oku: Pịa bọtịnụ Multi-function ozugbo.
- Jụ oku: Pịa ma jide bọtịnụ ọtụtụ ọrụ maka sekọnd iri na abụọ.
- Nọmba Ikpeazụ emegharịgharịrị: Pịa bọtịnụ Multi-function ugboro abụọ.
Nkagbu Noise nọchiri anya (ANC)
The Focus A1Pro headphones feature Active Noise Cancellation to reduce ambient noise.
- Mee ka ANC rụọ ọrụ: Press the ANC button once. The ANC indicator light will turn green.
- Gbanyụọ ANC: Press the ANC button once again. The ANC indicator light will turn off.
Yi ekweisi
Adjust the headband to fit comfortably over your head. The earcups should fully cover your ears for optimal sound quality and noise cancellation. The earcups are typically marked 'L' for left and 'R' for right.
Nlekọta
Nhicha
- Jiri akwa dị nro, kpọrọ nkụ, hichaa ekweisi.
- Ejila ihe mkpocha abrasive, mmanya, ma ọ bụ ihe mgbaze kemịkal.
- Zere ịbanye mmiri n'ime oghere ọ bụla.
- The earpads can be gently wiped with a slightly damp cloth and mild soap solution, then dried thoroughly.
Nchekwa
When not in use, store the headphones in the provided carrying pouch to protect them from dust and scratches. Store in a cool, dry place away from extreme temperatures.
Nlekọta batrị
- Zere ịchaji batrị ugboro ugboro.
- Charge the headphones regularly, even if not used for extended periods, to maintain battery health.
- Do not expose the headphones to high temperatures, as this can degrade battery performance.
Nchọpụta nsogbu
Enweghị ike
- Gbaa mbọ hụ na chajịrị ekweisi nke ọma.
- Press and hold the Multi-function button for 3 seconds to power on.
Enweghị ụda
- Bluetooth:
- Ensure the headphones are paired and connected to your device.
- Check the volume level on both the headphones and your device.
- Try unpairing and re-pairing the headphones.
- Mara:
- Ensure the USB-C to 3.5mm adapter is securely connected to both the headphones and the audio source.
- Verify the audio source is playing and its volume is up.
- Test with a different audio cable or device if possible.
Okwu Njikọ Bluetooth
- Ensure the headphones are in pairing mode (red and blue flashing LED).
- Bugharịa ekweisi nso na ngwaọrụ gị.
- Clear the Bluetooth list on your device and try pairing again.
- Zenarị nnyonye anya site na ngwaọrụ ikuku ndị ọzọ.
Ịtọgharịa ekweisi
If you experience persistent issues, you can try resetting the headphones to their factory settings. (Note: Specific reset procedures vary by model. A common method is to press and hold the Multi-function and Volume Down buttons simultaneously for 5-10 seconds while powered on, or connect to power while holding a button. Refer to the manufacturer's official support for exact steps if this general method does not work.)
Nkọwapụta
| Aha Nlereanya | Focus A1Pro |
| Ụdị Bluetooth | 5.0Estimated, common for modern headphones) |
| Dayameta ọkwọ ụgbọ ala | 40mm (Echere) |
| Nzaghachi ugboro ugboro | 20Hz - 20kHz (Ụdị) |
| Ike batrị | 500mAh (Echere) |
| Oge Nchaji | Ihe ruru. 2-3 awa |
| Oge nkwughachi | Up to 30 hours (Varies with volume and ANC usage) |
| Ibu | Approx. 250g (Echere) |
Note: Specifications are subject to change without notice. Actual performance may vary.
Akwụkwọ ikike na nkwado
Ozi akwụkwọ ikike
OneOdio products are covered by a limited warranty from the date of purchase. This warranty covers manufacturing defects in materials and workmanship. It does not cover damage caused by misuse, accidents, unauthorized modifications, or normal wear and tear. Please retain your proof of purchase for warranty claims.
Nkwado ndị ahịa
For technical support, warranty inquiries, or other assistance, please contact OneOdio customer service through their official websaịtị ma ọ bụ ụlọ ahịa ebe ịzụrụ ngwaahịa ahụ.
Ndị ọchịchị Websaịtị: www.oneodio.com
Nkwado email: support@oneodio.com