
Okwu mmalite
This manual provides detailed instructions for the assembly, operation, and maintenance of your U-MAX 16' x 8' Hard Top Lean-to Gazebo Pergola. Please read all instructions carefully before beginning assembly and retain this manual for future reference. Proper installation and care will ensure the longevity and safety of your product.
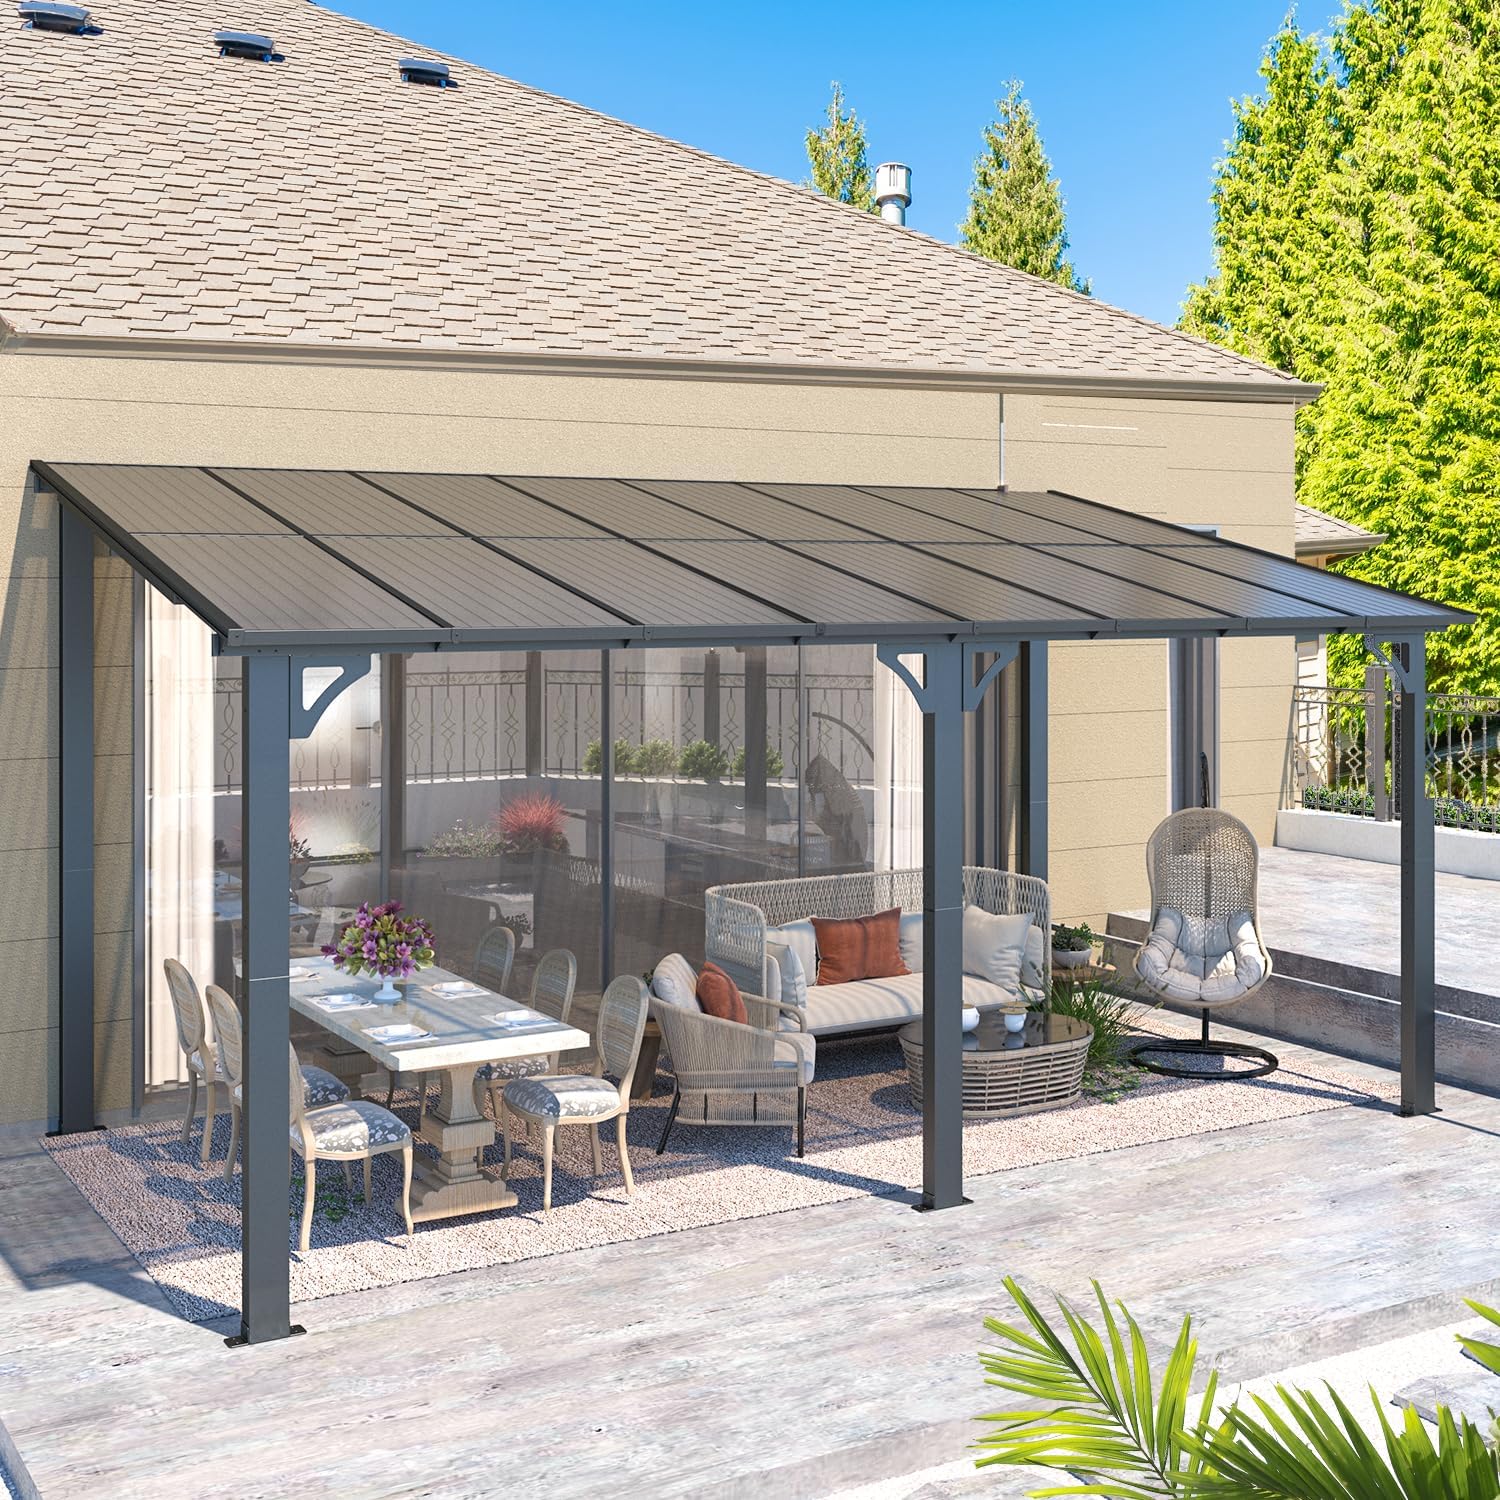
Image: The U-MAX 16' x 8' Hard Top Lean-to Gazebo Pergola providing shelter on a snowy patio.
Ozi nchekwa
Ihe dị mkpa: Always follow the provided manual and video tutorials for safe installation. Secure the gazebo to a stable foundation to withstand high winds. Be cautious during assembly and disassembly, as components may pose hazards. Always follow manufacturer guidelines for proper use and maintenance.
Ihe ngwugwu
Your U-MAX Gazebo Pergola is shipped in two separate parcels, which may arrive at different times. Please ensure you have received both packages and all components before starting assembly.
The packages typically contain:
- Structural frame components (posts, beams, connectors)
- Hard top roof panels
- All necessary hardware (screws, bolts, washers, anchors)
- Ngwa nchikọta (ọ bụrụ na etinyere ya)
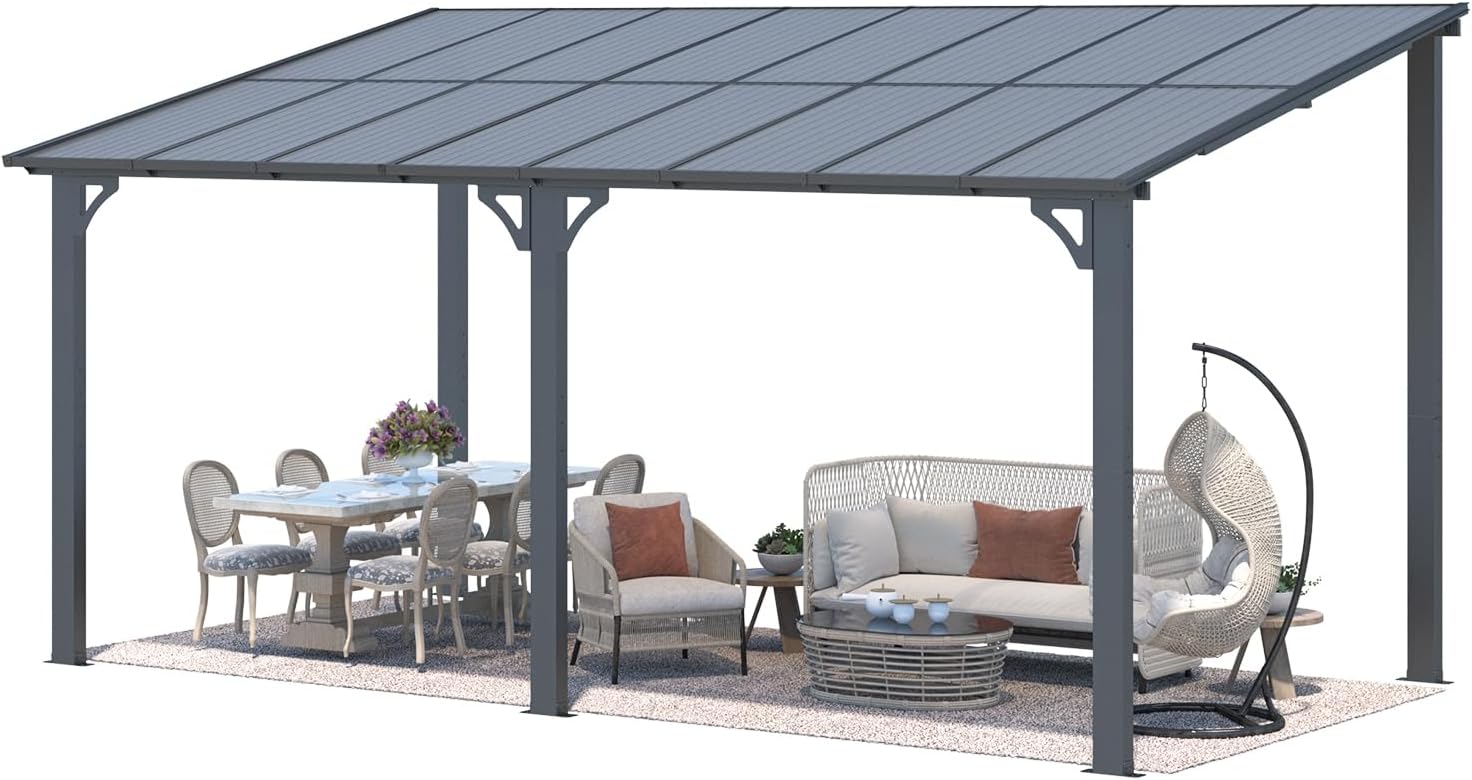
Image: Illustration indicating that the gazebo components are shipped in two separate parcels.
Ntọala na Mgbakọ
Assembly of the U-MAX Gazebo Pergola requires careful attention to detail. It is recommended to have at least 2-3 people for assembly, especially when raising the main structure and installing roof panels. A cordless drill can assist with fastening, but exercise caution to avoid overtightening or stripping screws.
- Nkwadebe: Unpack all components and verify against the parts list in your detailed manual. Ensure all punch-out holes are clear before inserting screws.
- Mgbakọ Frame: Begin by assembling the main frame structure. Pay close attention to the orientation of posts and beams. The triangular support structures enhance stability.
- Ntinye Panel Ụlọ: Install the hard top roof panels. Do not fully tighten all frame bolts until all roof panels are in place, allowing for minor adjustments. Ensure the panels slide correctly into their slots.
- Ịkwanye mgbidi: Securely attach the lean-to side of the pergola to a stable wall using the provided accessories. This is crucial for stability, especially in windy conditions.
- Ịkwado ala: Anchor the gazebo legs to the ground using appropriate fasteners for your surface type (e.g., concrete anchors, deck screws). This prevents movement and enhances wind resistance.

Image: Close-up of the gazebo's structural elements, highlighting the triangular support, stable frame leg with pre-drilled holes, multi-frame roof support, and wall mounting bracket.
For visual guidance, please refer to the following videos demonstrating general pergola features and assembly:
Vidiyo: Ozuruọnụ gafereview of an outdoor pergola, demonstrating its structure and potential uses. This video is provided by the seller and shows a similar product.
Video: Another general overview of an outdoor pergola, showcasing its design and how it integrates into a patio setting. This video is provided by the seller and shows a similar product.
Video: A third general overview of an outdoor pergola, highlighting its features and benefits for outdoor living spaces. This video is provided by the seller and shows a similar product.
Ọrụ na atụmatụ
Your U-MAX Gazebo Pergola is designed for year-round outdoor use, offering protection and comfort.
- Nguzogide ihu igwe: The hard top roof is engineered to withstand various weather conditions. It has been tested to support approximately 7 inches of heavy snow (6 lbs/sq.ft). The inclined design and meticulous detailing ensure waterproof performance.
- Ikuku kwụsiri ike: When properly attached to a wall and anchored to the ground as instructed, the pergola can confidently withstand winds of approximately 70 mph.
- Nchedo UV: The roof panels provide comprehensive protection against harmful UV rays, with a UPF 50+ rating, blocking up to 99% of UV radiation.
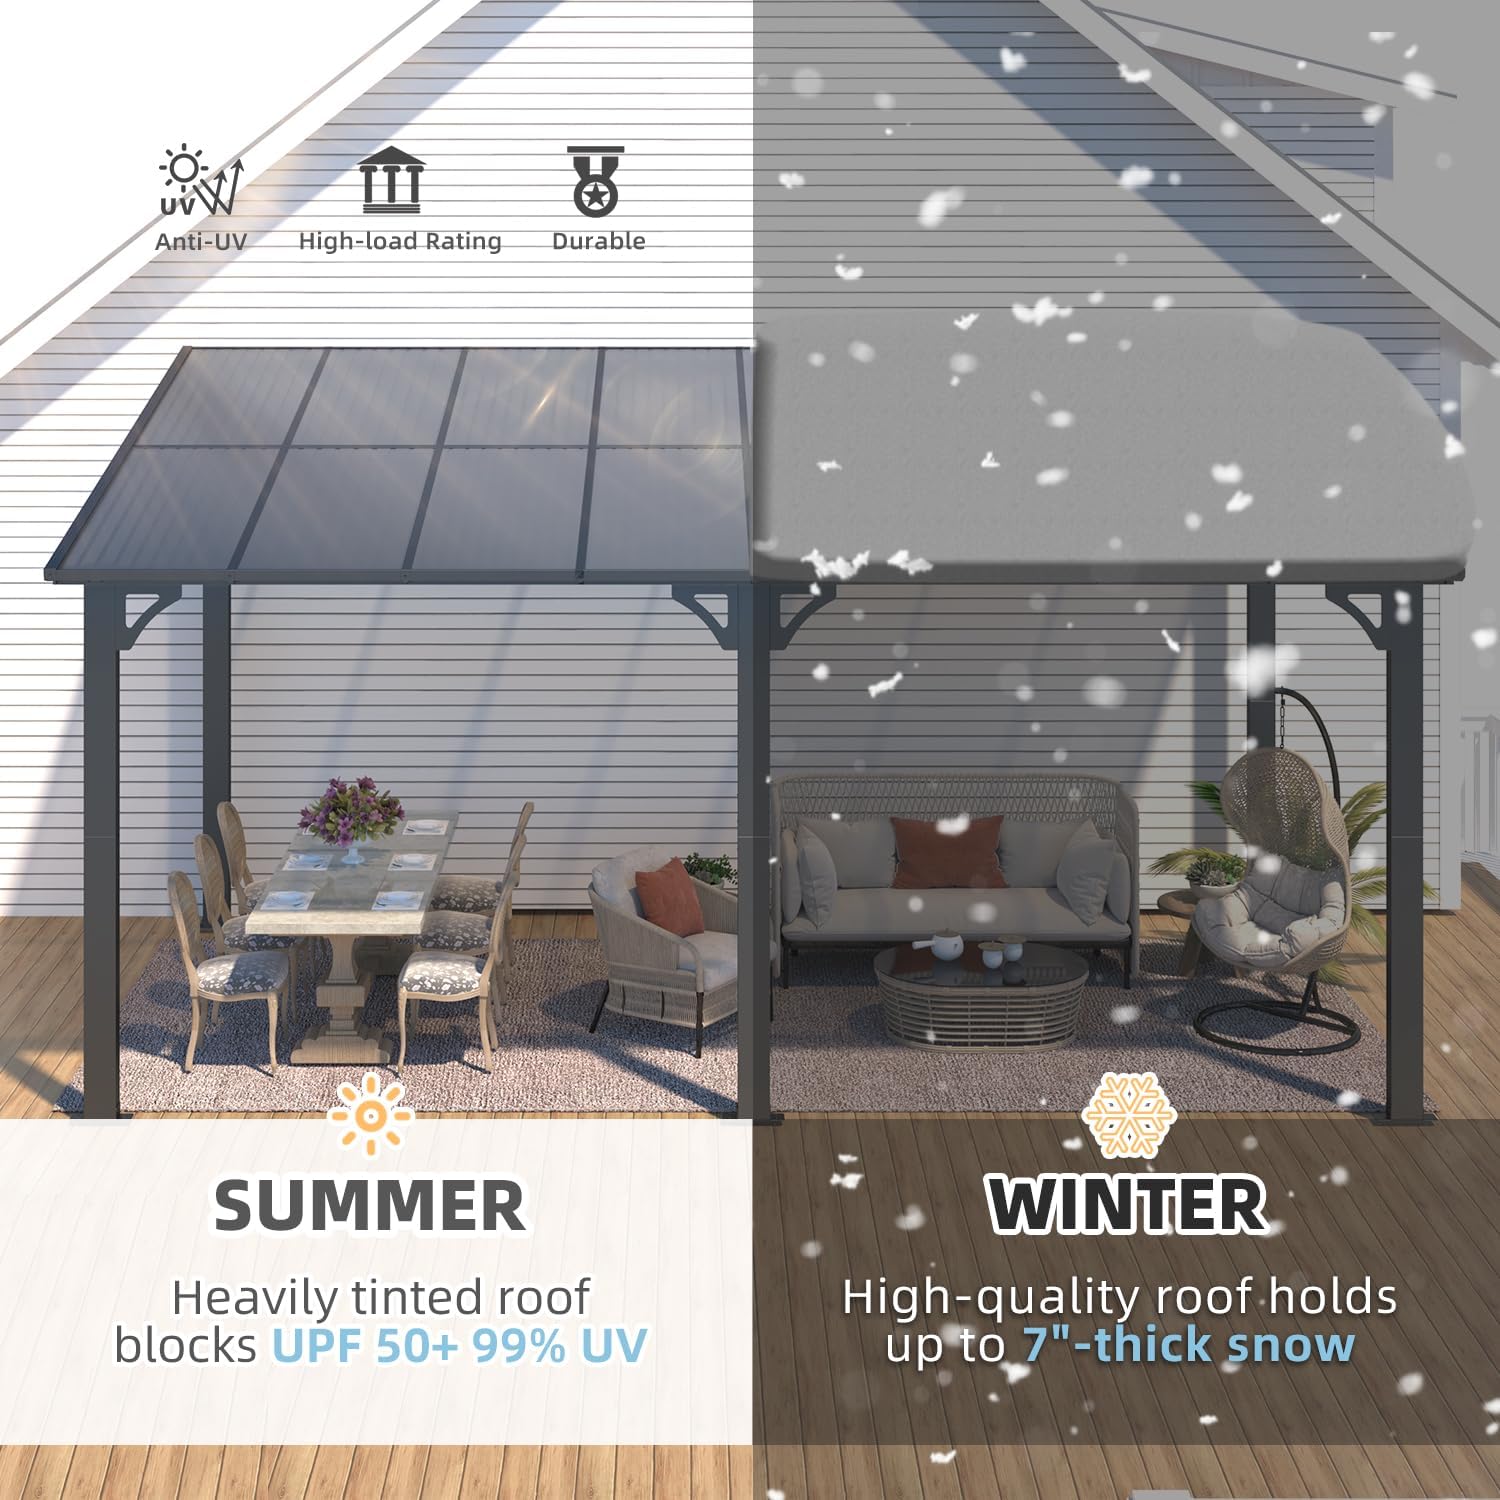
Image: Visual comparison illustrating the gazebo's roof performance in summer (UV protection) and winter (snow load capacity).
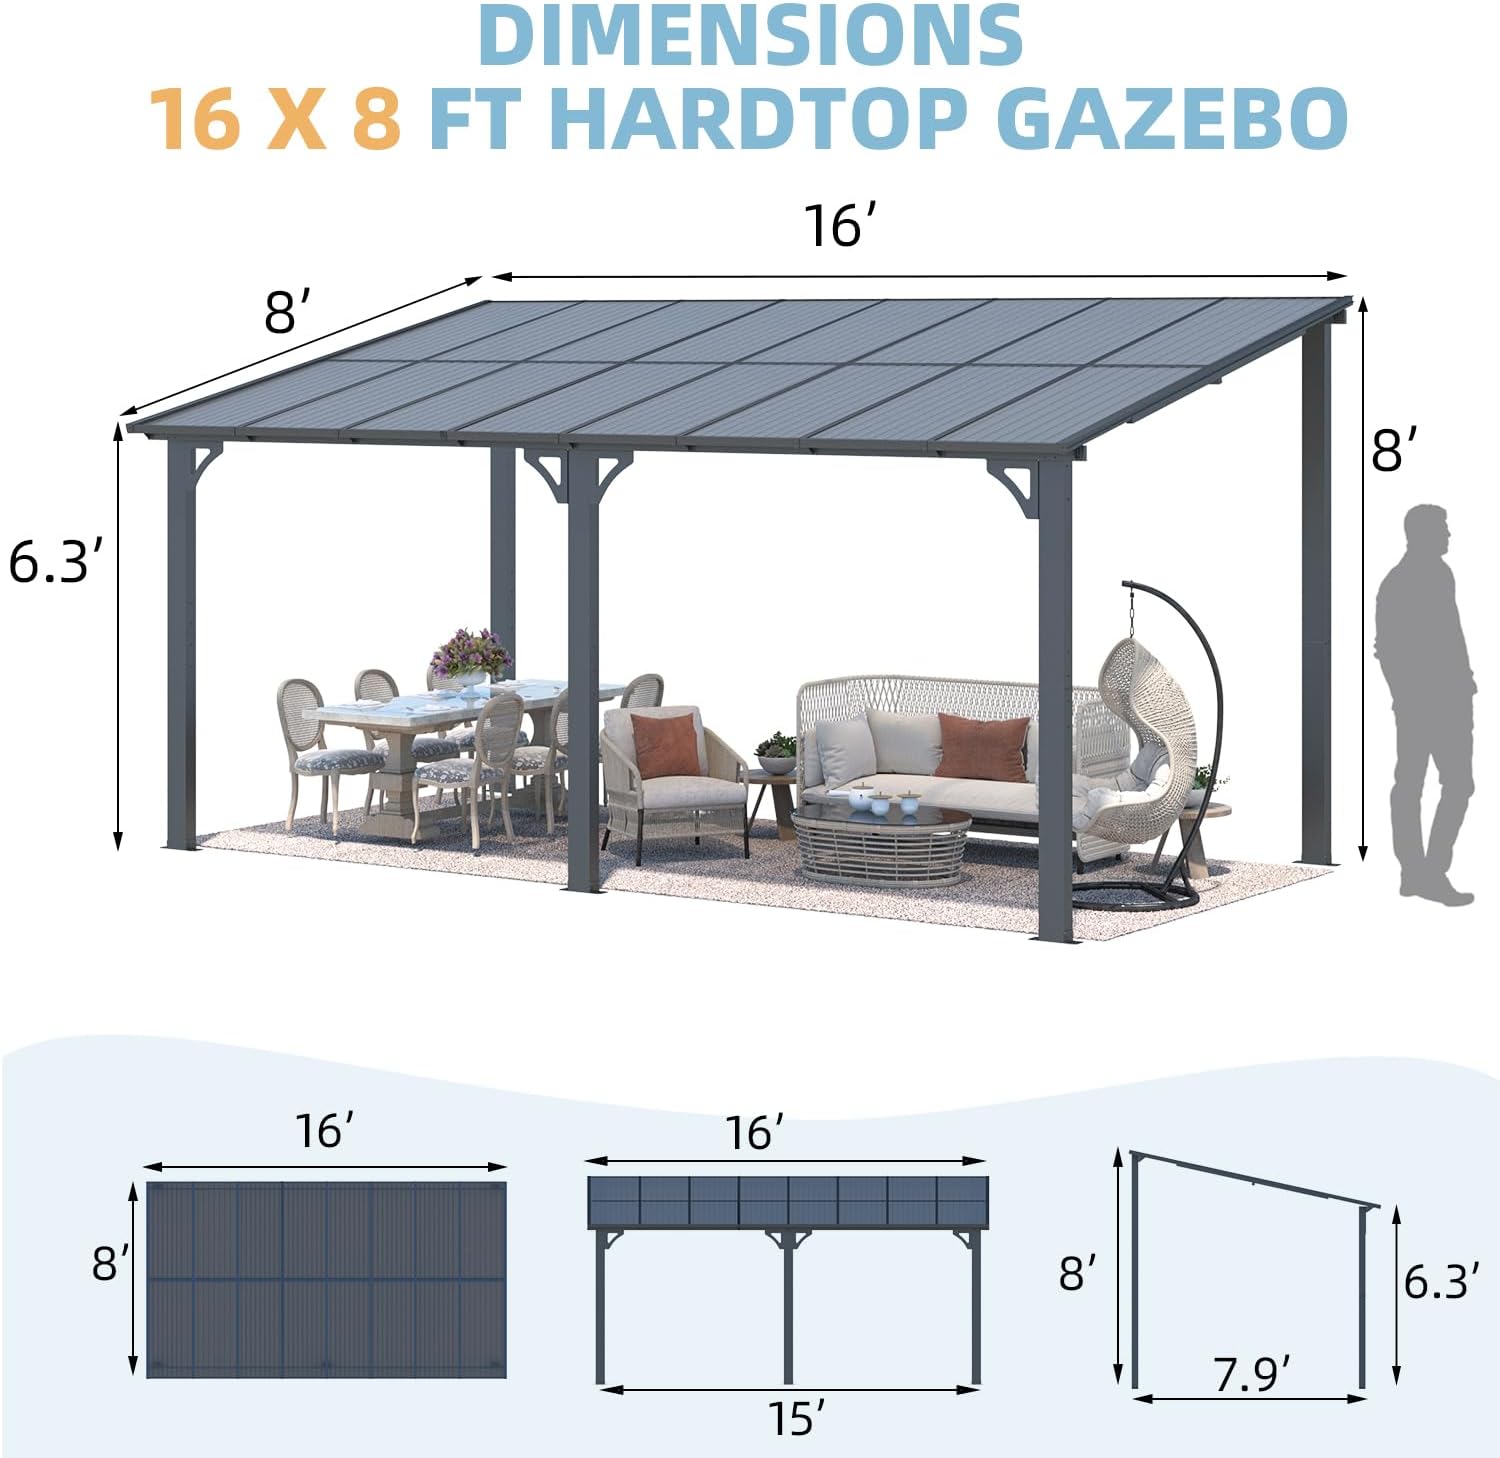
Image: Icons representing key features: Anti-UV, Fire-resistant, Waterproof, Smooth Drainage, Windproof (40-70mph), and Heavy-duty Frame.
Nlekọta
Regular maintenance will extend the life and appearance of your gazebo pergola.
- Nhicha: Clean the frame and roof panels periodically with mild soap and water. Avoid abrasive cleaners or harsh chemicals that could damage the finish or materials.
- Lelee ngwa ngwa: Annually, inspect all bolts and screws to ensure they are tight. Re-tighten if necessary to maintain structural integrity.
- Mwepụ snoo: While designed for snow load, it is advisable to clear excessive snow accumulation from the roof to prevent potential damage, especially during heavy snowfall.
- igbapu: Ensure the drainage system remains clear of debris to allow for effective water runoff.
Nchọpụta nsogbu
| Nsogbu | Ihe nwere ike ime | Ngwọta |
|---|---|---|
| Mmiri na-agbapụta n'elu ụlọ | Improper panel installation or sealant issues. | Verify roof panel alignment and ensure all seals are properly seated. Apply additional sealant if necessary. |
| Gazebo na-enwe mmetụta nke enweghị nkwụsi ike ma ọ bụ ịma jijiji | Enweghị ike ijide ihe ma ọ bụ ihe njide ndị na-adịghị ike. | Ensure all legs are securely anchored to the ground and the lean-to side is firmly attached to the wall. Check and tighten all bolts and screws. |
| Ihe isi ike n'oge mgbakọ | Misinterpretation of instructions or missing parts. | Review the manual and video tutorials carefully. Contact customer support if parts are missing or for remote assistance. |
Nkọwapụta
| Njirimara | Nkọwa |
|---|---|
| Nọmba nlereanya | SS16409BK |
| Akụkụ ngwaahịa (L x W x H) | 4.87L x 2.43W x 2.43H Meters (16' x 8' x 8') |
| Ibu Ibu | 77.11 n'arọ (170 pound) |
| Ihe onwunwe | Aluminum, Metal, Sun Panels |
| Agba | Ọchịchịrị |
| Ọkwa Nguzogide mmiri | Waterproof |
| Nchekwa ìhè ultraviolet | UV protection (UPF 50+, 99% UV block) |
| Snow Capacity | 6 lbs/sq.ft (approx. 7 inches of heavy snow) |
| Nguzogide ifufe | Up to 70 mph (when properly secured) |
| Mpaghara ala | 128 Square Feet |
| Mgbakọ chọrọ | Ee |
| Onye nrụpụta | U-MAX |
| Mba onye si | China |
Akwụkwọ ikike na nkwado
U-MAX stands behind its products, offering a worry-free experience. This includes maintenance and replacements for the product itself, along with a professional team available 24/7 to address any concerns related to installation, usage, and more. Please refer to your purchase documentation for specific warranty terms and contact information.