1. Ozi nchekwa dị mkpa
Please read all instructions carefully before using this monitor. Keep this manual for future reference.
- Etinyela ihe nlele ahụ n'ebe mmiri ozuzo, mmiri ozuzo, ma ọ bụ oke okpomọkụ dị elu.
- Gbaa mbọ hụ na ikuku ikuku dị na gburugburu ihe nleba anya iji gbochie ikpo oke ọkụ.
- Use only the power adapter provided with the monitor.
- Avoid placing heavy objects on the power cord or monitor.
- Kwụpụ plọg ike ahụ na ebe a na-esi agagharị ma ọ bụrụ na a gaghị eji ihe nlele ahụ ruo ogologo oge.
- Do not attempt to service the monitor yourself. Refer all servicing to qualified personnel.
2. Ihe ngwugwu
Chọpụta na ihe niile dị na ngwugwu gị:
- 27-inch QHD 210Hz Monitor (1 unit)
- Monitor Stand (1 unit)
- Quick Start Guide (QSG) (1 unit)
- DP Cable (1 unit)
- Power Adaptor (1 unit)
- Power Cord (1 unit)
- Shielding Hood (2 units)

Video: KTC 27M1 27 Inch 210Hz Gaming Monitor. This video provides a visual overview of the monitor and its features.
3. Nhazi ntuziaka
3.1 Ịchịkọta Monitor Stand
- Jiri nlezianya wepụ ihe nleba anya ma guzobe ihe ndị dị na nkwakọ ngwaahịa ahụ.
- Attach the stand base to the stand arm using the provided screw.
- Align the stand arm with the mounting slot on the back of the monitor and push until it clicks into place.
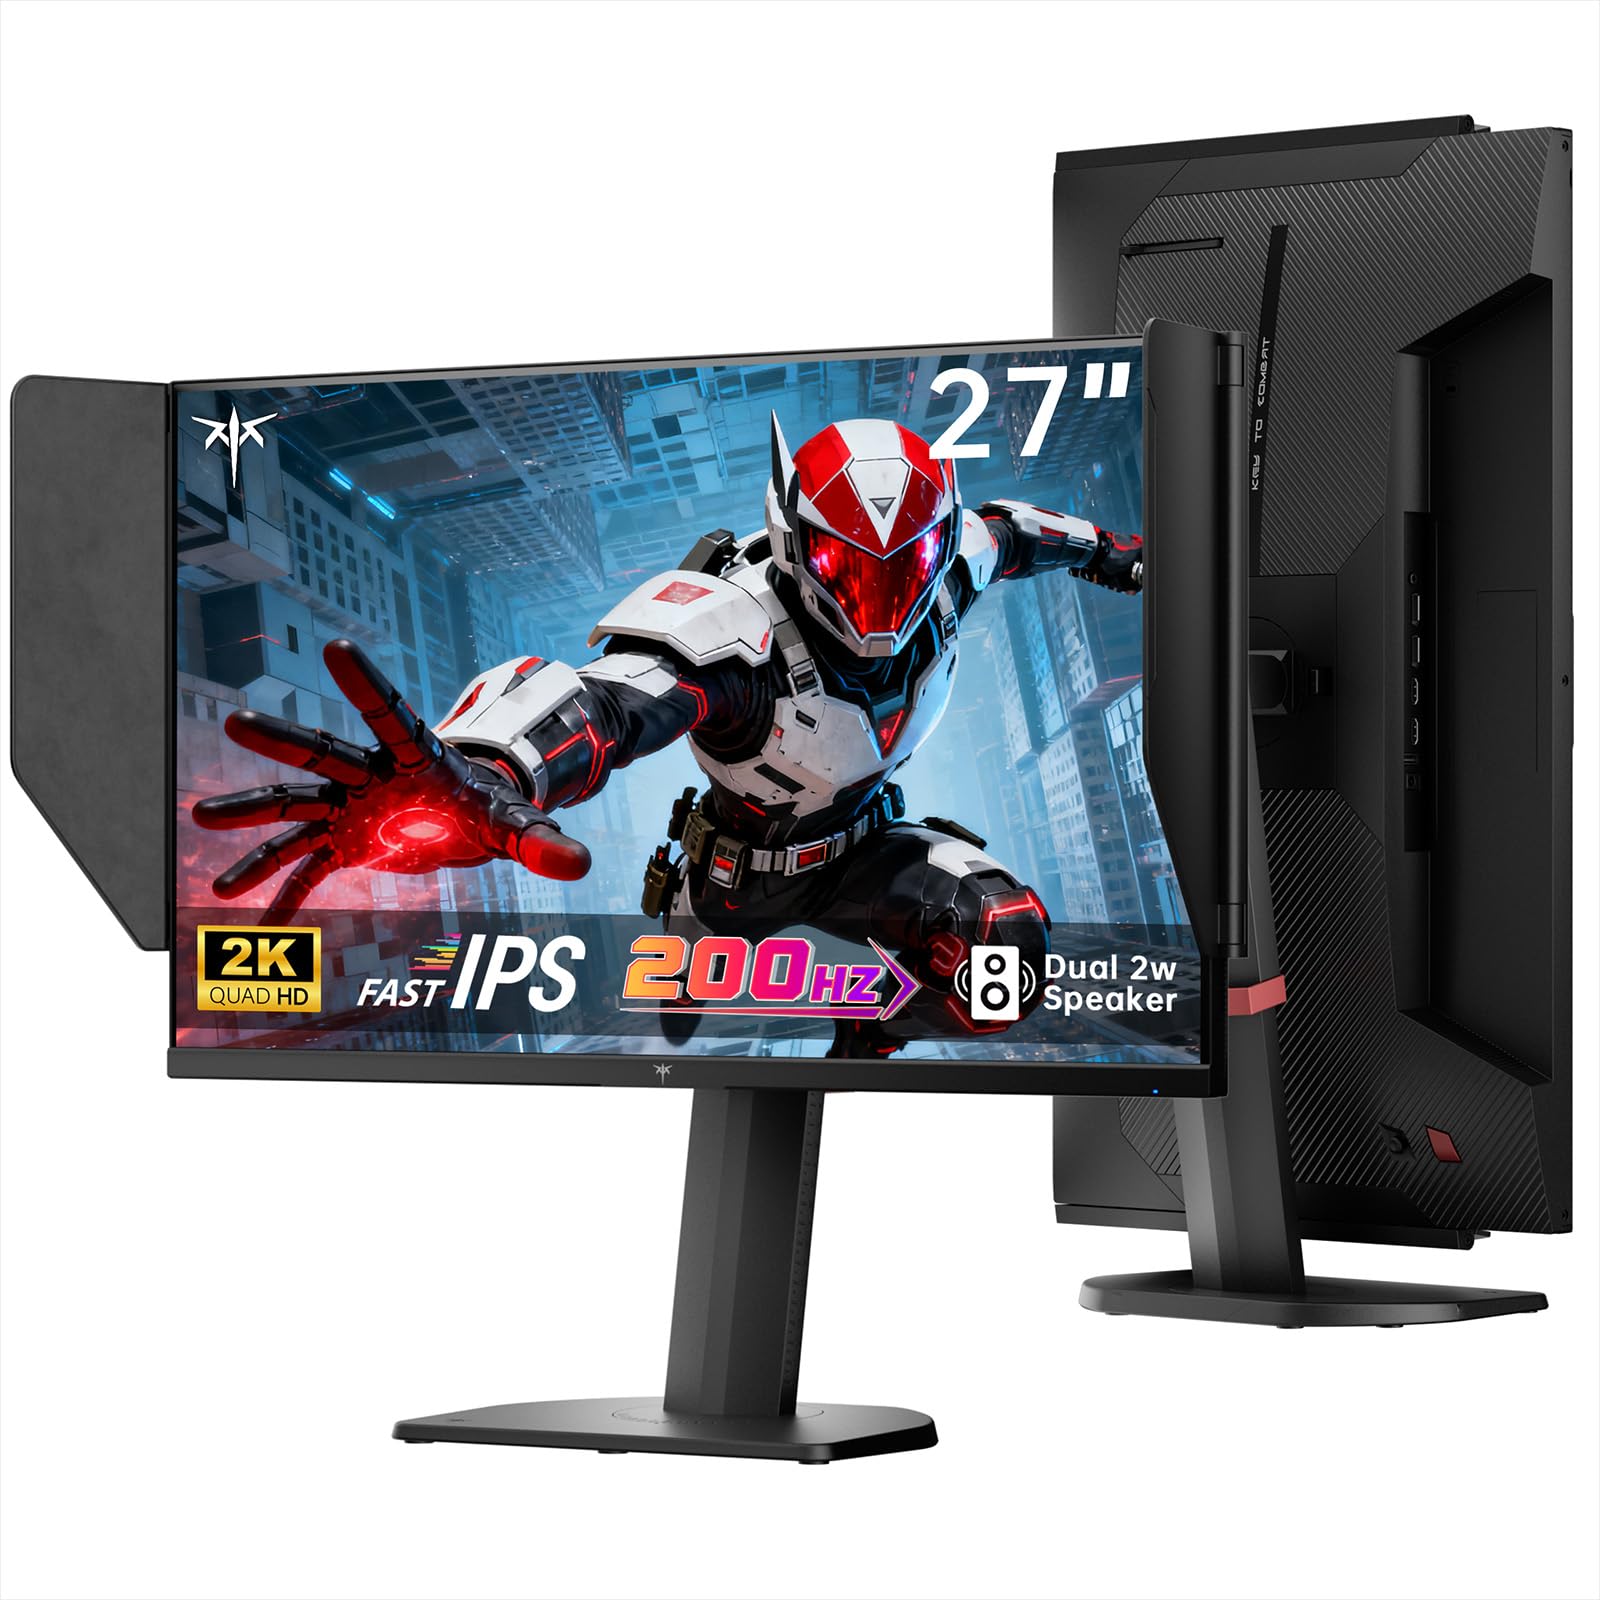
Image: The KTC 27M1 monitor with its stand fully assembled, ready for use.
3.2 Attaching the Shielding Hood
The shielding hood helps reduce glare and reflections for an optimal viewahụmahụ.
- Locate the two shielding hood pieces.
- Align each piece with the designated slots on the sides of the monitor and gently slide them into place until secure.

Image: The KTC 27M1 monitor shown with the shielding hood attached, designed to block reflected light.
3.3 Njikọ eriri
Jikọọ ihe nleba anya na kọmputa gị ma ọ bụ ngwaọrụ ndị ọzọ site na iji eriri kwesịrị ekwesị:
- DisplayPort (DP): For 200Hz (overclockable to 210Hz) refresh rates, connect the DP cable from your graphics card to the monitor's DP 1.4 port.
- HDMI: For 144Hz refresh rates, connect an HDMI 2.0 cable from your device to one of the monitor's HDMI ports.
- Ike: Connect the power adapter to the DC input on the monitor, then plug the power cord into a wall outlet.
- Audio: Connect headphones or external speakers to the 3.5mm earphone jack if desired.

Foto: nso nso view of the KTC 27M1 monitor's rear ports, including HDMI, DisplayPort, USB, and earphone jack.
4. Ntuziaka ọrụ
4.1 Gbanyụọ ma ọ bụ gbanyụọ
Press the 5-way navigation joystick located on the back of the monitor to power it on or off.
4.2 OSD Ntugharị menu
The 5-way navigation joystick is used to access and navigate the On-Screen Display (OSD) menu:
- Pịa joystick ka imepe menu OSD.
- Move the joystick Up/Down/Left/Right to navigate through menu options.
- Pịa joystick ọzọ iji họrọ nhọrọ ma ọ bụ kwado ntọala.
- Move the joystick Left to go back to the previous menu or exit the OSD.
4.3 Ịgbanwe Ntọala Ngosipụta
N'ime menu OSD, ị nwere ike ịgbanwe ntọala ngosipụta dị iche iche:
- Icha ọkụ/ọdịiche: Gbanwee ọkwa ọkụ na ọdịiche dị n'ozuzu ya.
- Ntọala agba: Modify color temperature (Warm, Cool, User), gamma, hue, and saturation. The monitor offers 130% sRGB color gamut and ΔE<2 for accurate color reproduction.
- Ntọala egwuregwu: Enable/disable Adaptive Sync (FreeSync/G-Sync Compatible), adjust Overdrive (Ultra Fast recommended for gaming), and activate Game Assist features.
- Ntọala dị elu: Toggle HDR (Auto/Off) and OverClock (to achieve 210Hz refresh rate).
- Ntinye: Manually select the input source (DP, HDMI1, HDMI2).
- Ntọala Sistemu: Change OSD language, LED indicator, audio volume, and other system preferences.
4.4 Mgbanwe Ergonomic
The monitor stand supports multiple ergonomic adjustments for comfortable viewing:
- Ndozi elu: Adjust the monitor height by 150±5mm.
- Gbaa: Tilt the screen from -5° to 35°.
- Swivel: Swivel the monitor ±60°.
- Pivot: Pivot the screen from -5° to 90° for vertical orientation.

Image: Visual representation of the KTC 27M1 monitor's tilt, swivel, elevate, and pivot adjustments.
5. Atụmatụ
- Ngosipụta: 27-inch QHD (2560x1440) Fast IPS panel.
- Ọnụego ume ọhụrụ: 200Hz, overclockable to 210Hz.
- Oge nzaghachi: 1ms (MPRT) for sharp visuals.
- Ịdị mma agba: 130% sRGB color gamut, 99% DCI-P3 coverage, ΔE<2, 450 cd/m² brightness, 1.07 Billion Colors, 1000:1 Contrast Ratio.
- Mmekọrịta na-agbanwe agbanwe: FreeSync and G-Sync Compatible to eliminate screen tearing.
- Nlekọta anya: Flicker-free and low blue light modes for extended comfortable viewing.
- Audio: Built-in dual 2W speakers.
- Njikọta: 2x HDMI 2.0 ports, 1x DisplayPort 1.4 port, 1x USB 2.0 port, 1x Earphone jack.
- Ịkwanye: 100x100mm VESA mount compatible.
- Nhazi: Includes a detachable shielding hood to block reflected light.

Image: The KTC 27M1 monitor displaying vibrant colors, highlighting its color accuracy and brightness features.
6. Nkọwapụta
| Njirimara | Nkọwapụta |
|---|---|
| Ụdị | KTC |
| Nọmba nlereanya | H27T8 (Marketed as 27M1) |
| Nha ihuenyo | 27 sentimita asatọ |
| Mkpebi obodo | 2560x1440 (QHD) |
| Ngosipụta teknụzụ | Ngwa ngwa IPS |
| Ọnụego ume ọhụrụ | 200 Hz (Overclockable to 210 Hz) |
| Oge nzaghachi | 1 Millisekọnd (MPRT) |
| Icha ọkụ | 450 Candela (cd/m²) |
| Ọnụọgụ ọdịiche | 1000:1 |
| Agba Gamut | 130% sRGB, 99% DCI-P3 |
| Viewna n'akuku | 178 ogo |
| Nkwado HDR | Ee |
| Mmekọrịta na-agbanwe agbanwe | FreeSync, G-Sync Compatible |
| Ndị na-ekwu okwu arụrụ arụ | 2x 2W Speakers |
| Njikọta | 2x HDMI 2.0, 1x DisplayPort 1.4, 1x USB 2.0, 1x Earphone |
| Ugwu VESA | 100x100mm |
| Ergonomics | Height, Tilt, Swivel, Pivot Adjustment |
| Oriri ike | 48 Watt |
7. Nlekọta na nlekọta
- Na-ehicha ihuenyo: Jiri nwayọ hichaa ihuenyo ahụ site na iji akwa dị nro na-enweghị lint. Maka akara isi ike, dampen the cloth with a mild, non-abrasive screen cleaner.
- Na-ehicha Casing: Jiri akwa dị nro dị nro hichaa ihe nleba anya casing. Zere iji ihe nhicha siri ike ma ọ bụ ihe nhicha na-eme ka ihe dị nro.
- Igwe ikuku: Ensure the ventilation openings on the monitor are clear and unobstructed to prevent overheating.
- Nchekwa: If storing the monitor for an extended period, disconnect it from power and store it in a cool, dry place.
8. Nchọpụta nsogbu
8.1 Enweghị ike
- Check if the power cord is securely connected to the monitor and the power outlet.
- Hụ na ebe ọkụ eletrik ahụ na-arụ ọrụ nke ọma site na itinye ngwaọrụ ọzọ.
- Gbaa mbọ hụ na ejikọrọ ihe nkwụnye ọkụ nke ọma.
8.2 No Signal/Blank Screen
- Confirm that the video cable (DP or HDMI) is securely connected to both the monitor and your computer/device.
- Press the OSD joystick to open the menu and manually select the correct input source.
- Hụ na kọmputa/ngwaọrụ gị na-agba ọkụ ma ọ bụghị n'ọnọdụ ụra.
- Try using a different video cable or port to rule out cable/port issues.
8.3 Flickering/Distorted Image
- Lelee eriri vidiyo maka mmebi ọ bụla ma ọ bụ njikọ rụrụ arụ.
- Adjust the refresh rate in your computer's display settings to match the monitor's native refresh rate (200Hz or 210Hz if overclocked).
- Enable Adaptive Sync (FreeSync/G-Sync Compatible) in the monitor's OSD menu and your graphics card settings.
- Gbaa mbọ hụ na ndị ọkwọ ụgbọala kaadị eserese gị emelitere.
8.4 No Sound from Built-in Speakers/Earphone Jack
- Check the volume settings in the monitor's OSD menu and your computer's operating system.
- Hụ na ahọpụtara ngwaọrụ mmepụta ọdịyo ziri ezi na ntọala ụda kọmputa gị.
- Verify that the audio cable (if using external speakers) or headphones are properly connected.
9. Akwụkwọ ikike na nkwado
KTC is committed to providing quality service and support for your monitor.
- Akwụkwọ ikike: This product comes with a 3-year quality guarantee.
- Nkwado ndị teknuzu: Lifetime technical support is available for all KTC products.
- Kpọtụrụ anyị: If you have any questions or encounter issues, please contact KTC customer support. Solutions will be provided within 24 hours.