
1. Okwu mmalite
Thank you for choosing the Greenvelly 63-inch Metal Storage Cabinet. This manual provides essential information for the safe assembly, operation, and maintenance of your new storage cabinet. Please read all instructions carefully before beginning assembly and retain this manual for future reference.
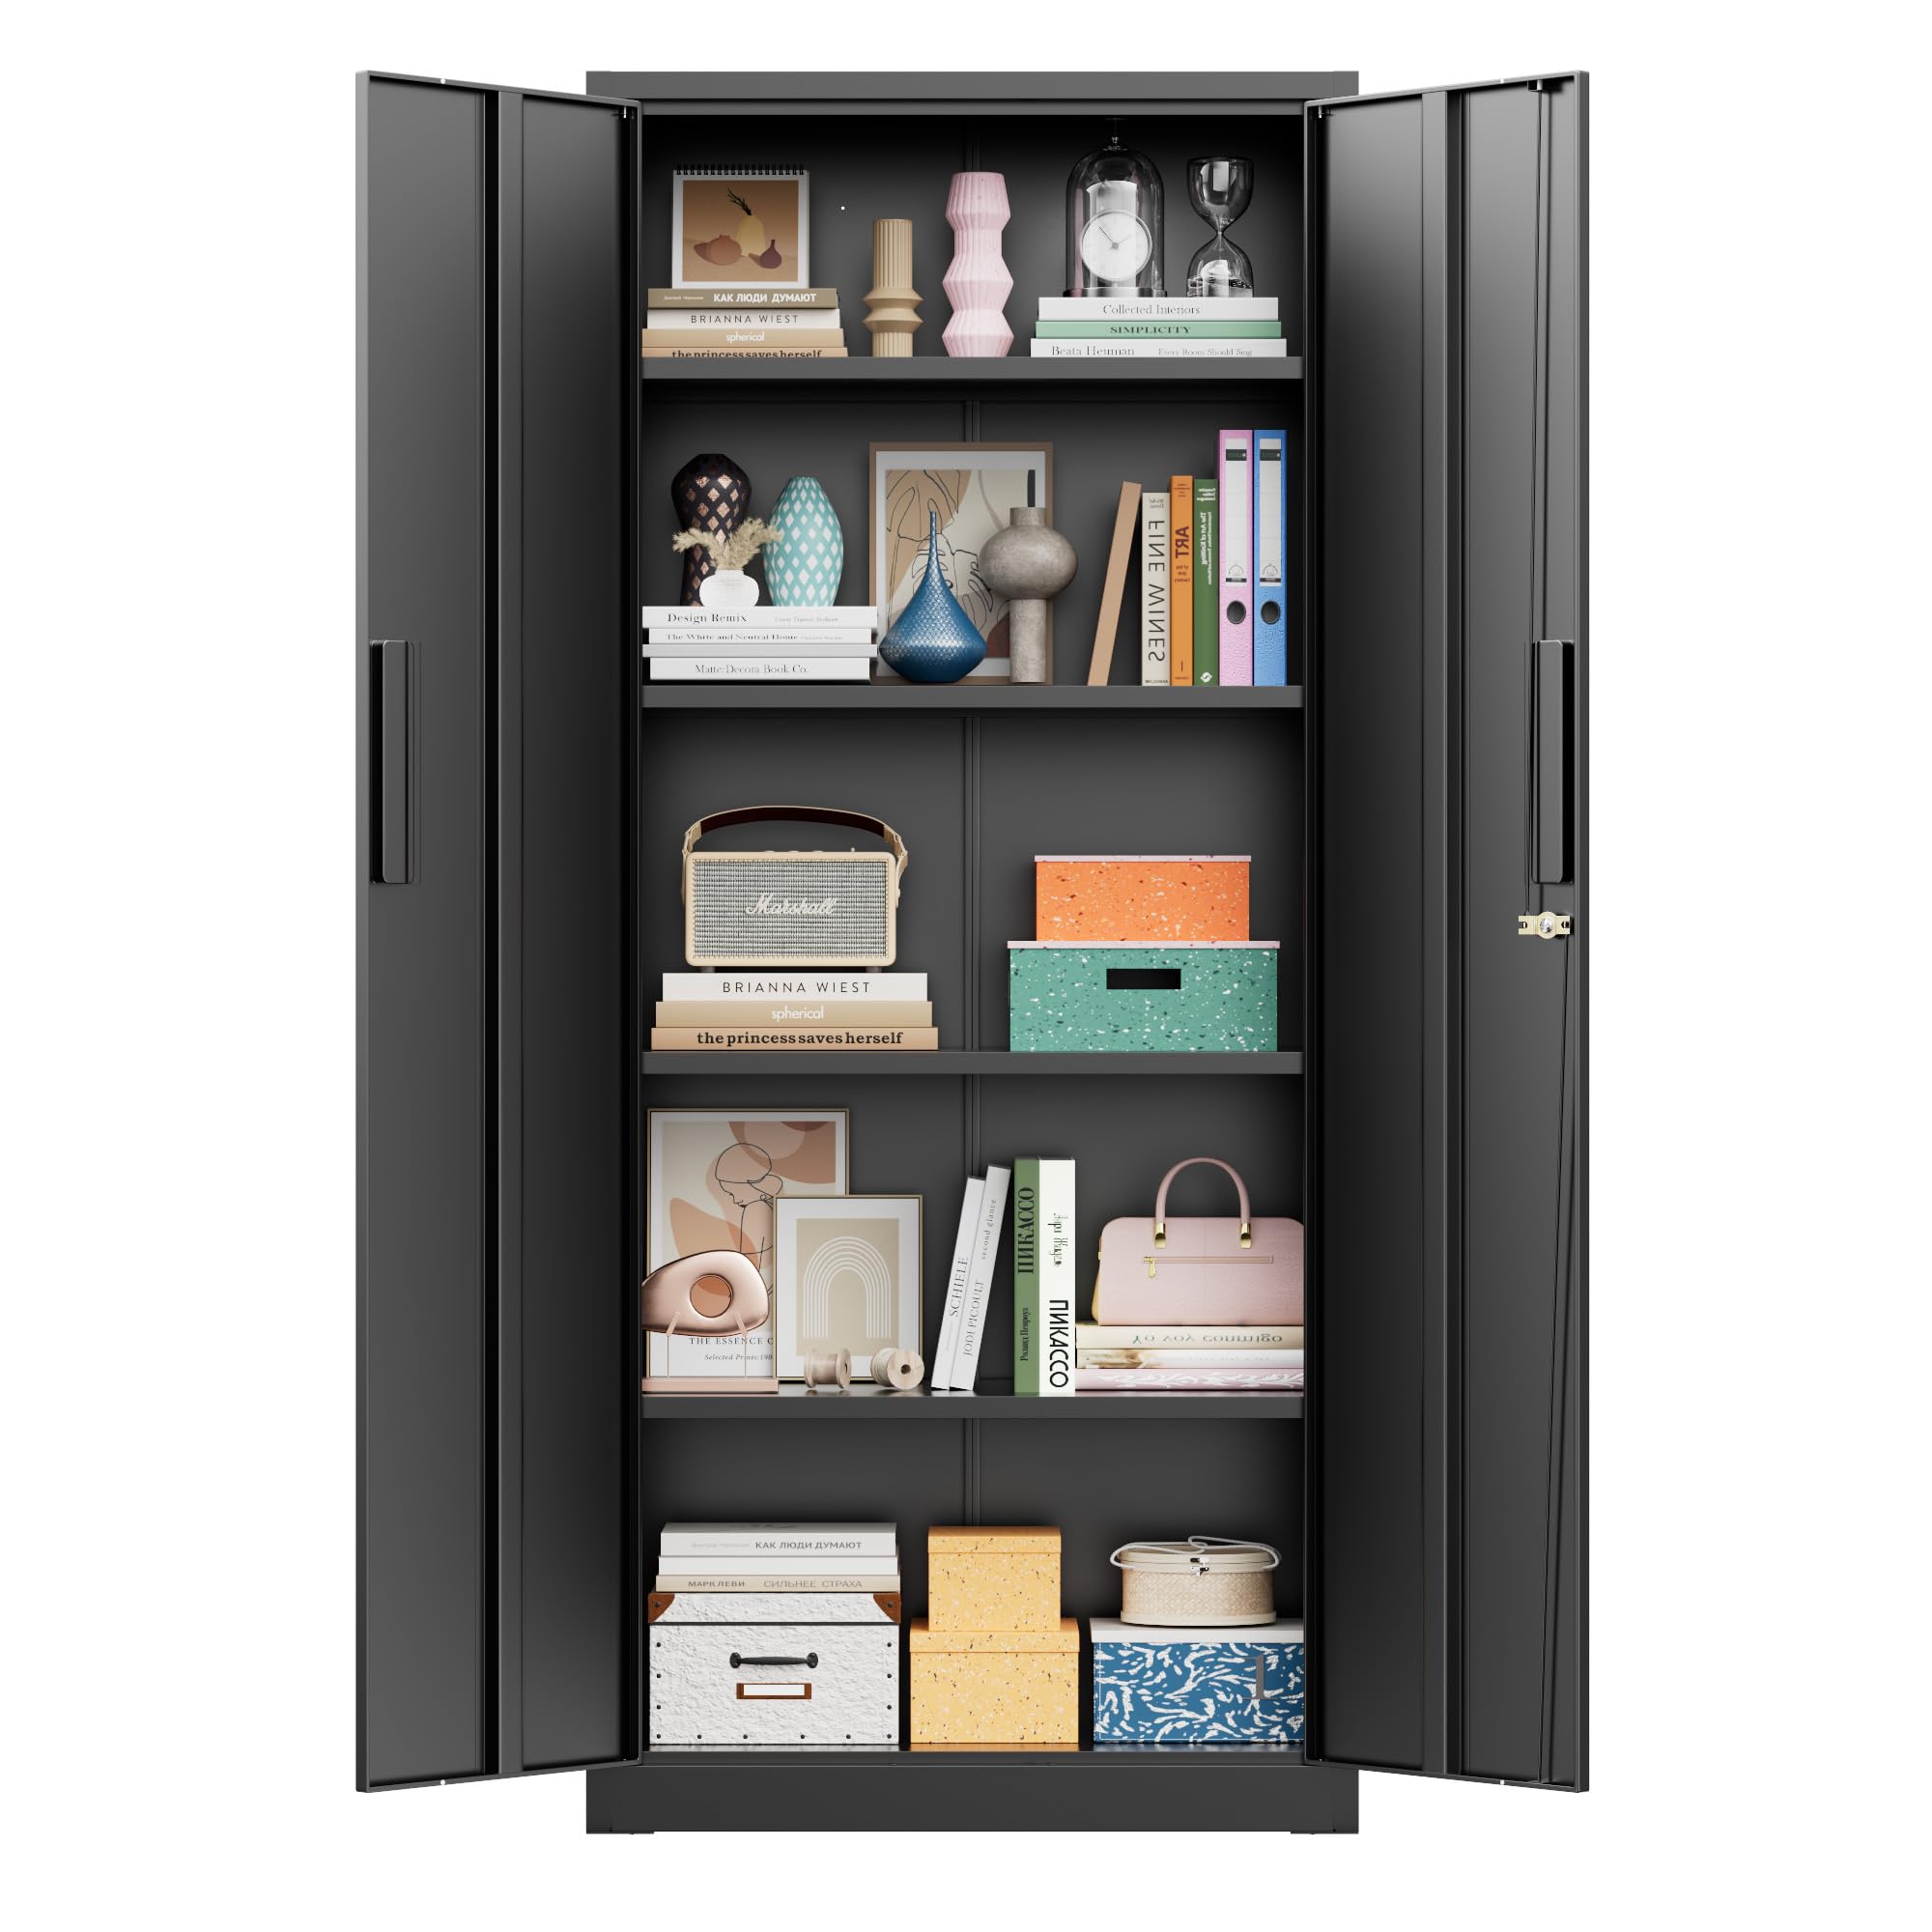
This metal storage cabinet is designed for multi-purpose use, offering ample space for organizing various items such as kitchen spices, household appliances, toiletries, office stationery, and hardware tools. Its robust construction and adjustable shelves make it suitable for diverse environments including kitchens, bedrooms, bathrooms, offices, garages, and pantries.
2. Ozi nchekwa
Biko debe ihe nchekwa nchekwa ndị a n'oge mgbakọ na ojiji:
- Always assemble the cabinet using power tools as recommended in the instructions.
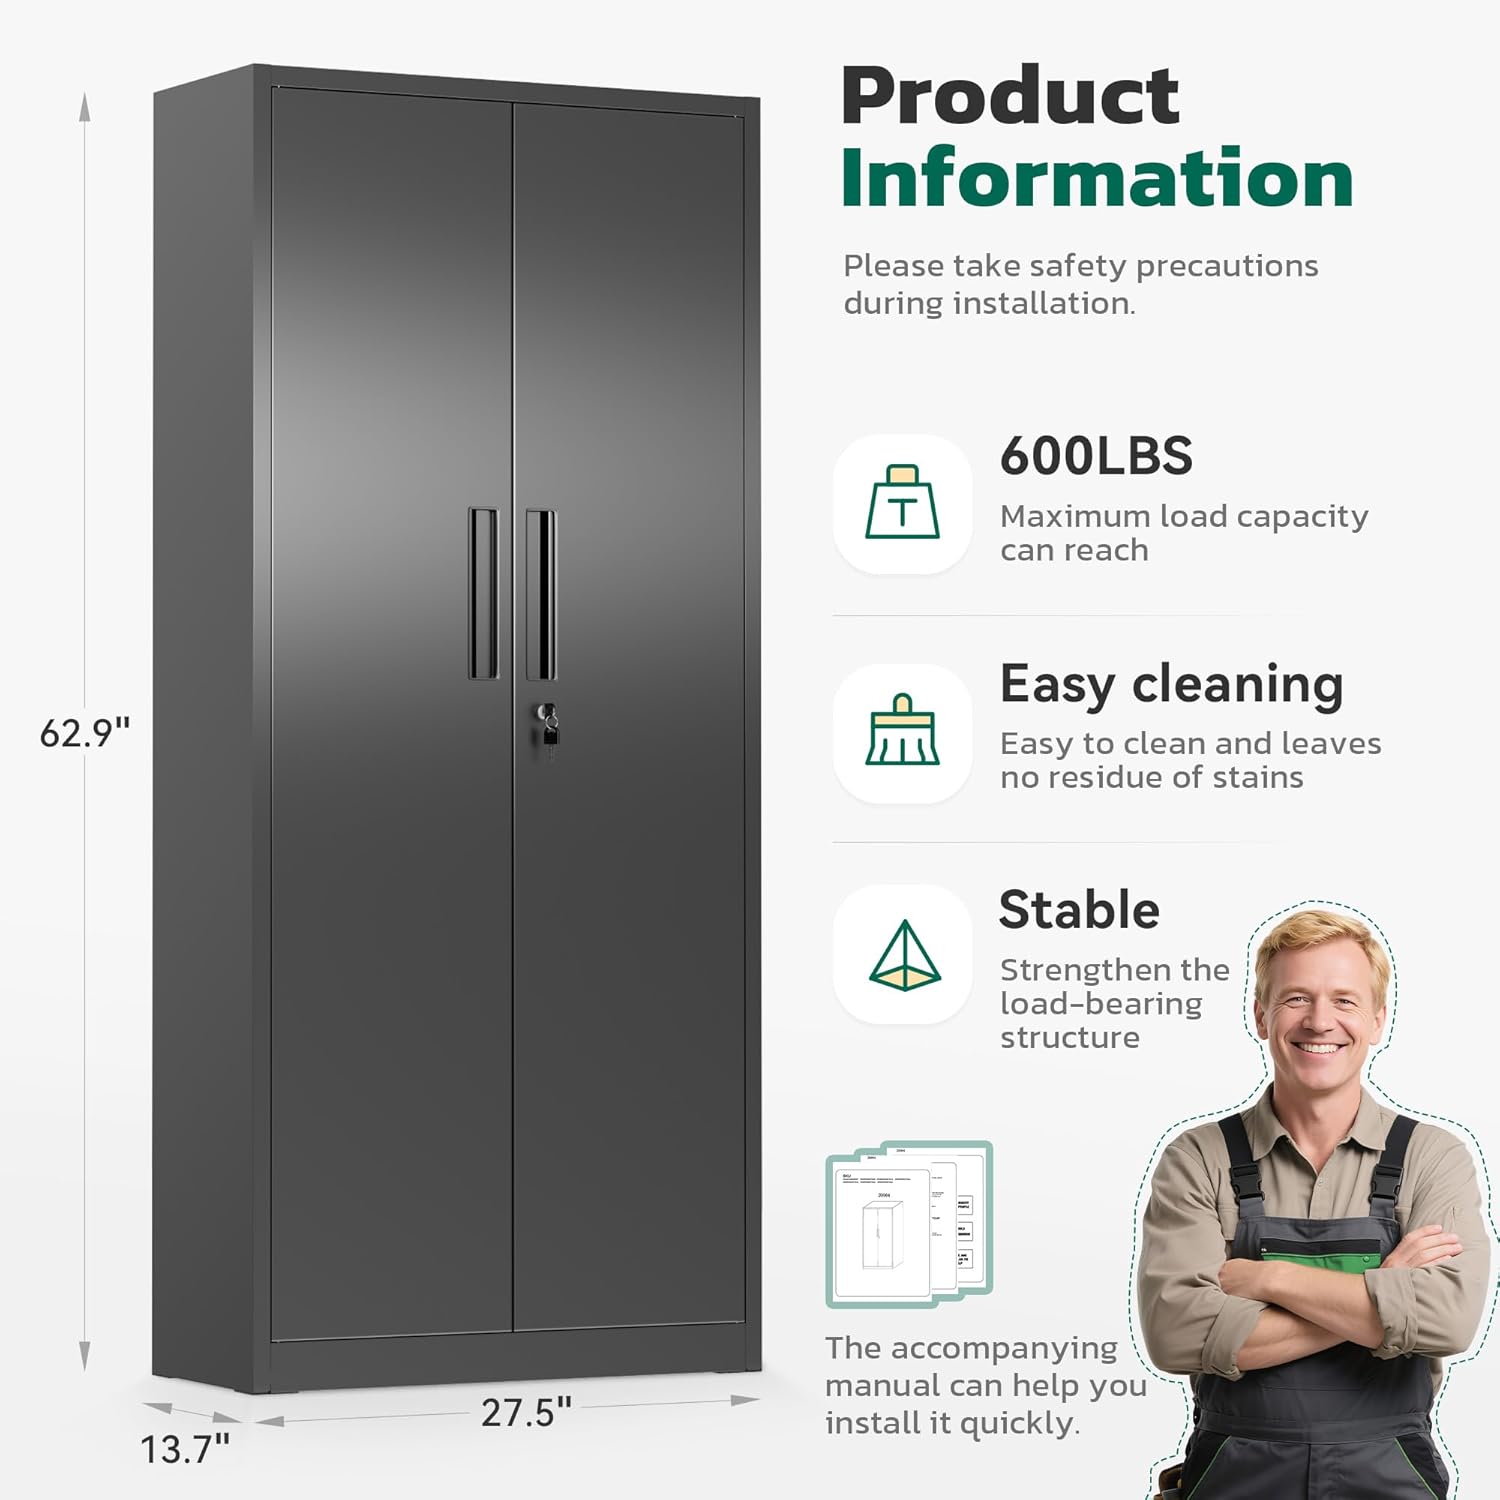
- Agafela ikike ibu kacha nke 600 pound for the entire cabinet. Each adjustable shelf is reinforced to hold up to 120 n'arọ.
- Keep the locking mechanism and keys out of reach of children.
- Be cautious of sharp edges and heavy components during assembly and handling to prevent injury.
- Ensure the cabinet is placed on a level surface. For added security, the cabinet can be fixed to the wall using appropriate hardware (not included).
3. Akụrụngwa Ngwaahịa
- Multi-purpose Storage: Ideal for kitchen, bedroom, bathroom, office, and garage environments.
- Shelves nwere ike idozi: Features 4 height-adjustable metal dividers, each capable of holding up to 120 lbs, allowing for scientific categorization and flexible storage.
- Sistemụ Mkpọchi echekwara Equipped with a 3-point locking system and 2 keys to secure contents.
- Ihe owuwu na-adịgide adịgide: Made from high-quality 0.8mm cold-rolled steel for enhanced strength, stability, and moisture resistance.
- Mgbakọ dị mfe: Parts are numbered for straightforward assembly. Power tools are recommended to aid in the process.

4. Ntuziaka Mgbakọ
Assembly of the Greenvelly Metal Storage Cabinet requires careful attention to detail. All parts are numbered to facilitate the process. It is recommended to use power tools for efficient and secure assembly.
4.1. Nkwadebe
- Unpack all components and verify against the parts list (not provided in this document, refer to your packaging).
- Ensure you have the necessary tools, including a screwdriver (power tools recommended).
- Kpochapụ ebe sara mbara ma dị larịị maka mgbakọ.
4.2. Mgbakọ nzọụkwụ site na nzọụkwụ
Follow the numbered instructions provided with your product packaging. Pay close attention to diagrams for correct orientation of panels and hardware.
Note: Some users have found that the paint applied after screw holes are drilled can make initial turns tight. Apply steady pressure and use power tools to cut through the finish in the holes.
4.3. Shelf Adjustment Demonstration
The video above illustrates the process of adjusting the shelves and organizing items. To adjust a shelf, remove any items, lift the shelf slightly, and reposition the support pins into the desired slots on the cabinet sides. Ensure all four pins are securely seated before placing items on the shelf.
5. Ọrụ
5.1. Using Adjustable Shelves
The cabinet features four adjustable shelves. To change the height of a shelf:
- Wụpụ ihe niile dị na shelf ahụ kpamkpam.
- Locate the four shelf support pins on each side of the cabinet.
- Carefully lift the shelf and remove the support pins from their current positions.
- Insert the support pins into the desired new slots, ensuring they are at the same height on both sides.
- Place the shelf onto the pins, ensuring it is level and stable before loading items.
5.2. Usoro mkpọchi
The cabinet is equipped with a 3-point locking system for security. Insert one of the two provided keys into the lock on the right door and turn to engage or disengage the locking rods. Ensure both doors are fully closed before locking.

6. Nlekọta
6.1. Nhicha
To clean the metal cabinet, use a soft cloth dampened with mild soap and water. Wipe dry immediately to prevent water spots or rust. Avoid abrasive cleaners, harsh chemicals, or scouring pads, as these can damage the finish.
6.2. Nyocha
Periodically inspect the cabinet for any signs of wear, loose screws, or damage. Tighten any loose fasteners. If any part is damaged, contact customer service for assistance.
7. Nkọwapụta
| Njirimara | Nkọwa |
|---|---|
| Ụdị | Greenvelly |
| Nọmba nlereanya | B0FPM97WGQ |
| Agba | Nwa |
| Ihe onwunwe | High-quality Cold-Rolled Steel (0.8mm thickness) |
| Akụkụ ngwaahịa (D x W x H) | 13.7" x 27.5" x 62.9" |
| Ọnụọgụ nke shelf | 4 (nwere ike idozi) |
| Ikike ibu shelf | Ruo 120 lbs kwa shelf |
| Ike Ibu N'ozuzu | Ruo 600 lbs |
| Ụdị mkpọchi | Key (3-point locking system) |
| Mgbakọ chọrọ | Yes (Self-assembly, power tools recommended) |
| Ụdị nkwụnye | Floor Mount, Wall Mount (hardware not included) |
8. Nchọpụta nsogbu
This section addresses common issues you might encounter with your Greenvelly Metal Storage Cabinet.
8.1. Nsogbu Mgbakọ
- Screws are tight or difficult to insert: The paint finish may be thick in the screw holes. Use a power tool on a low setting or apply steady pressure with a manual screwdriver to cut through the finish. Do not force excessively to avoid stripping.
- Panels do not align: Double-check the orientation of all panels against the assembly diagrams. Ensure all previous connections are secure but not overtightened until all major components are in place.
- Akụkụ na-efu: If you find any parts missing, please contact Greenvelly customer service immediately.
8.2. Nsogbu Ịkwụsi Ike
- Kabinet na-ama jijiji: Ensure the cabinet is on a flat, level surface. Adjust any leveling feet if present (check product specifications). For maximum stability, especially with heavy loads or in areas with children, consider wall-mounting the cabinet using appropriate hardware.
- Shelves sag: Ensure the weight on the shelf does not exceed 120 lbs. Distribute weight evenly. Verify that all four shelf support pins are fully seated in their respective slots.
8.3. Locking Mechanism Problems
- Ọnụ ụzọ anaghị emechi nke ọma: Check for any obstructions inside the cabinet or if the cabinet itself is out of square. Ensure the doors are properly aligned on their hinges.
- Key does not turn: Ensure the key is fully inserted and that the doors are completely closed and aligned before attempting to lock. Do not force the key.
9. Akwụkwọ ikike na nkwado
Greenvelly is committed to providing high-quality products. While specific warranty details are not included in this manual, please refer to your purchase documentation or the Greenvelly official websaịtị maka ozi akwụkwọ ikike zuru oke.
If you encounter any issues not covered in this troubleshooting guide, or require further assistance, please contact Greenvelly customer service. Our professional customer service team is ready to help.
Kọntaktị Ndị Ahịa: Please refer to the contact information provided with your purchase or on the Greenvelly official websaịtị.