1. Okwu mmalite
This manual provides essential information for the installation, operation, and maintenance of your Hikvision IDS-7208HQHI-M1/XT 8-Channel 5MP Turbo HD DVR. Please read this manual thoroughly before using the product to ensure correct and safe operation. Keep this manual for future reference.
The Hikvision IDS-7208HQHI-M1/XT is an advanced 8-channel Digital Video Recorder designed for high-definition surveillance systems. It supports various video input formats, including Turbo HD, AHD, CVI, CVBS, and IP cameras, offering versatile compatibility. Key features include 5MP recording capability, H.265+ video compression for efficient storage, AcuSense technology for intelligent motion detection, and remote access via the Hik-Connect app.
2. Ihe ngwugwu
Verify that all items are present and in good condition upon unpacking. If any items are missing or damaged, contact your supplier immediately.
- DVR main unit
- Ihe nkwụnye ọkụ
- USB useké
3. Akụrụngwa Ngwaahịa
The Hikvision IDS-7208HQHI-M1/XT DVR offers a range of features designed for effective surveillance:
- 8-Channel DVR with 5MP HD Support: Supports multiple analog HD camera formats and up to 8 channels of real-time video monitoring and recording.
- Two-Way Audio Support: Enables audio communication through compatible cameras.
- Built-In AcuSense Technology: Smart analysis minimizes false alarms by focusing on human and vehicle-based motion detection.
- Remote Access via Hik-Connect App: View live video, playback recordings, and receive alerts anytime on your smartphone.
- Efficient Storage with H.265+ Compression: Saves bandwidth and hard disk space while maintaining clear video quality.
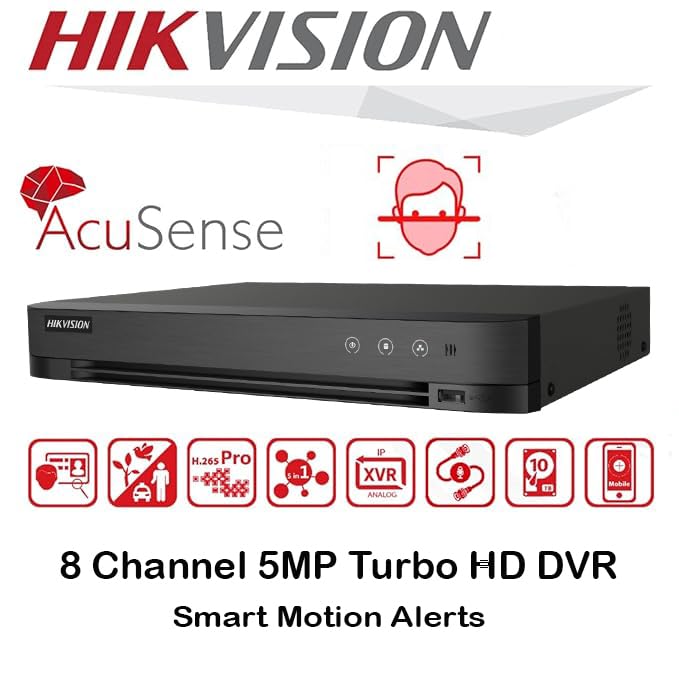
Foto: Ofeview of key features including AcuSense, H.265+ compression, and 5MP resolution support.
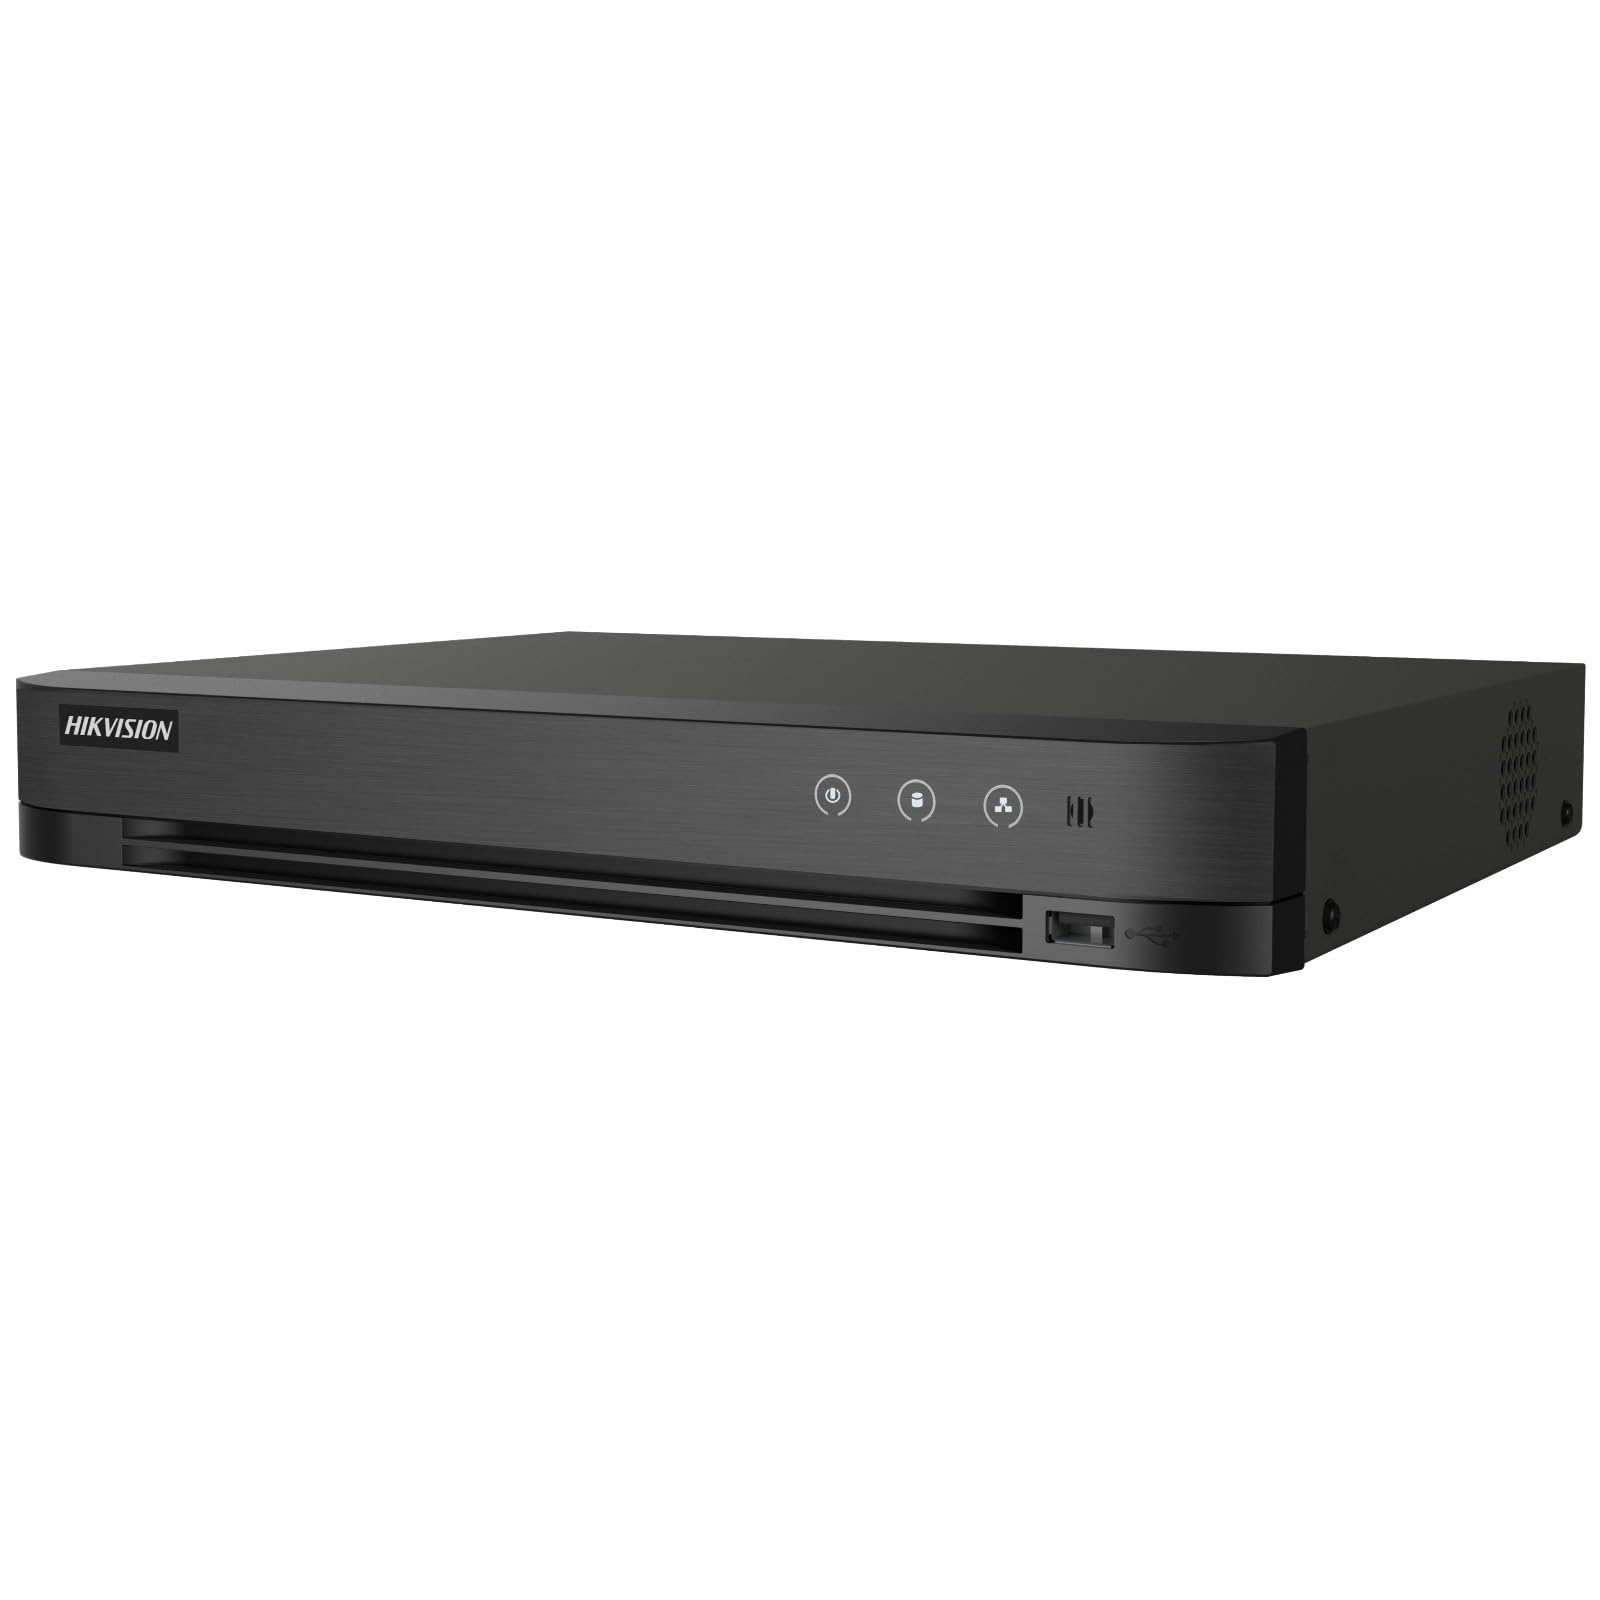
Image: The Hikvision Turbo HD DVR highlighting its support for two-way audio cameras, enabling interactive communication.
4. Interface anụ ahụ
Familiarize yourself with the ports and indicators on the DVR unit. The following diagram illustrates the rear panel of the Hikvision IDS-7208HQHI-M1/XT DVR:

Image: Rear panel connections of the DVR, showing video inputs, audio ports, network, and power.
- Video In (BNC): Connect analog HD cameras (Turbo HD, AHD, CVI, CVBS).
- Video Out (BNC): Connect to a monitor for local display.
- Audio In (RCA): Connect external audio input devices.
- Ihe mmepụta HDMI: Connect to an HDMI-compatible monitor or TV for high-definition video output.
- Mmepụta VGA: Connect to a VGA-compatible monitor.
- Ọkụnụ ọdịyo (RCA): Connect to external audio output devices.
- ọdụ ụgbọ mmiri USB: Connect a USB mouse, USB flash drive for backup, or external storage.
- LAN Port (RJ45): Connect to your network for remote access and IP camera integration.
- RS-485: For PTZ camera control (if supported).
- Ntinye ike 12V DC: Jikọọ nkwụnye ọkụ gụnyere.
- Ọdụ ụgbọ ala: For grounding the device.
5. Nhazi
Follow these steps for initial setup of your DVR system:
5.1 Hard Drive Installation (if not pre-installed)
- Mepee skru ma wepụ mkpuchi elu nke DVR ahụ.
- Jikọọ eriri data SATA na eriri ọkụ na draịvụ ike.
- Secure the hard drive to the DVR chassis using the provided screws.
- Dochie mkpuchi elu ma jiri skru kpuchie ya.
5.2 Njikọta Peripherals
- Connect your cameras to the Vidiyo Na (BNC) ports.
- Connect a monitor to the HDMI or VGA ọdụ ụgbọ mmiri mmepụta.
- Connect the USB mouse to a USB ọdụ ụgbọ mmiri.
- Connect the DVR to your network router using an Ethernet cable plugged into the Ọdụ ụgbọ mmiri LAN.
- Jikọọ ihe nkwụnye ọkụ na Ntinye ike 12V DC and then plug it into a power outlet.
5.3 Nhazi izizi
- Ozugbo ịmalitere ya, DVR ga-eduzi gị site na ọkachamara nhazi.
- Set a strong password for the administrator account.
- Hazie ntọala netwọk (DHCP na-ezurukarị maka ọtụtụ netwọk ụlọ).
- Initialize the hard drive if prompted. This will format the drive for recording.
- Adjust date, time, and other system preferences as needed.
6. .rụ ọrụ
Once the DVR is set up, you can begin monitoring and recording.
6.1 Ndụ View
After logging in, the DVR will display the live view site na igwefoto ejikọrọ na ihe nlele. Ị nwere ike ịgbanwee n'etiti otu igwefoto view na grid igwefoto ọtụtụ view site na iji njikwa ihuenyo ma ọ bụ òké.
6.2 Ndekọ
The DVR is typically configured to record continuously or based on motion detection. You can adjust recording schedules and settings through the DVR's menu system (Configuration > Record > Schedule).
6.3 Nghaghachi
Maka review edekọ footage, navigate to the Ngwughachi menu. Select the date, time, and camera channel to view recordings. Use the playback controls (play, pause, fast forward, rewind) to navigate through the footage.
6.4 Remote Access (Hik-Connect App)
The Hik-Connect app allows you to access your DVR remotely from a smartphone or tablet.
- Budata ngwa Hik-Connect site na ụlọ ahịa ngwa nke ngwaọrụ gị.
- Create a Hik-Connect account and log in.
- Add your DVR by scanning the QR code on the DVR's label or by manually entering its serial number.
- Follow the in-app instructions to complete the device addition.
- Ozugbo agbakwunyere, ị nwere ike view live feeds, play back recordings, and receive push notifications for events.

Image: Illustration of the Hik-Connect mobile application interface, demonstrating remote access to live video and recordings.
7. Nlekọta
Regular maintenance ensures optimal performance and longevity of your DVR system.
- Clean the DVR: Periodically clean the exterior of the DVR with a soft, dry cloth. Ensure ventilation openings are free from dust to prevent overheating.
- Mmelite femụwe: Lelee Hikvision gọọmentị website for firmware updates. Updating firmware can improve performance, add features, and fix bugs. Follow update instructions carefully.
- Hard Drive Health: Monitor the health of your hard drive through the DVR's system menu (Njikwa HDD). Replace the hard drive if it shows signs of failure.
- Backup Important Footage: Regularly back up critical video footage gaa na draịvụ USB mpụga ma ọ bụ ebe nchekwa netwọk.
- Nchekwa okwuntughe: Change your DVR and Hik-Connect passwords periodically to maintain security.
8. Nchọpụta nsogbu
Akụkụ a na-ekwu maka nsogbu ndị ị nwere ike izute.
8.1 No Video Output on Monitor
- Check if the monitor is powered on and correctly connected to the DVR's HDMI or VGA port.
- Gbaa mbọ hụ na ahọpụtara isi mmalite ntinye ziri ezi na nleba anya gị.
- Try connecting to a different monitor or using a different cable.
8.2 Cameras Not Displaying
- Verify that cameras are powered on and properly connected to the DVR's BNC inputs.
- Check camera power supplies.
- Ensure the camera type (TVI, AHD, CVI, CVBS) is compatible with the DVR and configured correctly in the DVR settings.
8.3 Nnweta Ime Obodo Anaghị arụ ọrụ
- Hụ na ejikọrọ DVR na ịntanetị site na ọdụ ụgbọ mmiri LAN.
- Check network settings on the DVR (Configuration > Network).
- Verify that the Hik-Connect service is enabled on the DVR.
- Jide n'aka na ekwentị gị nwere njikọ ịntanetị na-arụ ọrụ.
- Re-add the device to the Hik-Connect app if necessary.
8.4 No Recording
- Check if a hard drive is installed and properly initialized (Configuration > HDD).
- Verify recording schedules are set correctly (Configuration > Record > Schedule).
- Ensure there is sufficient free space on the hard drive.
9. Nkọwapụta
Detailed technical specifications for the Hikvision IDS-7208HQHI-M1/XT DVR:
| Njirimara | Nkọwapụta |
|---|---|
| Nọmba nlereanya | IDS-7208HQHI-M1/XT |
| Ntinye vidiyo | 8-Channel (Turbo HD/AHD/CVI/CVBS/IP) |
| Mkpakọ vidiyo | H.265+/H.265/H.264+/H.264 |
| Mkpebi ndekọ | Ihe ruru 5MP |
| Mmepụta vidiyo | HDMI, VGA, BNC |
| Ntinye/mmepụta ọdịyo | 2-Way Audio Support |
| Nweta netwok | 1 RJ45 10M/100M Ethernet Interface |
| USB Interface | 2 x USB 2.0 |
| Nkwado HDD | 1 SATA interface (ruo ikike TB 10 kwa HDD) |
| Ịnye ọkụ | 12V DC |
| Akụkụ (L x W x H) | 19.7 x 19.2 x 4.1 cm |
| Ibu | 1.5 n'arọ |
| Onye nrụpụta | HIKVISION, Prama Hikvision India Pvt. Ltd. |
10. Akwụkwọ ikike na nkwado
For warranty information and technical support, please refer to the warranty card included with your product or visit the official Hikvision websaịtị. Debe nnata nzụta gị dị ka ihe akaebe nke ịzụrụ maka nkwupụta ikike.
For further assistance, contact Hikvision customer support or your authorized dealer.