Okwu mmalite
This manual provides detailed instructions for the proper setup, operation, and maintenance of your ARAFUNA 10.5" Dual Portable DVD Player for Car. Please read this manual thoroughly before using the product to ensure optimal performance and safety. Keep this manual for future reference.
Kedu ihe gụnyere
Chọpụta na ihe niile dị na ngwugwu:
- 2 x Car DVD Player
- 2 x ekweisi
- 2 x Njikwa anya
- 2 x Ntuchi Nkwado
- 1 x Car Charger Splitter
- 1 x AC nkwụnye
- 1 x AV Ca
- 1 x RCA USB
- 1 x Akwụkwọ ntuziaka onye ọrụ
- 1 x Ntuziaka mmalite ngwa ngwa

Image: All components included in the Arafuna dual portable DVD player package.
Melite
1. Headrest Installation
- Attach the mounting bracket to the headrest posts in your vehicle.
- Secure the bracket firmly.
- Slide the DVD player onto the mounting bracket until it clicks into place.
- Adjust the screen angle for optimal viewing.

Image: Step-by-step guide showing how to install the DVD player onto a car headrest using the provided mounting bracket.
2. Njikọ ike
The DVD players can be powered using the included car charger or AC adapter.
- Eji ụgbọ ala: Connect the car charger splitter to your vehicle's 12V power outlet. Connect the DVD players to the splitter.
- Eji ụlọ: Connect the AC adapter to a standard wall outlet and then to the DVD player.

Image: Illustration showing the DVD player being powered by an AC adapter for home use and a car charger for in-vehicle use.
3. Connecting Dual Screens
To play the same movie on both screens, connect the main DVD player to the secondary monitor using the provided AV cable.

Image: Two DVD players demonstrating the ability to play the same movie (connected via AV cable) or different movies independently.
Ntuziaka ọrụ
1. Basic playback
Open the clamshell design to insert a DVD or CD. The player supports various formats including CD, DVD, CD-R/RW, DVD-R/+R, DVD+RW/-RW, VCD, and SVCD (Blu-ray discs are not supported).

Image: The clamshell design of the DVD player, illustrating how to easily insert a disc without removing the unit.
2. USB/SD Kaadị playback
Insert a USB drive or SD card (up to 128GB, FAT32 format) into the designated slot. The player supports video formats such as MPEG/MPG/TS/TRP/VOB/FLV/RMVB/MP4/AVI/MOV/MKV/ASF/WMV.
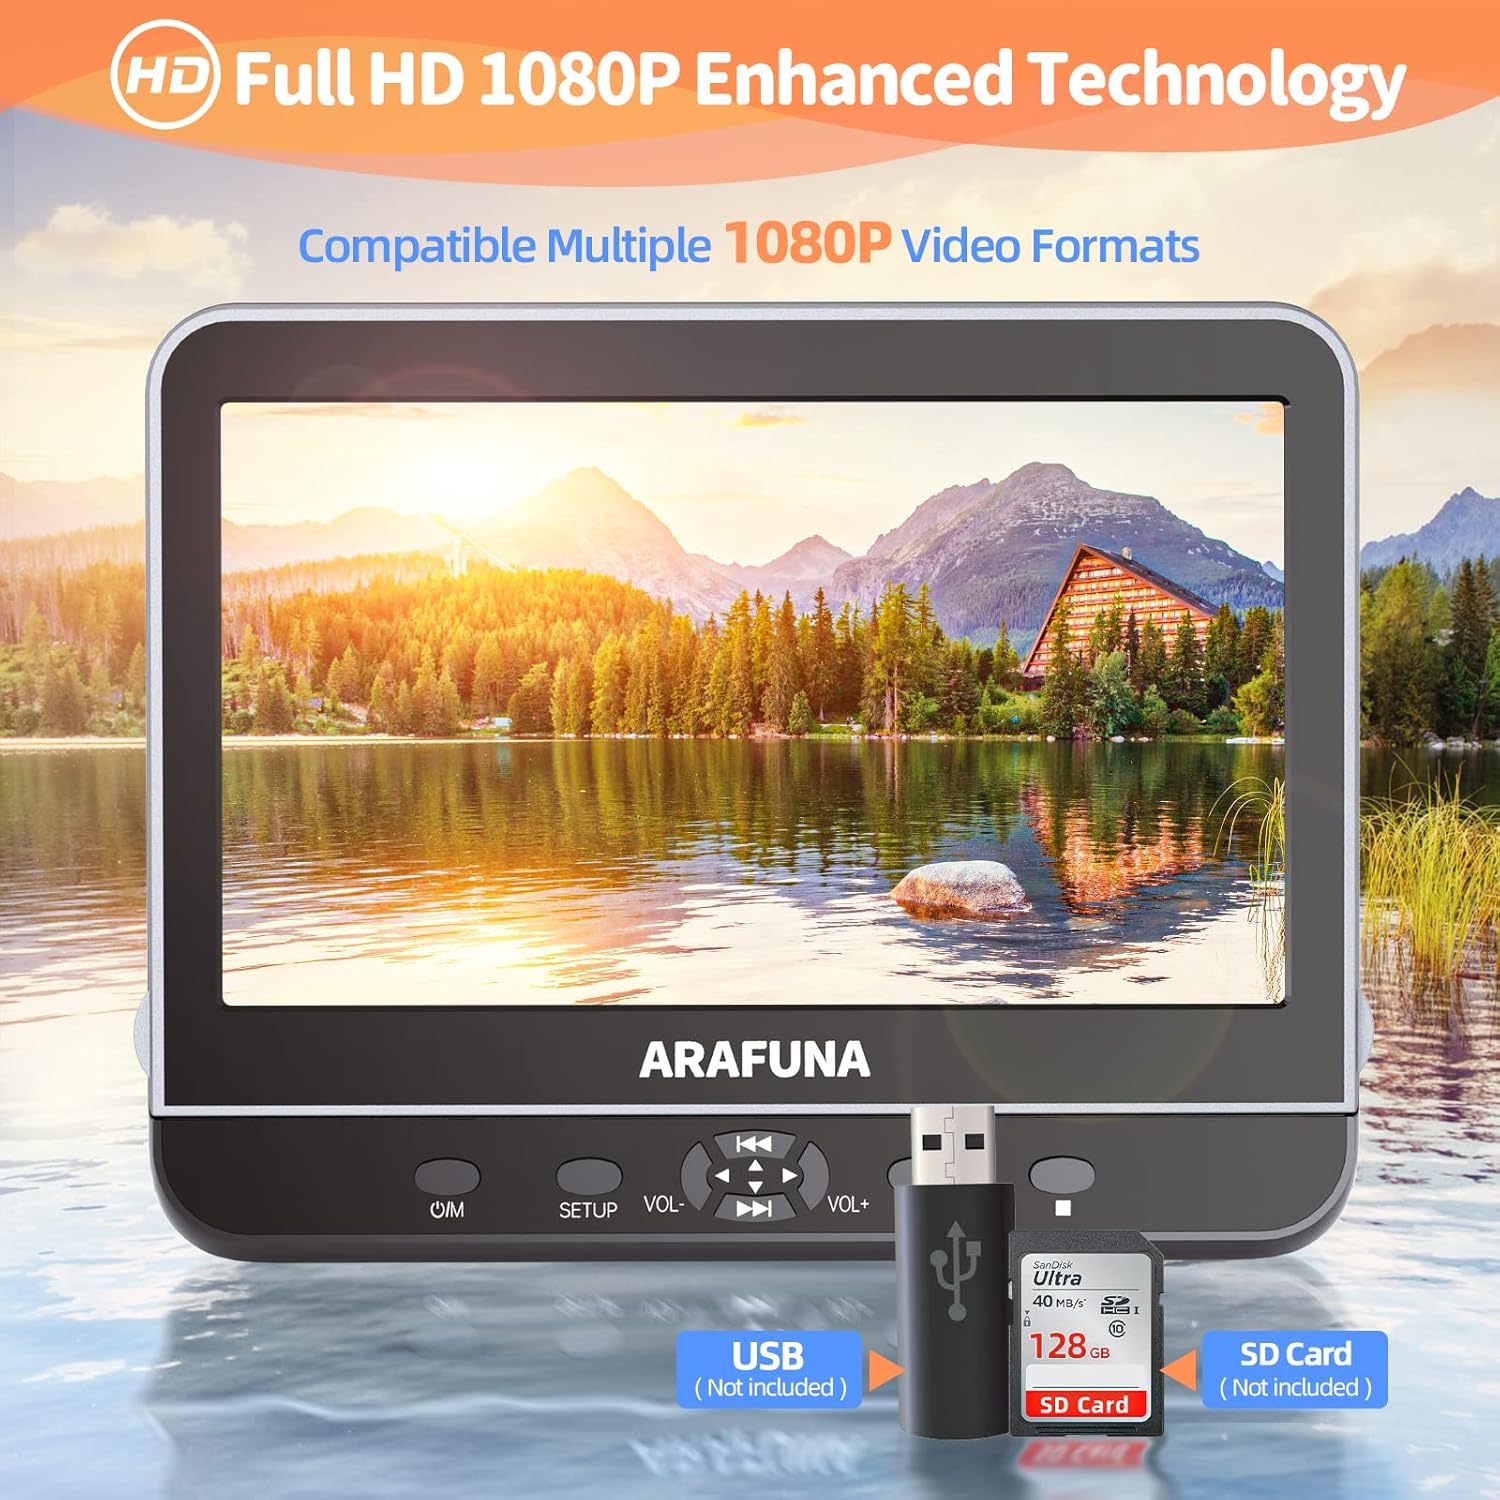
Image: Close-up of the DVD player highlighting the USB and SD card input slots for playing digital media files.
3. HDMI Input (Screen Mirroring)
Connect external devices such as mobile phones, computers, Raspberry Pi, Xbox, or Kindle Fire via an HDMI cable (not included) to mirror their screen content onto the DVD player. Ensure your device supports HDMI output.

Image: A mobile phone connected to the DVD player via an HDMI cable, demonstrating the screen mirroring capability.
4. AV In/Out Function
Use the AV Out function to connect the DVD player to a larger TV screen using the included RCA cable, allowing you to enjoy movies on a bigger display.

Image: The DVD player connected to a television, showing how to sync playback to a larger screen for family viewing.
5. Ọrụ Ebe Nchekwa Ikpeazụ
The player features a last memory function, which allows playback to resume from where it was last stopped, even after the device is powered off and on again.

Image: Visual representation of the last memory function, showing the player resuming a movie from the exact point it was paused when powered off.
6. Njikwa
The player features intuitive controls on the front panel:
- O/M: Bọtịnụ ngbanwu/ gbanyụọ.
- MELITE: Accesses the setup menu.
- VOL +/-: Adjusts volume levels.
- Gwuo/kwụsịtụ: Na-amalite ma ọ bụ kwụsịtụ ọkpụkpọ.
- Skip/Fast Forward/Rewind: Navigates through tracks or fast forwards/rewinds content.
Nlekọta
- Nhicha: Use a soft, dry cloth to clean the screen and exterior. Do not use liquid cleaners or abrasive materials.
- Ijikwa diski: Always handle discs by their edges. Store discs in their cases to prevent scratches and dust accumulation.
- Nchekwa: When not in use, store the DVD player in a cool, dry place away from direct sunlight and extreme temperatures.
Nchọpụta nsogbu
- Enweghị ike: Ensure the power adapter or car charger is securely connected and the power source is active.
- No Disc Playback: Check if the disc is inserted correctly with the label side up. Ensure the disc is clean and free from scratches. Verify the disc format is supported.
- Enweghị ụda: Check volume levels on the player and connected headphones. Ensure AV cables are properly connected if using external speakers.
- Nsogbu Nyocha Ihuenyo: Confirm your external device supports HDMI output and the HDMI cable is connected securely.
- Njikwa anya anaghị arụ ọrụ: Check battery orientation and replace batteries if necessary. Ensure there are no obstructions between the remote and the player's IR sensor.
Nkọwapụta
| Ụdị | Arafuna |
| Nọmba nlereanya | 1002 |
| Nha ihuenyo | 10.5 sentimita asatọ |
| Mkpebi obodo | 1920x1080 (1080P Full HD) |
| Ụdị mgbasa ozi kwadoro | CD-RW, DVD+R, DVD-R, DVD-RW, VCD, CD, DVD, CD-R/RW, DVD-R/+R, DVD+RW/-RW, SVCD |
| Teknụzụ Njikọta | HDMI, USB |
| Ngwa dakọtara | Headphone, Mobile Phone, Projector, Speaker |
| Nkwado Kaadị USB/SD | Max 128GB (FAT32), 1920*1080 pixels |
| Ụdị vidiyo akwadoro | MPEG/MPG/TS/TRP/VOB/FLV/RMVB/MP4/AVI/MOV/MKV/ASF/WMV |
Vidiyo ngwaahịa ngwaahịa
Video: An official product video from Arafuna demonstrating the features of the DVD player, including dual screens and headphone compatibility.
Akwụkwọ ikike na nkwado
Your Arafuna DVD player comes with a 1-year warranty. For technical support, warranty claims, or any questions regarding your product, please refer to the contact information provided in your Quick Start Guide or visit the official Arafuna websaịtị.