
1. Okwu mmalite
This manual provides detailed instructions for the installation, operation, and maintenance of your Fdit Programmable Thermostatic Heating Valve, Model Fditfkbedxoh3r. This device is designed to enhance comfort and energy efficiency in your home or hotel by intelligently controlling heating temperatures. Please read this manual thoroughly before use to ensure proper function and safety.
2. Ozi nchekwa
- Gbaa mbọ hụ na agbapụrụ ọkụ ọkụ tupu echichi ma ọ bụ mmezi.
- Anwala ịkwasa ma ọ bụ rụkwaa ngwaọrụ n'onwe gị. Kpọtụrụ ndị ọrụ tozuru oke maka ọrụ.
- Debe ngwaọrụ ahụ ka ọ ghara iru mmiri na oke iru mmiri.
- Tụfuo batrị dịka iwu mpaghara siri dị.
- This device includes a child lock feature for safety.
3. Ihe ngwugwu
Chọpụta na ihe niile dị na ngwugwu:
- 1 x Thermostatic Valve
- 9 x Installation Accessories (various adapters and rings)
- 1 x kpochapu
- 1 x Eme
- Akwụkwọ ntuziaka onye ọrụ 1 x (akwụkwọ a)
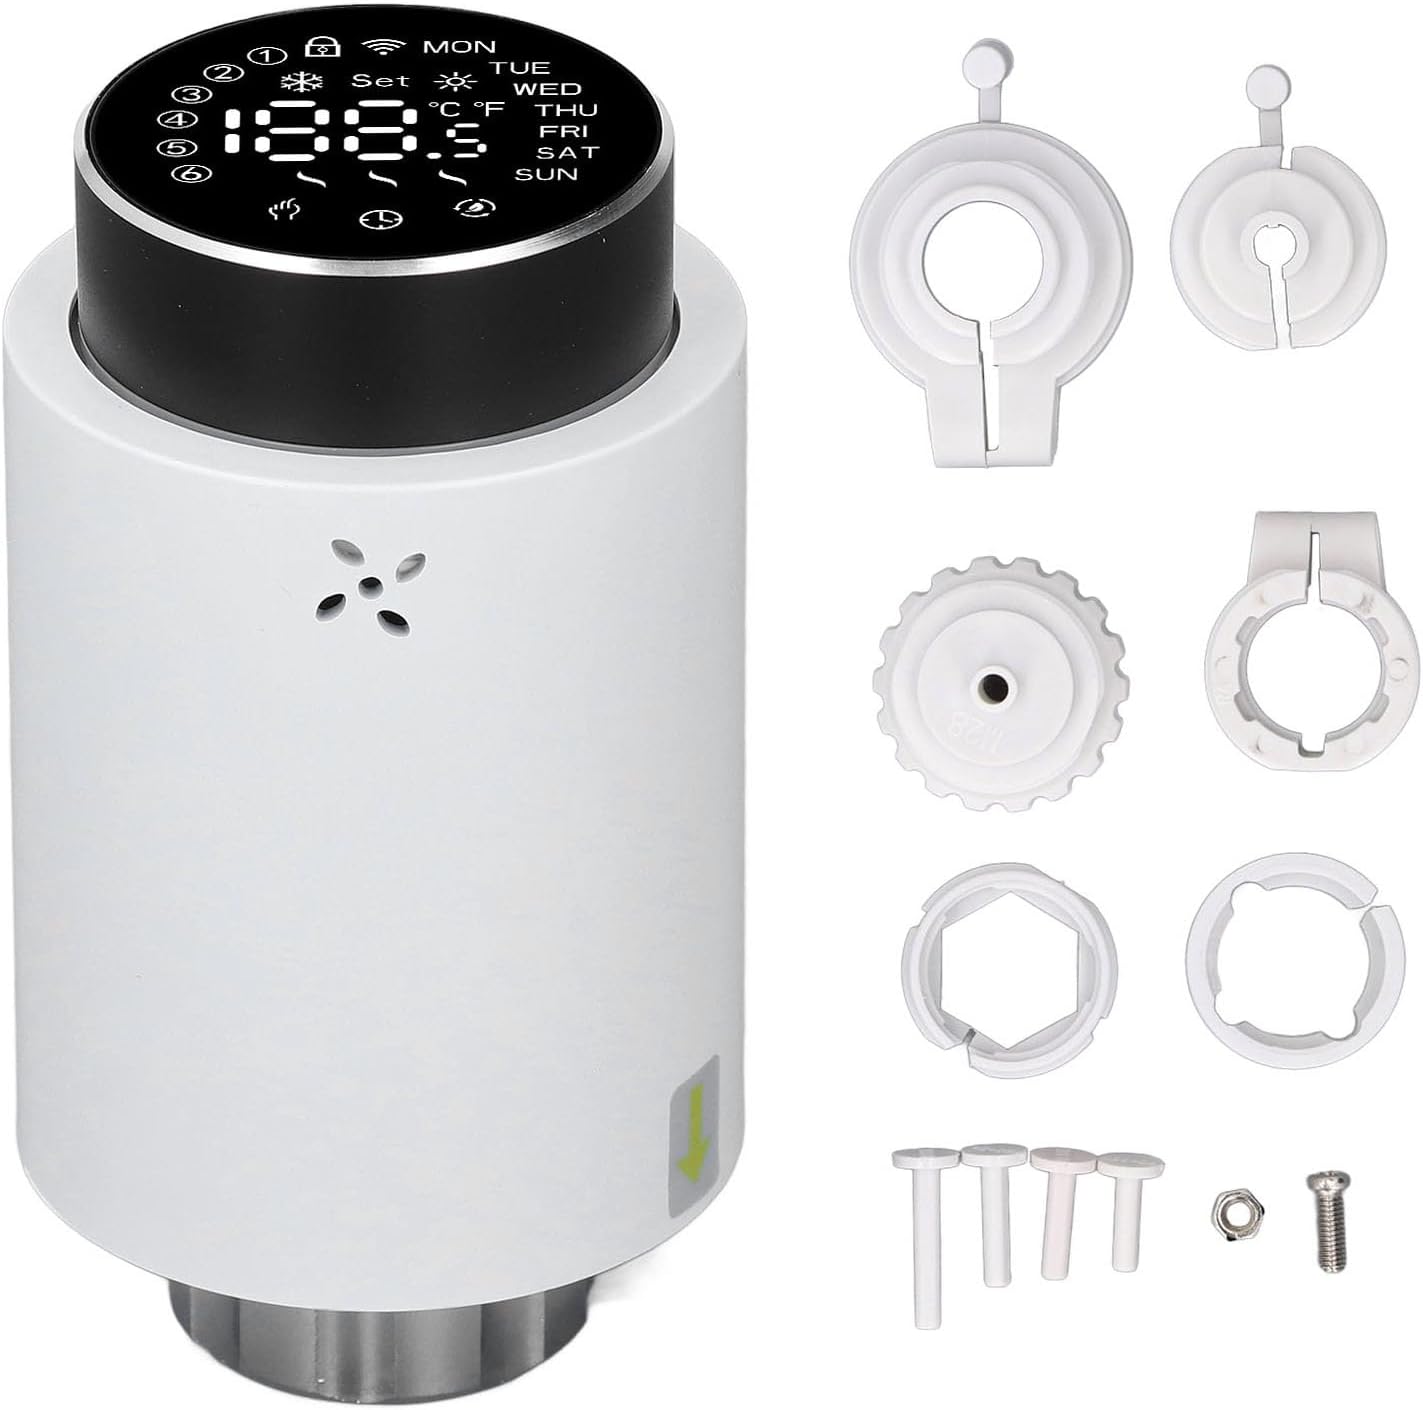
Image 3.1: The Fdit Thermostatic Valve shown with its complete set of installation accessories, including various adapters, rings, a screw, and a nut.
4. Ngwaahịa gafereview
The Fdit Programmable Thermostatic Heating Valve features a clear LED display and a rotary knob for easy temperature adjustment and mode selection. It is designed for seamless integration with existing heating systems.

Foto 4.1: N'ihu view of the thermostatic valve, highlighting the LED display which shows current temperature, day of the week, and various status icons.

Image 4.2: A detailed close-up of the valve's LED display, clearly showing temperature readings in both Celsius and Fahrenheit, along with day indicators (MON, TUE, WED, THU, FRI, SAT, SUN) and various operational icons.
5. Nwụnye
The Fdit Thermostatic Valve is designed for easy installation and is compatible with all common valves. No drainage or intervention in your heating system is required.
- Kwadebe valvụ ahụ: Ensure your existing radiator valve is in the fully open position.
- Wepụ Isi Ochie (ọ bụrụ na ọdabara): If replacing an existing thermostatic head, carefully unscrew and remove it.
- Select Adapter: Choose the appropriate installation accessory (adapter) from the included set that matches your existing valve body.
- Tinye nkwụnye: Securely attach the selected adapter to the valve body.
- Mount Thermostatic Valve: Align the Fdit Thermostatic Valve with the adapter and screw it on until it is firmly in place. Ensure a snug fit without overtightening.
- Fanye batrị: Open the battery compartment and insert 2 x AA batteries (not included), observing polarity.

Foto 5.1: N'okpuru view of the thermostatic valve, illustrating the threaded connection mechanism used for attachment to the radiator valve body.
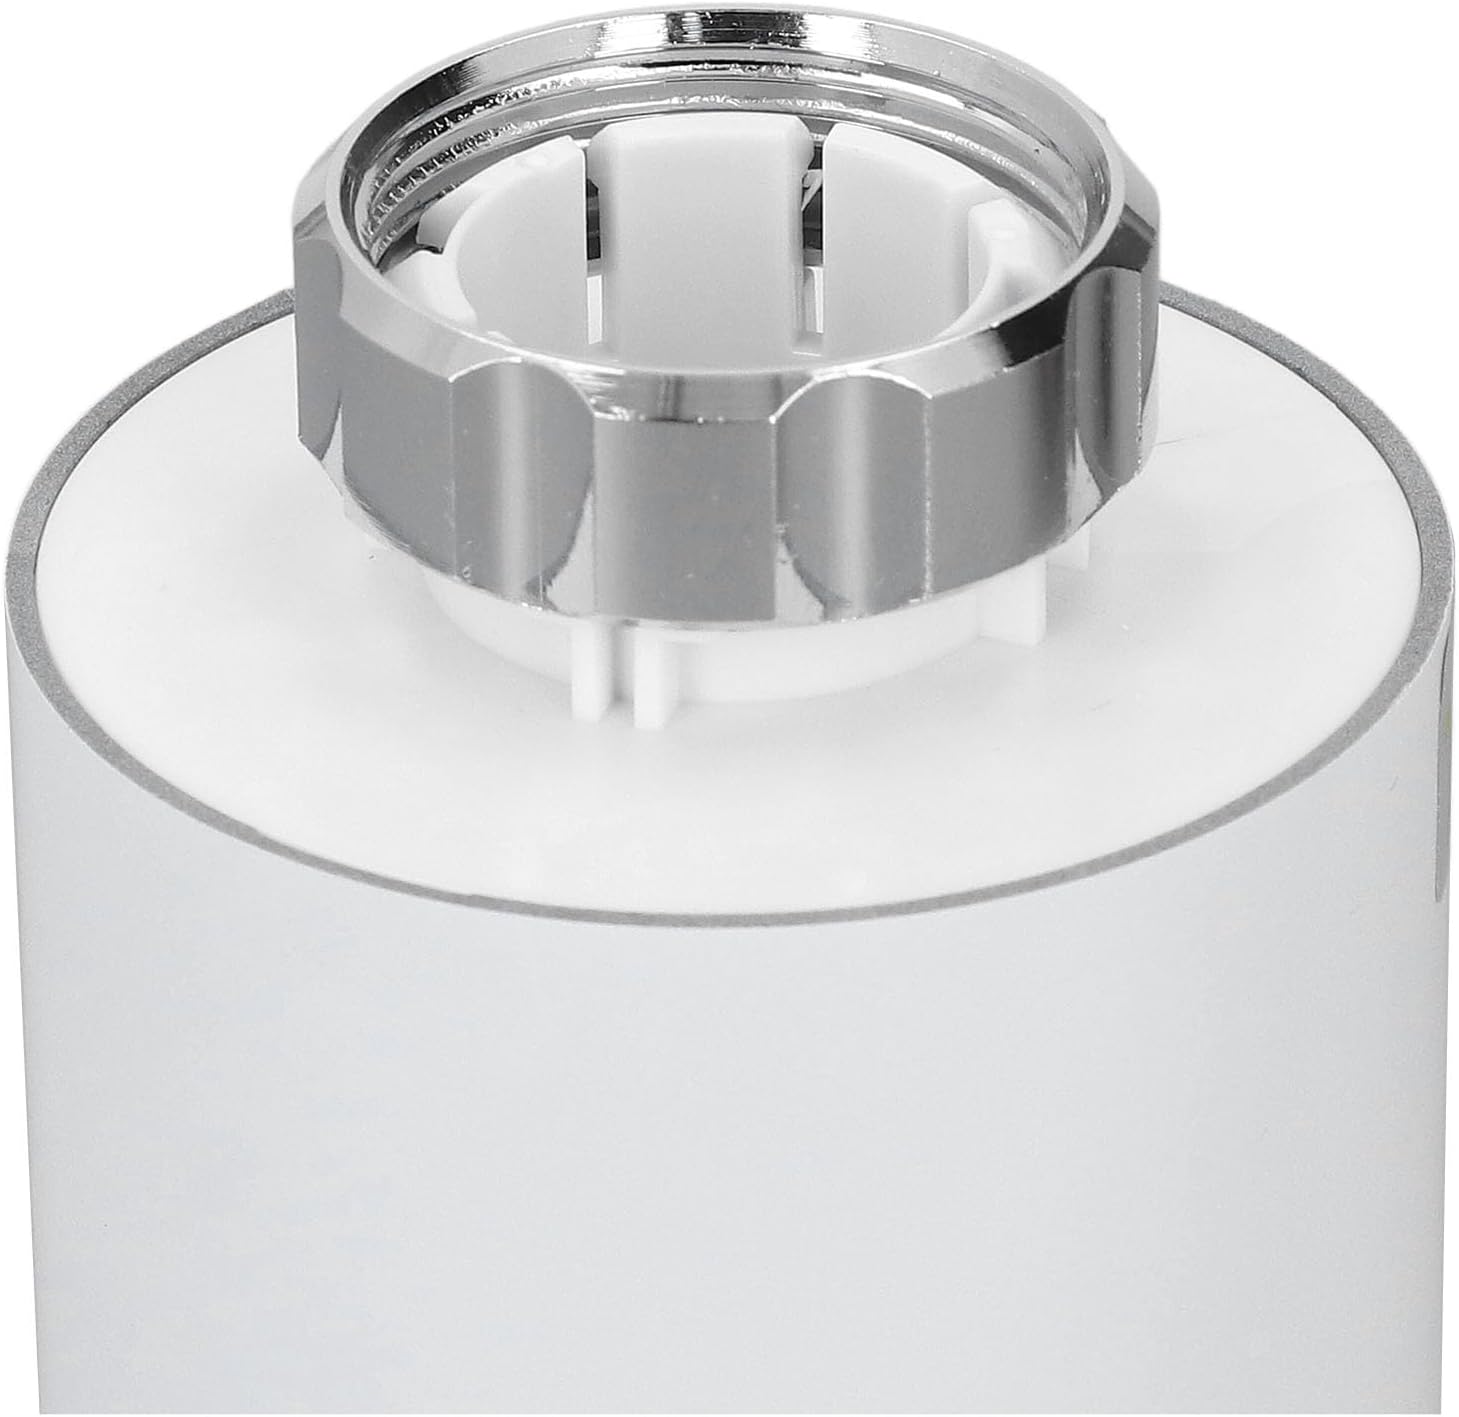
Foto 5.2: nso nso view of the valve's connection point, showing the internal structure and the metal ring for securing it to the radiator valve.
6. Ntuziaka ọrụ
The Fdit Thermostatic Valve offers both manual and smart control options for optimal temperature management.
6.1. Njikwa akwụkwọ ntuziaka
Rotate the knob button on the top of the valve to manually adjust the desired temperature. The LED screen will display the set temperature.

Image 6.1: Close-up of the top rotary knob, used for manual temperature adjustments and menu navigation.
6.2. Njikwa Amamihe (Ngwa na Olu)
Control the valve remotely using the application for Tuya and for Smart Life. The device also supports voice control for hands-free operation. Refer to the respective app's instructions for pairing and advanced settings.
6.3. Temperature Range & Quick Heating
The valve can adjust environmental temperatures between 5℃ and 45℃. Utilize the additional heating function for quick warmth, achieving desired temperatures within five minutes. The specially designed engine operates below 25 decibels for a quiet environment.
7. Nlekọta
7.1. Ngbanwe batrị
The device is powered by 2 x AA batteries. When the battery indicator appears on the display, replace the batteries promptly to ensure continuous operation. Open the battery compartment, remove old batteries, and insert new ones, ensuring correct polarity.
7.2. Nhicha
Wipe the exterior of the valve with a soft, dry cloth. Do not use abrasive cleaners or solvents, as these may damage the surface or internal components.
8. Nchọpụta nsogbu
- Ngwaọrụ anaghị aza: Check battery levels and replace if necessary. Ensure the valve is securely attached to the radiator.
- Incorrect temperature reading: Verify the sensor is not obstructed. Allow some time for the device to stabilize after initial setup.
- Nsogbu njikọ ngwa: Ensure your smartphone is connected to the internet and the valve is within range of your Wi-Fi network (if applicable, for 3.0 hub). Restart the app and the valve if problems persist.
- Heating not activating: Confirm the set temperature is higher than the current room temperature. Check if the valve is in manual or automatic mode and adjust as needed.
9. Nkọwapụta
| Ụdị | Thermostatic valvụ |
| Ihe onwunwe | ABS, PC |
| Ịnye ọkụ | 3V, 2 x AA batteries (not included) |
| Kachasị mbanye | Approx. 5.5 mm / 0.22 in |
| Izi ezi | ± 0.5 ℃ |
| Established Temperature Range | 5-45 ℃ / 41-113 ℉ |
| Visualization Temperature Range | 0-70 ℃ / 32-158 ℉ |
| Okpomọkụ na-arụ ọrụ | 0-45 ℃ / 32-113 ℉ |
| Iru mmiri na-arụ ọrụ | 5-95% RH (enweghị condensation) |
| Okpomọkụ nchekwa | -10-85 ℃ / 14-185 ℉ |
| Oge mperi | <1% |
| Ọkwa nchekwa | IP20 |
| Bọtịnụ | Pịa bọtịnụ |
| Ngwa | For Tuya and for Smart Life application |
| Njikọta | For Zigbee 3.0, requires Hub (hub not included) |
10. Akwụkwọ ikike na nkwado
For warranty information, technical support, or service inquiries, please contact the seller or manufacturer directly. Retain your proof of purchase for warranty claims. You can visit the Fdit Store for more information: Fdit Store.