
Ngwaahịa gafereview
The ACMER Honeycomb Laser Bed is designed to enhance the performance and safety of your laser engraving and cutting machine. Constructed from durable iron and aluminum, it provides a stable, rust-resistant working surface. Its uniform honeycomb hole design facilitates smoke evacuation, preventing material blackening and improving carving effects. The included aluminum panel offers additional desktop protection from laser damage.
- Ikuku ikuku emelitere: The honeycomb structure promotes efficient smoke dissipation, leading to cleaner cuts and reduced material burning or warping.
- Desktop Protection: An aluminum panel safeguards your work surface from laser damage.
- Ntụnye ziri ezi: Integrated X-axis and Y-axis scale lines allow for quick and accurate material placement.
- Nkwụsi ike: Provides a flat and stable surface for various materials including wood, acrylic, and paper.
- ndakọrịta: Suitable for a wide range of laser engraving machines, including CO2, diode, and fiber laser types.
Ihe ngwugwu
Chọpụta na ihe niile dị na ngwugwu:
- 1 x Honeycomb Laser Bed (400x400mm)
- 1 x Aluminum Panel
- Ihe Nchedo Nkuku 4 x
- 8 x Locking Pins
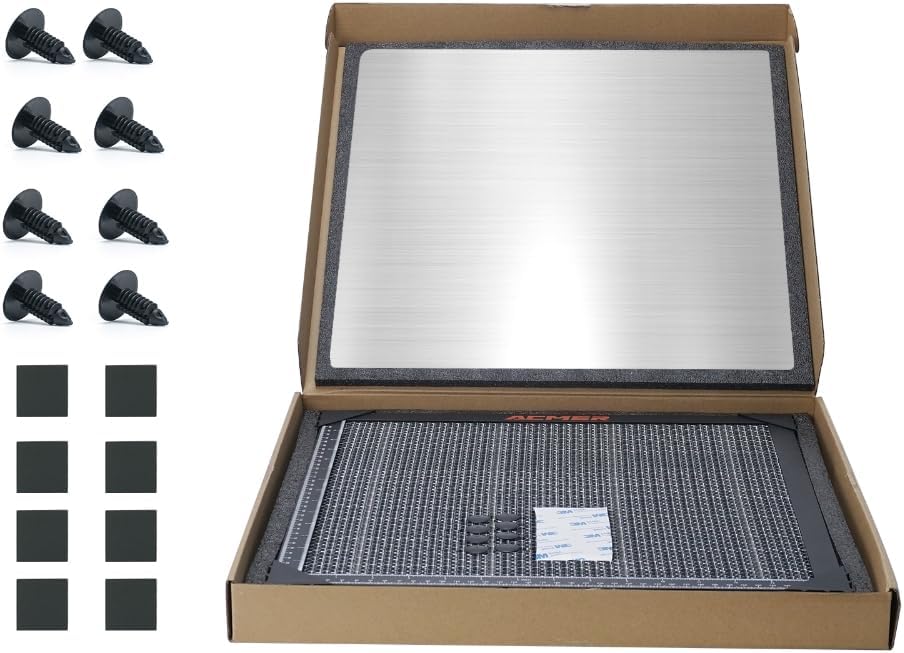
Image: Package contents including honeycomb bed, aluminum panel, pins, and corner protectors.
Ntuziaka nhazi
- Kwadebe oghere ọrụ gị: Ensure your laser engraver is powered off and disconnected from its power source. Clear the area where the honeycomb bed will be placed.
- Position the Aluminum Panel: Place the aluminum panel on your workbench or the base of your laser engraver. This panel acts as a protective barrier for your desktop.
- Place the Honeycomb Bed: Carefully place the honeycomb laser bed on top of the aluminum panel. Ensure it is centered and stable.
- Secure Materials with Pins: For optimal stability during engraving or cutting, use the provided locking pins to secure your material to the honeycomb grid. This prevents movement and ensures consistent results.
- Utilize Corner Protectors: If desired, attach the four corner protectors to the edges of the honeycomb bed to prevent accidental contact with sharp corners.
- Verify Measurements: Use the integrated X-axis and Y-axis scale lines on the honeycomb bed to accurately measure and position your materials.

Image: Proper placement of the aluminum desktop protection board.
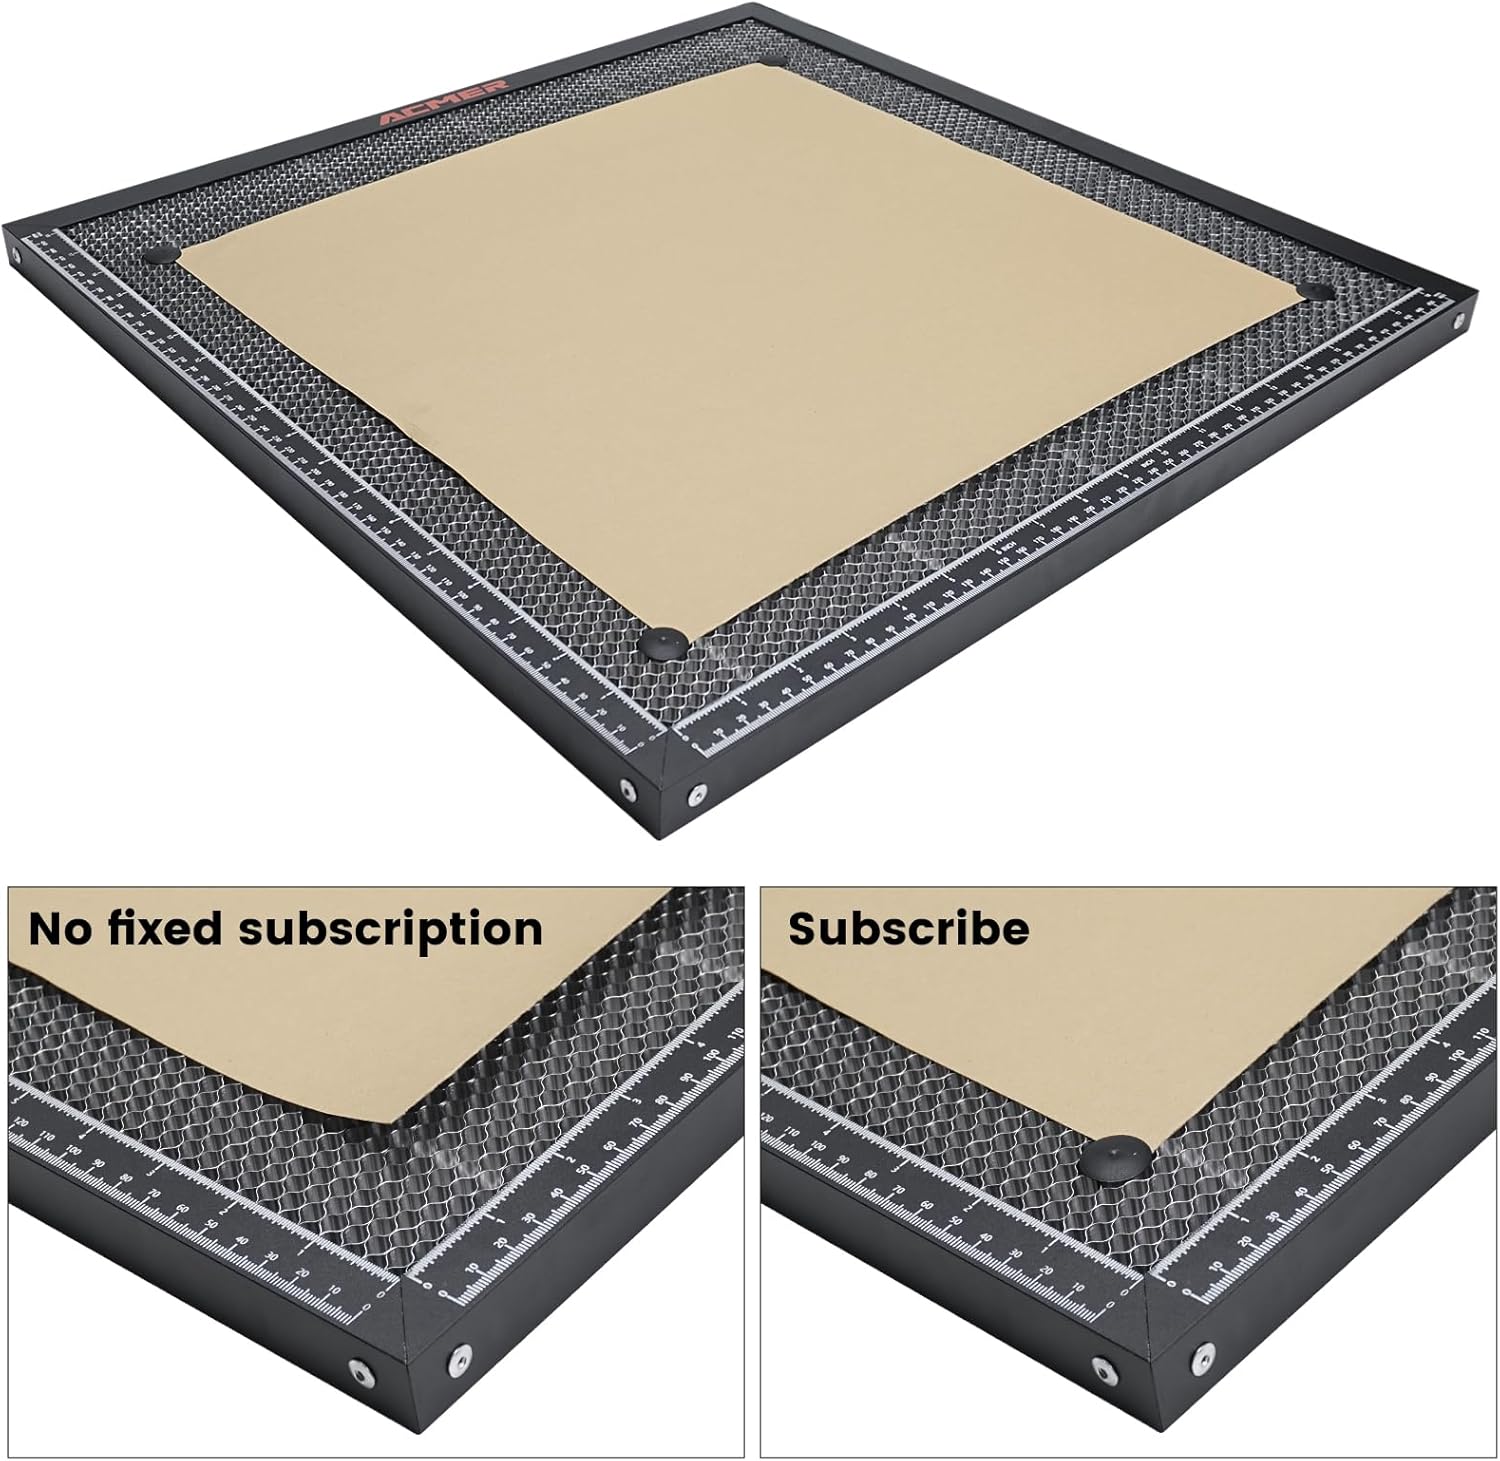
Image: Securing material with locking pins on the honeycomb bed.

Image: Dual-scale rulers for precise measurements.
Ntuziaka ọrụ
The honeycomb laser bed significantly improves the laser engraving and cutting process:
- Improved Cutting Quality: The open honeycomb design allows smoke and debris to pass through, reducing charring and blackening on the underside of your material. This results in cleaner, sharper cuts.
- Mgbasa ọkụ emelitere: The metal construction and open design aid in dissipating heat away from the material, minimizing warping and heat-related damage.
- Visible Cutting Process: The open grid allows for better visibility of the laser's path and the cutting process, enabling easier monitoring and adjustments.
- Ndakọrịta ihe: The bed is suitable for various materials, including wood, acrylic, leather, paper, and more.

Image: Airflow through the honeycomb bed for cleaner cuts.

Image: Comparison of cutting results with and without the honeycomb bed.
Nlekọta
Regular maintenance ensures the longevity and optimal performance of your honeycomb laser bed:
- Nhicha: After each use, inspect the honeycomb grid for debris and residue. Use a soft brush or compressed air to remove small particles. For stubborn residue, a damp cloth with a mild cleaning solution can be used, ensuring the bed is completely dry before next use.
- Nyocha: Periodically check the honeycomb cells for any signs of damage or deformation. A damaged cell can affect airflow and cutting quality.
- Nchekwa: Store the honeycomb bed and aluminum panel in a clean, dry place when not in use to prevent dust accumulation and corrosion.
Nchọpụta nsogbu
| Nsogbu | Ihe nwere ike ime | Ngwọta |
|---|---|---|
| Material burning/scorching on underside | Insufficient airflow or smoke buildup. | Ensure the honeycomb cells are clear of debris. Verify your laser engraver's exhaust system is functioning correctly. Adjust laser power/speed settings. |
| Material warping during cutting | Excessive heat buildup or material not properly secured. | Use locking pins to firmly secure the material. Ensure good airflow. Reduce laser power or increase passes if necessary. |
| Inaccurate cuts/engravings | Material movement or incorrect measurement. | Double-check material placement using the scale lines. Ensure material is securely pinned. Verify laser focus. |
Nkọwapụta
| Njirimara | Nkọwa |
|---|---|
| Akụkụ ngwaahịa | 15.74 x 15.74 x 0.87 sentimita (400 x 400 x 22 mm) |
| Nọmba Nlereanya ihe | ACMER-E10-400x400 |
| Ibu Ibu | 4.13 pound |
| Ihe onwunwe | Iron and Aluminum |
| Ngwa gụnyere | Aluminum Panel, Corner Protectors, Locking Pins |
Nkwado
For technical assistance, product inquiries, or any other support needs, please contact ACMER customer service. We offer 24/7 online support to ensure you get the help you need.
- Nkwado n'ịntanetị: Visit the official ACMER websaịtị maka FAQ, ntuziaka nchọpụta nsogbu, na ozi kọntaktị.
- Nkwado email: Refer to your product packaging or the ACMER websaịtị maka adreesị ozi-e nkwado raara onwe ya nye.