
1. Okwu mmalite
This manual provides essential information for the safe and efficient operation of your Itari A886 Bluetooth Tattoo Stencil Printer. Please read it thoroughly before using the device.
Ihe ngwugwu 1.1
- Itari A886 Tattoo Stencil Printer (1)
- eriri USB-C (1)
- USB-C ka USB-A nkwụnye (1)
- Ntuziaka onye ọrụ (1)
- Tattoo Transfer Paper (10 sheets)
- Soft Carrying Pouch (1)
1.2 Akụkụ ngwaahịa
Familiarize yourself with the components of your printer:

Nkọwa onyonyo: A diagram illustrating the various parts of the Itari A886 printer, including the power button, indicator light, top cover, paper output slot, print head, paper entry slot, and transducers.
2. Nhazi
2.1 Ịchaji ngwaọrụ
Before initial use, fully charge the printer. Use a 5V-2A USB-A charger and the original data cable for optimal battery protection. The indicator light will show solid green when fully charged.
2.2 nbudata ngwa
The Itari A886 printer operates via a mobile application. Chọọ maka 'Phomemo' on the App Store (iOS) or Google Play Store (Android), or scan the QR code provided in the Quick Start Guide to download the app.

Nkọwa onyonyo: A smartphone screen displaying options to download the 'Phomemo' app from the App Store or Google Play, along with a QR code for quick access.
2.3 Ijikọ ngwa nbipute
2.3.1 Bluetooth Wireless Connection (Phone/Tablet)
- Pịa bọtịnụ ike ahụ ruo sekọnd abụọ iji gbanye igwe nbipute ahụ. Ọkụ ihe ngosi ahụ ga-enwu.
- Gbaa mbọ hụ na agbanyere Bluetooth na ngwaọrụ mkpanaka gị.
- Open the 'Phomemo' app and select 'Auto Connect' or search for the A886 printer.
- Confirm the pairing request on your device. The printer will beep once connected.
Nkọwa vidiyo: A demonstration showing how to connect the Itari A886 printer to a Windows laptop, including driver installation and printing a stencil.
Nkọwa vidiyo: A demonstration showing how to connect the Itari A886 printer to a MacOS laptop, including driver installation and printing a stencil.
2.3.2 USB Connection (PC/Mac)
- Download the appropriate printer driver from the official website (a886.labelife.cc).
- Connect the printer to your computer using the provided USB-C cable and adapter.
- Gbaa mbọ hụ na agbanyere ngwa nbipute.
- Follow the on-screen instructions to install the driver and print.

Nkọwa onyonyo: A visual guide demonstrating the steps to connect the Itari A886 printer to a computer via USB for printing.
2.4 Loading Tattoo Transfer Paper
- Prepare the tattoo transfer paper by tearing off the yellow backing paper and removing the protective layer, leaving the white tracing sheet and blue carbon sheet.
- Open the top cover of the printer by pressing the two side buttons.
- Center the prepared tattoo transfer paper into the paper entry slot, ensuring the white tracing paper faces up.
- Close the top cover until you hear a click, indicating it is securely closed.

Nkọwa onyonyo: A six-step visual guide demonstrating how to prepare and load tattoo transfer paper into the Itari A886 printer for printing.
3. Ọrụ
3.1 Basic Printing Process
- Select your desired tattoo design from the app or upload your own.
- Adjust the size and orientation of the design as needed within the app.
- Press the 'Print' button in the app. The printer will automatically feed the paper and print the stencil.
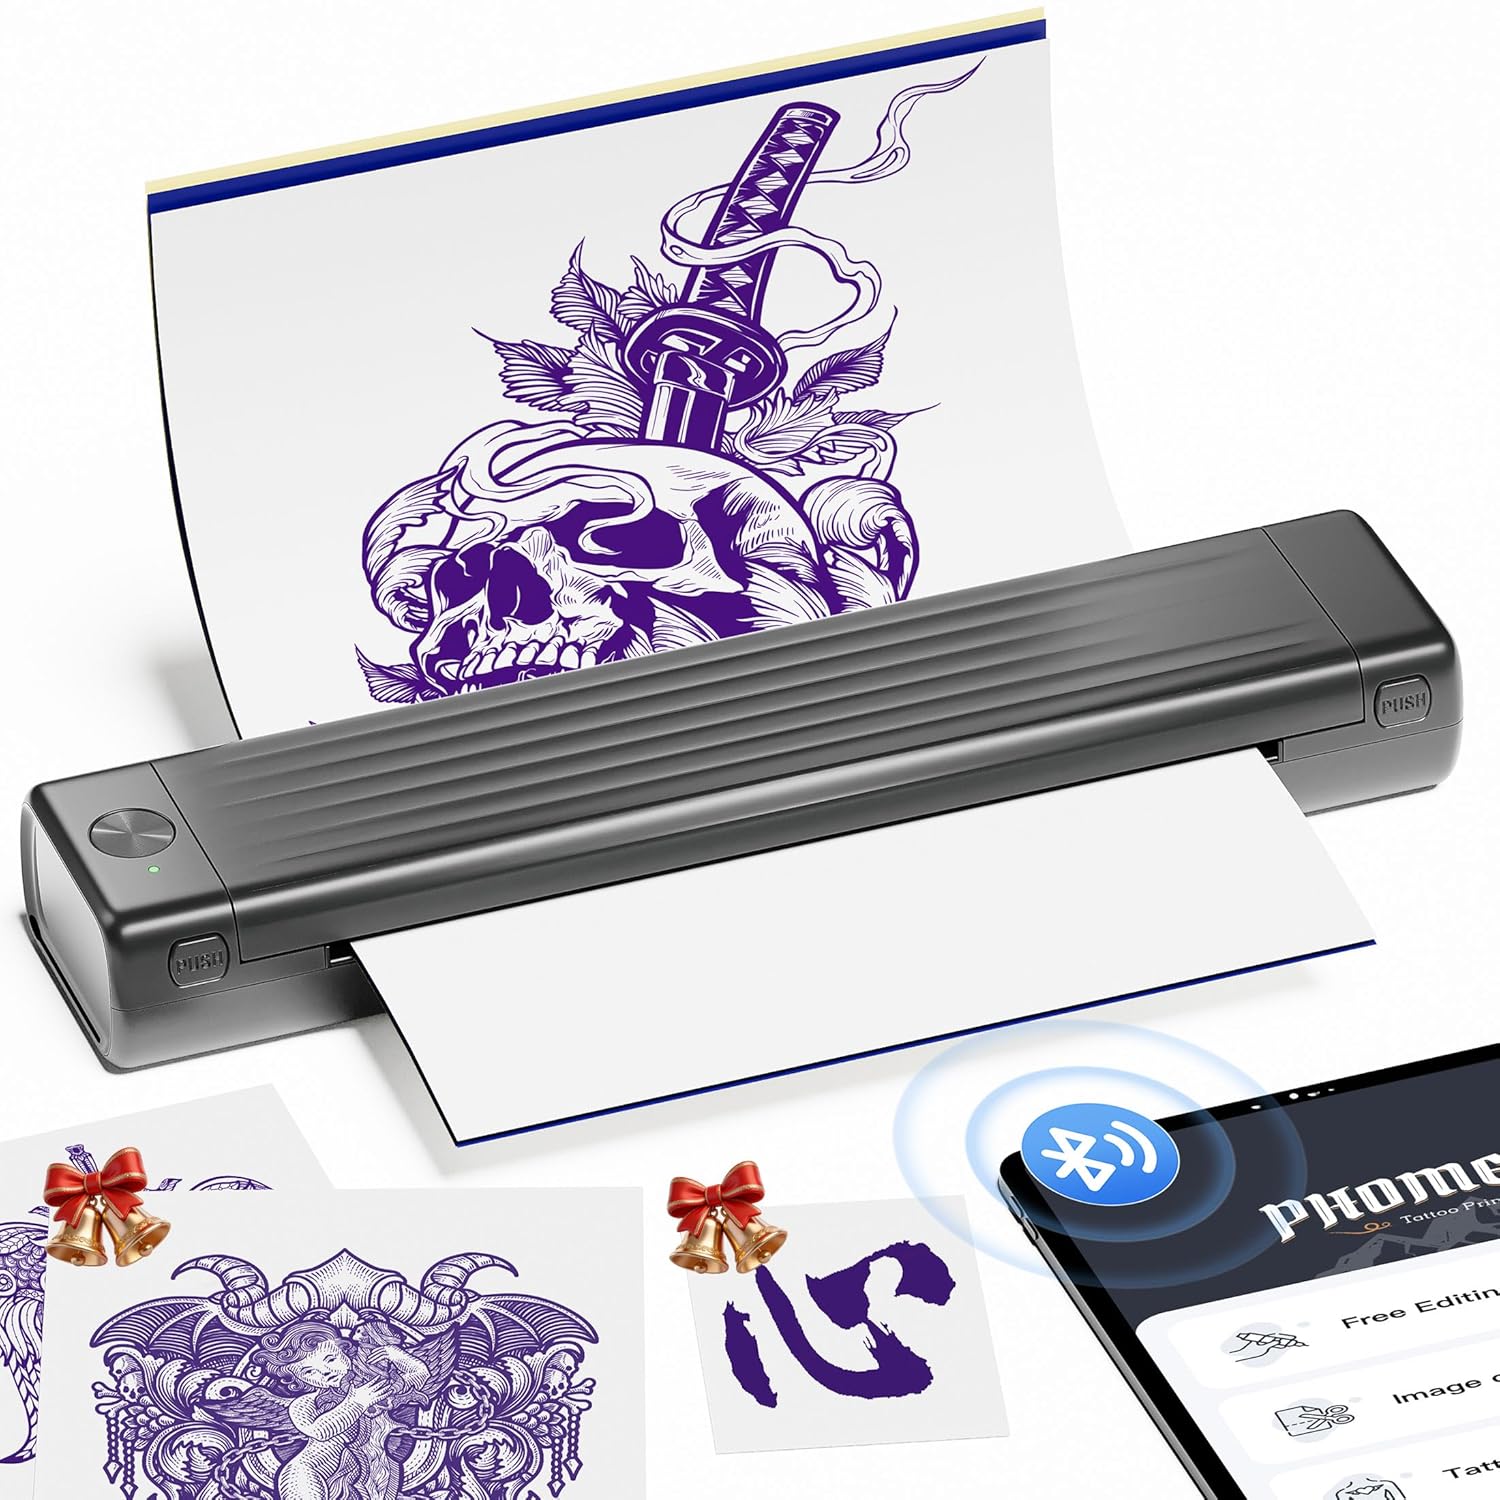
Nkọwa onyonyo: The Itari A886 printer actively printing a tattoo stencil, with a smartphone displaying the design and Bluetooth connectivity icon.
3.2 Anti-Wrinkle Mode
The A886 features a patented wrinkle-resistant technology. When activated in the app, this mode ensures the tattoo paper remains flat during printing, resulting in clearer prints. Note that this mode may leave anti-wrinkle lines on the sides of the transfer paper.
Nkọwa vidiyo: A user demonstrates how to use the anti-wrinkle mode on the Itari A886 printer, showing the paper feeding smoothly and the resulting print quality.

Nkọwa onyonyo: The Itari A886 printer with a tattoo stencil being printed, highlighting the 'Anti-Wrinkle Mode' feature that keeps the paper flat for clear results.
3.3 Ngwa atụmatụ
The 'Phomemo' app offers various functionalities to enhance your tattoo stencil creation:
- Tattoo Editing: Adjust designs, add text, and customize.
- AI-Generated Tattoo Designs: Input requirements to generate custom tattoo designs. (Note: Some AI features may require a subscription after a free trial).
- Tattoo Preview: Visualize how the tattoo will look on the skin.
- Image Cutting & Stitching: For larger designs, the app can cut and stitch images across multiple sheets.
- Tattoo Design Library: Access a wide variety of pre-loaded designs.

Nkọwa onyonyo: Four smartphone screens showcasing the 'Phomemo' app's features: Image Cutting, Tattoo Preview, Tattoo Editing, and AI Generate Tattoo, illustrating the creative possibilities.
Nkọwa vidiyo: A short video demonstrating the ease of use and quick printing capabilities of the A886 Tattoo Stencil Printer for beginners.
Nkọwa vidiyo: A promotional video highlighting the new features and improved design of the Itari 2025 Tattoo Stencil Printer.
Nkọwa vidiyo: Ihe ngosi vidiyoasing the A886 Temporary Tattoo Stencil Printer in action, demonstrating its ability to print various designs for temporary tattoos.
4. Nlekọta
4.1 Nlekọta n'ozuzu
- Debe ngwa nbipute ahụ ka ọ dị ọcha na enweghị uzuzu na irighiri ihe.
- Store the printer in the provided soft carrying pouch when not in use.
- Avoid exposing the printer to extreme temperatures or direct sunlight.
4.2 Paper Handling Tips
- Only use tattoo transfer paper with the A886 printer. Thermal paper is not supported.
- For best results, use Itari brand tattoo paper and print simple line art designs.
- Ensure the paper is centered correctly in the entry slot to prevent jams and skewed prints.
- If the print head overheats, the app will prompt you to pause printing. Allow 5 minutes for the print head to cool before resuming.

Nkọwa onyonyo: A visual comparison showing optimal tattoo stencil prints from the Itari A886 for simple line patterns versus less effective results for complex color block patterns, and correct paper handling.
5. Nchọpụta nsogbu
Refer to the indicator light status for common issues:
| Ọnọdụ | Pụtara | Omume Ndụmọdụ |
|---|---|---|
| Ike Green siri ike | Functioning/Fully charged | Ọ dịghị |
| Ọkụ ndụ ndụ na-egbuke egbuke | Charging/While printer is on | Ọ dịghị |
| Ìhè uhie siri ike | Printer overheated / Top cover open | Close top cover or pause for 5-10 minutes |
| Ìhè uhie na-egbuke egbuke | Batrị dị ala | Na-akwụ ụgwọ maka 4h |
| Enweghị ọkụ mgbe ogologo oge ịpị bọtịnụ Ike maka 3s | Batrị agwụla | Na-akwụ ụgwọ maka 4h |
| Alternately Flashing Red and Green Light | Charging while printer is off | Ọ dịghị |
6. Nkọwapụta
- Akụkụ ngwaahịa: 2.64"D x 12.2"W x 1.57"H
- Ibu ihe: 715 Grams (1.58 pound)
- Aha nlereanya: A886
- Akara: Itari
- Teknụzụ Njikọta: Bluetooth
- Teknụzụ mbipụta: Thermal
- Atụmatụ pụrụ iche: AI Creation, Anti-Wrinkle Mode, Portable, Temporary Tattoo, Wireless
- Agba: Agba ntụ
- Mbupute ngwa nbipute: Monochrome
- Monochrome Ọsọ Mbipụta kachasị: 3 ppm
- Batrị: 1 batrị lithium polymer chọrọ (gụnyere)
- Onye nrụpụta: Itari
7. Akwụkwọ ikike na nkwado
7.1 Ozi akwụkwọ ikike
The company assumes full responsibility for the revision and explanation of this manual, exercising utmost diligence to guarantee its accuracy. Nevertheless, please note that technical improvements to the product may not be incorporated immediately. Due to continuous product updates and upgrades, the actual product may vary slightly from the images. Please refer to the physical product for accurate representations.
7.2 Nkwado n'ịntanetị
For more information about your device, video tutorials, and answers to frequently asked questions, please visit: a886.labelife.cc