
1. Okwu mmalite
This manual provides comprehensive instructions for the Zenwire W2503 Wireless 1D/2D/QR Barcode Scanner. Please read this manual carefully before using the device to ensure proper operation and to maximize its lifespan.
2. Ihe ngwugwu
Verify that all items are present in the package. If any items are missing or damaged, contact customer support.
- Zenwire W2503 Wireless Barcode Scanner
- Nchaji Dock
- eriri USB
- Akwụkwọ ntuziaka (akwụkwọ a)
3. Ngwaahịa gafereview
The Zenwire W2503 barcode scanner system consists of the scanner unit and a charging dock.
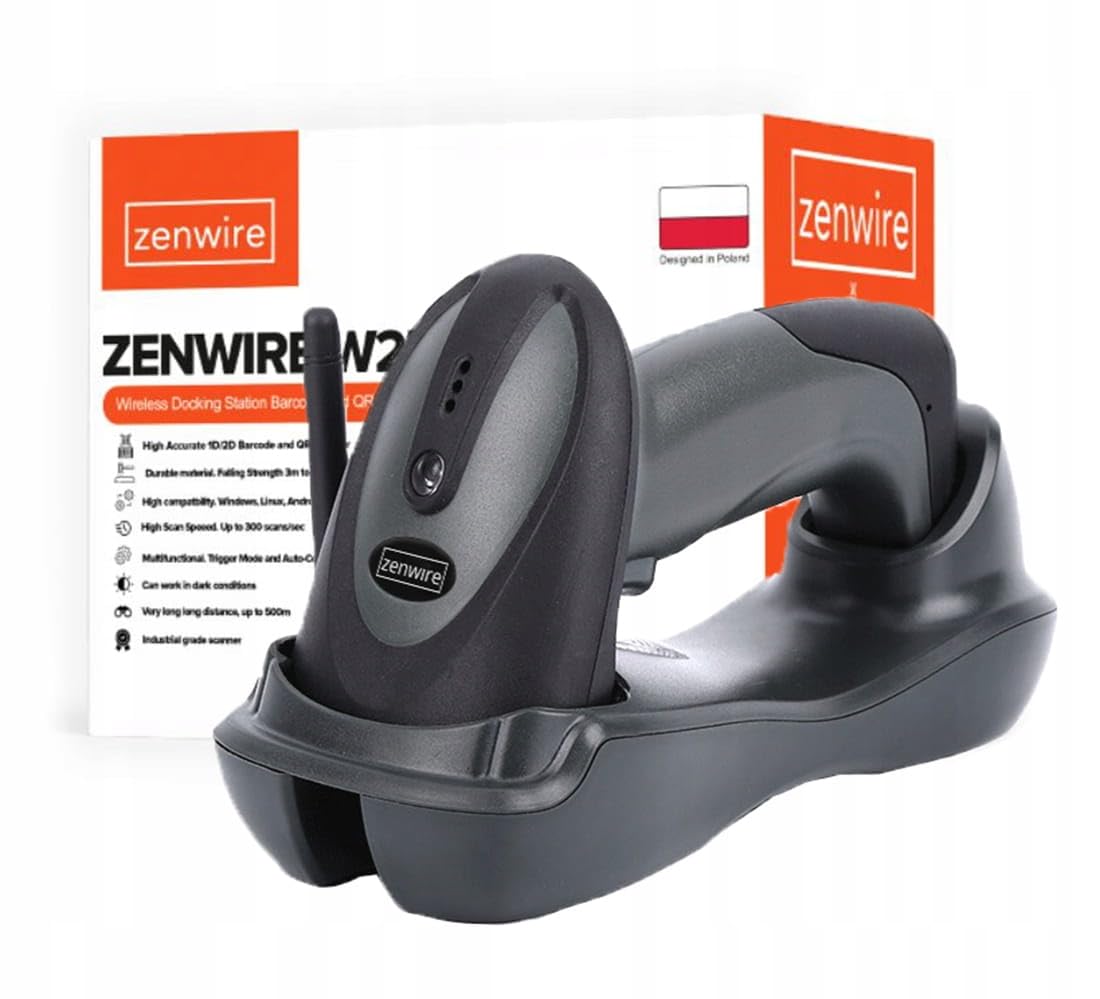
Image: Zenwire W2503 Wireless Barcode Scanner placed in its charging dock. The scanner features a green indicator light.
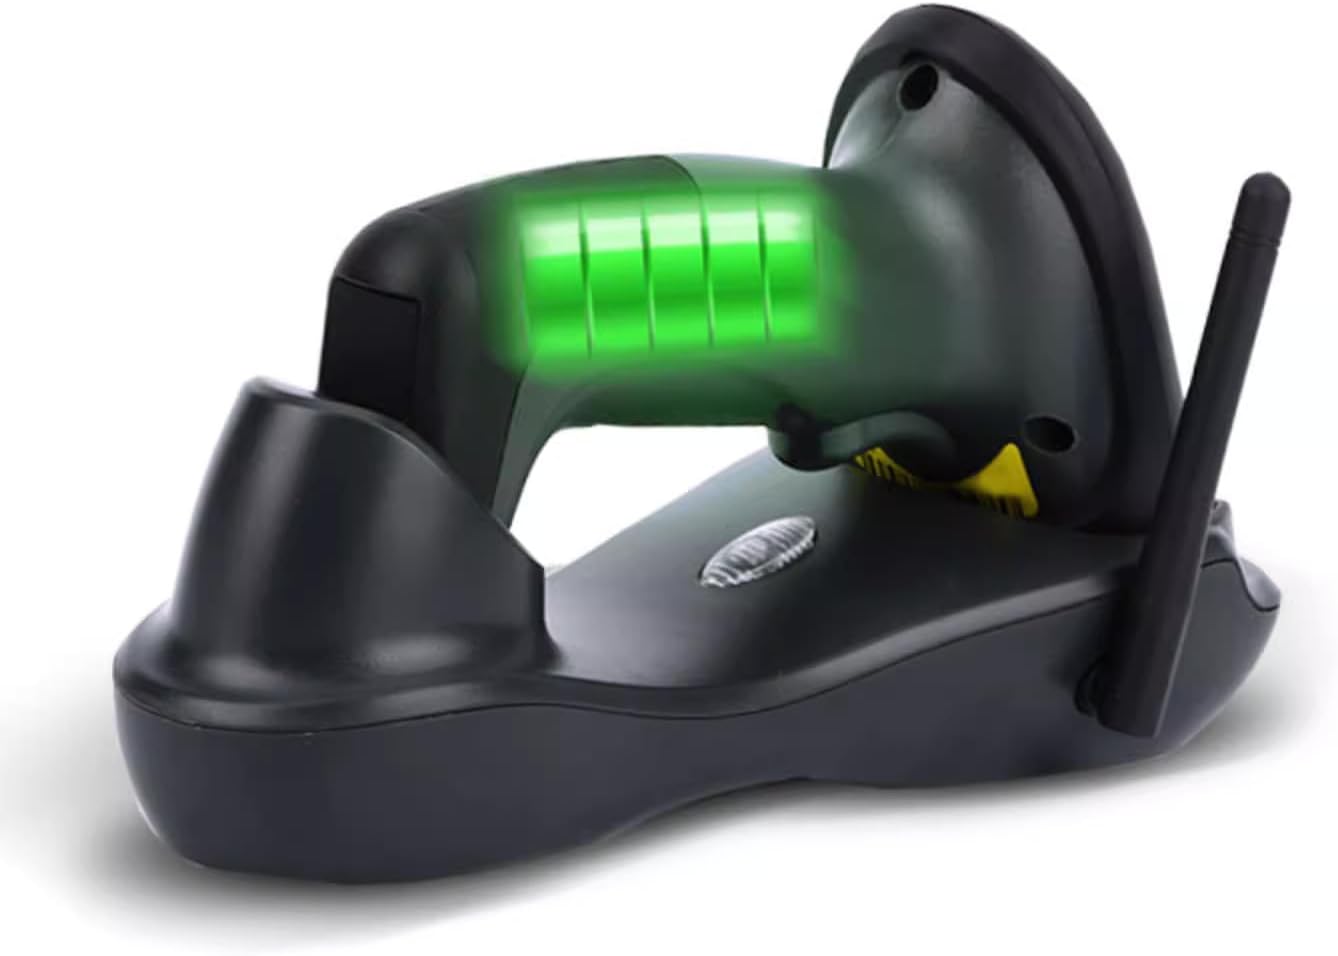
Image: The Zenwire W2503 Barcode Scanner and its charging dock shown separately. The dock has an antenna.
3.1 Ngwa nyocha
- Nyochaa windo: Area where barcodes are read.
- bọtịnụ mkpali: Activates the scanning beam in manual mode.
- Ọkụ egosi: Provide status information (e.g., power, connection, scan success).
- Kọntaktị na-akwụ ụgwọ: Connects to the charging dock.
3.2 Charging Dock Components
- Oghere Nchaji: Holds the scanner for charging.
- Ọdụ ụgbọ mmiri USB: Connects the dock to a host computer.
- Antenna: Enhances wireless communication range.
- Kachasị Button: Used for establishing wireless connection.
4. Nhazi
- Connect the Charging Dock: Plug the USB cable into the charging dock's USB port and connect the other end to an available USB port on your computer or a USB power adapter.
- Chaja onye nyocha: Place the Zenwire W2503 scanner into the charging slot of the dock. Ensure the charging contacts align. The indicator light on the scanner will show charging status.
- Mepụta njikọ: The scanner and dock are typically pre-paired. If not, press the pairing button on the dock and then scan the pairing barcode (usually found in a quick start guide or on the dock itself) with the scanner.
- Nwụnye ọkwọ ụgbọala (Nkwụnye & Play): The device is plug-and-play. For Windows, Mac, and Linux operating systems, drivers should install automatically upon connection. No additional software is usually required.
5. Ntuziaka ọrụ
5.1 Ụdị nyocha
The Zenwire W2503 supports two primary scanning modes:
- Ụdị akwụkwọ ntuziaka: Press the trigger button to activate the scanning beam and read a barcode. Release the button after a successful scan.
- Ụdị akpaaka: The scanner continuously emits a scanning beam, automatically detecting and reading barcodes placed within its field of view. This mode is suitable for high-volume scanning.
To switch between modes, refer to the configuration barcodes provided in the full user manual (if applicable) or contact support.
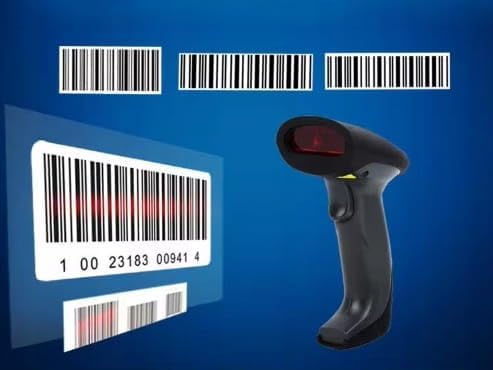
Image: A barcode scanner actively reading a 1D barcode, illustrating the scanning process.
5.2 Ịnyocha koodu barcode
- Ensure the scanner is powered on and connected to the charging dock (which is connected to your computer).
- Point the scan window at the barcode you wish to read.
- If in manual mode, press the trigger button. If in automatic mode, simply position the barcode.
- A successful scan is typically indicated by an audible beep and/or a change in the indicator light. The barcode data will be transmitted to your connected device.
The scanner supports 1D, 2D, and QR codes.
6. Nlekọta
- Nhicha: Use a soft, dry cloth to clean the scanner's exterior and scan window. Do not use abrasive cleaners or solvents.
- Nchekwa: Store the scanner and dock in a cool, dry place away from direct sunlight and extreme temperatures.
- Nlekọta batrị: For optimal battery life, avoid fully discharging the scanner frequently. Charge it regularly using the provided dock.

Image: A Zenwire barcode scanner depicted with a cracked surface effect, symbolizing durability. While the image suggests robustness, proper care is still recommended.
7. Nchọpụta nsogbu
| Nsogbu | Ihe nwere ike ime | Ngwọta |
|---|---|---|
| Scanner not connecting | Out of range, not paired, USB cable loose | Move closer to the dock, re-pair the scanner, check USB connection |
| Cannot read barcodes | Barcode damaged, incorrect scanning angle, low battery | Try a different barcode, adjust angle, charge scanner |
| No data transmitted | Software issue, incorrect configuration | Restart computer, check software settings, reset scanner to factory defaults (if applicable) |
For further assistance, please contact Zenwire customer support.
8. Nkọwapụta
| Njirimara | Nkọwa |
|---|---|
| Nlereanya | W2503 |
| Ụdị Barcode | 1D, 2D, QR |
| Njikọta | Wireless (up to 400m range), USB |
| Ụdị nyocha | Akpaaka, Akwụkwọ ntuziaka |
| Ndakọrịta | Windows, Mac, Linux |
| Ike | Rechargeable via Charging Dock |
| Dimensions (Scanner in Dock) | Ihe dị ka 22 cm (L) x 8.5 cm (W) x 12 cm (H) |

Image: Diagram showing the approximate dimensions of the Zenwire W2503 barcode scanner when placed in its charging dock: 22cm length, 8.5cm width, and 12cm height.
9. Akwụkwọ ikike na nkwado
Zenwire products are designed for reliability and performance. For warranty information, please refer to the documentation included with your purchase or visit the official Zenwire websaịtị.
If you encounter any issues or have questions regarding your Zenwire W2503 barcode scanner, please contact Zenwire customer support.
Ozi mkpọtụrụ:
- Websaịtị: www.zenwire.eu (Ọpụample, actual link may vary)
- Email: support@zenwire.eu (Examplee, ozi email ahụ nwere ike ịdị iche)