
1. Ntuziaka nchekwa dị mkpa
Biko gụọ ntuziaka niile nke ọma tupu i jiri ngwa a. Ọdịda ịgbaso ntuziaka ndị a nwere ike bute ujo ọkụ eletrik, ọkụ ma ọ bụ mmerụ ahụ dị ukwuu nke onwe.
- Emetụla ebe dị ọkụ aka. Jiri aka ma ọ bụ mkpọ.
- Iji chebe megide ujo eletriki, etinyela eriri, plọg, ma ọ bụ ngwa n'ime mmiri ma ọ bụ mmiri mmiri ọzọ.
- Nleba anya dị mkpa mgbe ụmụaka na-eji ngwa ọ bụla ma ọ bụ nso.
- Kpupu na ntinye mgbe ejighị ya na tupu ihicha. Kwe ka ọ dị jụụ tupu ịtinye ma ọ bụ wepụ akụkụ.
- Ejikwala ngwa ọ bụla nwere eriri ma ọ bụ plọg mebiri emebi ma ọ bụ mgbe ngwa ahụ dara ma ọ bụ mebie ya n'ụzọ ọ bụla.
- Iji mgbakwunye ngwa nke onye nrụpụta ngwa anaghị akwado nwere ike bute mmerụ ahụ.
- Ejila n'èzí.
- Ekwela ka eriri kwụgide n'akụkụ tebụl ma ọ bụ counter, ma ọ bụ metụ ebe dị ọkụ aka.
- Etinyela na ma ọ bụ nso gas na-ekpo ọkụ ma ọ bụ ọkụ eletrik, ma ọ bụ na oven ọkụ.
- Ekwesịrị iji nlezianya mee ihe mgbe ị na-ebugharị ngwa nwere mmanụ ọkụ ma ọ bụ ihe ọ bụla na-ekpo ọkụ.
- Buru ụzọ tinye plọg mgbe niile na ngwa, wee tinye eriri n'ime oghere mgbidi. Iji kwupu njikọ, gbanyụọ njikwa ọ bụla ka ọ bụrụ "gbanyụọ", wee wepụ plọg na mpụta mgbidi.
- Ejila ngwa maka ndị ọzọ na-abụghị ebumnuche ebumnuche.
- Agaghị etinye nri buru ibu ma ọ bụ arịa ọla n'ime oven nke nwere ike ịkpata ọkụ ma ọ bụ ihe egwu ọkụ eletrik.
- Ọkụ nwere ike ime ma ọ bụrụ na ekpuchiri oven ma ọ bụ na-emetụ ihe ndị na-ere ọkụ, gụnyere ákwà mgbochi, akwa akwa, mgbidi na ihe ndị yiri ya, mgbe ọ na-arụ ọrụ.
- Etinyekwala ihe ọ bụla ọzọ karịa ngwa ndị nrụpụta tụrụ aro na oven a mgbe anaghị eji ya.
- Etinyela ihe ọ bụla n'ime ihe ndị a na oven: akwụkwọ, kaadiboodu, plastik, ma ọ bụ ihe ndị yiri ya.
- Ejila ígwè foil kpuchie traị irighiri ma ọ bụ akụkụ ọ bụla nke oven. Nke a ga-eme ka oven dị ọkụ.
2. Ngwaahịa gafereview
This 22L tabletop electric mini oven is designed for household baking and toasting. It features adjustable temperature control, a 120-minute timer, and a three-layer baking position for versatile cooking.

Foto 1: N'ihu view of the 22L Tabletop Electric Mini Oven with food cooking inside.

Figure 2: Dimensions of the oven: 421mm (width), 252mm (depth), 273mm (height).
3. Nhazi
3.1 Nwepu
- Carefully remove the oven and all packaging materials from the box.
- Remove any protective films or stickers from the oven surfaces.
- Lelee maka mmebi ọ bụla n'oge njem. Ọ bụrụ mebiri emebi, arụla ọrụ ma kpọtụrụ nkwado ndị ahịa.
3.2 Ntinye
- Tinye oven n'elu ebe kwụsiri ike, dị larịị, nke na-eguzogide okpomọkụ.
- Gbaa mbọ hụ na ikuku ikuku zuru oke n'akụkụ oven (opekata mpe 10 cm n'akụkụ niile).
- Etinyela oven n'akụkụ ihe ndị nwere ike ire ọkụ dịka ákwà mgbochi ma ọ bụ mgbidi.
- Ensure the power cord is not obstructed or pinched.
3.3 Tupu ojiji mbụ
- Wash the baking tray, wire rack, and crumb tray in warm, soapy water. Rinse and dry thoroughly.
- Jiri mgbasa ozi hichaa ime na mputa ovenamp akwa .
- To eliminate any manufacturing odors, operate the oven empty for approximately 15 minutes at 200°C (400°F). Ensure the area is well-ventilated during this process.
4. Ntuziaka ọrụ
4.1 Na-achịkwaview
The oven features three mechanical control knobs:
- Mkpọ Elu: Temperature Control (0-250°C)
- Njikọ etiti: Function Selector (Controls upper/lower heating elements)
- Nkwonkwo Ala: Ngụ oge (0-120 nkeji)

Figure 3: Temperature control knob, adjustable from 70°C to 250°C.

Figure 4: Timer knob, adjustable from 0 to 120 minutes.
4.2 Preheating the Oven
- Place the wire rack or baking tray in the desired position.
- Tụgharịa igodo njikwa okpomọkụ ka ọ bụrụ okpomọkụ achọrọ.
- Turn the Timer knob to the desired preheating time (e.g., 10-15 minutes). The power indicator light will illuminate.
- Once the preheating time has elapsed, the oven is ready for use.
4.3 Baking and Roasting
This oven offers three-layer baking positions and independent temperature control for upper and lower heating tubes.

Figure 5: The 22L capacity oven features three distinct baking positions for versatile cooking.
- Preheat the oven as described above.
- Carefully place your food on the baking tray or wire rack into the desired baking position. Use oven mitts.
- Select the appropriate temperature using the Temperature Control knob (0-250°C).
- Use the Function Selector knob to choose between upper heating, lower heating, or simultaneous upper and lower heating, depending on your recipe's requirements. This allows for precise control over browning and cooking.
- Set the cooking time using the Timer knob (0-120 minutes). The oven will automatically shut off and ring a bell when the timer expires.
- Monitor food through the wide view windo.

Figure 6: The wide viewing window allows for easy monitoring of food changes during cooking.
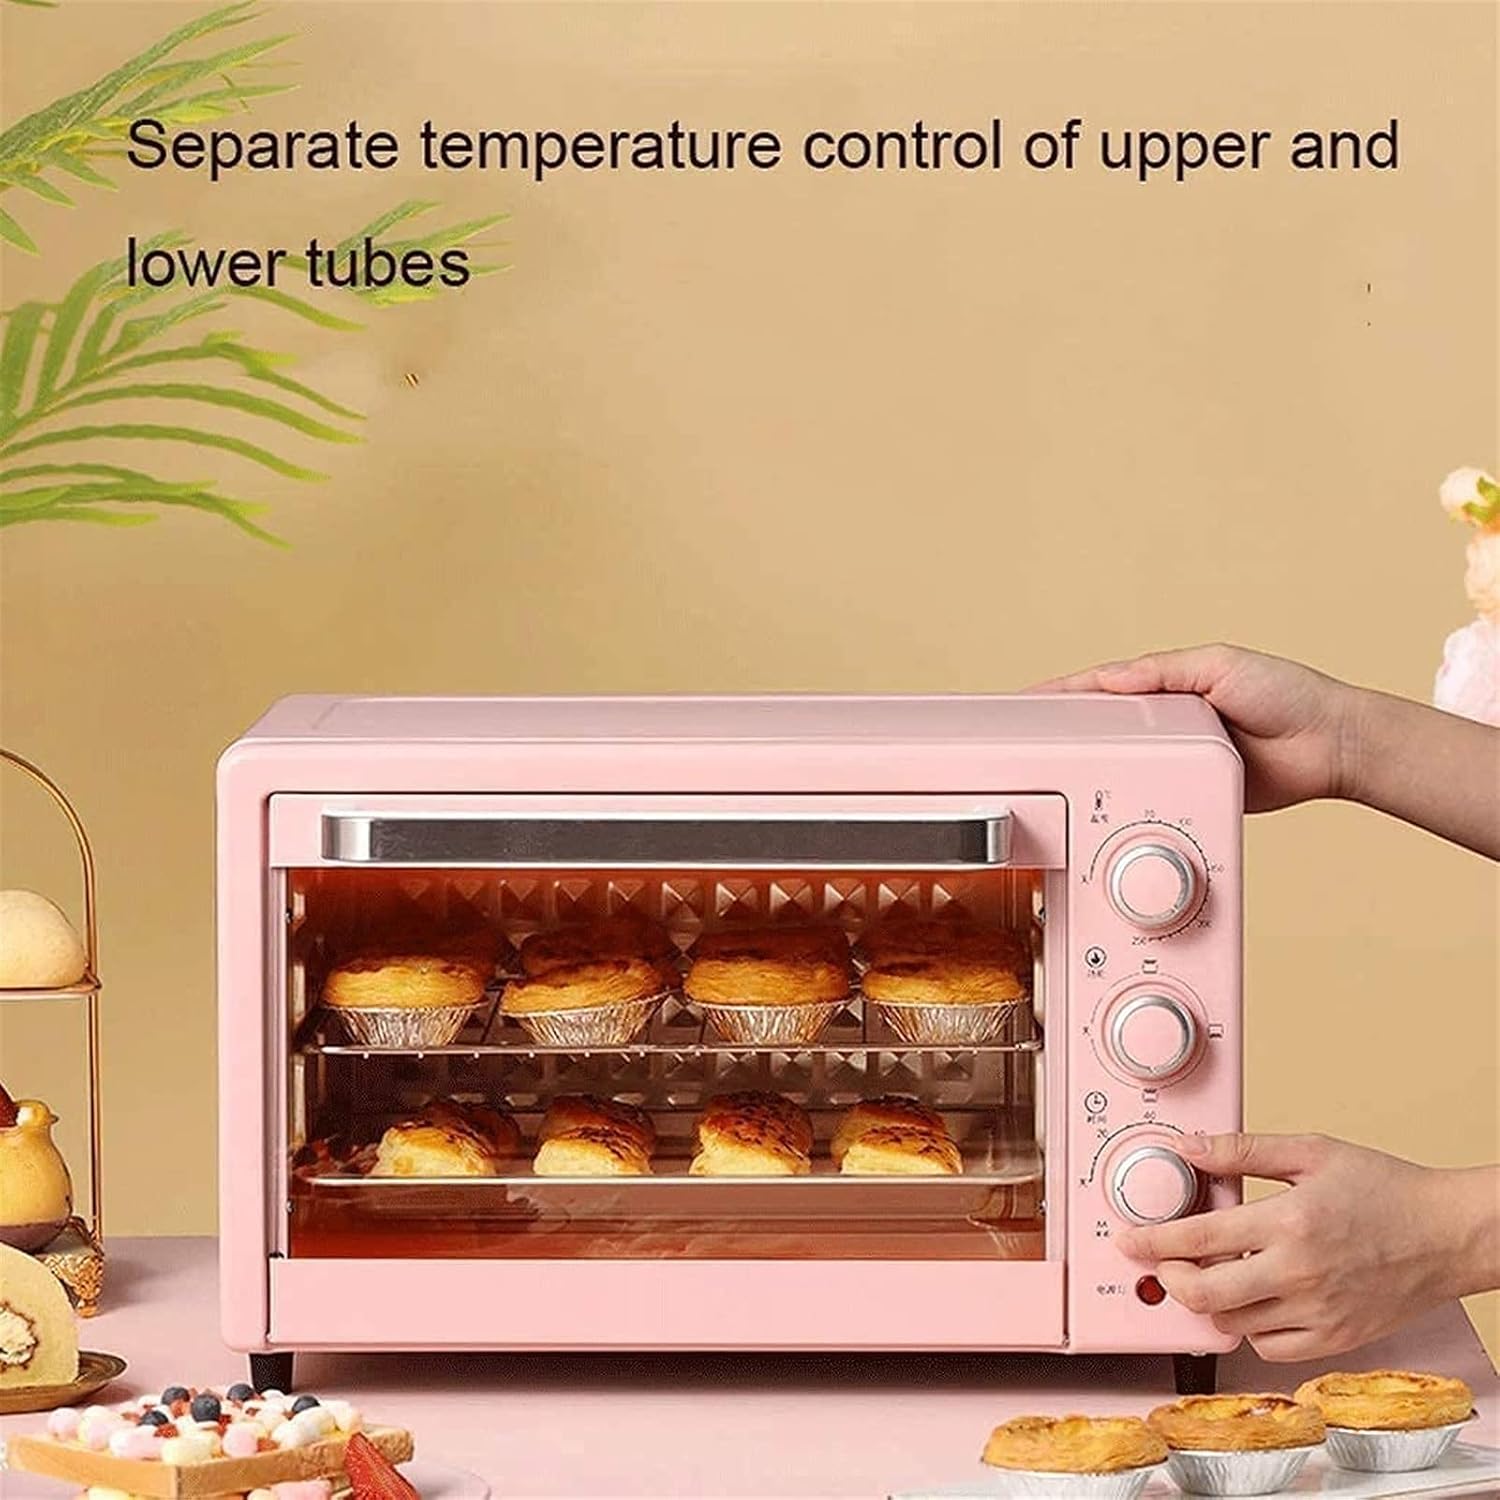
Figure 7: The oven features separate temperature control for upper and lower heating tubes, enabling precise cooking.
5. Nlekọta na nhicha
5.1 Nhicha izugbe
- Na-ewepụ oven mgbe ọ bụla na ebe ọkụ ọkụ ma hapụ ya ka ọ dị jụụ kpamkpam tupu ihicha ya.
- Ejila ahụ oven, eriri, ma ọ bụ nkwụnye n'ime mmiri ma ọ bụ mmiri mmiri ọ bụla ọzọ.
- Jiri mgbasa ozi hichaa mpụtaamp akwa na ncha dị nro. Ejila ihe mkpocha abrasive ma ọ bụ ihe nchacha.
5.2 Cleaning Interior and Accessories
- Remove the baking tray, wire rack, and crumb tray. Wash them in warm, soapy water. For stubborn stains, soak them before cleaning.
- Enwere ike iji mgbasa ozi hichaa mgbidi dị n'ime ụlọ ahụamp cloth and mild detergent. Avoid touching the heating elements.
- Ensure all parts are thoroughly dry before reassembling and storing the oven.

Figure 8: The oven door features a three-layer safety explosion-proof glass for enhanced durability and safety, including a transparent layer, tempered glass layer, and oil-proof cleaning layer.
6. Nchọpụta nsogbu
If you encounter any issues with your oven, please refer to the following common problems and solutions:
- Oven anaghị agba ọkụ:
- Gbaa mbọ hụ na etinyere eriri ọkụ n'ime oghere eletrik na-arụ ọrụ.
- Check if the timer knob is set to a cooking duration. The oven will not operate if the timer is at "OFF" or "0".
- Chọpụta na ihe nbibi sekit emebibeghị.
- Nri anaghị esi nri otu otu:
- Ensure the oven is preheated to the correct temperature.
- Check that the correct heating function (upper, lower, or both) is selected for your recipe.
- Rotate food halfway through cooking for more even results.
- Ensure there is adequate space around the food for heat circulation.
- Smoke or unusual odor during first use:
- This is normal during the initial use as manufacturing oils burn off. Ensure good ventilation. If it persists after the first few uses, discontinue use and contact support.
7. Nkọwapụta
| Njirimara | Nkọwapụta |
|---|---|
| Nlereanya | 22L obere oven |
| Ike | 22 lita |
| Ogo Voltage | 110V-240V/50Hz |
| Enyere ike | 1300W |
| Oke okpomọkụ | 0-250°C (Controllable) |
| Ngụ oge ime achịcha | 0-120 Minutes with Bell Ring and Auto Shut Off |
| Heating Tube Material | Stainless Steel (4 tubes) |
| Ihe eji eme ihe | Galvanized Sheet |
| Usoro njikwa | Nkịtị Mekaniki |
| Akụkụ (W×D×H) | 421mm × 252mm × 273mm |
| Ụdị ụzọ | Ọnụ ụzọ mbelata |
8. Akwụkwọ ikike na nkwado
8.1 Akwụkwọ ikike nwere oke
This product comes with a limited warranty against defects in materials and workmanship. Please refer to the warranty card included with your purchase or contact the retailer for specific warranty terms and conditions. Keep your proof of purchase for warranty claims.
8.2 Nkwado ndị ahịa
For technical assistance, troubleshooting, or parts replacement, please contact the retailer where you purchased the product. If purchased directly from the manufacturer, refer to the contact information provided in your packaging or on their official websaịtị.