
1. Okwu mmalite
This manual provides detailed instructions for the setup, operation, and maintenance of your MAONO BA37 Heavy Duty Adjustable Metal Suspension Microphone Boom Arm. Please read this manual thoroughly before use to ensure proper installation and optimal performance.

Image 1.1: User operating the MAONO BA37 Microphone Boom Arm.
2. Ozi nchekwa
- Gbaa mbọ hụ na desktọpụ clamp is securely fastened to a stable surface before attaching the boom arm and microphone.
- Do not exceed the maximum weight recommendation of 5.5 pounds (2.5 kg) for attached equipment.
- Avoid pinching fingers or cables in the arm's joints during adjustment.
- Keep the boom arm away from heat sources and direct sunlight.
3. Ihe ngwugwu
Chọpụta na ihe niile dị na ngwugwu gị:
- Heavy-duty microphone scissor arm stand x1
- Upgraded table mounting clamp x1
- 3/8" to 5/8" screw adapter x1
- eriri eriri x2
4. Ntuziaka Nhazi
4.1. Installing the Desk Clamp
- Choose a stable desktop surface with a thickness up to 2.36 inches (6.5 cm).
- Place the upgraded table mounting clamp onto the edge of your desk.
- Tighten the screw mechanism until the clamp a na-echekwa nke ọma.amp features a 4200mm² surface area and a silicone pad to protect your desk from scratches.
- Ihe clamp also includes a convenient headset hook for storage.
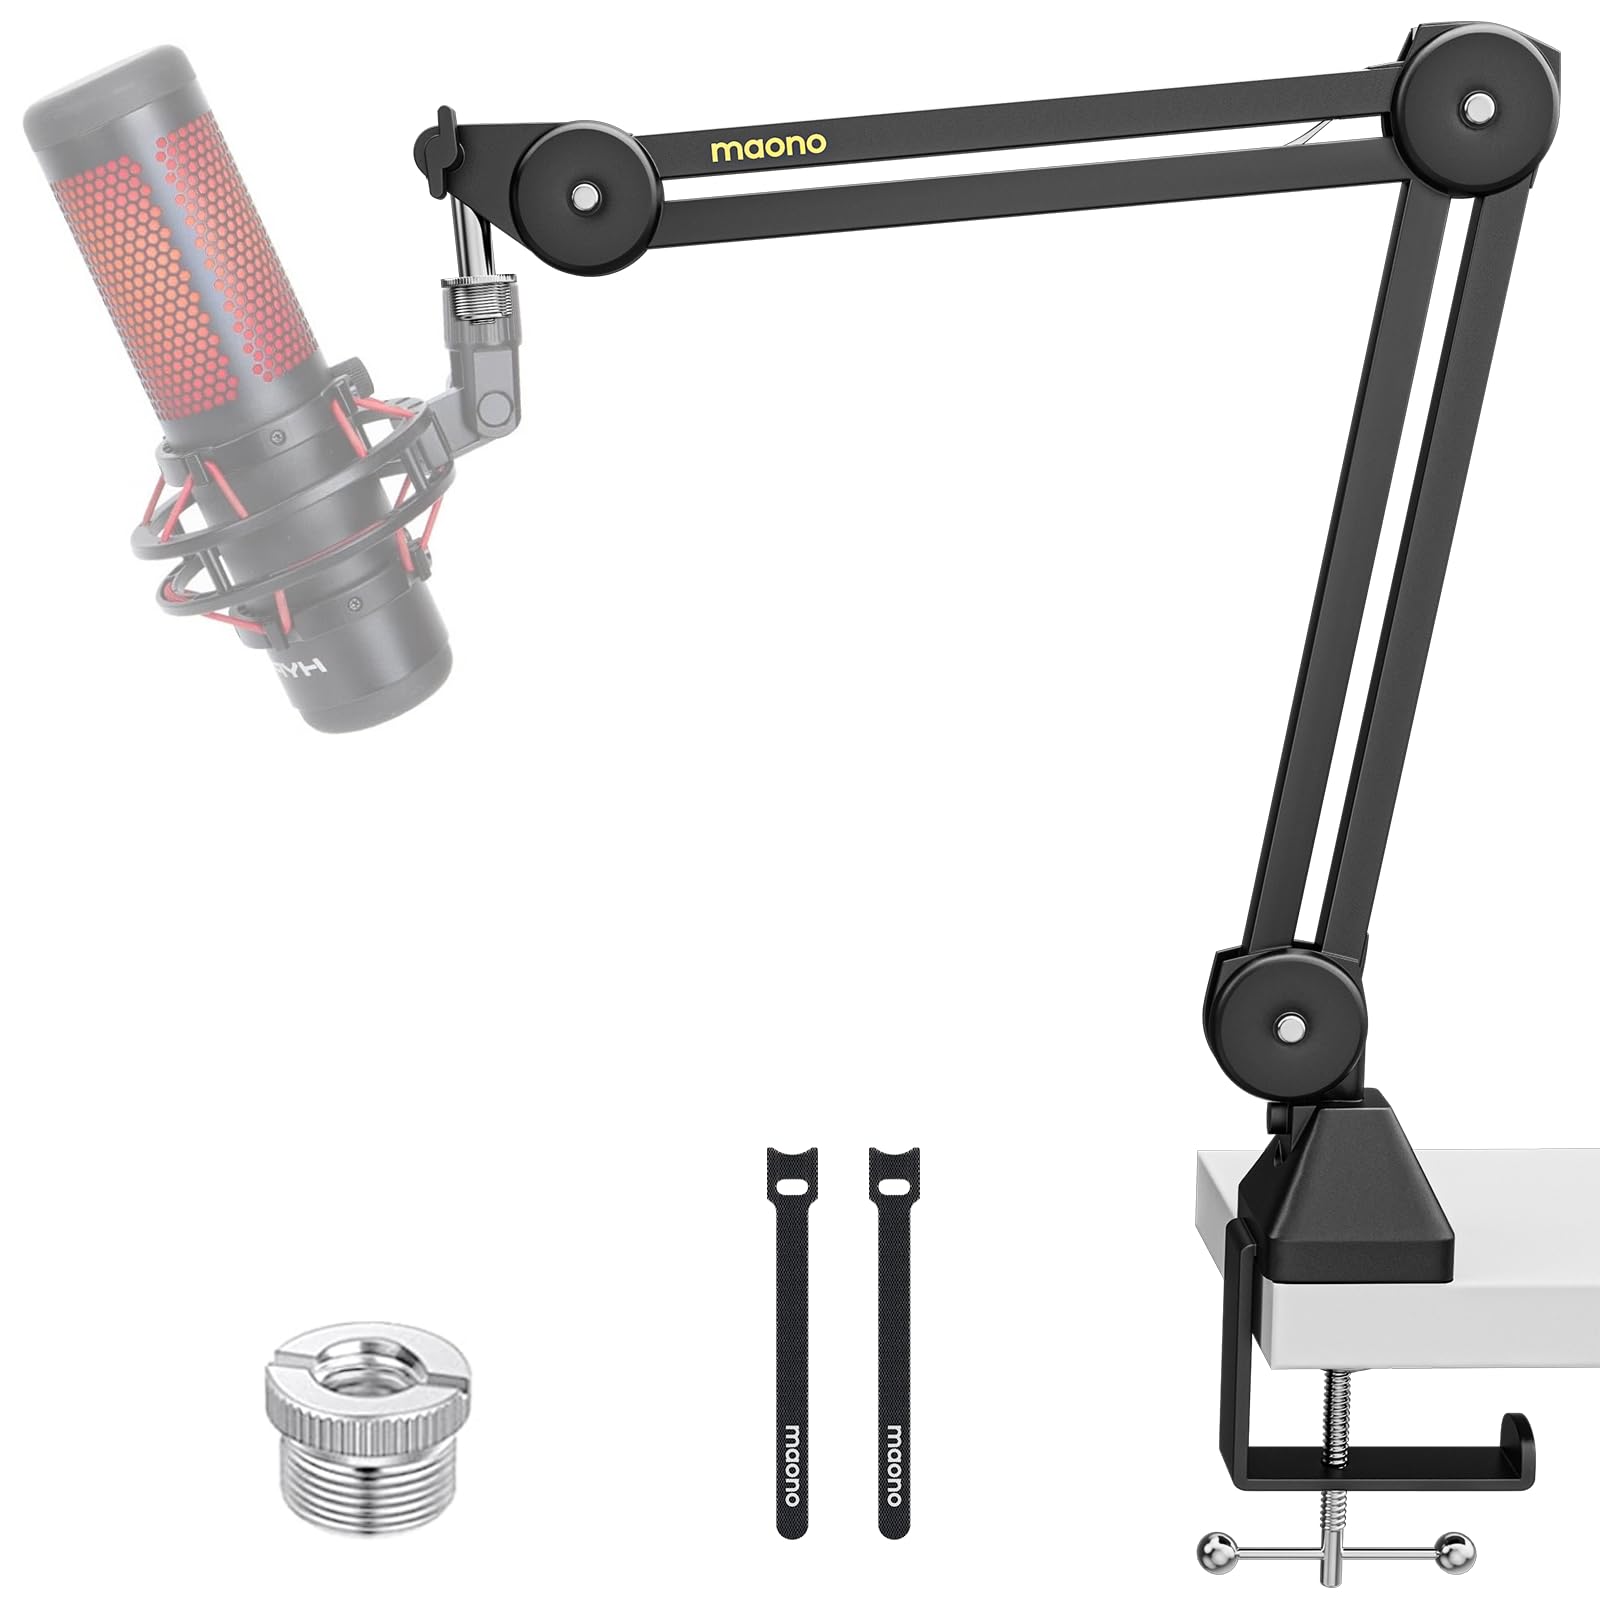
Image 4.1: Desk Clamp Installation and Features.
4.2. Attaching the Boom Arm
- Insert the base of the microphone scissor arm stand into the hole on the top of the desk clamp.
- Ensure the arm is seated properly and tighten any locking mechanisms on the clamp iji chekwaa ogwe aka.
4.3. Attaching Your Microphone
- If your microphone has a 3/8" thread, use the provided 3/8" to 5/8" screw adapter if your microphone requires a 5/8" thread.
- Screw your microphone or shock mount onto the threaded end of the boom arm.
- Ensure the microphone is securely fastened.
Video 4.2: Official MAONO video demonstrating the installation and secure positioning of the BA37 Microphone Boom Arm.
4.4. Njikwa USB
Use the included cable straps to neatly route your microphone cable along the boom arm, preventing tangles and maintaining a clean setup.
5. Ntuziaka ọrụ
5.1. Adjusting the Boom Arm
The MAONO BA37 boom arm features 5 adjustable nodes, allowing for flexible positioning. It offers a horizontal reach of 27.6 inches (70 cm) and a vertical reach of 29.6 inches (75 cm). Adjust the arm to your desired height and angle for optimal microphone placement.

Image 5.1: Flexible Adjustment and Positioning.
5.2. Load Capacity and Stability
The boom arm is constructed from thicker metal, enhancing stability and boasting an impressive load capacity of 4.8 lbs (2.2 kg). Its internal springs ensure silent operation, crucial for professional recording environments.
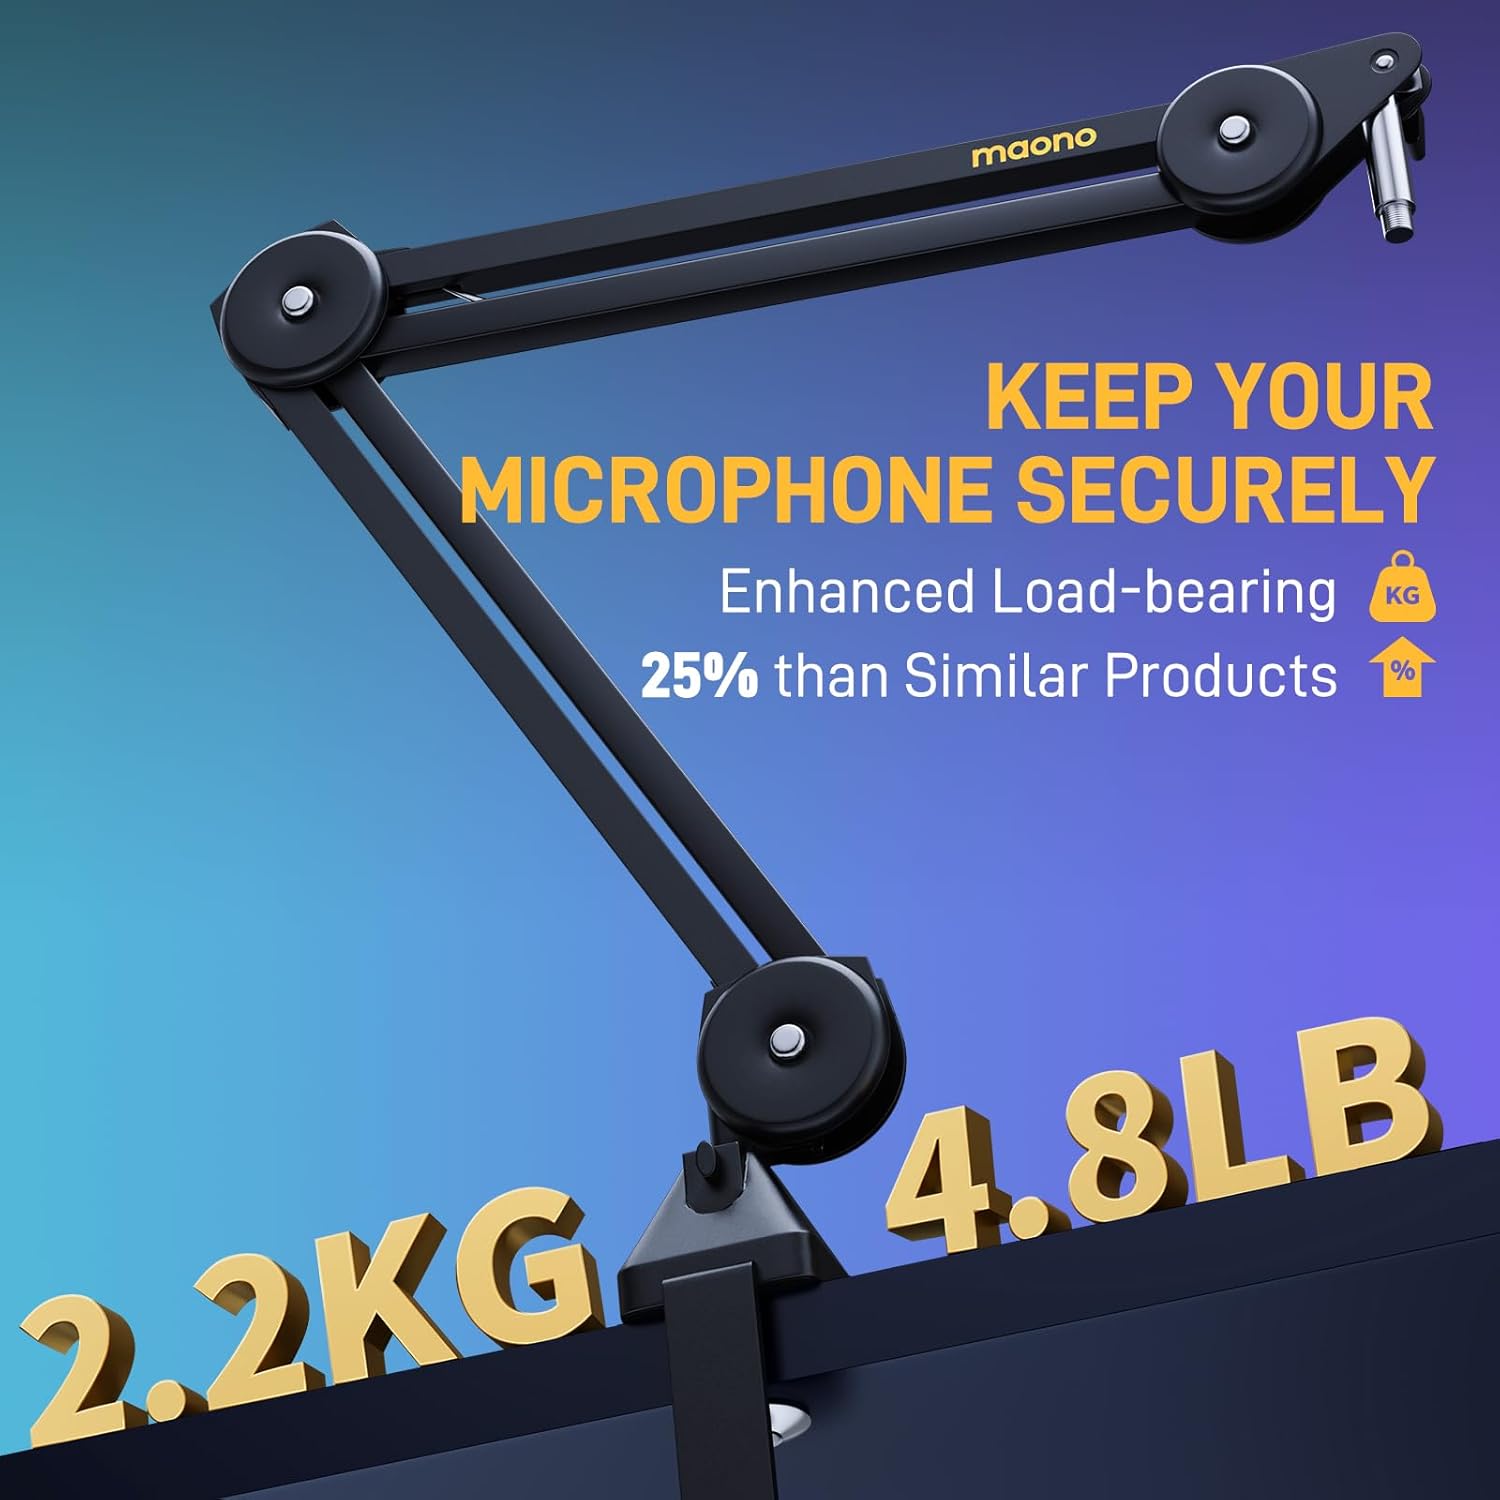
Image 5.2: Enhanced Load-bearing Capacity.
5.3. Microphone Compatibility
The MAONO BA37 is compatible with a wide range of microphones and shock mounts, including MAONO PD100X, PD200X, PM450, PD400, PM500, Fifine AM8, AmpliGame (A6V, A8), HyperX QuadCast, HyperX Solocast, Shure MV7, Shure SM58, Shure SM7B, AT2020, AT2035, and others.
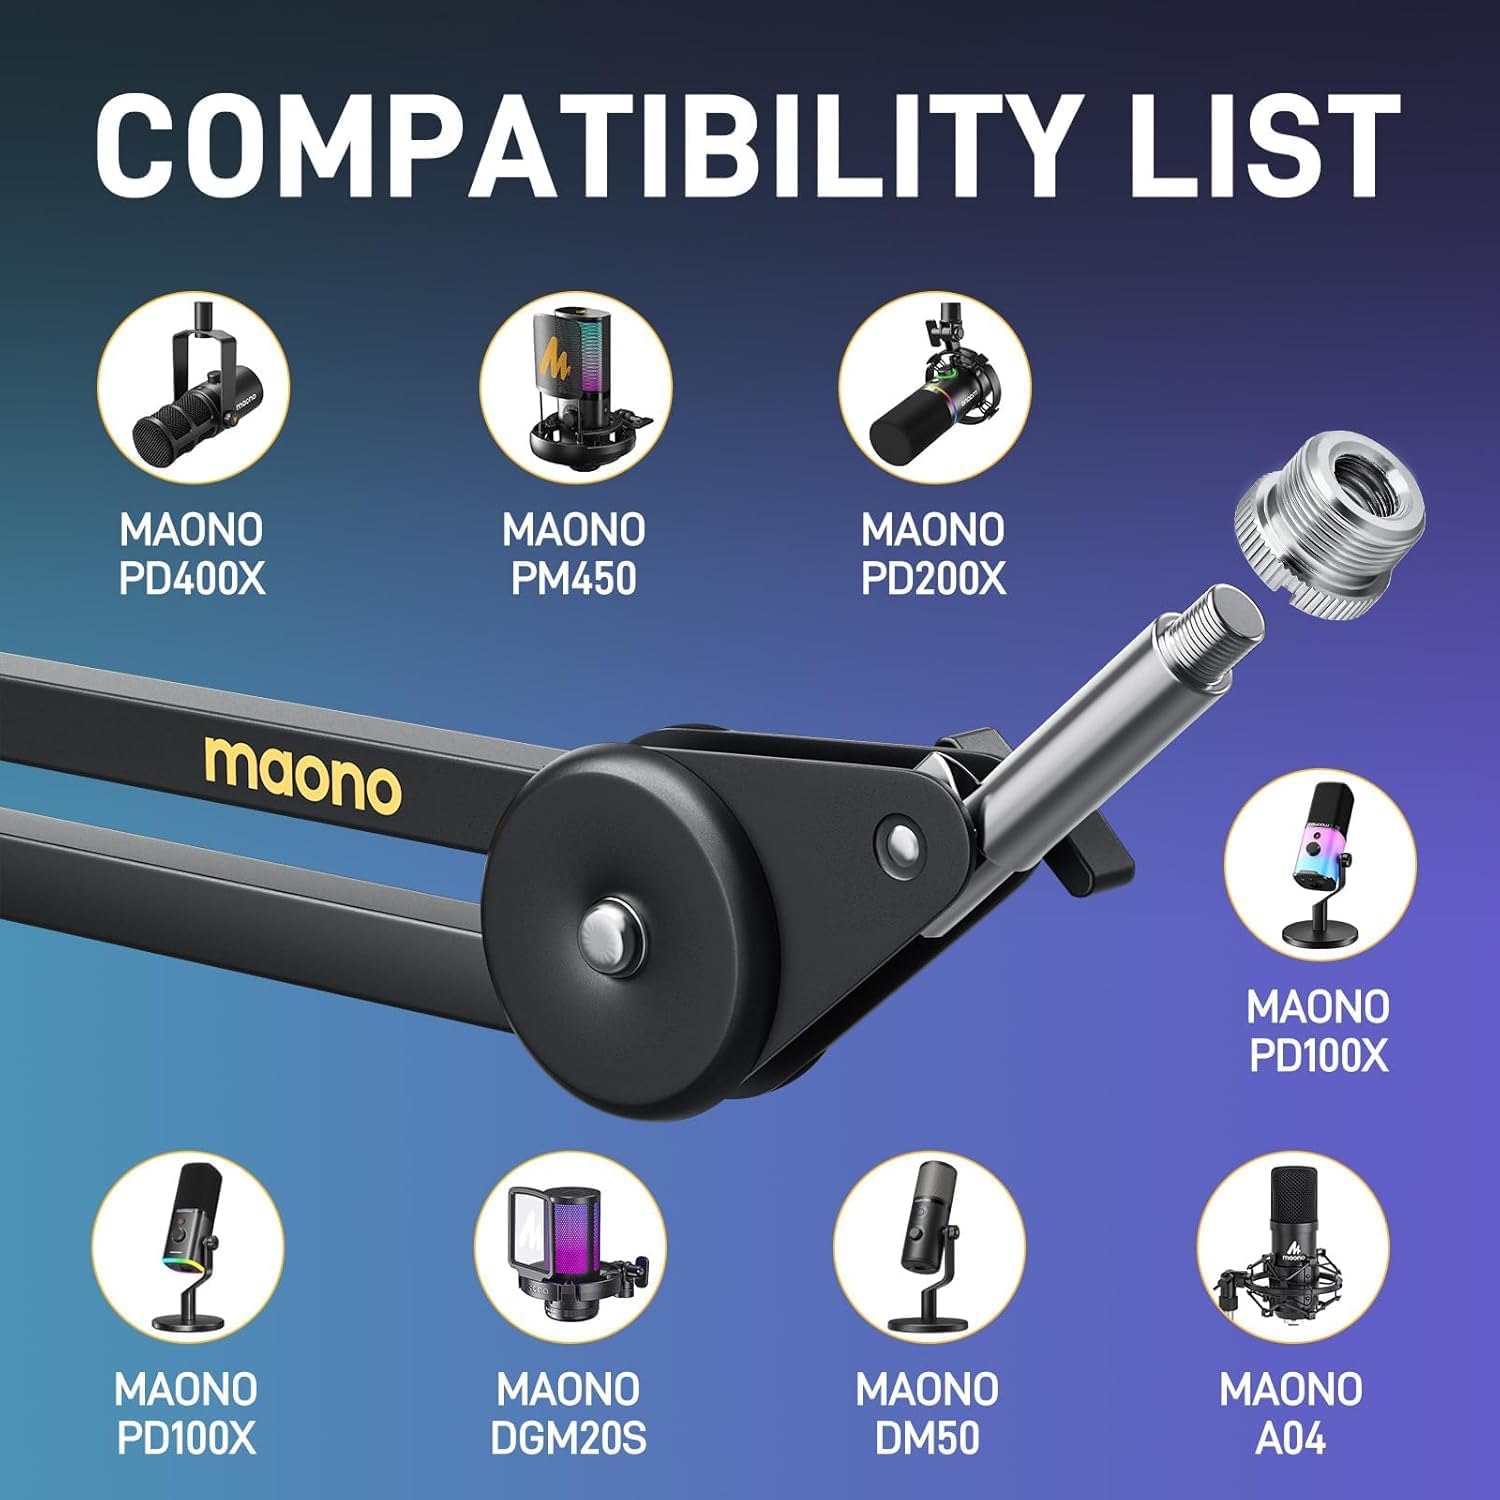
Image 5.3: Compatibility List for MAONO BA37.
6. Nlekọta
- Regularly check all screws and joints for tightness. Tighten if necessary to maintain stability.
- Clean the boom arm with a soft, dry cloth. Avoid abrasive cleaners or solvents.
- Ensure the silicone pad on the desk clamp is free from debris to maintain grip and protect your desk.
7. Nchọpụta nsogbu
- Arm not holding position: Ensure all adjustment knobs and the desk clamp are fully tightened. The arm is designed to hold up to 4.8 lbs (2.2 kg); verify your microphone's weight.
- Microphone wobbles: Check that the microphone or shock mount is securely screwed onto the arm's thread. Ensure the 3/8" to 5/8" adapter (if used) is also tight.
- Ogwe clamp slipping: Re-tighten the desk clamp. Ensure the desktop surface is clean and dry for maximum grip. The silicone pad should be in direct contact with the desk.
8. Nkọwapụta
| Njirimara | Nkọwa |
|---|---|
| Ụdị | MAONO |
| Nọmba nlereanya | BA37 |
| Ihe onwunwe | Alloy Steel, igwe |
| Ibu Ibu | Pound 3 (1.36 n'arọ) |
| Nkwanye ịdị arọ kacha | Pound 5.5 (2.5 n'arọ) |
| Ogologo kachasị elu | 29.6 sentimita (75 cm) |
| Ọsọ n'ihu | 27.6 sentimita (70 cm) |
| Ụdị ntọala | Upgraded 4200mm² Surface Area Desk Clamp with Soft Pad |
| Desk Thickness Support | Up to 2.36 Inches (6.5 cm) |
| Mount Thread Size | 3/8" to 5/8" screw adapter |
| Ngwa gụnyere | Heavy-duty microphone scissor arm stand, Upgraded table mounting clamp, 3/8" to 5/8" screw adapter, Cable straps x2 |
9. Akwụkwọ ikike na nkwado
The MAONO BA37 Microphone Boom Arm comes with a 1-afọ akwụkwọ ikike from the date of purchase. For warranty claims, technical support, or any questions regarding your product, please contact MAONO customer service through their official website or the retailer where the product was purchased. Please retain your proof of purchase for warranty validation.