
1. Okwu mmalite
This manual provides detailed instructions for the installation, operation, and maintenance of your Lorex Fusion 4K 8MP 16 Camera Capable NVR System. Please read this manual thoroughly before using the product to ensure proper setup and functionality. Keep this manual for future reference.
2. Ihe ngwugwu
Verify that all components listed below are included in your package. If any items are missing or damaged, please contact Lorex customer support.
- 1 x Lorex Fusion 4K 16-Channel NVR (Network Video Recorder)
- 4 x Lorex 8MP IP Dual Lens Cameras
- Ihe nkwụnye ọkụ maka NVR
- eriri Ethernet
- HDMI USB
- USB useké
- Mounting Hardware for Cameras
- Ntuziaka mmalite ngwa ngwa

Image: Lorex Fusion 4K NVR System with 4 IP Dual Lens Cameras and the NVR unit.
3. Nhazi
3.1 NVR Initial Setup
- Njikọ Ike: Plug the NVR power adapter into the NVR and a power outlet.
- Jikọọ na Nyocha: Use the included HDMI cable to connect the NVR to a monitor or TV.
- Jikọọ òké: Tinye òké USB n'ime ọdụ ụgbọ USB na NVR.
- Jikọọ na netwọk: Connect an Ethernet cable from the NVR's LAN port to your router or network switch for internet access.
3.2 Ntinye igwefoto
The Lorex IP Dual Lens Cameras are designed for outdoor and indoor use, featuring an IP67 weatherproof rating.

Image: A Lorex IP camera mounted on a wall, illustrating its IP67 weatherproof design suitable for outdoor conditions.
- Họrọ ebe: Select a suitable location for each camera, ensuring a clear field of view and proximity to an Ethernet cable connection. Consider mounting height for optimal detection and security.
- Kpọọ Igwefoto: Use the provided mounting hardware to securely attach the cameras to a wall or ceiling. Ensure the camera is firmly fixed to prevent movement.

Image: A person using a drill to mount a Lorex security camera to a wall, demonstrating the installation process.
- Connect Cameras to NVR: Connect each camera to an available PoE (Power over Ethernet) port on the back of the NVR using Ethernet cables. This provides both power and video signal.

Foto: A nso nso view of multiple yellow Ethernet cables plugged into ports on a network device, symbolizing the reliable wired security connection.
4. Ntuziaka ọrụ
4.1 System Access and Live View
Once the NVR and cameras are connected, the system will automatically detect and display the camera feeds on the connected monitor. Use the USB mouse to navigate the NVR's on-screen interface.
4.2 Mobile App Access (Lorex Home App)
Maka ime ime viewing and advanced features, download the Lorex Home app from your smartphone's app store. Follow the in-app instructions to add your NVR system by scanning the QR code on the NVR or entering its device ID.
4.3 Okwu ụzọ abụọ
The dual-lens cameras support two-way audio communication. Through the Lorex Home app, you can speak through the camera's speaker and listen through its microphone, allowing for direct interaction with visitors or deterring intruders.

Image: A Lorex camera mounted on a wall with speech bubbles, one saying "Please leave it by the door. Thank you!" and another "Hello, package delivery.", illustrating the two-way talk feature.
5. Atụmatụ igodo
5.1 4K Ultra HD mkpebi
The system records and displays video in stunning 4K (8MP) Ultra HD resolution, providing clear and detailed footage for enhanced security monitoring.
5.2 180° Panoramic View
Equipped with dual lenses, the cameras offer an expansive 180-degree panoramic field of view, minimizing blind spots and providing a comprehensive overview nke ihe onwunwe gị.

Image: A smartphone screen displaying a wide 180-degree panoramic view captured by a Lorex camera, showing a street and houses.
5.3 Agba abalị ọhụụ
Experience full-color video surveillance even in low-light conditions, providing more detailed and accurate identification compared to traditional black and white night vision.
5.4 Smart Security Lighting
The cameras feature integrated dual LED lights that can be configured to activate upon motion detection, serving as a deterrent and providing illumination for color night vision.
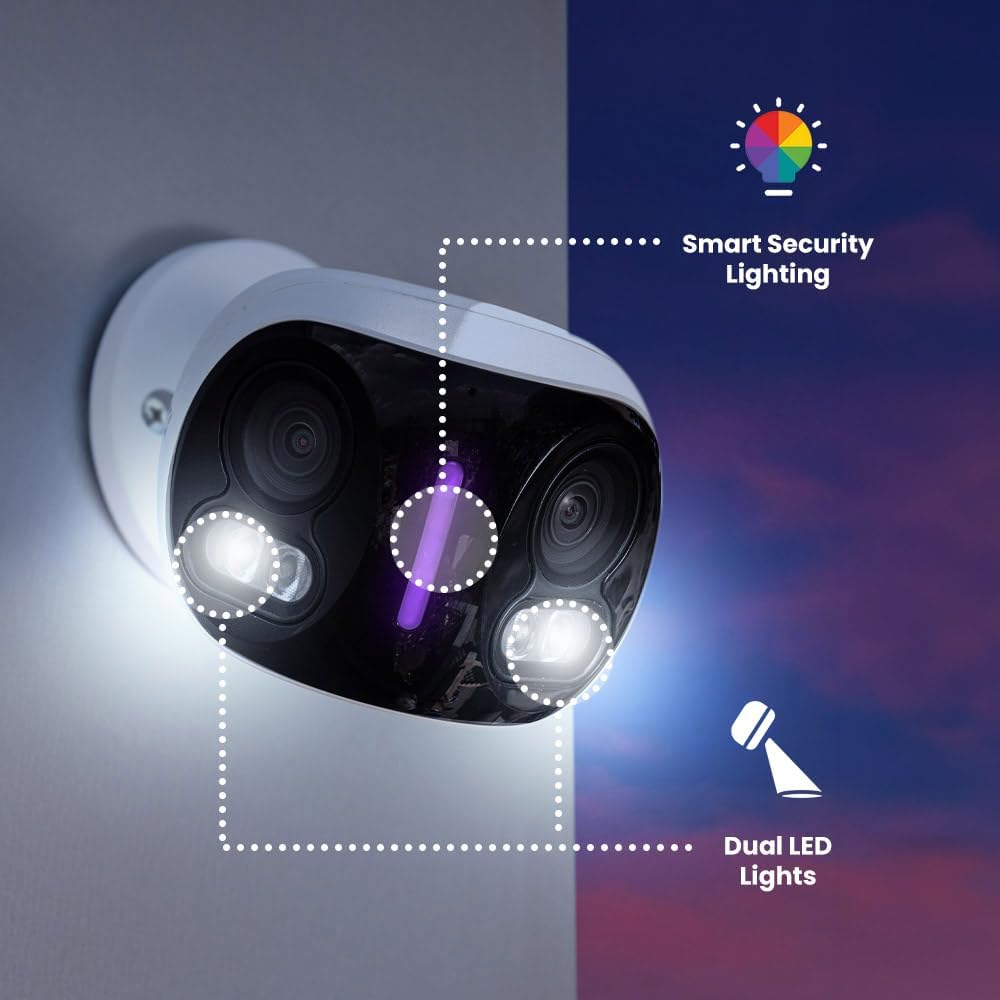
Image: A Lorex camera mounted on a wall at dusk, with outlines highlighting its Smart Security Lighting and Dual LED Lights features.
5.5 Smart AI Motion Detection
The system utilizes advanced In-Camera Edge AI to differentiate between various objects, providing accurate alerts for persons, vehicles, animals, and packages, reducing false alarms.
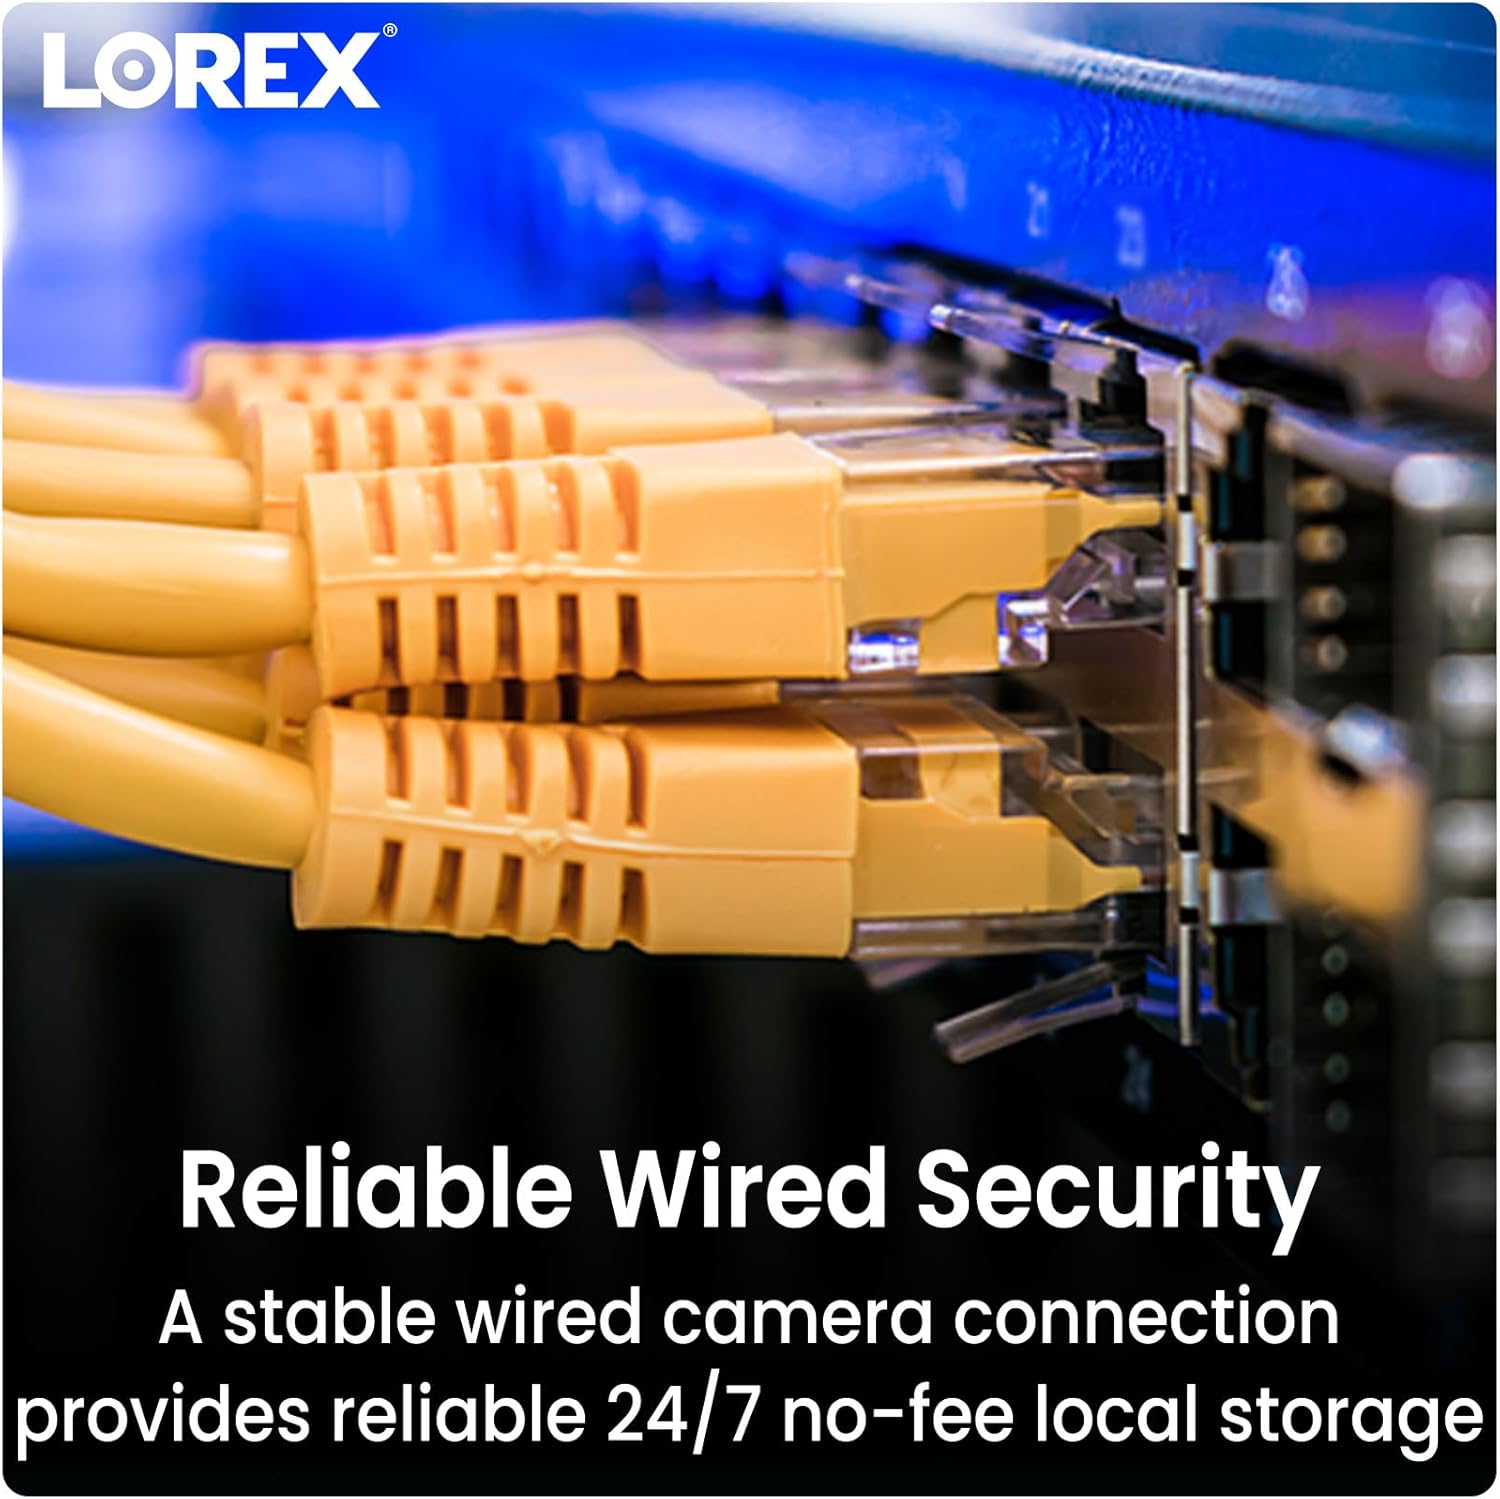
Image: A hand holding a smartphone displaying a Lorex Home app notification: "Someone was detected by Front Door Doorbell", with icons for person, dog, car, and package, indicating smart motion detection.
5.6 Local Storage with No Monthly Fees
The NVR includes a pre-installed 2TB hard drive for secure, continuous local recording, eliminating the need for cloud storage subscriptions or recurring monthly fees.

Image: An open NVR unit revealing an internal hard drive and a separate microSD card, emphasizing local storage without monthly fees.
6. Nlekọta
- Nchacha oghere igwefoto: Periodically clean the camera lenses with a soft, lint-free cloth to ensure clear image quality. Avoid abrasive cleaners.
- Mmelite femụwe: Lelee Lorex website or the Lorex Home app regularly for firmware updates for your NVR and cameras. Keeping firmware updated ensures optimal performance and security.
- Hard Drive Management: The NVR's hard drive will automatically overwrite the oldest footage when full. You can configure recording settings and backup important footage via the NVR interface or Lorex Home app.
7. Nchọpụta nsogbu
7.1 No Video Display
- Ensure the NVR is powered on and the power adapter is securely connected.
- Verify the HDMI cable connection between the NVR and the monitor.
- Check that each camera is properly connected to a PoE port on the NVR and that the Ethernet cables are not damaged.
7.2 No Network Connection
- Confirm the Ethernet cable is securely connected from the NVR to your router/switch.
- Check your router's internet connection.
- Restart the NVR and your router.
7.3 Motion Detection Not Triggering
- Review motion detection settings in the NVR interface or Lorex Home app. Adjust sensitivity and detection zones.
- Gbaa mbọ hụ na oghere igwefoto dị ọcha na enweghị ihe mgbochi.
- Verify that the camera's view is not blocked by objects or excessive light/shadow changes.
8. Nkọwapụta
| Njirimara | Nkọwapụta |
|---|---|
| Ụdị | Oghere |
| Nọmba nlereanya | N4K4-164WBDL |
| Teknụzụ Njikọta | Ekwenyere |
| Mkpebi ịse vidiyo | 4K UHD 2160p |
| Ọnụọgụ nke ọwa | 16 (NVR Capable) |
| Included Cameras | 4 IP Dual Lens Cameras |
| Ike nchekwa | 2TB NVR (Local Storage) |
| Ntụle ihu igwe anaghị egbochi ya | IP67 (Cameras) |
| Ọhụụ abalị | Color Night Vision, Low Light Technology |
| Nchọpụta ngagharị | Smart AI (Person, Vehicle, Animal, Package) |
| Audio | Okwu 2-ụzọ |
| Panoramic View | 180 Degrees (Dual Lens Cameras) |
| Sistemụ nrụọrụ | Embedded Operating System (RTOS) |
| Nha (NVR) | 14.7 x 12.9 x 2.1 sentimita asatọ |
| Item Weight (System) | 28.3 pound |
| UPC | 695529059648 |
9. Akwụkwọ ikike na nkwado
Lorex products come with a limited warranty. For specific warranty terms and conditions, please refer to the warranty card included with your product or visit the official Lorex websaịtị. Maka nkwado teknụzụ, enyemaka nsogbu, ma ọ bụ ịdebanye aha ngwaahịa gị, biko gaa na www.lorex.com/support.
You can also find frequently asked questions (FAQs) and additional resources on the Lorex support page.