
1. Okwu mmalite
Thank you for choosing the RORRY D2 Portable Charger. This compact and versatile power bank is designed to keep your Apple Watch, iPhone, AirPods, and other compatible devices charged while you are on the go. Please read this manual carefully to ensure safe and optimal use of your device.
Kedu ihe dị na igbe:
- RORRY Portable Charger (1 unit)
- 1M USB-C to USB-C Charging Cable (1 unit)
- Akwụkwọ ntuziaka onye ọrụ (1 nkeji)
2. Atụmatụ igodo
- Ndakọrịta Universal: Designed for Apple Watch Ultra/11/10/9/8/7/6/SE, iPhone 17/16/15/14/13/12/11/Pro/Pro Max, AirPods, and Android devices.
- 5000mAh nnukwu ikike: Provides approximately 7-10 charges for Apple Watch, 1 full charge for iPhone 15, and 6-8 charges for AirPods.
- Nchaji n'otu oge: Capable of charging multiple devices concurrently, including Apple Watch, iPhone, AirPods, and other Android devices.
- Enwere ike ibugharị: Features a compact and lightweight keychain design for easy portability in pockets or attached to backpacks.
- Nchekwa Kasị Elu: Equipped with built-in protection against over-temperature, over-current, over-voltage, na mkpirisi okirikiri.
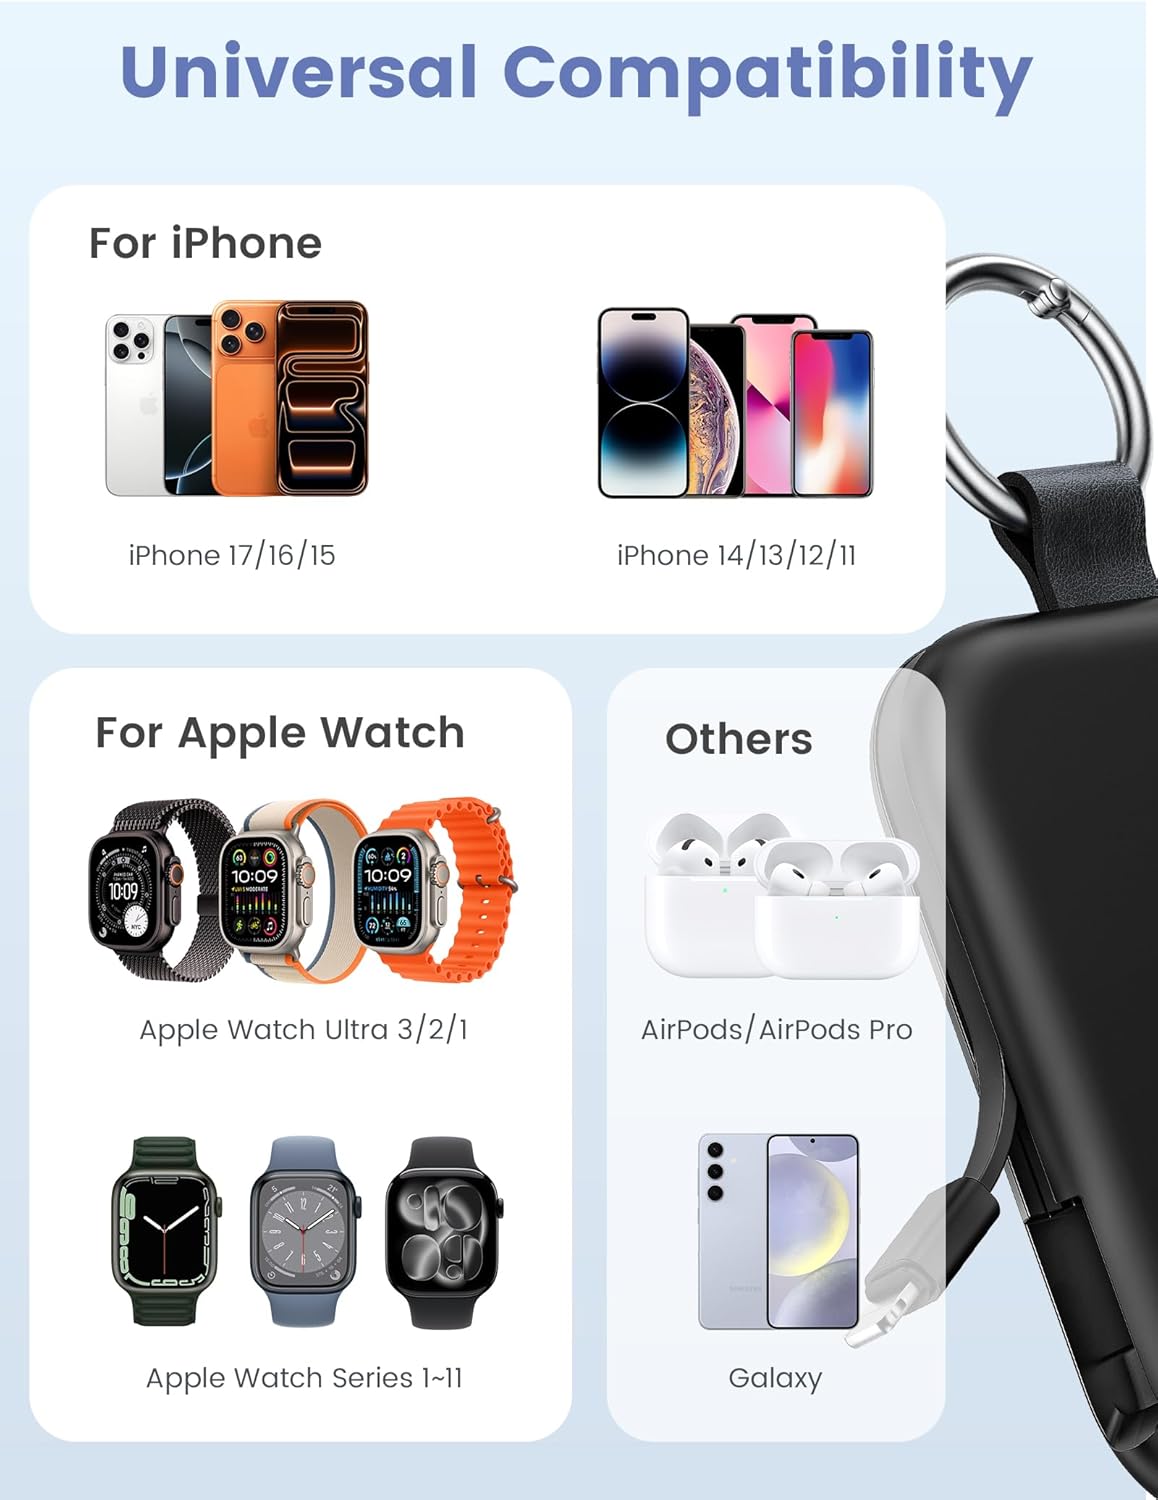
Image: Universal compatibility of the RORRY portable charger with various devices.
3. Ntọlite na Nchaji mbụ
3.1 Ịchaji Power Bank
- Connect the provided USB-C to USB-C charging cable to the USB-C input port on the RORRY D2 Portable Charger.
- Connect the other end of the cable to a compatible USB-C wall adapter (not included).
- The LED indicator lights on the power bank will illuminate to show the charging status. A full charge typically takes approximately 2.5 hours.
- Once fully charged, all LED indicators will be solid. Disconnect the power bank from the charger.

Image: Charging the RORRY D2 Portable Charger using the included USB-C cable.
4. Ntuziaka ọrụ
4.1 Charging Apple Watch
- Press the power button on the side of the RORRY D2 Portable Charger to activate the wireless charging pad.
- Place your Apple Watch onto the magnetic charging pad located on the top surface of the power bank.
- Ensure the watch is properly aligned for optimal charging. The watch screen will indicate charging status.
4.2 Charging iPhone and USB-C Devices
- Locate the built-in Lightning cable (for iPhone) or USB-C cable (for Android/other USB-C devices) on the sides of the power bank.
- Gently pull out the appropriate cable.
- Connect the cable to your device's charging port. The device should begin charging automatically.
- To charge multiple devices simultaneously, use the wireless charging pad for Apple Watch and the built-in cables for other devices.

Image: RORRY D2 Portable Charger actively charging an Apple Watch and an iPhone.

Foto: Ofeview of charging times and capacities for various devices with the RORRY D2.
4.3 Ngosipụta ike
The LED lights on the front of the power bank indicate the remaining battery level. Press the power button once to check the current battery status.
Video: Demonstration of the RORRY Portable Apple Watch Charger's features and usage.
5. Nkọwapụta
| Nọmba nlereanya | D2 |
| Ike batrị | 5000 ndeamp Oge awa |
| Akụkụ ngwaahịa | 3.86 x 2.82 x 0.65 sentimita asatọ |
| Ibu Ibu | 4.4 ounces |
| Ụdị njikọ | Built-in Cable L+C, USB-C Port |
| Atụmatụ pụrụ iche | Compact, Built-in Cables, All-in-one, Keychain Design |
6. Safety Features and Precautions
The RORRY D2 Portable Charger is equipped with multiple safety features to protect your devices and the power bank itself:
- Nchekwa oke okpomọkụ: Prevents overheating during charging and discharging.
- Nchekwa gafere ugbu a: Nchekwa megide oke eruba ugbu a.
- N'elu-Voltage Nchedo: Na-echebe megide voltagọ na -eme.
- Nchekwa obere okirikiri: Na-emechi na akpaghị aka ma ọ bụrụ na sekit dị mkpụmkpụ.
Akpachara anya nchekwa izugbe:
- Do not disassemble, squeeze, or hit the device.
- Keep away from fire, water, and heat sources.
- Debe ebe ụmụaka na-apụghị iru.
- Do not use the power bank in extremely high or low temperatures.
- Zere idobe ngwaọrụ ma ọ bụ tinye ya na mmetụta siri ike.
7. Nlekọta na nlekọta
- Jiri akwa dị nro hichaa ụlọ akụ ike. Ejila kemịkalụ siri ike ma ọ bụ ihe abrasive.
- Chekwaa ngwaọrụ ahụ n'ebe dị jụụ, kpọrọ nkụ mgbe ọ naghị eji ya.
- If the power bank will not be used for an extended period, charge it fully at least once every three months to maintain battery health.
8. Nchọpụta nsogbu
Ngwaọrụ anaghị akwụ ụgwọ:
- Hụ na e nwere chajị zuru oke na ebe a na-echekwa ọkụ eletrik. Lelee ihe ngosi LED.
- Verify that the charging cables are securely connected to both the power bank and your device.
- For Apple Watch, ensure it is correctly placed on the magnetic charging pad and the power button has been pressed.
- Try using a different charging cable or wall adapter to charge the power bank itself.
Nchaji nwayọ:
- Ensure you are using a compatible wall adapter for optimal charging speed.
- Ịchaji ọtụtụ ngwaọrụ n'otu oge nwere ike ibelata ọsọ chaji maka ngwaọrụ dị iche iche.
Power bank not turning on:
- Charge the power bank fully. If the battery is completely depleted, it may take a few minutes for the LED indicators to light up.
9. Akwụkwọ ikike na nkwado
RORRY products are designed and manufactured to the highest quality standards. For warranty information, after-sales service, or technical support, please refer to the contact details provided in the packaging or visit the official RORRY websaịtị.
Ozi mkpọtụrụ:
- Onye nrụpụta: Shenzhen Xianyang Innovation Technology Co., Ltd
- Websaịtị: www.rorry.com (Biko mara: Nke a bụ ebe njide ihe URL, refer to actual product for correct websaịtị)