
1. Ozi nchekwa
Before beginning installation, ensure the power supply is disconnected at the circuit breaker. All wiring must comply with national and local electrical codes. If you are unfamiliar with electrical wiring, consult a qualified electrician. Ensure the mounting structure can support the fan's weight. Maintain a minimum clearance of 7 feet from the floor to the fan blades and 18 inches from the wall to the blade tips. Do not connect the fan to a dimmer switch or fan speed switch, as this can cause operational malfunctions.
2. Ihe ngwugwu
Nyochaa akụrụngwa niile dị tupu ịmalite nrụnye:
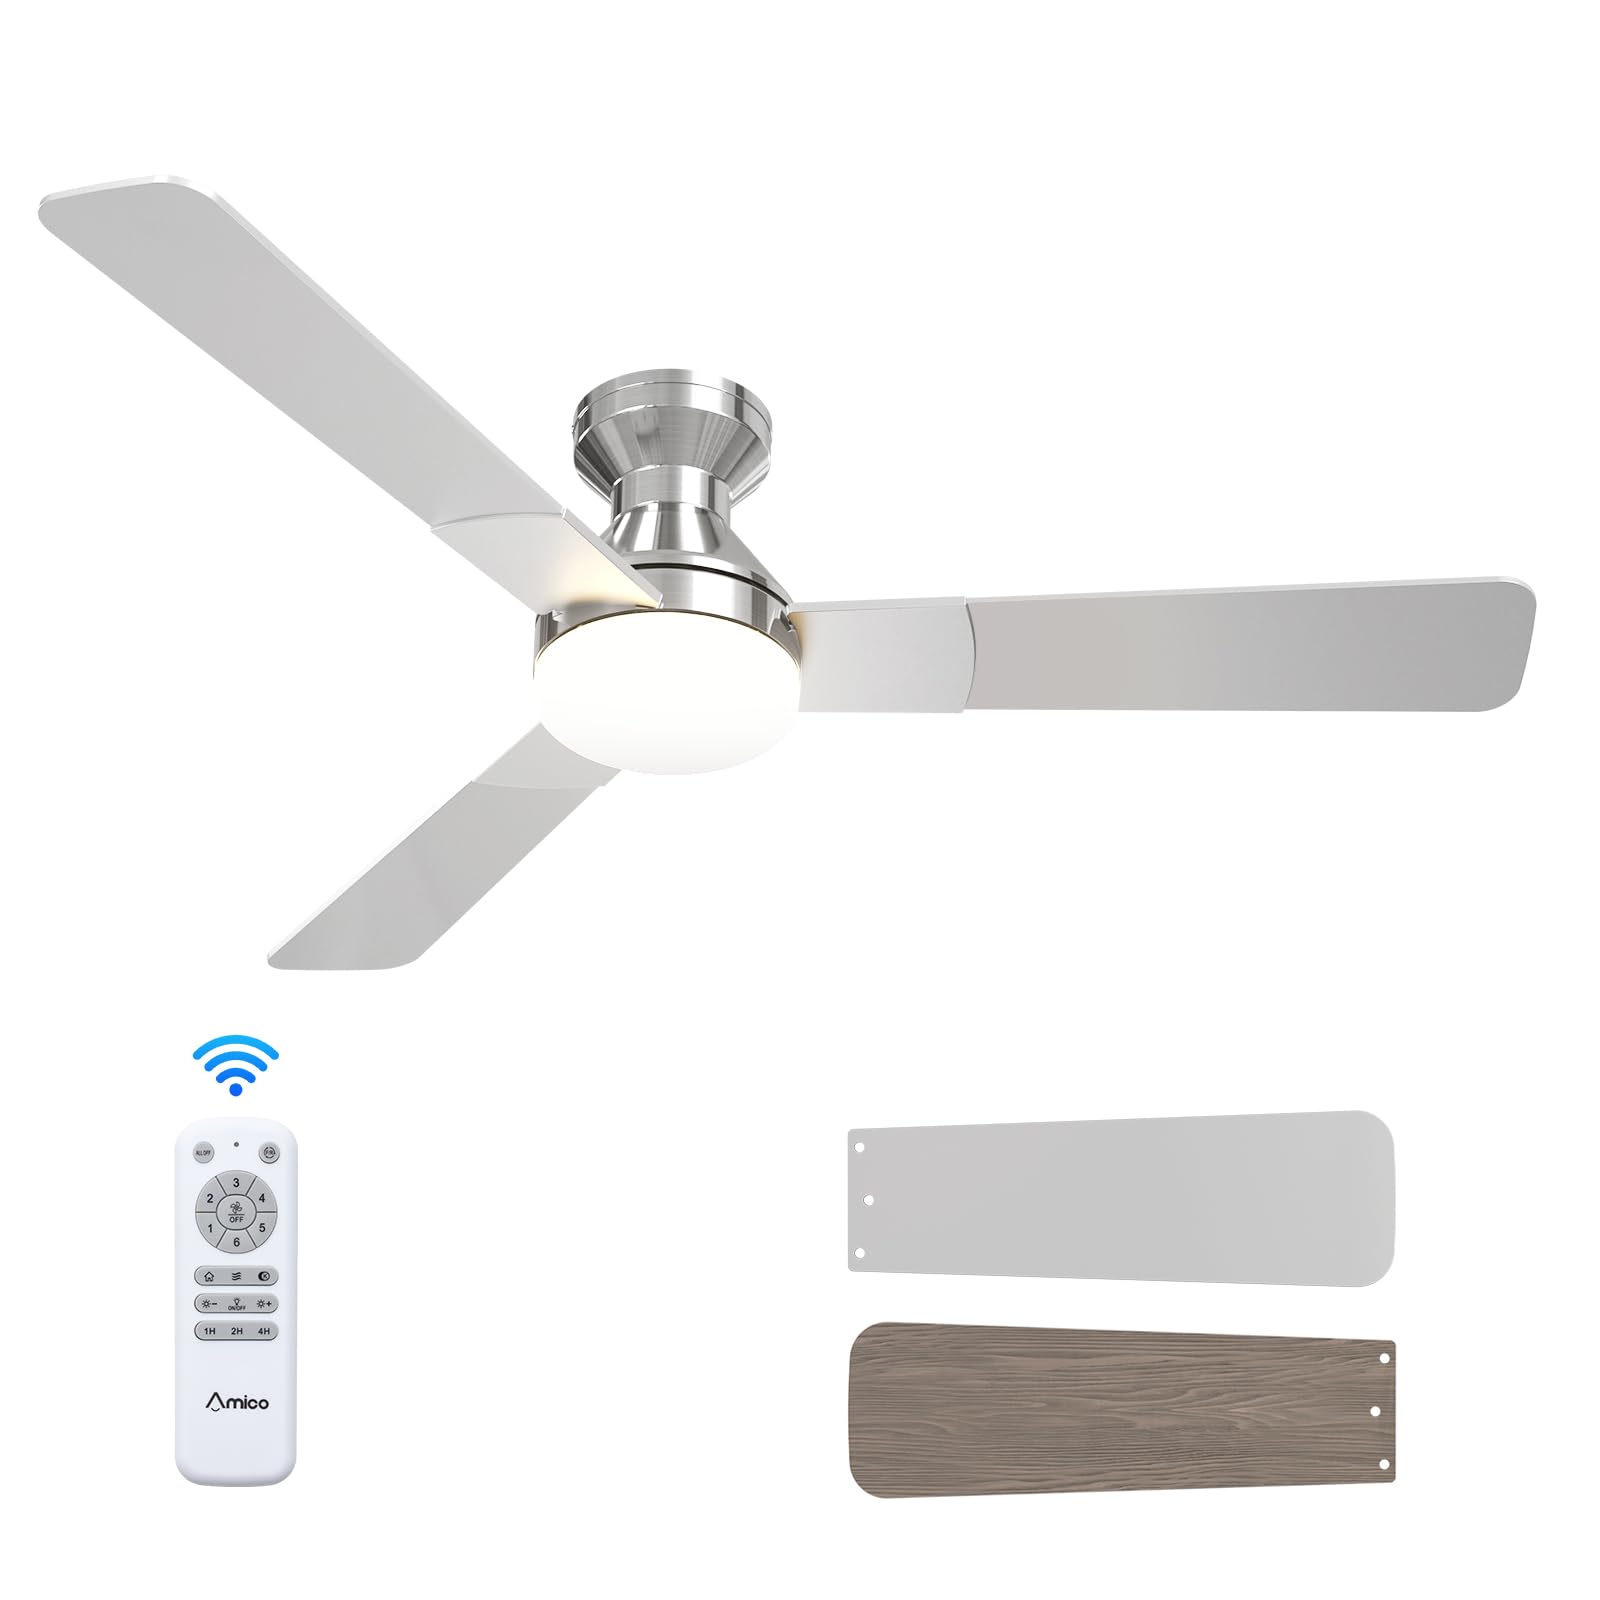
- Unit Fan ụlọ
- ABS Lampndo
- Light Kit (LED)
- Ngwaike mgbakwasa
- Njikwa anya
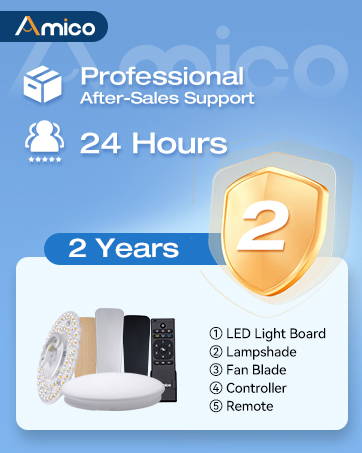
Illustration of various ceiling fan components included in the package.
Unboxing and Component Overview
Vidiyo a na-enye nkọwa zuru ezuview of the Amico ceiling fan components as they are unboxed, highlighting the included parts and instructions for easy installation.
3. Nkọwapụta ngwaahịa
| Ụdị | Amico |
| Nọmba nlereanya | KFM52PLY3B02R1 |
| Nha | 52 inch |
| Agba | Nickel |
| Akụkụ ngwaahịa | 52"D x 52"W x 15.7"H |
| Isi Iyi Ike | Ntinye AC 120V, moto DC |
| Ọnụọgụ agụba | 3 |
| Ihe agụba | Osisi injinia |
| Ụdị ọkụ | LED (nwere ike dochie ya) |
| Ọnụọgụ nke Ọsọ ọsọ | 6 |
| Ọkwa mkpọtụ | 35 decibel |
| Usoro njikwa | Njikwa anya |
| Ojiji ime ime/n'èzí | Ime ụlọ, n'èzí (D)amp Enyere aha) |
4. Nwụnye
Follow these steps for a safe and efficient installation of your Amico ceiling fan. It is recommended to have a second person assist during certain stages nke echichi.
4.1 Nyochaa nwụnye tupu etinye ya
- Ensure the power is OFF at the circuit breaker before starting.
- Confirm your ceiling junction box is securely mounted and capable of supporting the fan's weight (at least 35 lbs).
- Gather necessary tools: screwdriver, wire strippers, electrical tape, ladder.

Image illustrating the mounting bracket and electrical wiring connections for installation.
4.2 Ịtinye bracket
Attach the mounting bracket to the ceiling junction box using the provided screws. Ensure it is firmly secured to prevent wobbling.

Diagram showing the ceiling fan mounting directly to a standard ceiling junction box for easy DIY installation.
4.3 Waya
Connect the fan's electrical wires to the household wiring according to the color codes: Black (Live), White (Neutral), Yellow/Green (Earth). Use wire nuts to secure connections. Ensure all connections are tight and insulated. Important: Do not connect to dimmer switches or fan speed switches to prevent operational malfunctions.

Illustration showing compatible conventional wall switches and incompatible dimmer/fan speed switches.
4.4 Attaching Motor and Blades
Carefully lift the fan motor assembly and attach it to the mounting bracket. Secure it with the designated screws. Then, attach the three fan blades to the motor housing. The blades are reversible, with a nickel finish on one side and an oak grain on the other, allowing you to choose the aesthetic that best suits your decor.

Agara nso view of the fan motor assembly with reversible blades, showing the nickel and oak grain sides.
4.5 Installing the Light Kit
Connect the LED light kit to the fan's wiring. Secure the light kit to the fan motor assembly using the provided screws. Ensure the connections are firm.
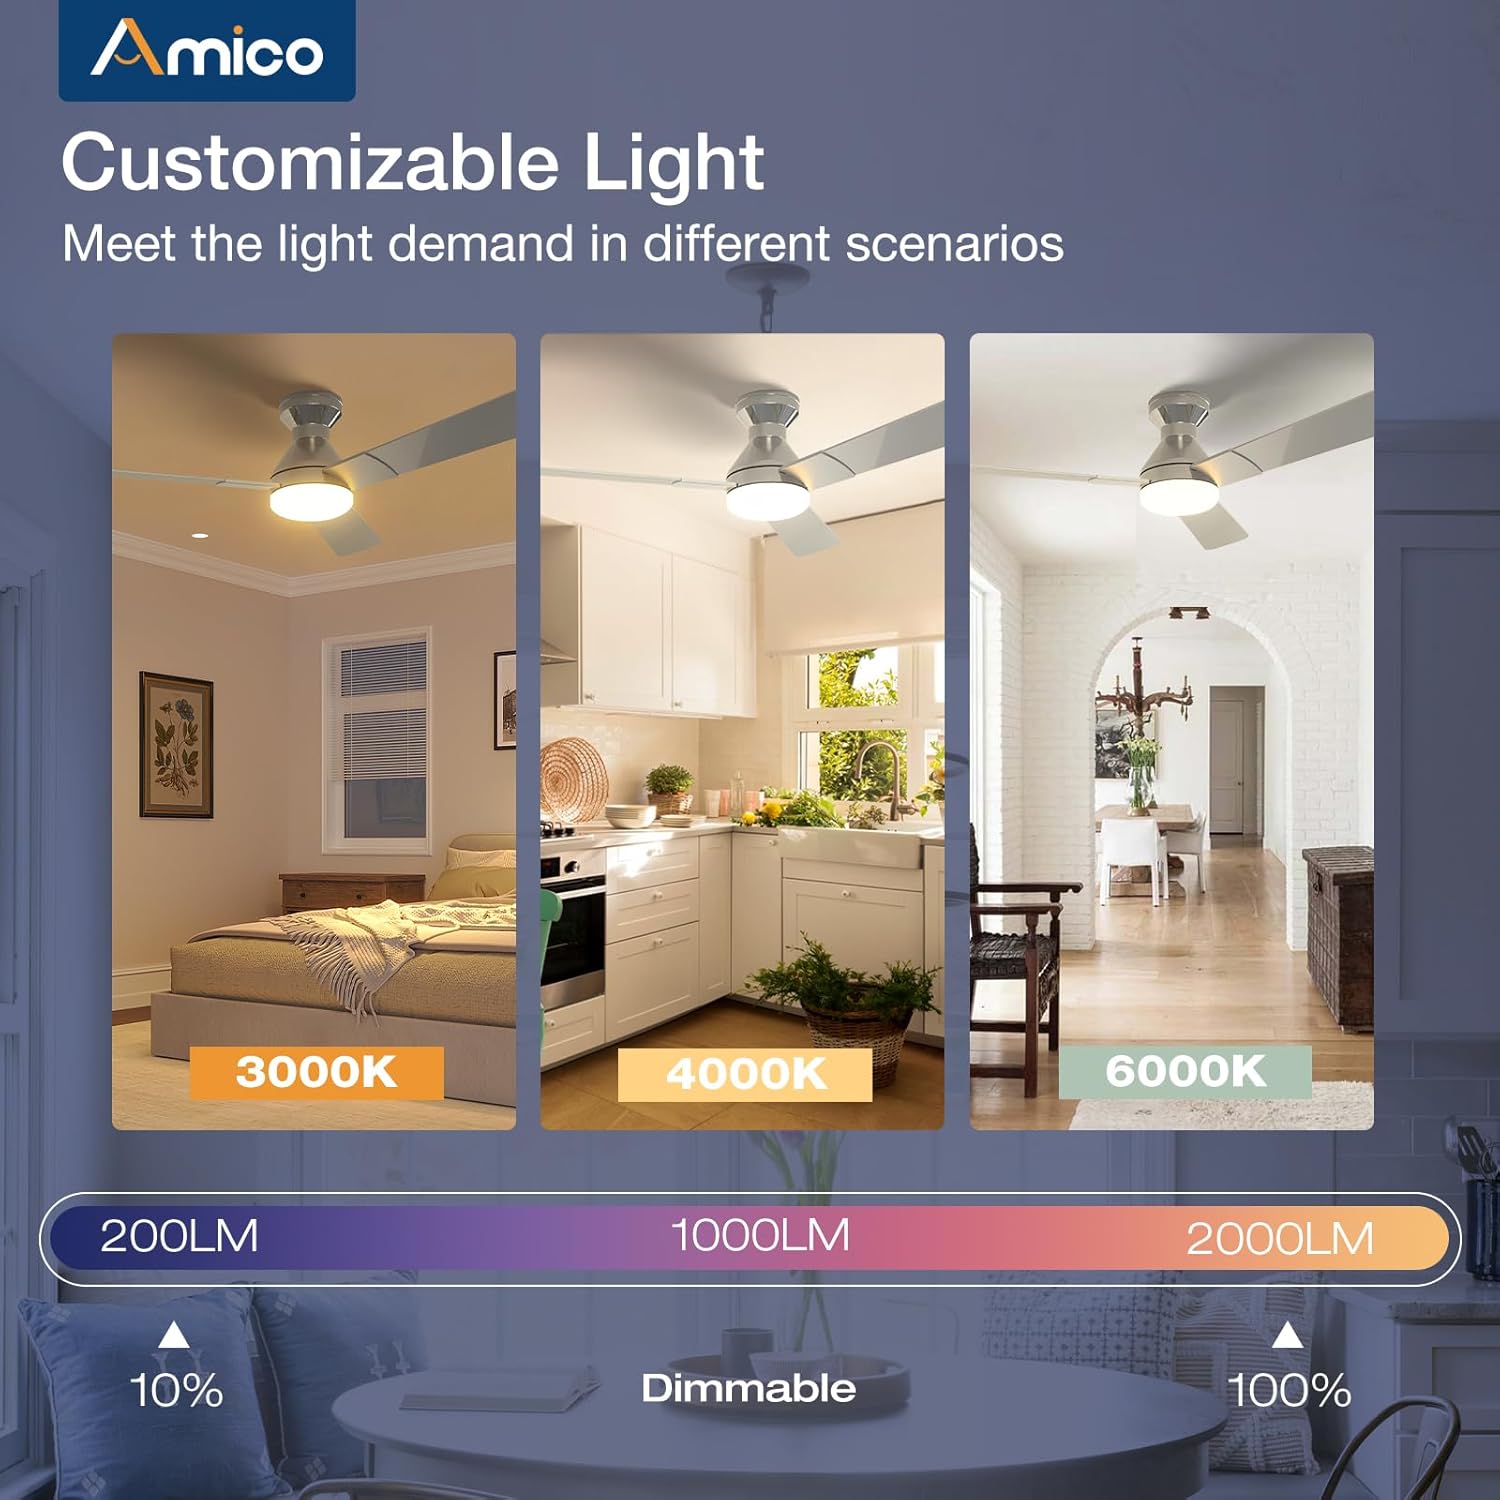
Image detailing the installation of the LED light kit onto the ceiling fan.
4.6 Mgbakọ ikpeazụ
Tinye lampshade or light cover to the light kit, twisting or securing it into place as per the design. Restore power at the circuit breaker and test the fan and light functions using the remote control.

Image showing the final step of attaching the light cover to the ceiling fan.
Ntuziaka vidiyo nwụnye
This video demonstrates the installation process, highlighting how easy it is to set up the Amico ceiling fan, even for remodels.
5. Ntuziaka ọrụ
Your Amico ceiling fan is designed for ease of use with a comprehensive remote control.
5.1 Ọrụ njikwa anya

Image of the remote control with labeled buttons for various functions.
- Bọtịnụ ike: Na-agbanye fan ahụ ma gbanye/gbanyụọ ya.
- Ọsọ Fan (1-6): Adjusts fan speed from gentle breeze (1) to strong wind (6).
- Laghachi azụ ọrụ: Changes the direction of blade rotation for summer (downward airflow) or winter (upward airflow) use.
- Mgbanwu/ Gbanyụọ: Toggles the light independently.
- Ìhè nke Ìhè (+/-): Dims or brightens the light (10%-100%).
- Okpomọkụ agba: Cycles through 3000K (warm white), 4000K (natural white), and 6000K (cool white).
- Timer (1H, 2H, 4H): Sets the fan and/or light to turn off automatically after the selected duration.
Ngosipụta Njikwa Dị Anya
This video demonstrates the various functions of the remote control, including fan speed, light temperature, and dimming capabilities.
5.2 Fan Speed na Airflow
The fan offers 6 adjustable speeds to suit your comfort needs, from a gentle, comfortable breeze to a strong cooling wind. The DC motor ensures powerful yet quiet operation.

Diagram illustrating the 6 adjustable fan speeds and their corresponding wind levels.
5.3 Customizable Light
The integrated LED light is dimmable from 10% to 100% and offers three color temperature options: 3000K (warm), 4000K (natural), and 6000K (cool). Adjust the light to match your activity or mood.
Image showing the three color temperature options (3000K, 4000K, 6000K) and dimmable range of the fan light.
5.4 Reversible DC Motor
The reversible DC motor allows you to change the direction of the fan blades. In summer, set the fan to rotate counter-clockwise for a downward airflow that creates a cooling effect. In winter, set it to rotate clockwise for an upward airflow that helps circulate warm air trapped near the ceiling.

Diagram illustrating the summer (cooling) and winter (warming) modes of the reversible DC motor.
5.5 Ntọala ngụ oge
Utilize the timer function to automatically turn off the fan and/or light after 1, 2, or 4 hours, promoting energy efficiency and convenience, especially during sleep.

Graphic showing the 1-hour, 2-hour, and 4-hour timer settings for the fan.
5.6 Ọrụ ebe nchekwa
The fan and light feature memory functions. Once you select your desired light brightness, color temperature, and fan speed, these settings will be retained even after turning the unit off and on via the wall switch. This avoids the need to reset your preferences each time.

Illustration demonstrating how the fan and light settings are remembered after being turned off and on.
5.7 Ọrụ dị jụụ
Engineered for minimal noise, the fan operates at a low 35dB, comparable to the sound of falling leaves, ensuring a quiet living environment suitable for bedrooms and nurseries.

Graphic comparing the fan's low noise level (35dB) to common ambient sounds.
6. Nlekọta
Nlekọta anya mgbe niile na-eme ka arụmọrụ kacha mma na ogologo ndụ nke onye na-akwado uko ụlọ gị.
- Nhicha: Jiri nwayọ hichaa agụba fan na ụlọ moto, damp akwa . Ejila ihe nchacha abrasive ma ọ bụ ihe mgbaze.
- Mkpuchi ọkụ: The ABS lampshade can be removed and cleaned with mild soap and water. Ensure it is completely dry before reattaching.
- agụba skru: Check all blade attachment screws periodically to ensure they are tight.
- Ngwa ọkụ ọkụ LED: The LED light kit is replaceable. If replacement is needed, contact customer support for compatible parts.
7. Nchọpụta nsogbu
If you encounter any issues with your Amico ceiling fan, refer to the following common troubleshooting steps:
- Onye ofufe anaghị ebido:
- Check that power is supplied to the fan.
- Gbaa mbọ hụ na echekwabara njikọ waya niile.
- Verify the remote control batteries are functional and correctly inserted.
- Ìhè anaghị arụ ọrụ:
- Check the light kit's electrical connections.
- Ensure the light function on the remote is activated.
- Ndị na-egwu egwu:
- Ensure the mounting bracket is securely fastened to the ceiling junction box.
- Check that all blade screws are tightened.
- Verify blades are not bent or damaged.
- Njikwa anya anaghị aza:
- Dochie batrị njikwa anya.
- Ensure there are no obstructions between the remote and the fan's receiver.
8. Akwụkwọ ikike na nkwado
Amico is committed to customer satisfaction. Your ceiling fan comes with a Akwụkwọ ikike ọnwa 24 enweghị nchekasị. We also provide Nkwado oru 24-hour to assist with any issues during use or installation.
Ozi mkpọtụrụ:
- Email: support@amicolight.com
- Ekwentị: +1 (888) 676-1042 (Monday - Friday from 9:00 AM - 5:00 PM PT)

Graphic detailing Amico's after-sales support and warranty information.