
1. Okwu mmalite
This manual provides essential instructions for the safe and efficient operation, setup, maintenance, and troubleshooting of your OMTech 50W Fiber Laser Engraver with LightBurn and Rotary Axis. Please read this manual thoroughly before operating the machine.

Figure 1: OMTech 50W Fiber Laser Engraver with LightBurn and Rotary Axis.
2. Ozi nchekwa
WARNING: This is a Class 4 Laser product. Direct exposure to the laser beam can cause severe eye and skin damage. Always wear appropriate laser safety goggles during operation. Never look directly into the laser beam or its reflections.
- Ensure the work area is well-ventilated to dissipate fumes and smoke generated during engraving.
- Debe ihe ndị nwere ike ire ọkụ n'ebe onye na-akpụ ihe na laser nọ.
- Ejila igwe arụ ọrụ na-echeghị ya.
- Mara onwe gị nke ọma na bọtịnụ nkwụsị mberede na ebe ọ dị.
- Gbaa mbọ hụ na agbada igwe ahụ nke ọma.

Figure 2: Safety controls including Emergency Stop, Scan Head key, and Fiber Laser button.
3. Ihe ngwugwu
Upon receiving your OMTech 50W Fiber Laser Engraver, carefully unpack and verify all components against the following list:
- Main Tower (Laser Source and Control Unit)
- Laser Arm (Galvanometer Scanning Head)
- Tebụl ọrụ
- Axe Rotary
- Igwe ọkụ ọkụ
- eriri USB
- Mgbanwe Pedal Ụkwụ
- Goggles nchekwa
- Steel Ruler
- Hex Wrenches
- Keys for Scan Head
- USB Flash Drive (containing software and drivers)
- Akwụkwọ ntuziaka
Vidiyo 1: Mwepu na ihe ọzọview of components for a similar OMTech Fiber Laser Engraver.
4. Nhazi
4.1 Mgbakọ
- Jiri nlezianya wepụ ihe niile dị na nkwakọ ngwaahịa.
- Place the main tower and work table on a stable, level surface.
- Attach the laser arm to the support column using the provided bolts and hex wrenches. Ensure the lens is positioned above the work area.
- Connect the cable from the laser arm to the main tower.
- Connect the USB cable from the main tower to your computer.
- Connect the foot pedal switch to the main tower.
- Connect the power cord to the main tower and a standard 110V power outlet.
Video 2: Detailed steps on how to set up your OMTech fiber laser engraver.
4.2 Initial Power-Up and Software Installation
- Turn on the machine's emergency stop switch (red button) by rotating it clockwise.
- Insert the key into the "Scan Head" switch and turn it to the ON position.
- Insert the provided USB flash drive into your computer. Copy the software and drivers to your computer's hard drive.
- Open your computer's Device Manager, locate the unrecognized machine (e.g., USB LMCV4), and install the drivers from the copied files.
- Open the EZCad software. Set the machine parameters as indicated in the provided parameter screenshots on the USB drive.
Video 3: Instructions on connecting your machine with LightBurn software.
4.3 Ilekwasị anya na Laser ahụ
Accurate focusing is crucial for optimal engraving results. The machine features dual red dot locators for precise focusing.
- Place your material on the work table.
- Use the provided steel ruler to measure the distance from the surface of the material to the lower edge of the red stripe on the galvanometer scanning head. This distance should match the focal length marked on the nameplate (e.g., 175mm, 361mm).
- Turn the adjustment wheel on the support column to raise or lower the laser arm until the measured distance is correct.
- When correctly focused, the two red dots projected onto the material will converge into a single, sharp red dot.

Figure 3: Red dot guidance system for easy focusing and clear preview of the engraving area.
5. Ntuziaka ọrụ
5.1 Basic Engraving Process
- Ensure the machine is properly set up and focused.
- Open the EZCad or LightBurn software on your computer.
- Import your design diagram into the software.
- Adjust the engraving parameters (power, speed, frequency) according to your material and desired effect.
- Use the "Frame" function in the software to preview the actual size and position of your design on the material using the red dot pointers. Adjust as necessary.
- Wear your laser safety goggles.
- Press the "Fiber Laser" button on the main tower to activate the laser.
- Initiate the engraving process from the software.
- Once engraving is complete, press the "Fiber Laser" button again to stop the laser. Turn the key on the "Scan Head" switch to OFF and press the emergency stop button.

Figure 4: LightBurn software interface for design and control.
5.2 Using the Rotary Axis
The included rotary axis allows for engraving on curved or cylindrical surfaces.
- Connect the rotary axis to the designated port on the main tower.
- Secure your cylindrical object (e.g., ring, tumbler) onto the rotary axis chuck.
- Adjust the laser focus for the curved surface.
- In the software, enable and configure the rotary axis settings according to the object's dimensions.
- Proceed with engraving as per the basic operating instructions.

Figure 5: Rotary axis for expanding engraving capabilities to curved surfaces.
Video 4: Demonstration of engraving with the rotary axis.
6. Engraving Examples
The OMTech 50W Fiber Laser Engraver is capable of marking and etching a wide variety of materials, including metals like steel, gold, and jewelry, as well as certain plastics.

Figure 6: Customizing a smartphone with laser engraving.

Figure 7: Detailed dog portrait engraved on metal.

Ọgụgụ 8: Ọpụamples of engraved jewelry, tags, and other items.

Ọgụgụ 9: Mgbakwunye examples including circuit boards, pendants, and wooden boxes.
Video 5: Laser engraving a design onto shoes.
Video 6: Laser engraving a design onto cards.
Video 7: OMTech fiber laser engraver in operation.
Video 8: Demonstration of ultra-high engraving speed.
Video 9: DIY cell phone engraving with OMTech fiber laser engraver.
7. Nlekọta
Mmezi mgbe niile na-eme ka onye na-akpụ ihe laser gị dị ogologo ndụ ma na-arụ ọrụ nke ọma.
- Nchacha oghere: Periodically clean the laser lens with a soft, lint-free cloth and lens cleaning solution to prevent dust and debris buildup, which can affect laser performance.
- Work Area Cleanup: Keep the work table and surrounding area clean from engraved material residue.
- Sistemu ikuku: Ensure the ventilation system is clear and functioning properly to remove smoke and fumes.
- Nyocha USB: Regularly inspect all cables for any signs of wear or damage.
8. Nchọpụta nsogbu
Akụkụ a na-eleba anya n'okwu ndị a na-ahụkarị ị nwere ike izute:
- Enweghị mmepụta laser: Check if the "Fiber Laser" button is pressed and illuminated. Ensure the "Scan Head" key is turned ON and the emergency stop button is disengaged. Verify all cables are securely connected.
- Ọdịdị Ịkpụ Ihe Na-adịghị Mma: Re-check the laser focus. Ensure engraving parameters (power, speed, frequency) are appropriate for your material. Clean the laser lens if necessary.
- Nsogbu Njikọ Ngwanrọ: Verify the USB cable connection. Reinstall the drivers if the device is not recognized in Device Manager. Ensure the correct laser is selected in LightBurn/EZCad.
- Red Dots Not Converging: Adjust the height of the galvanometer using the adjustment wheel until the two red dots merge into one.
9. Nkọwapụta
| Njirimara | Nkọwapụta |
|---|---|
| Ike Laser | 50W Fiber Laser |
| Mpaghara ihe osise | 7.9" x 7.9" (200x200 mm) |
| Engraving Precision | 0.1mm |
| Ọsọ ihe osise | Ruo 275.6 ip (7000 mm/s) |
| Klas laser | Class 2 (0.874 mW Output Power) |
| Ngwa ndakọrịta | LightBurn, EZCAD2 |
| Akụkụ ngwaahịa | 30.5 x 17.7 x 31.1 sentimita asatọ |
| Ibu Ibu | 120 pound |
| Nọmba nlereanya | RYGEL-FMM5RRABURYGELAMZ1 |

Figure 10: High precision and speed capabilities of the laser engraver.

Figure 11: F-Theta scanning lens with 5-layer protective and antireflective coating.
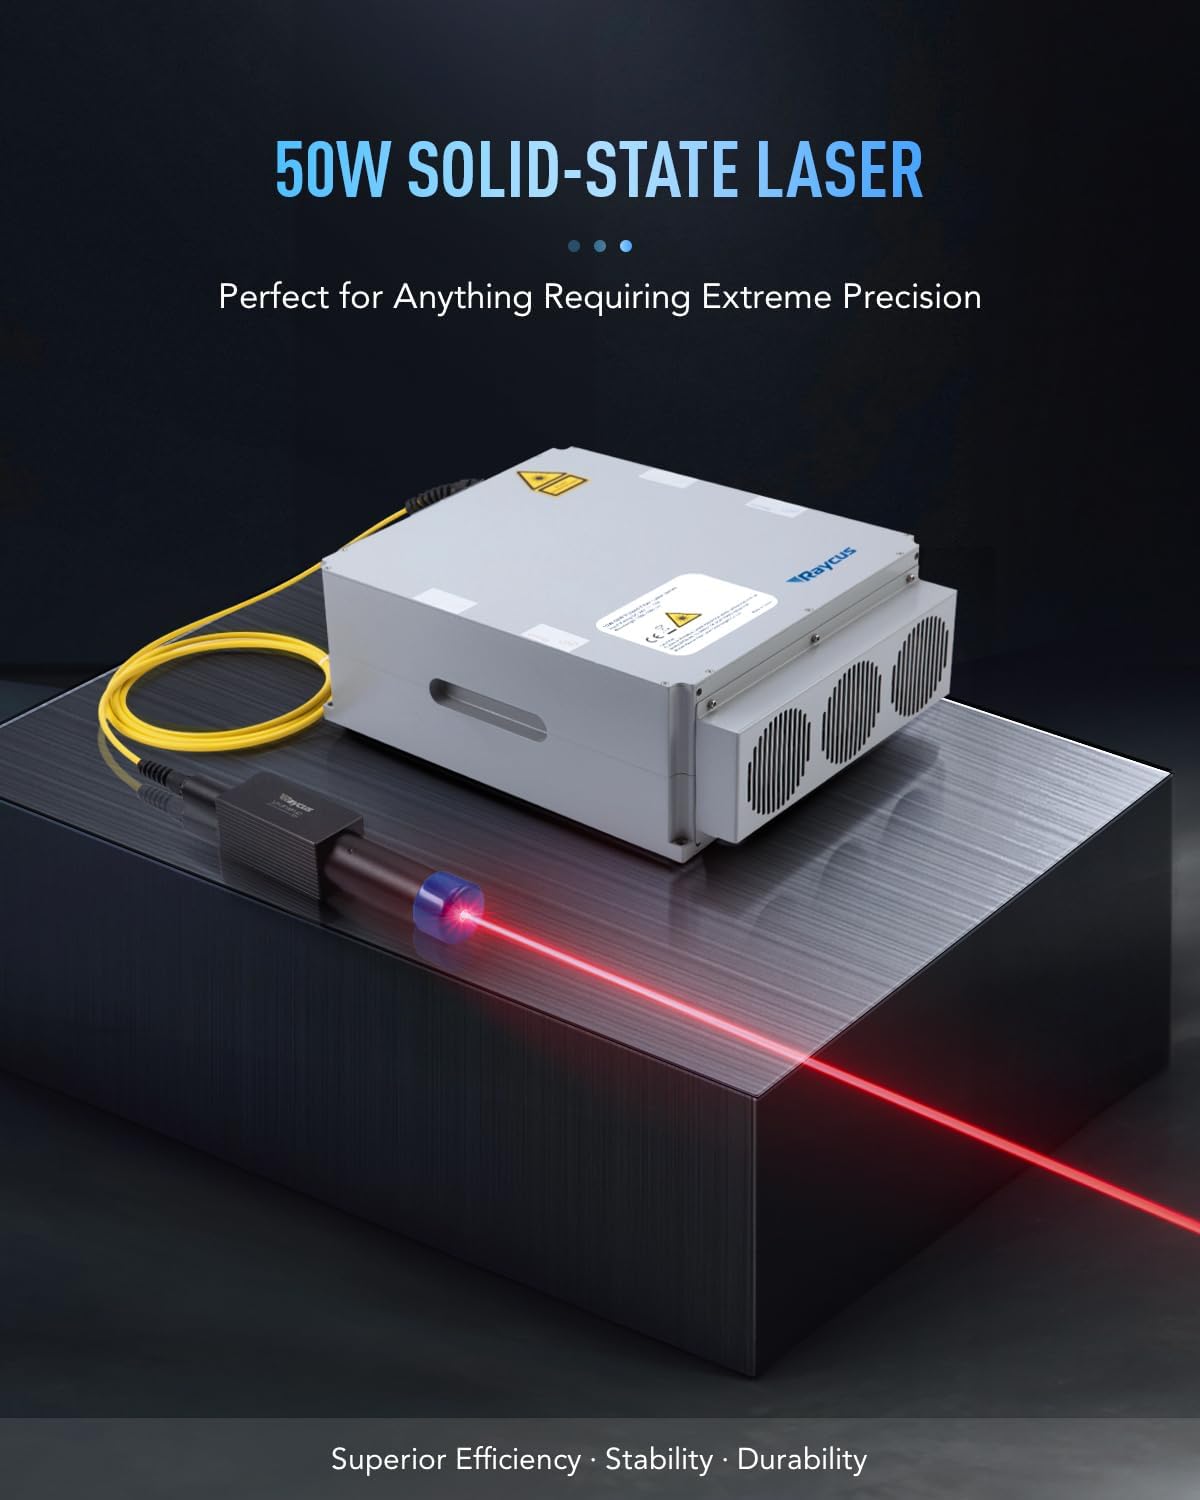
Figure 12: The 50W solid-state laser source, designed for extreme precision.

Figure 13: Expansive 7.9" x 7.9" work area with 44.1 lb material capacity.

Figure 14: Speed comparison highlighting the efficiency of the OMTech 50W Fiber Laser.
10. Akwụkwọ ikike na nkwado
OMTech provides comprehensive support for its products:
- Iwu nloghachi: Returnable until January 31, 2026.
- Nkwado ndị ahịa: U.S.-based technical support, 24/7 online customer service, and two-year support.
For further assistance, please refer to the contact information provided with your product or visit the official OMTech websaịtị.