
Okwu mmalite
This manual provides detailed instructions for the safe and effective use of your Diydeg 18000 LM Diving Flashlight. Please read this manual thoroughly before operating the device and retain it for future reference.
The Diydeg diving flashlight is designed for underwater activities, offering high brightness and multiple lighting modes. Its robust construction ensures performance in challenging underwater environments.

Image: The Diydeg diving flashlight provides excellent illumination for various underwater activities, including diving, caving, and photography, with a high color rendering index for realistic visuals.
Ozi nchekwa
- Iguzosi ike n'ezi ihe nke mmiri: Ensure all seals are clean and properly seated before submerging the flashlight. Improper sealing can lead to water ingress and damage.
- Nchekwa batrị: Use only the specified rechargeable lithium batteries. Do not attempt to open or modify the battery pack. Charge the battery using the provided USB cable.
- Ọgbọ ọkụ: The flashlight may generate heat during prolonged use, especially at high brightness settings. Avoid direct contact with skin when operating out of water for extended periods.
- Nchedo anya: Do not shine the light directly into eyes. The high intensity light can cause temporary vision impairment.
- Nchekwa: Chekwaa ọkụ ọkụ ahụ n'ebe dị jụụ, kpọrọ nkụ na-adịghị na ìhè anyanwụ kpọmkwem na oke okpomọkụ.
- mkpofu: Dispose of batteries and the flashlight according to local regulations.
Ihe ngwugwu
Chọpụta na ihe niile edepụtara n'okpuru dị na ngwugwu gị:
- 1 x Diving Flashlight
- 1 x njikwa
- 1 x eriri USB
- 1 x Hexagonal Wrench
- 1 x efere ọla
- 1 x Long Screw
- 1 x Short Screw
- 1 x Column Head (Ball Joint)

Image: The complete package contents of the Diydeg diving flashlight, including the main unit and various accessories for assembly and charging.
Nkọwapụta
| Ụdị ihe | Ìhè mmiri mmiri mmiri |
| Ihe onwunwe | Aluminom alloy |
| Ibu | Ihe ruru. 777g (27.4oz) |
| Dayameta isi | Ihe ruru. 60mm (2.4 inch) |
| Ogologo | Ihe ruru. 130mm (5.1 inch) |
| Batrị | 3 x Built-in Lithium batteries, 14400mAh total |
| Isi mmalite ọkụ | White, Red, Blue COB LED |
| Maximum Dive Depth | 100 mita (328 ụkwụ) |
| Icha ọkụ | 18000 LM |
| Ogo IP | IPX8 |
| Ogologo ndụ LED | Ihe karịrị awa 50,000 |

Image: Physical dimensions of the Diydeg diving flashlight.
Melite
- Ebube mbụ: Before first use, fully charge the flashlight using the provided USB cable. Connect the USB cable to the charging port on the flashlight and a compatible USB power source. The charging indicator will show the charging status.
- Handle Installation (Optional):
- Attach the handle to the flashlight body using the hexagonal wrench and screws provided.
- If using for camera fill light, attach the column head (ball joint) to the handle or directly to the flashlight if applicable, using the metal plate and screws.
- Lelee tupu ị banye n'ime mmiri: Before each dive, inspect the flashlight for any visible damage. Ensure the charging port cover is securely closed to maintain waterproof integrity.

Image: Handle and ball joint accessory for mounting or enhanced grip.

Foto: Ofeview of the flashlight showing the two control buttons and their functions.
Ntuziaka ọrụ
The Diydeg diving flashlight features two independent buttons for controlling different light modes.

Foto: nso nso view of the two distinct control buttons.
Button 1: White Light Modes
Press Button 1 to cycle through the white light brightness settings:
- First press: High brightness white light
- Second press: Medium brightness white light
- Third press: Low brightness white light
- Fourth press: Turn off white light
Button 2: Red and Blue Light Modes
Press Button 2 to cycle through the red and blue light settings. These modes are often used for observing marine life as many aquatic creatures are less sensitive to red and blue light.
- First press: Constant red light
- Second press: Flashing red light
- Third press: Constant blue light
- Fourth press: Turn off red/blue light
Mara: Both white light and red/blue light modes can be operated independently or simultaneously.

Foto: Examples of the white and red light output from the flashlight.
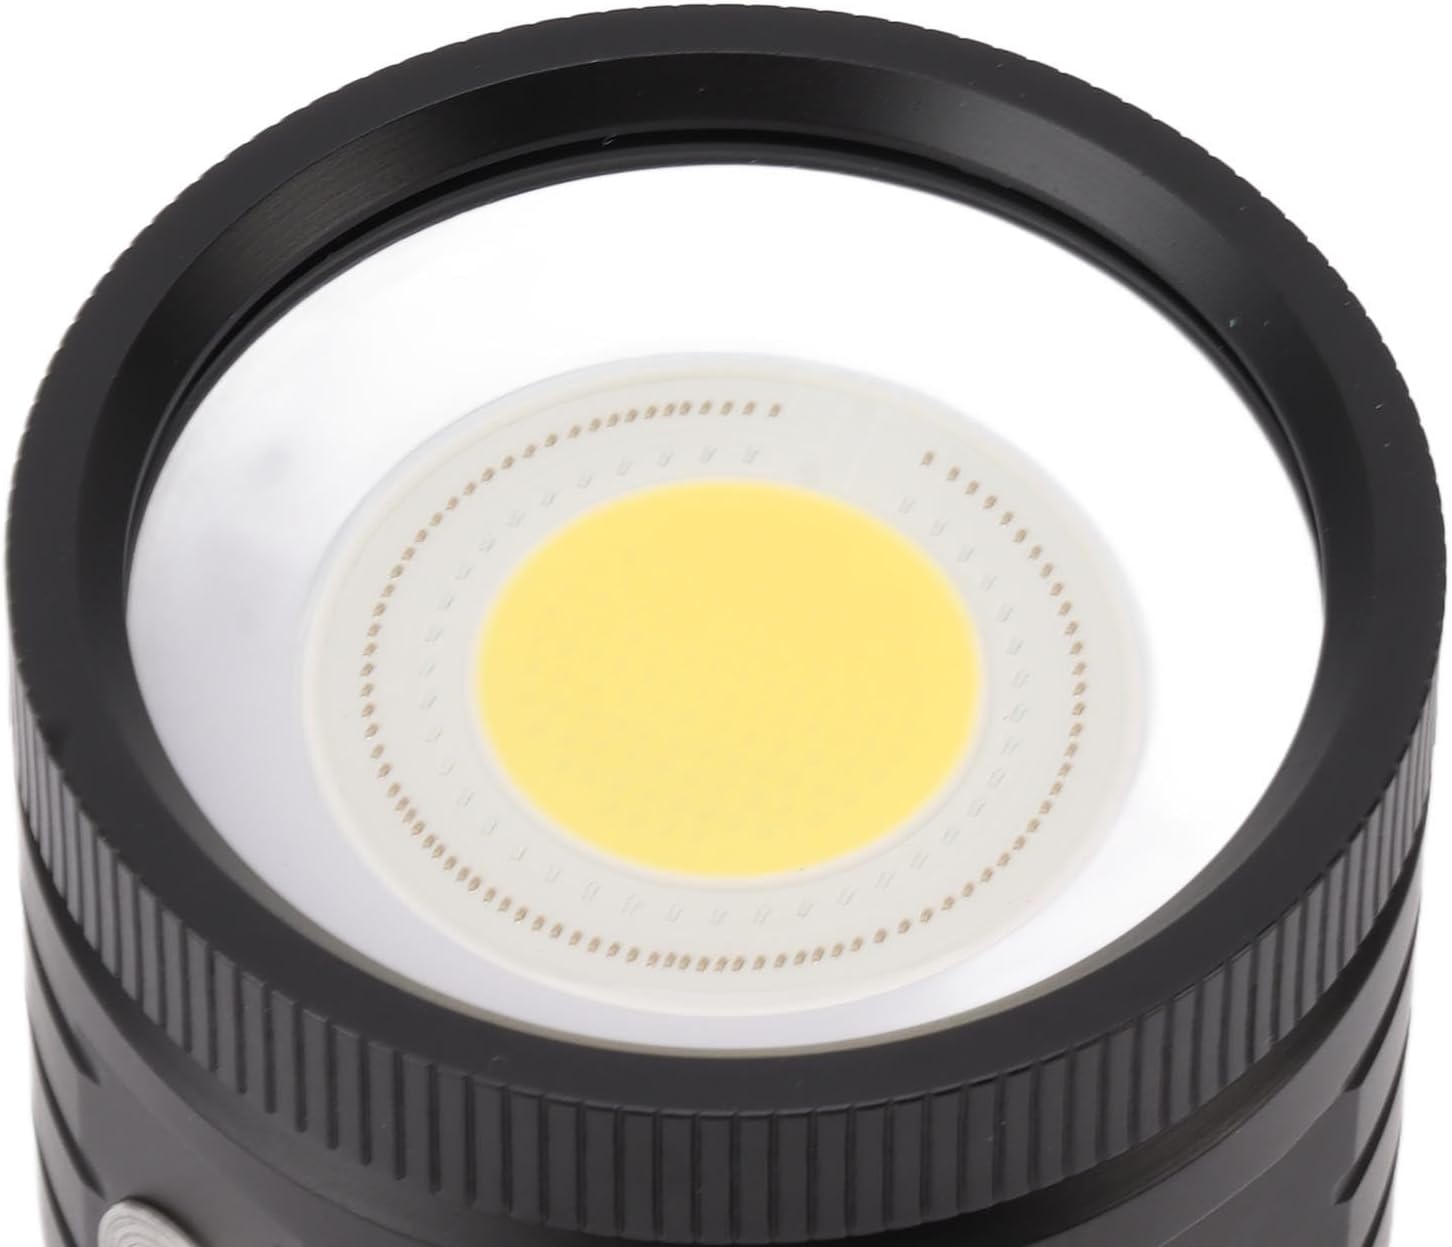
Foto: Zuru ezu view of the COB LED light source.
Nlekọta
- Ịsa mmiri: After each dive, rinse the flashlight thoroughly with fresh water to remove salt, sand, and other debris.
- ihicha: Dry the flashlight completely with a soft cloth before storage.
- Nlekọta O-Ring: Periodically inspect the O-rings for cracks, tears, or signs of wear. Clean them and apply a thin layer of silicone grease if necessary to maintain a watertight seal. Replace damaged O-rings immediately.
- Nchaji ọdụ ụgbọ mmiri: Ensure the charging port is clean and dry before connecting the USB cable. Keep the port cover securely closed when not charging.
- Ndụ batrị: For optimal battery life, avoid fully discharging the battery frequently. Recharge the flashlight regularly, especially if it will be stored for an extended period.
Nchọpụta nsogbu
| Nsogbu | Ihe nwere ike ime | Ngwọta |
|---|---|---|
| Igwe ọkụ anaghị agbanwu. | Batrị agwụla. | Charge the flashlight using the provided USB cable. |
| Mwepụta ọkụ adịghị ada. | Obere ụgwọ batrị. | Tinyeghachi ọkụ ọkụ ahụ. |
| Water inside the flashlight. | Improperly sealed O-rings or damaged seals. | Immediately turn off the flashlight. Open the battery compartment, dry thoroughly, inspect O-rings for damage, clean, and re-grease. If damage is severe, contact customer support. |
| Bọtịnụ anaghị anabata ya. | Nsogbu ngwanrọ nwa oge ma ọ bụ obere batrị. | Recharge the flashlight. If the issue persists, contact customer support. |
Akwụkwọ ikike na nkwado
For warranty information or technical support, please refer to the contact details provided with your purchase or visit the official Diydeg websaịtị. Debe nnata nzụta gị dị ka ihe akaebe nke ịzụrụ maka nkwupụta ikike.
If you have any questions about your underwater LED flashlight, please contact us. We aim to reply within 24 hours and provide a satisfactory solution.