
1. Okwu mmalite
This manual provides essential information for the safe and efficient use of your ProCom MN300TPA-B Natural Gas Ventless Infrared Plaque Heater. This heater is designed to provide supplemental heat for indoor residential spaces up to 1400 sq. ft. It operates on natural gas and features a thermostat control for maintaining desired room temperatures. Please read all instructions carefully before installation and operation.

Foto 1.1: Ofeview of the ProCom MN300TPA-B Natural Gas Ventless Infrared Plaque Heater. This image shows the front and side profile of the white heater unit, highlighting its compact design.
2. Ozi nchekwa
WARNING: Improper installation, adjustment, alteration, service, or maintenance can cause injury or property damage. Read the installation, operating, and maintenance instructions thoroughly before installing or servicing this equipment.
- This appliance is for use with Natural Gas only. Do not attempt to use with propane or any other fuel.
- Ensure adequate ventilation in the area where the heater is installed. Ventless heaters consume oxygen from the room.
- The heater is equipped with an Oxygen Depletion Sensor (ODS) pilot system, which automatically shuts off the heater if oxygen levels in the room fall below a safe threshold. Do not tamper with or bypass this safety device.
- Maintain proper clearances from combustible materials as specified in the installation instructions.
- Echekwala ma ọ bụ jiri mmanụ ụgbọala ma ọ bụ vapors na mmiri mmiri ndị ọzọ na-ere ọkụ n'akụkụ nke a ma ọ bụ ngwa ọ bụla ọzọ.
- Keep children and pets away from the heater, especially when in operation, as surfaces can become very hot.
- Do not place clothing or other flammable materials on or near the heater.
- This heater is ANSI Certified, ensuring it meets safety standards.
3. Ihe ngwugwu
Nyochaa na akụrụngwa niile dị na emebighị ya tupu ịga n'ihu na ntinye.
- ProCom Ventless Infrared Plaque Heater (Model MN300TPA-B)
- Base Feet (for floor mounting)
- Wall Mount Bracket (for wall mounting)
- Hardware for mounting
- Akwụkwọ ntuziaka

Image 3.1: Components included with the ProCom heater. This image illustrates the main heater unit, the detachable base feet, and indicates the presence of a wall bracket and Oxygen Depletion Sensor (ODS).
4. Nhazi
The ProCom MN300TPA-B heater can be installed as a floor-standing unit using the included base feet or mounted on a wall using the provided wall bracket. No electricity is required for operation.
4.1. Ịhọrọ ebe
- Select a location that allows for proper clearances from combustible materials (walls, furniture, drapes, etc.). Refer to the minimum clearance requirements in the specifications section.
- Ensure the location is suitable for natural gas connection.
- Avoid areas with excessive drafts or where the heater could be easily bumped.
4.2. Floor Mounting (with Base Feet)
- Carefully unpack the heater and identify the base feet.
- Attach the base feet to the bottom of the heater using the provided hardware. Ensure they are securely fastened.
- Place the heater on a flat, stable, non-combustible surface.
4.3. Mgbidi Mgbidi
- Identify the wall mount bracket and appropriate hardware.
- Mark the desired mounting location on the wall, ensuring it meets clearance requirements and is structurally sound.
- Securely attach the wall mount bracket to the wall using the provided hardware.
- Carefully lift the heater and hang it onto the installed wall bracket. Ensure it is firmly seated and stable.
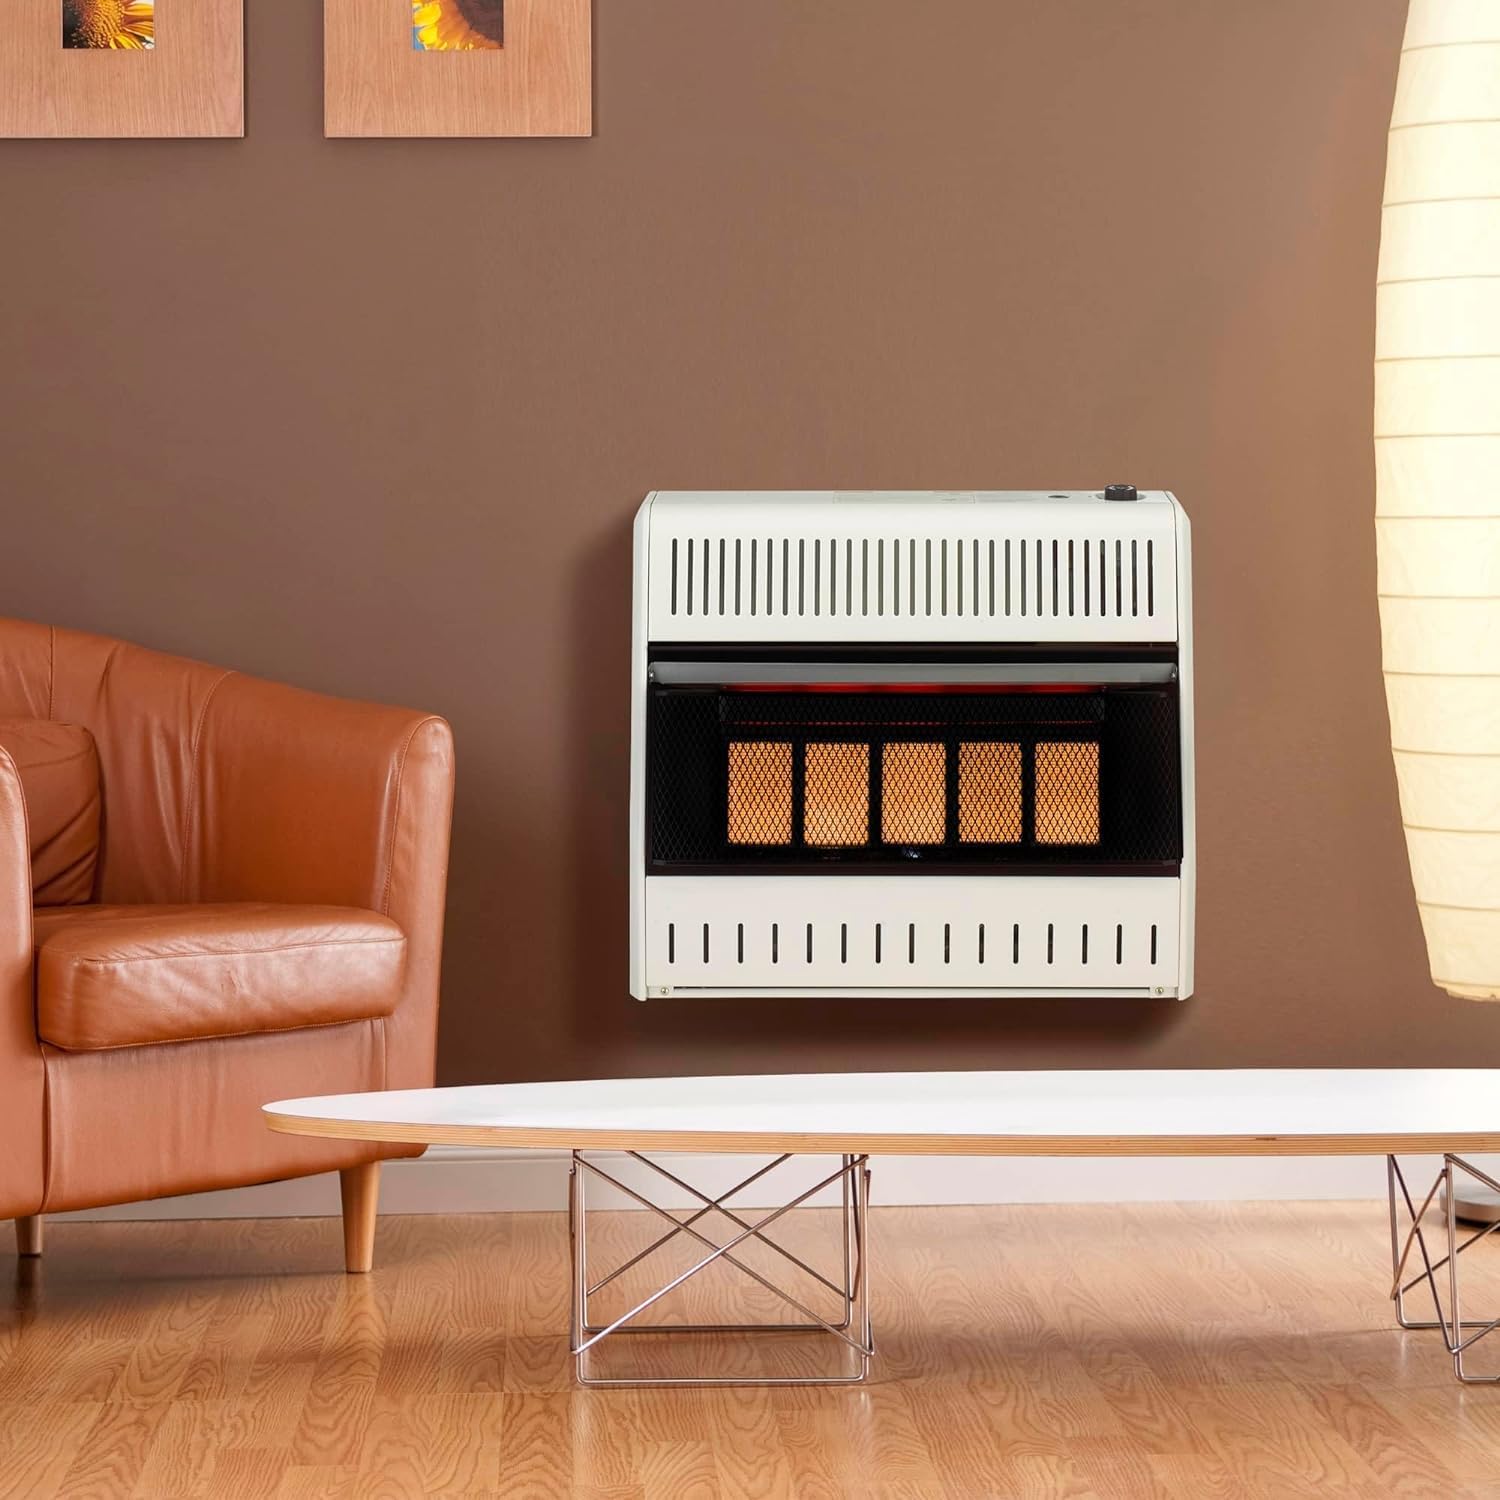
Image 4.1: The ProCom heater installed on a wall in a living space. This demonstrates a typical wall-mounted setup.
4.4. Njikọ gas
IMPORTANT: Gas connections must be performed by a qualified professional in accordance with local codes and regulations.
- Connect the natural gas supply line to the heater's gas inlet.
- Use appropriate gas-rated sealant on all threaded connections.
- After connection, check all gas fittings for leaks using a non-corrosive leak detection solution. Never use an open flame to check for leaks.
5. Ntuziaka ọrụ
The heater features a push-button piezo ignition system and a thermostat control for adjusting heat output.
5.1. Initial Lighting (First Use)
- Hụ na valvụ mmanụ gas nke na-enye ihe na-ekpo ọkụ emepeela.
- Locate the control knob on the heater. Turn it to the "PILOT" position.
- Press and hold the control knob in while simultaneously pressing the IGNITOR button repeatedly until the pilot flame ignites. You should see a small flame at the pilot burner.
- Nọgide na-ejide aka njikwa ahụ ruo ihe dị ka sekọnd 30-60 mgbe onye na-anya ụgbọelu ahụ gbanyụrụ iji kwe ka thermocouple ahụ kpoo ọkụ.
- Hapụ aka njikwa ahụ. Ọ bụrụ na ọkụ onye na-anya ụgbọelu agbanyụọ, megharịa usoro 2-4.
5.2. Turning On the Main Burner
- Once the pilot flame is stable, turn the control knob from the "PILOT" position to the desired heat setting (e.g., 1, 2, 3, 4, 5 or High/Medium/Low). The main burner should ignite.
- The heater offers 5 variable heat settings via the thermostat control, allowing you to adjust the heat output to your comfort level.
5.3. Ịgbanwe Mmepụta Okpomọkụ
Rotate the control knob to select a higher or lower heat setting. The thermostat will automatically regulate the burner to maintain the set temperature.
5.4. Turning Off the Heater
- To turn off the main burner, turn the control knob to the "PILOT" position. The main burner will extinguish, but the pilot flame will remain lit.
- To completely turn off the heater (including the pilot), turn the control knob to the "OFF" position. It is recommended to also close the manual gas shut-off valve for extended periods of non-use.

Image 5.1: Close-up of the thermostat controls. This image shows the ignitor button and the rotary control knob with settings from OFF to PILOT and variable heat settings (1-5).

Image 5.2: Key features of the ProCom heater. This image highlights the 30,000 BTU/HR output, no venting requirement, natural gas operation, no electricity needed, safe/clean burning heat, piezo ignition, and thermostat mode.
6. Nlekọta
Regular maintenance ensures safe and efficient operation of your heater.
- Nhicha: Keep the heater area clear and free from combustible materials, dust, and debris. Use a soft, dry cloth to clean the exterior surfaces. Do not use abrasive cleaners or solvents.
- Pilot and Burner Inspection: Periodically inspect the pilot and main burner flames. The pilot flame should be steady and blue. The main burner flames should also be predominantly blue with some yellow tips. Any significant changes in flame appearance may indicate a need for professional service.
- Igwe ikuku: Ensure that any ventilation openings in the room are not obstructed.
- Nyocha kwa afọ: It is recommended to have the heater inspected annually by a qualified service technician.
7. Nchọpụta nsogbu
Tupu ịkpọ oku maka ọrụ, regharịaview nsogbu na azịza ndị a na-ahụkarị:
- Heater does not light:
- Ensure the gas supply valve is fully open.
- Check if the pilot light is lit. If not, follow the initial lighting instructions.
- Verify that the control knob is set to the PILOT position and held long enough for the thermocouple to heat.
- Check for proper gas pressure. - Pilot light will not stay lit:
- Ensure the control knob is held in for the recommended time after ignition.
- The thermocouple may be dirty or faulty. Contact a qualified technician.
- The ODS system may have activated due to low oxygen. Ventilate the area and try again. - Main burner does not ignite after pilot is lit:
- Ensure the control knob is turned to an ON position (e.g., 1-5).
- There may be an issue with the main burner orifice or gas flow. Contact a qualified technician. - Heater produces an unusual odor:
- A slight odor may be present during initial use as manufacturing oils burn off. If the odor persists or is strong, turn off the heater and gas supply, then contact a qualified technician.
8. Nkọwapụta
| Njirimara | Nkọwa |
|---|---|
| Nọmba nlereanya | MN300TPA-B |
| Ụdị | ProCom |
| Ụdị mmanụ ụgbọala | Ike ikuku |
| Mpụta BTU | 30,000 BTU/HR (Maximum) |
| Ihe mkpuchi kpo oku | Ruo 1400 sq. ft. |
| Ụdị mgbanye | Mgbanye Piezo |
| Ụdị njikwa | Thermostat Control (3 Speeds / 5 Variable Heat Settings) |
| Atụmatụ nchekwa | Oxygen Depletion Sensor (ODS), Overheat Protection |
| Nhọrọ nkwụnye | Floor Mount (with included base feet), Wall Mount (with included bracket) |
| Akụkụ ngwaahịa | 8"D x 26.63"W x 23.5"H |
| Ibu Ibu | 34.3 pound |
| Agba | Ọcha |

Image 8.1: Dimensions of the ProCom MN300TPA-B heater. This image shows the height (24 inches), length (27 inches), and depth (8 inches) of the unit.
9. Akwụkwọ ikike na nkwado
For warranty information or technical assistance, please contact ProCom customer service. Keep your purchase receipt as proof of purchase for any warranty claims.
ProCom Customer Service: Refer to the contact information provided on the product packaging or the official ProCom websaịtị.