
Okwu mmalite
Thank you for choosing the NXGKET Rechargeable Kids Walkie-Talkie set. This manual provides detailed instructions on how to set up, operate, and maintain your walkie-talkies to ensure optimal performance and a fun communication experience for children. Designed for outdoor adventures, camping, hiking, and imaginative play, these walkie-talkies offer clear communication and a range of useful features.
Ihe ngwugwu
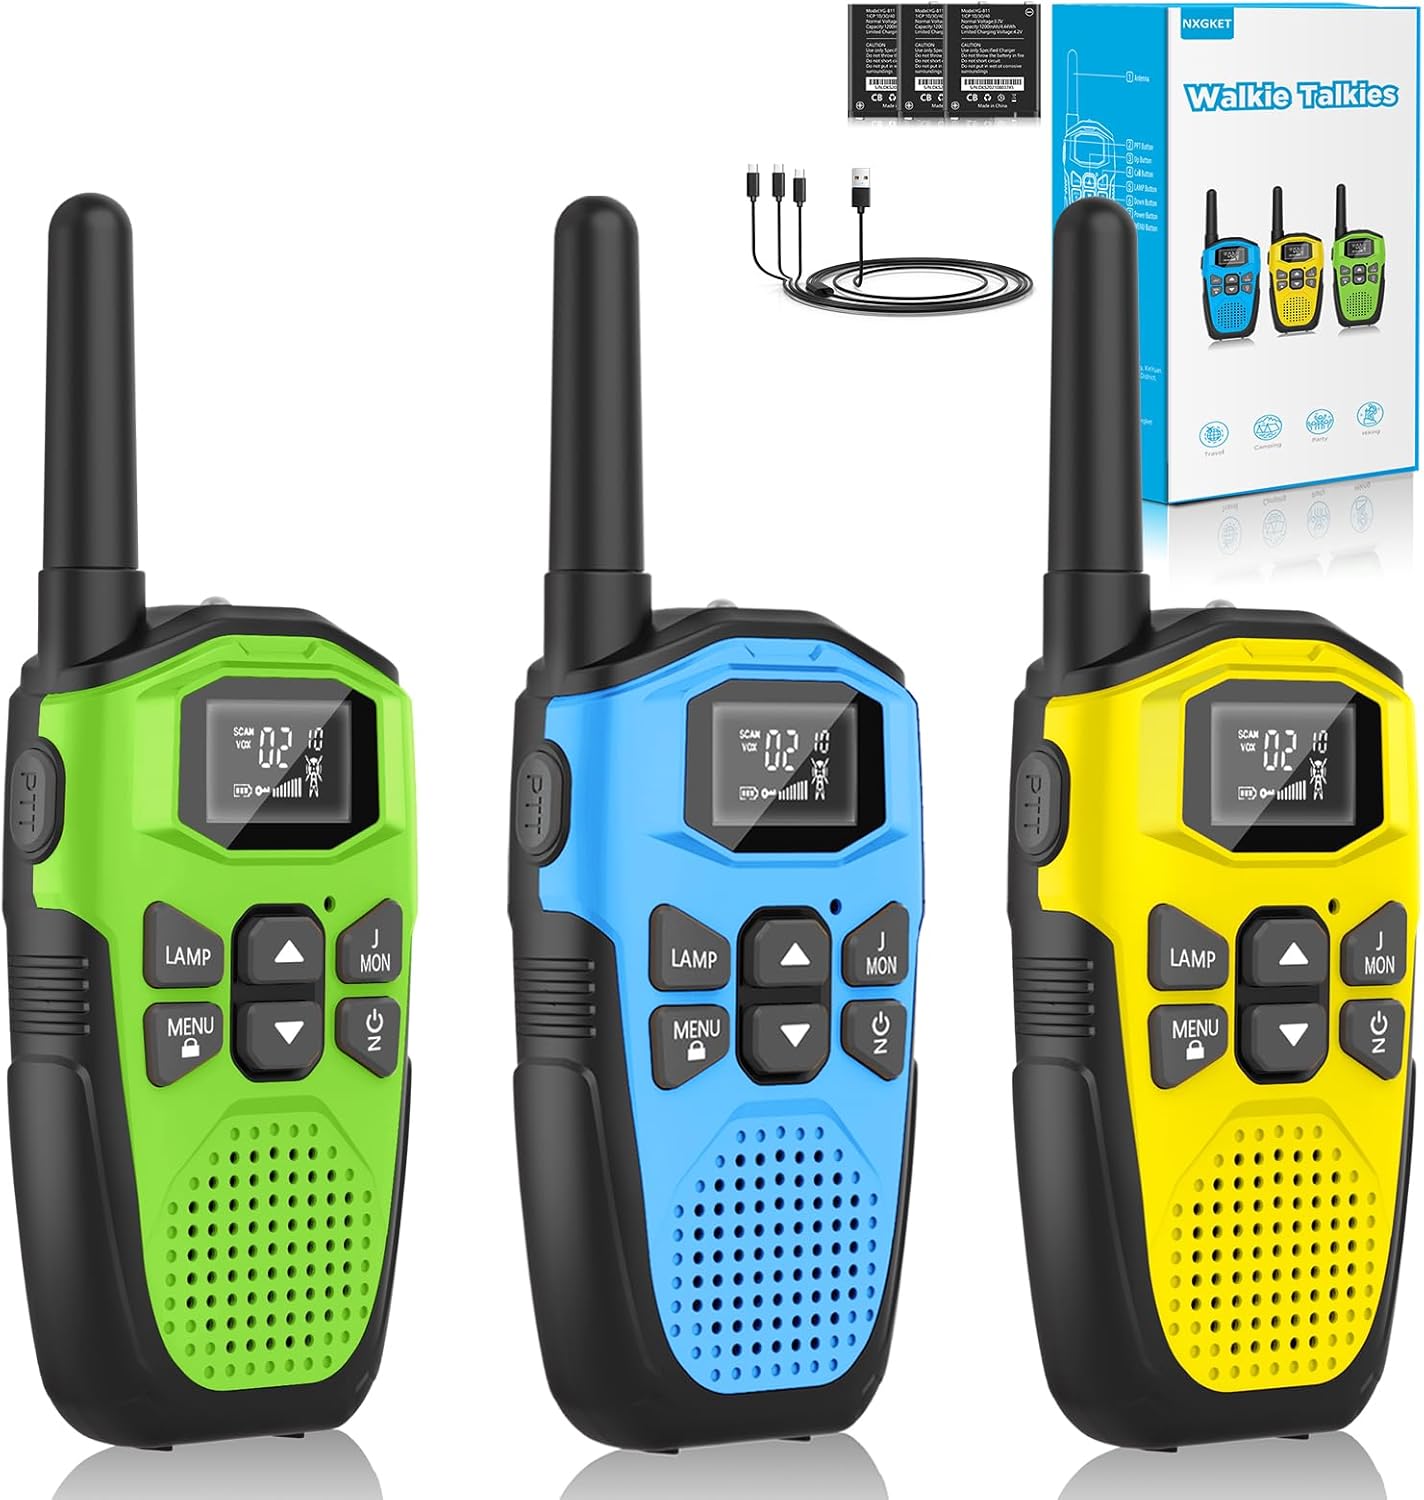
Image: Contents of the NXGKET Walkie-Talkie package, including three units and accessories.
- 3 x NXGKET Rechargeable Walkie-Talkies (Green, Blue, Yellow)
- 1 x USB Ụdị-C eriri USB
- Akwụkwọ ntuziaka onye ọrụ 1 x (akwụkwọ a)
Ngwaahịa gafereview

Image: Labeled diagram illustrating the various parts and buttons of the NXGKET Walkie-Talkie.
| Akụkụ | Ọrụ |
|---|---|
| Antenna | Transmits and receives radio signals. |
| Igwe ọkụ ọkụ LED | Provides illumination, useful in low-light conditions or as an emergency light. |
| Ọdụ ụgbọ mmiri USB-C | Connects for recharging the built-in lithium-ion battery. |
| Ngosipụta LCD | Shows channel, sub-code, battery level, VOX status, and other indicators. |
| Bọtịnụ PTT (Pịa-na-okwu) | Press and hold to transmit your voice. Release to listen. |
| LAMP Bọtịnụ | Activates/deactivates the LED flashlight. |
| MENU / Lock Button | Enters menu settings; long press to lock/unlock keypad. |
| Bọtịnụ di elu / ala | Navigates menu options and adjusts volume/channel. |
| Speakerda Ọkà Okwu | ewepụtara ọdịyo. |
| bọtịnụ ike / nyocha | Turns the unit on/off; short press to activate channel scan. |
| Call / Ring Button | Sends an audible call alert to other walkie-talkies on the same channel. |
| Mpempe eriri eriri | Allows for convenient attachment to clothing or bags. |
Melite
Ịchaji batrị

Image: The walkie-talkie connected to a USB-C charging cable.
Your NXGKET walkie-talkies come with a built-in 1200mAh rechargeable lithium-polymer battery. Before first use, it is recommended to fully charge the devices.
- Locate the USB Type-C charging port on the side or top of the walkie-talkie.
- Connect the provided USB Type-C cable to the walkie-talkie.
- Plug the other end of the USB cable into a compatible USB power adapter (not included), computer USB port, or power bank.
- The battery indicator on the LCD display will show charging status. A full charge typically takes approximately 2 hours.
- Once fully charged, the walkie-talkie can be used for up to 1 day of continuous operation and up to 3 days in standby mode.
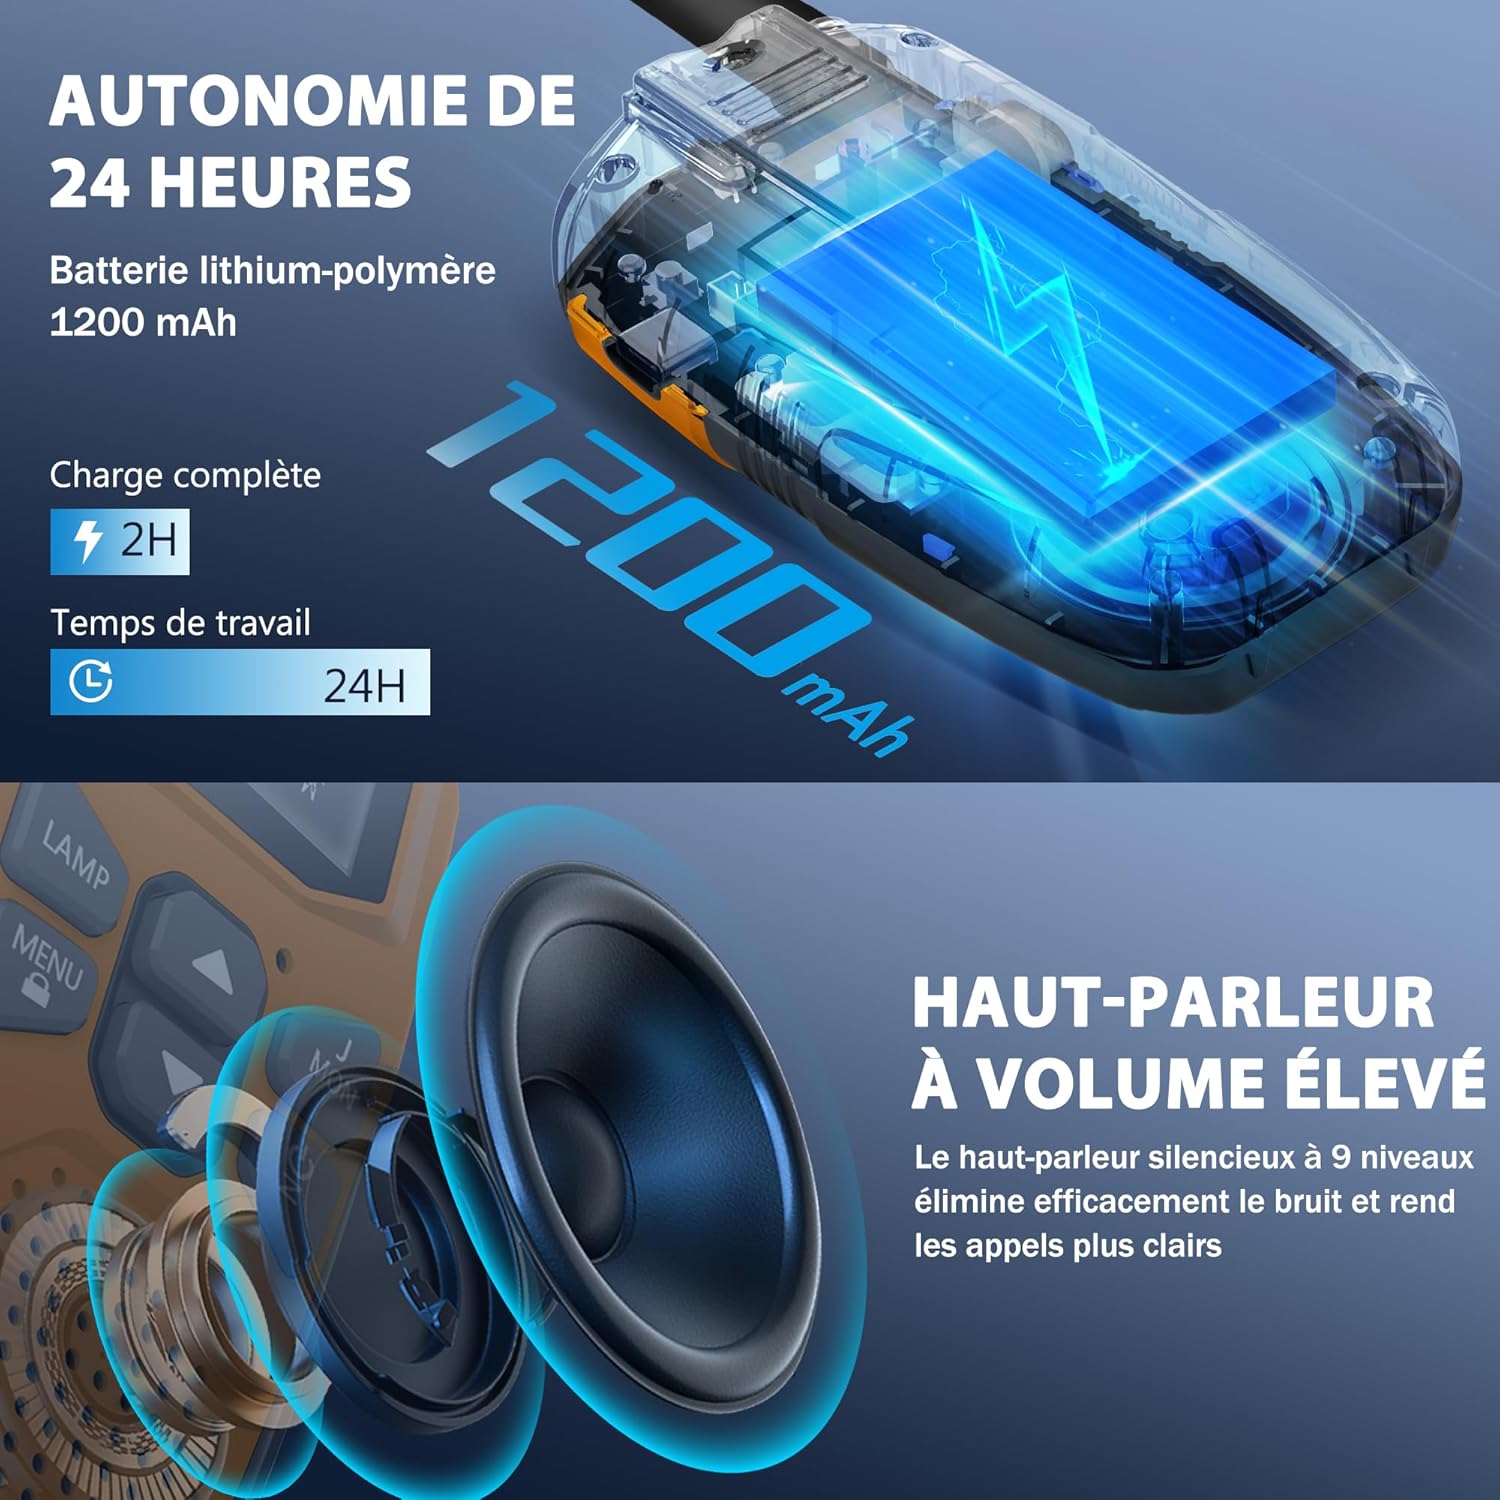
Image: Visual representation of the 24-hour battery life and high-quality speaker.
Gbanyụọ/ Gbanyụọ
- Iji gbanye: Pịa ma jide Power / Scan button (usually located below the Up/Down buttons) until the LCD screen illuminates and you hear a power-on tone.
- Iji gbanyụọ: Pịa ma jide Power / Scan button again until the LCD screen turns off and you hear a power-off tone.
Ntuziaka ọrụ
Setting Channels and Sub-codes
Your walkie-talkies operate on 16 main channels and feature 121 interference elimination codes (CTCSS/DCS) to ensure private communication. For two or more walkie-talkies to communicate, they must be set to the same channel and sub-code.
- Turn on both walkie-talkies.
- Pịa MENU button once. The channel number on the LCD display will start flashing.
- Jiri ihe Up or Ala buttons to select your desired main channel (1-16).
- Pịa MENU button again. The sub-code number will start flashing.
- Jiri ihe Up or Ala buttons to select your desired sub-code (0-121). Setting to 0 disables the sub-code.
- Pịa MENU button a third time or wait a few seconds for the settings to be saved automatically.
- Repeat these steps for all walkie-talkies you wish to communicate with, ensuring they are on the exact same channel and sub-code.
Transmitting (PTT Button)
- To speak, press and hold the PTT (Push-to-Talk) button located on the side of the walkie-talkie.
- Speak clearly into the microphone, holding the walkie-talkie approximately 5-10 cm from your mouth.
- Hapụ ya PTT button when you are finished speaking to allow the other party to respond.
VOX Hands-Free Function
The VOX (Voice Operated Exchange) function allows you to transmit without pressing the PTT button. The walkie-talkie will automatically transmit when it detects your voice.
- To activate/deactivate VOX: Press the MENU button repeatedly until the VOX icon appears on the LCD display.
- Jiri ihe Up or Ala buttons to select the VOX sensitivity level (e.g., 1-3, with 1 being most sensitive). Select "OFF" to disable VOX.
- Pịa MENU again or wait to save the setting.
Ọrụ ọkụ ọkụ
Each walkie-talkie is equipped with a built-in LED flashlight for convenience and safety.
- To turn on the flashlight: Press the LAMP bọtịnụ.
- To turn off the flashlight: Press the LAMP bọtịnụ ọzọ.
Call/Ring Button
Pịa Call / Ring button (usually labeled "MON" or with a bell icon) to send an audible alert tone to other walkie-talkies on the same channel, signaling that you wish to communicate.
Nyocha akpaaka
The auto-scan feature allows the walkie-talkie to automatically scan through all available channels to find active conversations.
- To activate scan: Briefly press the Power / Scan button while the unit is on. The scan icon will appear on the display.
- The walkie-talkie will stop scanning when it detects a signal. It will resume scanning after a few seconds of inactivity.
- To stop scan: Briefly press the Power / Scan bọtịnụ ọzọ.
Atụmatụ igodo
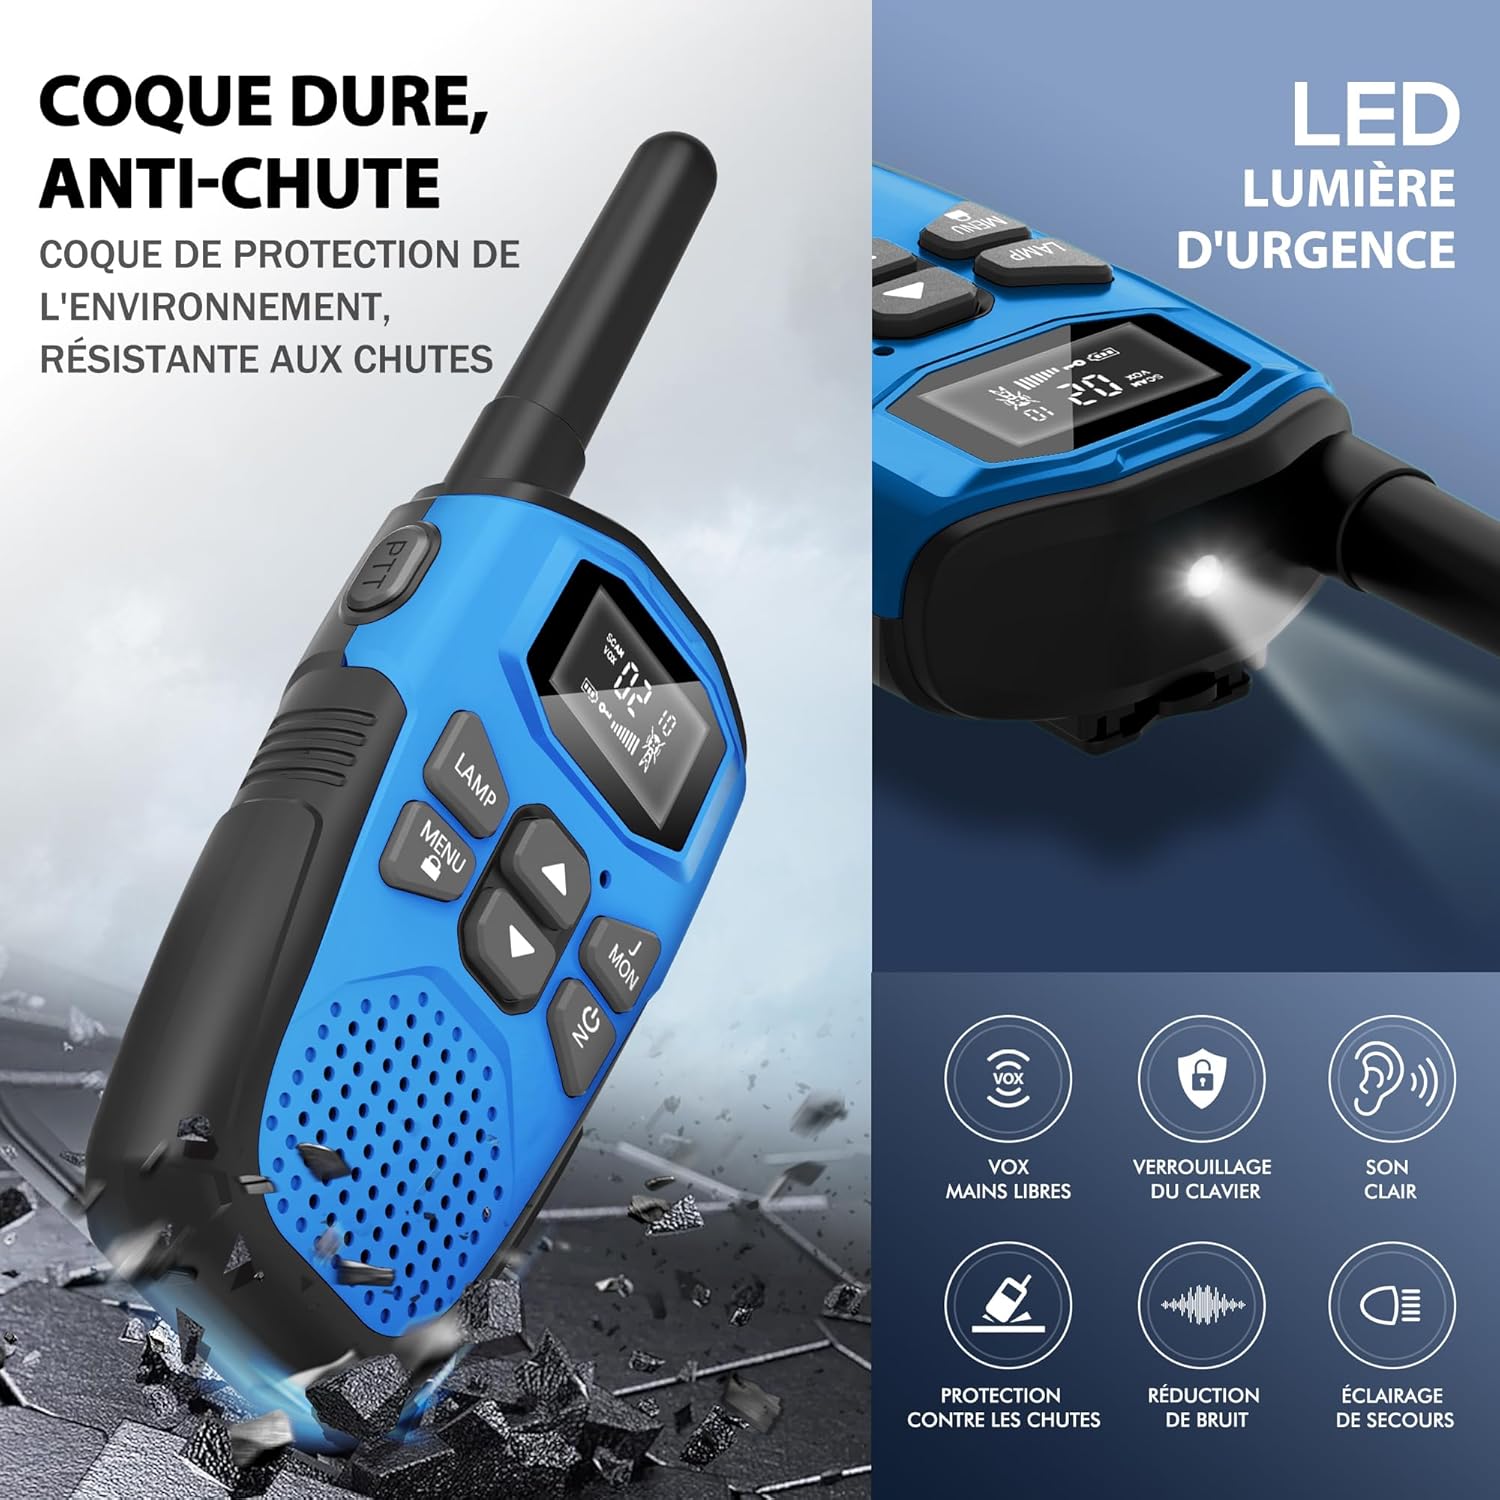
Image: Visual summary of key features including durability and various functions.
- Batrị Lithium-ion nwere ike ibugharị: Equipped with a 1200mAh built-in lithium-polymer battery and a USB Type-C charging cable for convenient and economical recharging. Provides up to 1 day of use and 3 days of standby.
- Multi-functional and User-Friendly: Designed for ease of use for children aged 3 and above. Features include volume adjustment, VOX hands-free operation, automatic memory, automatic scanning, low battery alert, drop protection, and a large backlit LCD screen.
- Ndakọrịta sara mbara: Supports communication with any radio on the same channel and sub-code, regardless of brand, thanks to 16 channels and 121 interference elimination codes.
- Extended Range and Clear Audio: Achieves up to 5 km (3.1 miles) in open areas and 1.5 km (0.9 miles) in urban environments. Delivers clear, high-quality sound without noise, ensuring quick response times.
- Igwe ọkụ ọkụ agbakọtara ọnụ: A built-in LED flashlight serves as a useful tool for outdoor play, camping, hiking, and as an emergency light.
- Durable and Drop-Resistant: Constructed with a hard, anti-drop casing for environmental protection and resilience during outdoor activities.

Image: Diagram illustrating the effective communication range in different environments.
Nlekọta na nlekọta
- Nhicha: Wipe the walkie-talkies with a soft, damp akwa . Ejila kemịkalụ siri ike ma ọ bụ ihe mkpocha abrasive.
- Nchekwa: Debe ngwaọrụ ndị a n'ebe dị jụụ ma kpọọ nkụ, ebe anwụ na-anaghị apụta kpọmkwem, nakwa ebe okpomọkụ dị oke elu mgbe a naghị eji ha.
- Nlekọta batrị: To prolong battery life, avoid fully discharging the battery frequently. Recharge the battery regularly, even if the walkie-talkie is not used for extended periods.
- Nguzogide mmiri: These walkie-talkies are not waterproof. Avoid exposing them to rain, splashes, or immersion in water.
Nchọpụta nsogbu nsogbu
| Nsogbu | Ihe nwere ike ime | Ngwọta |
|---|---|---|
| Enweghị ike | Batrị dị ala ma ọ bụ mebie ya. | Charge the walkie-talkie fully using the provided USB-C cable. |
| Cannot communicate with other units | Units are on different channels or sub-codes. | Ensure all units are set to the exact same channel and sub-code. |
| Ogo ụda adịghị mma / Static | Enweghị ike iru ya; nnyonye anya; obere batrị. | Move closer to the other unit; change channel/sub-code; recharge battery. |
| VOX anaghị arụ ọrụ | VOX sensitivity too low or feature is off. | Adjust VOX sensitivity level in the menu or ensure VOX is enabled. |
| Ahụigodo anaghị anabata | Agbanyere mkpọchi ahụigodo. | Pịa ma jide MENU button to unlock the keypad. |
Nkọwapụta

Image: Physical dimensions and weight of the walkie-talkie.
| Njirimara | Nkọwa |
|---|---|
| Ụdị | NXGKET |
| Nọmba nlereanya | 2AYV7YG-813 |
| Agba | Green + Blue + odo |
| Ọnụọgụ nke ọwa | 16 |
| Oke ugboro ugboro | 446 MHz (UHF) |
| Oke kacha | 5 Kilometers (open areas) |
| Ụdị batrị | Lithium-Polymer (1 included per unit) |
| Ike batrị | 1200 mAh |
| Nchaji Interface | USB Ụdị-C |
| Voltage | 3.7 volts |
| Ọkwa Nguzogide mmiri | Ọ bụghị ihe mgbochi mmiri |
| Atụmatụ pụrụ iche | Battery level indicator, Long range, Battery saver mode, Rechargeable, Noise reduction, VOX, LED Flashlight, Keypad Lock |
| Akụkụ (ihe dị ka.) | 16 cm (Height) x 3 cm (Depth) x 2 cm (Width) |
| Ibu (ihe dị ka.) | 93 g kwa otu |
Akwụkwọ ikike na nkwado
The NXGKET walkie-talkie has been tested and certified to meet CE standards. The manufacturer offers a 1-afọ akwụkwọ ikike site na ụbọchị ịzụrụ.
For any product inquiries, technical support, or warranty claims, please contact your retailer or the manufacturer directly through their official support channels. Please have your purchase receipt and model number (2AYV7YG-813) ready when contacting support.