
1. Ngwaahịa gafereview
This manual provides instructions for the BRONC V2 Tattoo Machine Rotary Pen and the accompanying 50-piece assorted tattoo cartridge needles. This bundle is designed for professional tattooing, offering precision and reliability.
Ọdịnaya ngwugwu:
- BRONC V2 Tattoo Machine Rotary Pen (Grey)
- Type-C Fast Charge Cord
- Two (2) Rechargeable Batteries (2000mAh each)
- Chaja batrị
- RCA Head Replacement
- O-mgbanaka
- 50 Mixed BRONC Tattoo Cartridge Needles (10 pieces each of 1203RL, 1205RL, 1207RL, 1209RL, 1211RL)
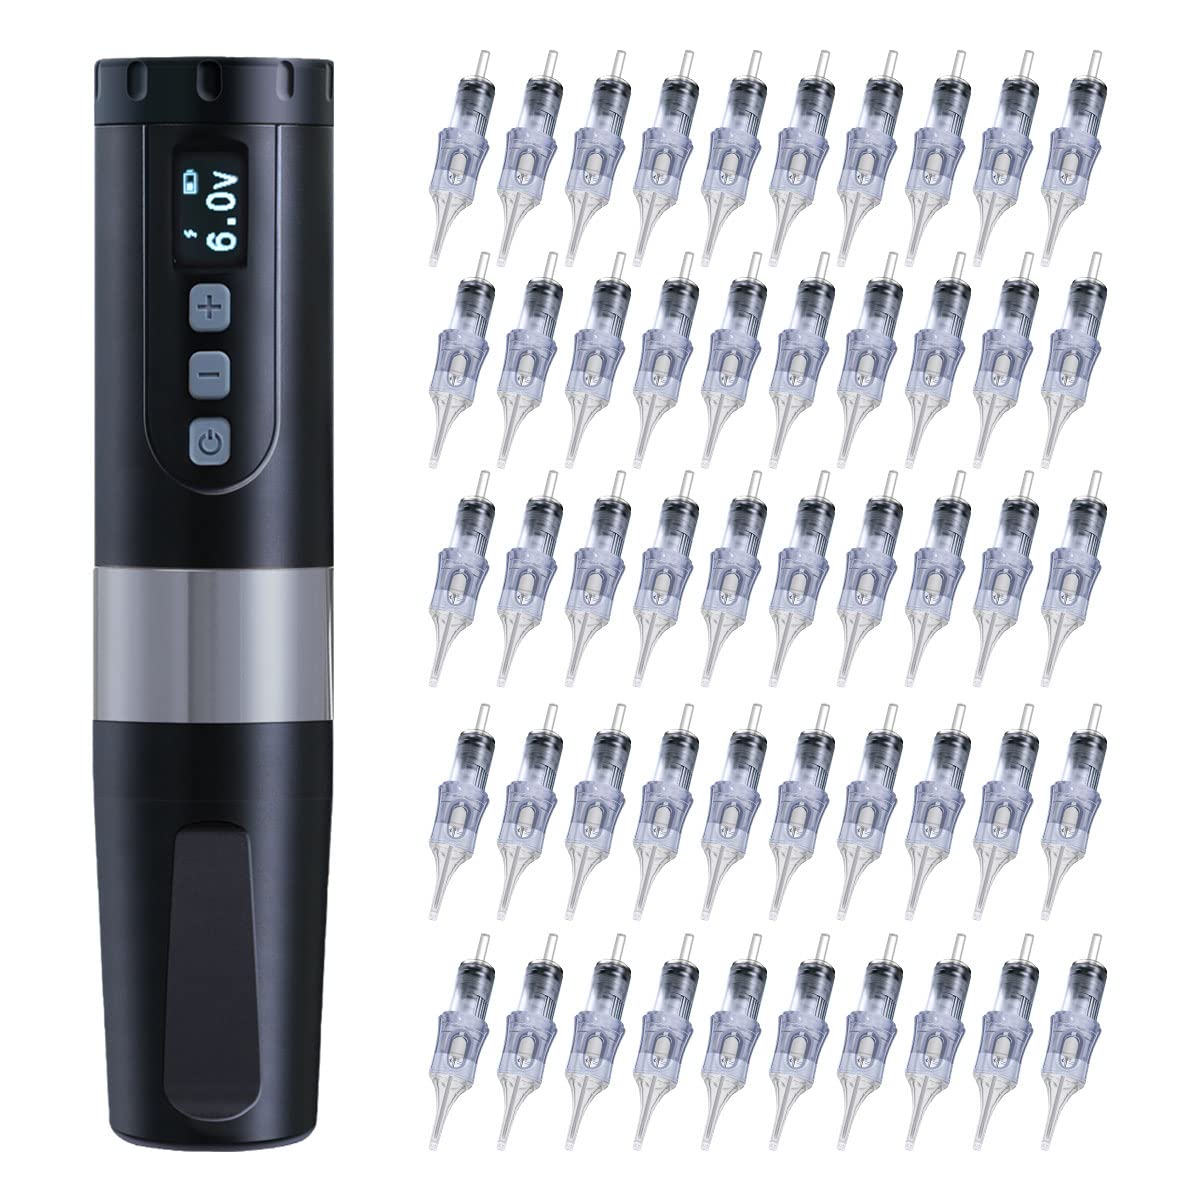
Figure 1: BRONC V2 Tattoo Machine Rotary Pen. This image shows the main tattoo machine with its digital display and control buttons.
2. Nhazi ntuziaka
2.1 Ịchaji batrị
- Connect the provided Type-C fast charge cord to the charging port on the battery or the dedicated battery charger.
- Plug the other end of the cord into a suitable USB power adapter (not included).
- The battery indicator on the machine or charger will show charging status. A full charge typically takes 2 to 2.5 hours.
- Ensure both batteries are fully charged before extended use. Each battery provides approximately 7-9 hours of continuous work time.
2.2 Assembling the Tattoo Pen
- If the pen is disassembled, carefully screw the grip section onto the main body of the machine until secure.
- Insert a charged battery into the designated compartment.

Figure 2: Disassembled BRONC V2 Tattoo Machine. This image illustrates the main body, grip, and battery components of the tattoo pen, ready for assembly.
2.3 Attaching a Cartridge Needle
- Select the desired BRONC tattoo cartridge needle from the assorted pack. Ensure the needle is sterile and individually packaged.
- Carefully push the cartridge needle into the front opening of the tattoo pen until it clicks securely into place. The silicone membrane system prevents ink backflow.
- To remove, gently twist and pull the cartridge out.
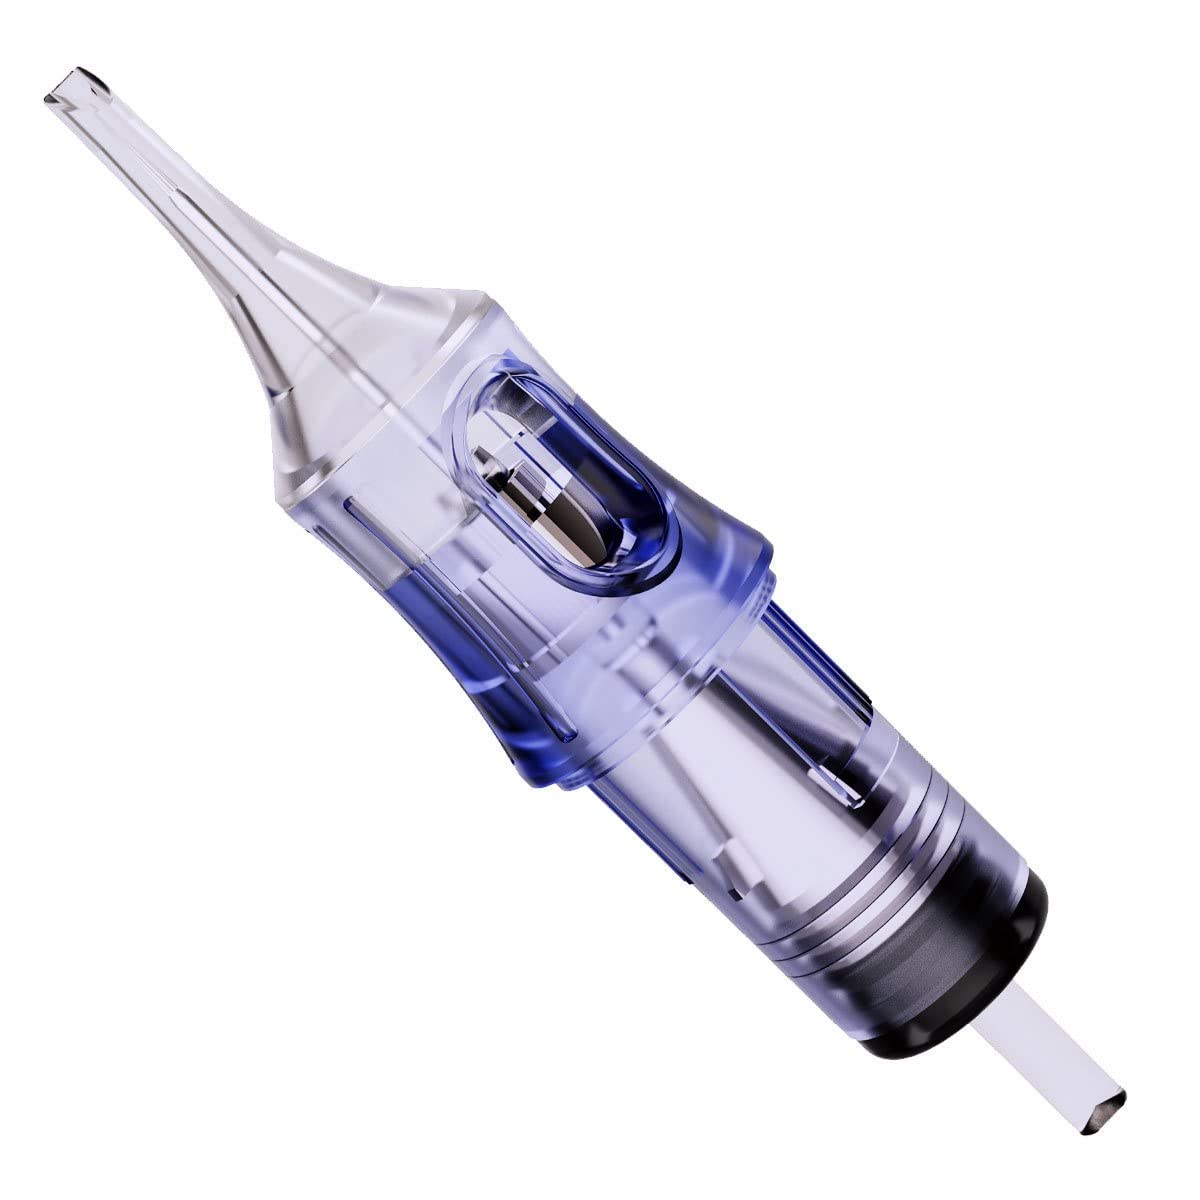
Figure 3: BRONC Tattoo Cartridge Needle. This image displays a single, clear tattoo cartridge needle, highlighting its design and the internal mechanism.

Figure 4: BRONC Assorted Tattoo Cartridge Needles. This image shows a box of 50 assorted BRONC tattoo cartridge needles, with two individual cartridges displayed prominently.
3. Ntuziaka ọrụ
3.1 Gbanyụọ ma ọ bụ gbanyụọ
- To power on the machine, press and hold the power button (usually marked with a ⑂ symbol) for a few seconds until the display illuminates.
- Iji gbanyụọ ọkụ, pịa ma jide bọtịnụ ike ahụ ọzọ ruo mgbe ngosipụta ahụ gbanyụrụ.
3.2 Ụgbọ elutage mmezi
- Once powered on, the current voltage ga-egosipụta.
- Use the '+' and '-' buttons to increase or decrease the voltage. The adjustable range is 5.0V to 11.0V.
- Voltage for optimal performance is 5.5V to 7.5V.
3.3 Jump Start Function
- The machine features a 9.0V jump start function to assist with starting larger needle configurations or when the machine requires an initial power boost.
- Consult the machine's specific controls for activating the jump start, typically a quick press of the power button or a dedicated button.
3.4 Needle Depth Adjustment
- The needle depth can be adjusted from 0mm to 4mm.
- To adjust, rotate the grip section of the tattoo pen clockwise or counter-clockwise. Rotate clockwise to extend the needle further out, and counter-clockwise to retract it.

Figure 5: BRONC V2 Tattoo Machine with display. This image highlights the digital display showing the voltage and battery level, along with the control buttons for operation.
4. Nlekọta
4.1 Na-ehicha igwe
- After each use, disconnect the power and remove the needle cartridge.
- Wipe down the exterior of the machine with a sterile wipe or a cloth dampened with an approved disinfectant solution.
- Emela immerse the machine in liquid or allow liquids to enter the motor housing or charging port.
- Ensure all surfaces are dry before storage.
4.2 Nlekọta batrị na nchekwa
- Chekwaa batrị n'ebe dị jụụ, kpọrọ nkụ na-adịghị na ìhè anyanwụ kpọmkwem na oke okpomọkụ.
- Avoid fully discharging the batteries regularly to prolong their lifespan. Recharge them when the power level is low.
- If storing for an extended period, charge the batteries to approximately 50-60% capacity.
4.3 Needle Cartridge Disposal
- Used needle cartridges are biohazardous waste. Dispose of them immediately after use in an approved sharps container.
- Follow all local regulations and guidelines for the safe disposal of sharps.
5. Nchọpụta nsogbu
5.1 Machine Not Turning On
- Gbaa mbọ hụ na chajịrị batrị zuru oke yana itinye ya nke ọma.
- Press and hold the power button for the required duration (typically a few seconds).
5.2 Inconsistent Power/Motor Issues
- Lelee ọkwa batrị; fanye ma ọ bụrụ na ọ dị ala.
- Ensure the needle cartridge is properly seated and not jammed.
- The machine features OCP (Overload Current Protection) and short circuit protection. If an issue is detected, the machine may shut down or display an error. Remove the cartridge and restart. If the problem persists, contact support.
5.3 Needle Not Extending/Retracting
- Verify the needle cartridge is correctly inserted and not damaged.
- Check if the grip is rotating freely for depth adjustment.
6. Nkọwapụta
| Njirimara | Nkọwapụta |
|---|---|
| Nlereanya | BRONC V2 Rotary Pen |
| moto | Swiss DC Motor |
| Ọnụ moto Voltage | 12V |
| moto Torque | 6.18mNM |
| Ịrụ ọrụ moto | Kachasị 85% |
| Ụdị batrị | 3.7V 18500 Li-ion |
| Ike batrị | 2000mAh |
| Oge Nchaji | 2-2.5 hours (Type-C) |
| Oge Ọrụ Na-aga n'ihu | 7-9 awa |
| Voltage | 5.0V - 11.0V |
| Recommended Working Voltage | 5.5V - 7.5V |
| Malite Malite Voltage | 9.0V |
| Ogologo ọrịa strok | 3.5mm (nwere ike dochie anya) |
| Needle Depth | 0-4mm (nwere ike idozi) |
| Uru ịma jijiji | < 2.5m²/s |
| Ọsọ enweghị ibu | 11000rpm |
| Ibu (ya na batrị) | 230 grams |
| Njirimara nchedo | OCP Overload, Short Circuit Protection |
| Needle Cartridge Sizes | 1203RL, 1205RL, 1207RL, 1209RL, 1211RL (10 pcs each) |
7. Akwụkwọ ikike na nkwado
For warranty information, technical support, or service inquiries, please refer to the documentation included with your purchase or contact BRONC customer service directly. Keep your proof of purchase for any warranty claims.
You can typically find contact information on the official BRONC websaịtị ma ọ bụ site na onye na-ere ahịa gị.