
Okwu mmalite
Thank you for choosing the VGR V-315 5-in-1 Waterproof Men's Grooming Kit. This versatile device is designed to meet various personal grooming needs, offering a comfortable and efficient experience. Please read this instruction manual carefully before using the product to ensure proper operation, maintenance, and safety.
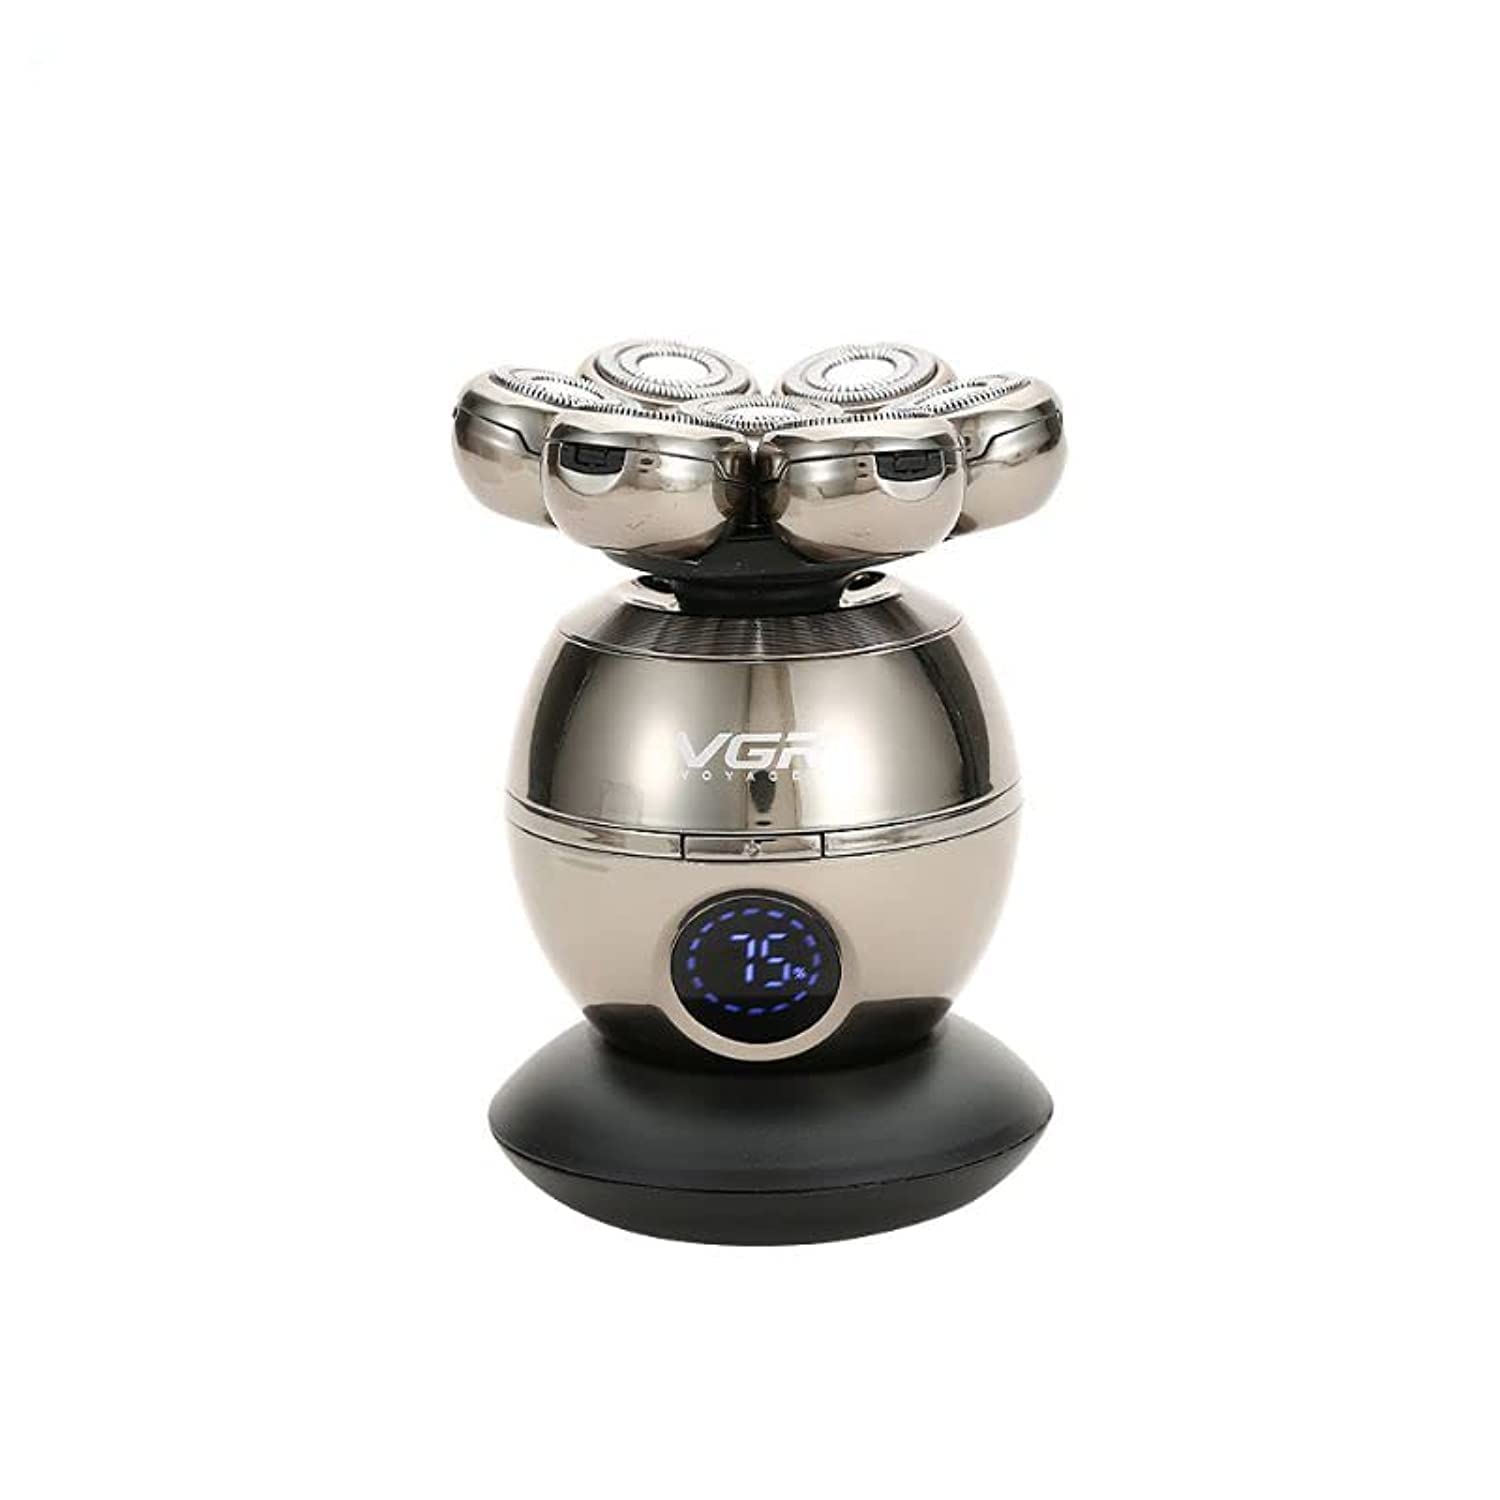
Image: The VGR V-315 5-in-1 Grooming Kit, showcasing its sleek design and multiple functionalities.
Kedu ihe gụnyere
Your VGR V-315 grooming kit comes with the following components:
- Main Shaver Body (with 7-head rotary shaver attachment)
- Hair Trimmer Attachment
- Mgbakwụnye trimmer imi
- Facial Cleaning Brush Attachment
- Silicone Massage Brush Attachment
- Limiting Combs (3mm, 6mm, 9mm, 12mm)
- Nchaji ntọala
- Igwe nchaji USB
- Nhicha ahịhịa

Image: All included accessories for the VGR V-315 grooming kit, laid out clearly with labels for each component.
Atụmatụ igodo
- Ụdị 5-na-1: Includes shaver, hair trimmer, nose trimmer, facial cleaning brush, and silicone massage brush.
- 7-Head Rotary Shaving: Provides a smooth and efficient shave.
- Nhazi mgbochi mmiri: Allows for convenient wet and dry use, including in the shower.
- Ngosipụta Smart LED: Na-egosi pasentị batrịtage na ọkwa nchaji.
- Batrị enwere ike ịchaji: Offers approximately 50 minutes of cordless operation on a full charge.
- Automatic Sharpening Blades: Ensures long-lasting sharpness and performance.

Image: Graphic illustrating key features such as seven-head shaving, fully washable design, lasting battery life, and multifunctional grooming kit.
Melite
Ịchaji ngwaọrụ
- Gbaa mbọ hụ na agbanyụrụ ngwaọrụ ahụ tupu ịchaji.
- Connect the USB charging cable to the charging base.
- Plug the other end of the USB cable into a suitable USB power adapter (not included) or a USB port.
- Place the shaver body onto the charging base. The LED display will indicate the charging status and battery percentage.
- A full charge typically takes approximately 2 hours and provides about 50 minutes of operating time.
- Do not charge the device in wet conditions or near water. Ensure the charging port is dry before connecting the cable.
Ọrụ
Attaching and Detaching Heads
To change attachments, hold the main body firmly and gently twist the current head counter-clockwise to unlock and remove it. Align the desired attachment with the main body and twist clockwise until it clicks into place securely.
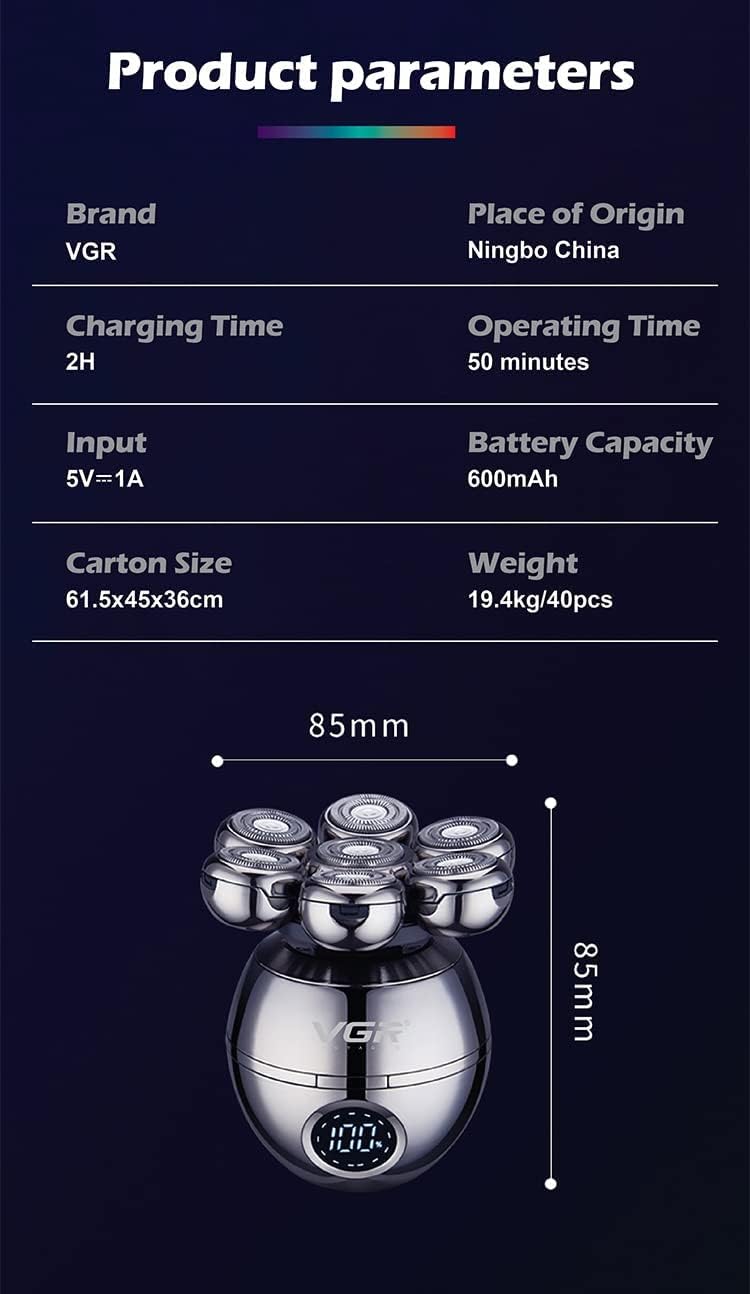
Image: The VGR V-315 main unit shown with the facial cleaning brush, silicone massage brush, and hair trimmer attachments.
Iji Mgbakwụnye
- Rotary Shaver Head: For a close shave on the face and head. Move the shaver in small, circular motions against the direction of hair growth. Can be used wet or dry.
- Hair Trimmer Head: For trimming longer hair, shaping beards, or detailing. Attach the desired limiting comb (3mm, 6mm, 9mm, or 12mm) for specific hair lengths. Move the trimmer against the direction of hair growth.
- Nose Trimmer Head: For safely trimming nose and ear hair. Insert the trimmer tip gently into the nostril or ear canal and move it slowly.
- Facial Cleaning Brush: For deep cleansing of the face. Apply your preferred facial cleanser to your face or the brush head, then gently move the brush in circular motions across your face.
- Silicone Massage Brush: For gentle facial massage and exfoliation. Use with or without cleanser, moving in circular motions to stimulate skin.
Nlekọta na nhicha
Regular cleaning ensures optimal performance and extends the lifespan of your grooming kit.
Nchacha izugbe
- After each use, turn off the device.
- Detach the used head from the main body.
- Rinse the head under running water to remove hair and debris. For the shaver head, you may need to open it for thorough cleaning.
- Use the small cleaning brush to remove stubborn hair from the blades or internal components.
- Ensure no water enters the charging port on the main body.
- Allow all parts to air dry completely before reattaching or storing.
Shaver Head Opening Steps
For a more thorough cleaning of the rotary shaver head:
- Gently pry open each of the seven individual rotary blade covers.
- Once all covers are open, the entire top section of the shaver head can be removed by twisting it off the main body.
- Rinse the individual blades and the shaver head under running water.
- Kwe ka akụkụ niile kpoo kpamkpam tupu ejikọta ya.

Image: A step-by-step visual guide demonstrating how to open the rotary shaver head for detailed cleaning and how to remove the entire head from the main unit.
Nchọpụta nsogbu
- Ngwaọrụ anaghị agbanwu: Ensure the battery is charged. Connect to the charger and check the LED display.
- Mbelata arụmọrụ: Clean the shaver head and blades thoroughly. Ensure no hair or debris is obstructing the moving parts.
- Nsogbu ịchaji: Verify the USB cable and charging base are correctly connected. Ensure the power adapter is functional.
- Irritation after shaving: Ensure blades are clean and sharp. Shave on clean skin. Consider using a pre-shave oil or post-shave balm.
Nkọwapụta
| Ụdị | VGR |
| Aha Nlereanya | V-315 |
| Isi Iyi Ike | Akwanyere batrị |
| Ụdị batrị | Lithium-ion nwere ike ịgbanye |
| Oge Nchaji | Ihe ruru. awa 2 |
| Oge ọrụ | Ihe ruru. Nkeji 50 |
| Atụmatụ pụrụ iche | Waterproof, LED Display |
| Ihe agụba | Igwe anaghị agba nchara |
| Ụdị isi | Rotary |
| Eji akwadoro | Beard, Face, Body |
| Akụkụ ngwugwu | 17.09 x 14.91 x 8.61 cm |
| Ibu Ibu | 422 grams |
Ozi nchekwa
- Debe ngwaọrụ ahụ ka ụmụaka ghara iru ya.
- Do not disassemble or attempt to repair the device yourself. Contact qualified personnel for service.
- Zere oke okpomọkụ yana ìhè anyanwụ kpọmkwem.
- Ejila ngwaọrụ ahụ ma ọ bụrụ na ọ mebiri ma ọ bụ na-arụ ọrụ nke ọma.
- Always ensure the charging port is dry before connecting the charger.
- Maka ojiji mpụga naanị. Zere kọntaktị na anya.
Akwụkwọ ikike na nkwado
For warranty information or technical support, please refer to the product packaging or contact your retailer. Keep your purchase receipt as proof of purchase.